How to complete Season Three's final 10 Zombies season challenges - The Prestige Primer episode 28

As we saw yesterday, Season Four is making landfall next week, which means we don’t have long until Season Three comes to an end. For those looking to complete the Battle Pass or become a Prestige Master, Double XP and Double Battle Pass XP Weekend is live today through June 14, giving you one last opportunity to earn that three-star ribbon for your Progression screen and that awesome animated Emblem for your Profile.
So, ahead of the end of the next season, we’re wrapping up the final 10 Zombies Season Challenges and breaking down an assault rifle that could make waves within a deep Warzone meta.
With all that said, let’s level up:
This Week’s Featured Operators
Last weekend was the Florida Mutineers Home Series, so we’re featuring them alongside the Los Angeles Thieves Call of Duty League Operator for a double-dose of competitive spirit.
The Mutineers split their Home Series last weekend, losing a tough matchup to the New York Subliners 3-2 before throwing the Los Angeles Guerillas overboard with a 3-1 victory. As it stands, they are well within the Winners Bracket for the Stage IV Major, but could cement their favorable first round matchup status if they beat the Dallas Empire during the Los Angeles Thieves Home Series, or if the Toronto Ultra don’t exit the weekend with two Ws.
Meanwhile for the hosts, they need to beat the Minnesota Røkkr today at 1:30 PT and their rivals OpTic Chicago in Sunday’s marquee matchup if they want to avoid starting in the Stage IV Loser’s Bracket. As the youngest current starting roster in the Call of Duty League by average age, these rookies and 20-year-old veterans will need to step up against championship-caliber talent if they want to send their (virtual) fans home happy on Sunday.
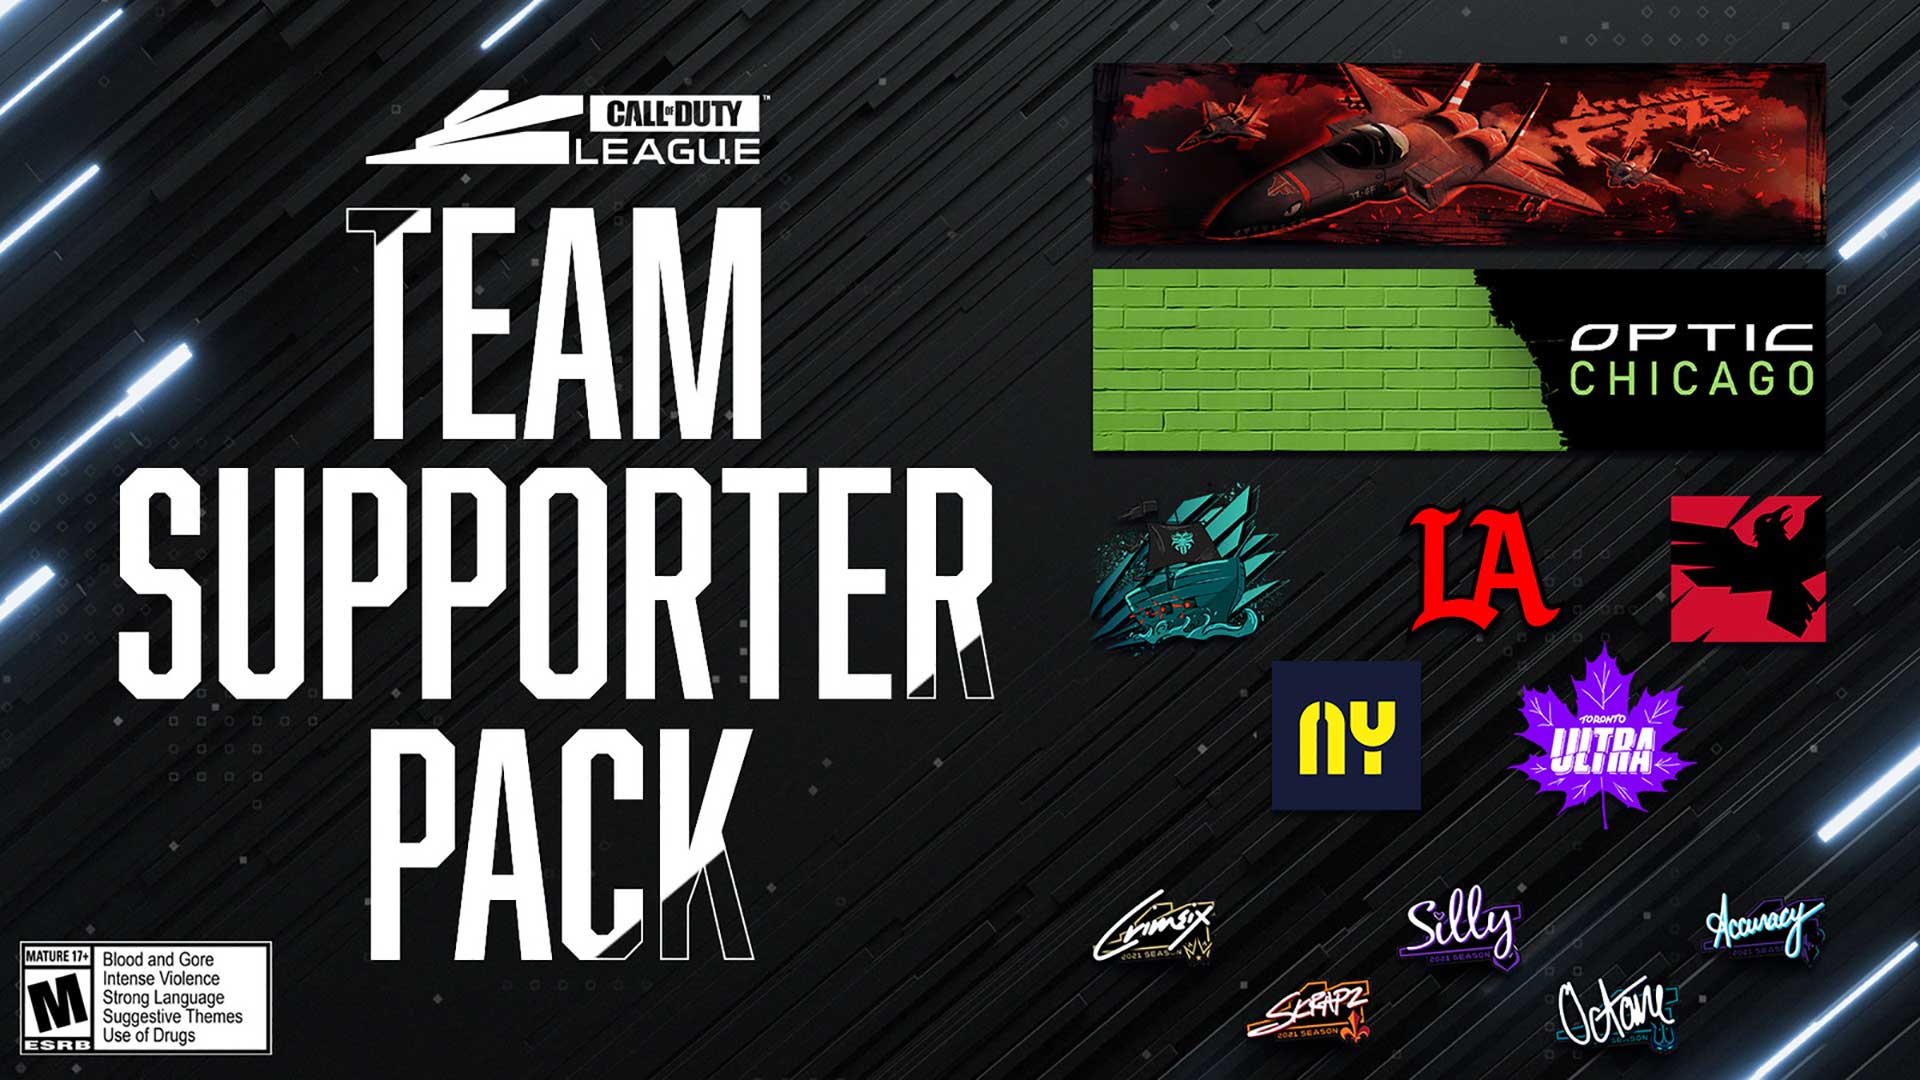
Don’t forget to tune into the Home Series starting Thursday at 12 PM PT here, and be sure to visit the Black Ops Cold War and Warzone Store today to pick up your Call of Duty League Team Supporter Pack so you can rep your favorite squad in-game.
Also featured this week is Wraith, the main antagonist of Season Three, in her menacing “White Queen” Operator Skin, unlocked at Tier 100 of the Season Three Battle Pass. This is one reason why you want to pick up and complete this season’s Battle Pass before the end of Season Three. At Tier 100, you’ll also receive her Operator Mission, the “Roman Standard” Legendary sniper rifle Blueprint, two Vehicle Skins, and the Season Three Animated Emblem.
Top Tip – Final 10 Season Three Zombies Season Challenges
There’s a double-double XP weekend, so let’s cut to the chase and break down how to complete these challenges.
Remember, completing all 20 Zombies Seasonal Challenges for an individual season, regardless of when you do it, rewards you with a ton of XP and a badass animated Master Calling Card, so be sure to knock out these objectives (and the first ten, which we detailed here) on your journey to Prestige Master!
And before we go challenge-by-challenge, you should either have these Skills upgraded to the following levels or be ready to use your Aetherium Crystals to do so:
- Quick Revive Perk: Tier V (6 Raw Aetherium, 4 Refined Aetherium, 5 Flawless Aetherium)
- Melee Weapon Class Skill: Tier V (6 Raw Aetherium, 4 Refined Aetherium, 5 Flawless Aetherium)
- Special OR Launcher Weapon Class Skill: Tier III (6 Raw Aetherium) or higher recommended.
- Shatter Blast Ammo Mod: Tier III (6 Raw Aetherium) or higher recommended.
Now, we have a job to do. Let’s crush the hordes:
 Untouchable (Level 100) — In Outbreak, complete an Escort objective without the Rover taking any damage. — 2,500 XP
Possibly one of the toughest challenges in the set, this requires some teamwork (if applicable) and some quick reactions, because if that Rover so much as gets a single scratch, it won’t count.
The earlier an Escort objective is available, the better, as the more times you jump, the more likely there is to be enemies with ranged attacks. Be sure your squad is constantly fending off the horde, and watch out for Hellhounds. Their fiery aftermath can still damage the Rover, so destroy them off the Rover’s path if possible.
Crack the Shell (Level 110) — Destroy 50 pieces of armor with the Shatter Blast Ammo Mod. — 8,500 XP (Three Tiers)
This newer Ammo Mod is great against armor, as the challenge suggests, and only gets better when its Skill Tiers are upgraded.
During high rounds or long Outbreak sessions, armored enemies more likely to show up, so grab Shatter Blast as soon as possible and be in it for the long haul.
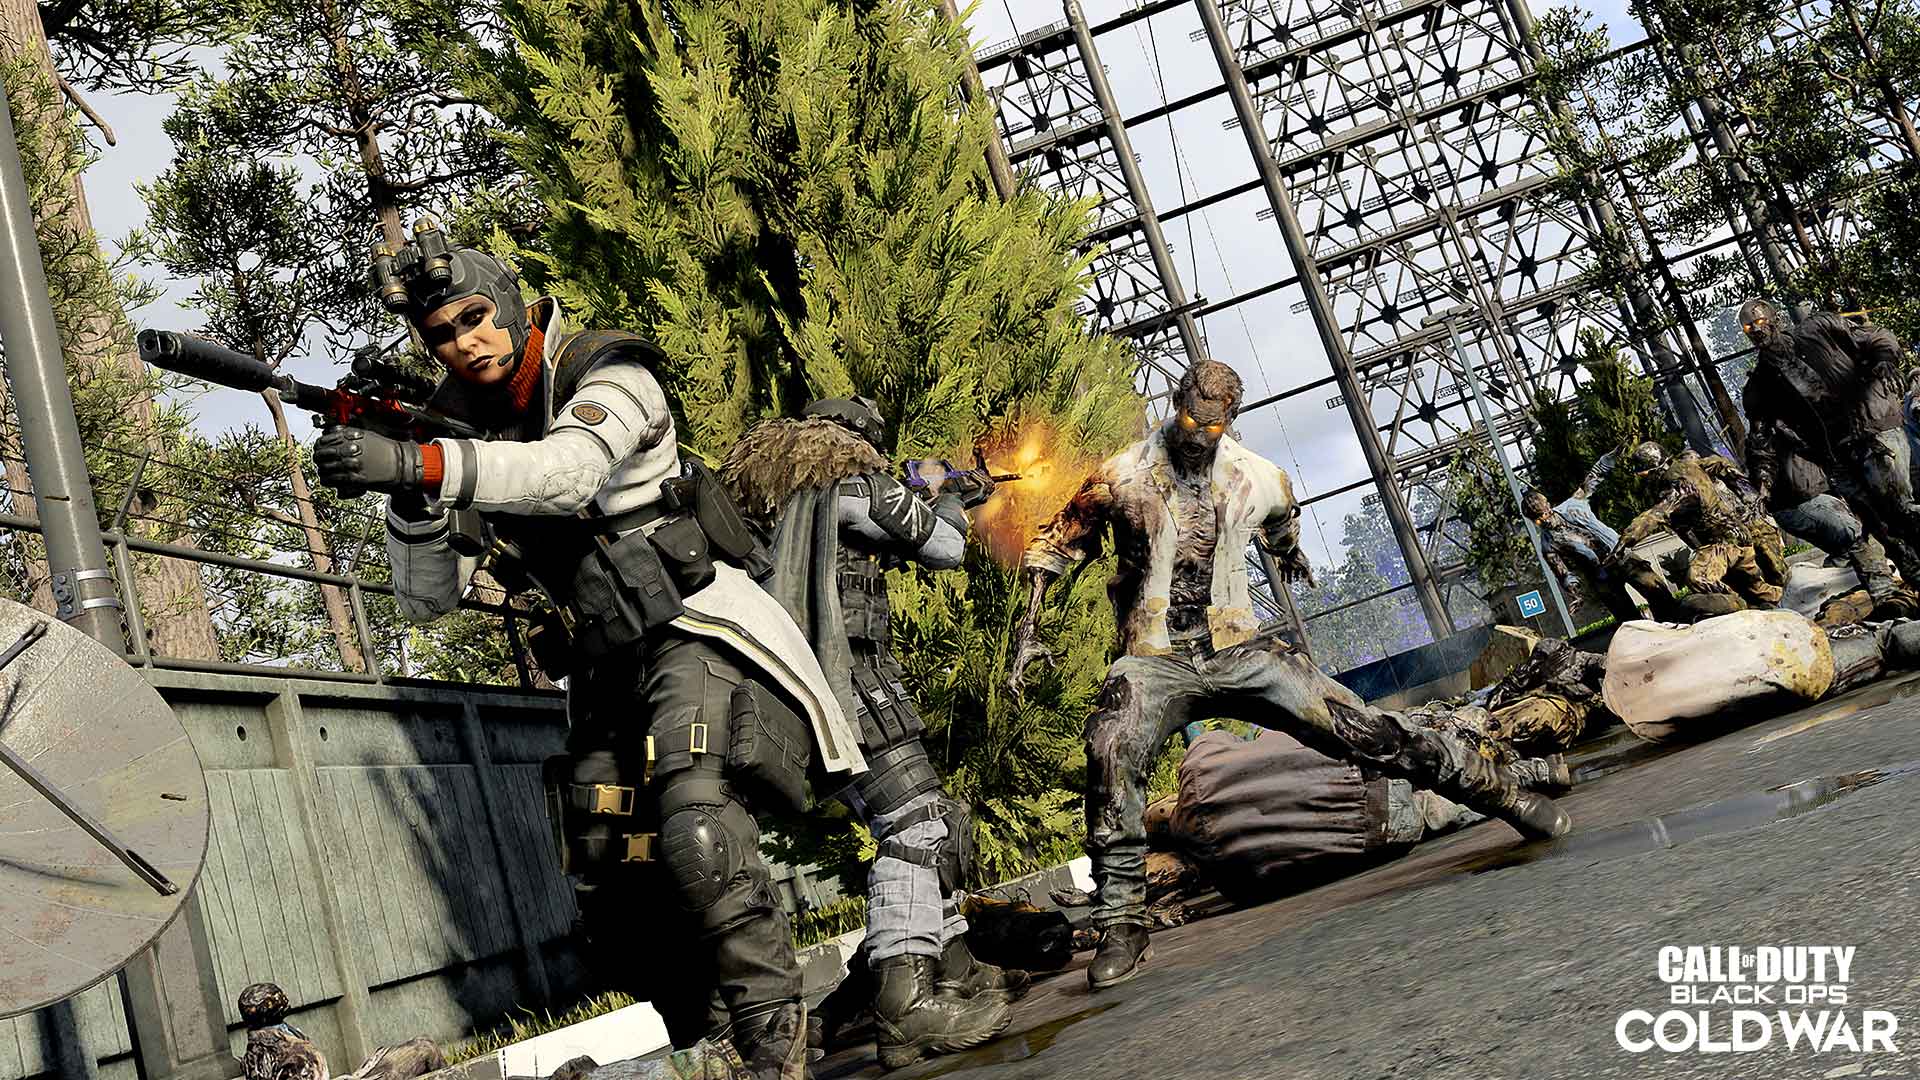
Suppressing Fire (Level 120) — In Outbreak, kill 10 Hellhounds before they enter the structure during the Holdout Objective. — 8,500 XP (Three Tiers)
Keep playing Outbreak – either in one session or multiple – until you get a Holdout Objective, then prepare for the carnage.
Listen for them to phase into existence with their high-pitched cry, then run to the window they will try to enter ASAP to keep them away. A Sentry Turret may also help here, as it can down these dogs quickly if they are within its line of sight.
Rude Awakening (Level 130) — Revive yourself 10 times by killing an enemy while downed with the Tier V Quick Revive Perk — 8,500 XP (Three Tiers)
Outside of needing Tier V of Quick Revive, this challenge should be simple and, for Zombies veterans, even a bit nostalgic.
The default pistol you are given on the ground is more than enough to kill a standard undead enemy at earlier rounds or Outbreak Objective. Ensure you’re stocked up on Quick Revive, and if you do not get this done through natural gameplay, consider downing yourself with Quick Revive in early rounds for an easier path to completion.
Blood Transfusion (Level 140) — Heal yourself for 5,000 health using Tier V of the Melee Weapon Class Skill. — 8,500 XP (Three Tiers)
One of our staff’s favorite Weapon Class Skills gets its own challenge.
At Tier V of the Melee Weapon Class Skill, any melee damage you do heals yourself slightly. Far and away, it became our first Weapon Class Skill to get to Tier V when it launched, as this most often saved us from being downed in high-intensity close encounters.
This challenge should just be naturally completed over time, but if you are struggling, use a Melee tool as your Loadout Weapon and swing away.
Back in My Day (Level 150) — In Outbreak, complete 3 Objectives and exfil with only your loadout weapon with no upgrades. — 8,500 XP (Three Tiers)
If “Rude Awakening” didn’t bring back memories, then this one will surely take you back to 2008 when Zombies was just a bonus Easter Egg mode.
Back in our day, Perk Machines and Support weapons didn’t exist, let alone Ammo Mods and the Pack-a-Punch. Lucky for you, this challenge only limits your loadout weapon. You can craft as many Equipment and Support items as you want, drive around with vehicles, and drink as many Perk-a-Colas until you drop.
Use all of this to your advantage as you fend off hordes with your loadout weapon. No matter what you choose – possibly a fully-spec’d out gun or melee weapon attached to a Tier V Weapon Class Skill – it’ll be great for your first Objective, but may struggle in later ones, so save your Support items and other help for when the last Objective and Exfil needs to happen.
 Specially Made (Level 160) — Eliminate 50 Special or Elite enemies with launchers or Special weapons. — 8,500 XP (Three Tiers)
This challenge highlights these weapons’ effectiveness against single enemies, especially the lock-on launcher which can target them directly.
Pack-a-Punching and Ammo Modding these weapons will help you destroy Special or Elite enemies quicker, so consider saving Essence for those great upgrades. Otherwise, keep upgrading them via the Armory with Salvage, and consider using an automatic weapon as a secondary to deal with the low-health cannon fodder before focusing efforts on the big bad Special or Elite.
Pull! (Level 170) — Shoot down 25 Tempest bolts — 8,500 XP (Three Tiers)
When a Tempest comes into play in Outbreak, most often in later rounds, they will fire bolts of electricity that deal damage and disable your vehicles.
As soon as you find one, focus your fire on the Tempest Bolt itself to shoot it out of the air. If you keep a Tempest alive, it will continue firing these bolts every so often, should you be low on interceptions for this challenge.
This is also easiest to do with an automatic weapon, as you can spray towards the enemy projectile as a worst-case scenario.
style="font-size: 2em;"> Unshakable (Level 180) — Survive 5 Demented Echo ambushes — 8,500 XP (Three Tiers)
Terrified of surprise Mimics? Then take a deep breath before encountering a Demented Echo.
These fiery demons will appear randomly in Outbreak without warning. If you see one from a distance, shoot it immediately before it calls for help. Otherwise, if it comes from out of nowhere to scare you, your initial reaction of firing everything you have at it while it charges forward is, in fact, considered the most effective tactic available to you.
Salvageable (Level 190) — Kill 250 enemies with Lethal Equipment — 8,500 XP (Three Tiers)
This will be done over time, so our advice is to combine this with your Daily Challenges to maximize your XP earnings.
Look for challenges that call out kills or medals with specific Lethal Equipment (e.g. Molotovs, Tomahawks, etc.), and be sure to craft as many as possible at the Support table. If you want to get multiple Equipment kills at once, try using a Decoy or Monkey Bomb to lure the undead into your trap.
Gunsmith Weapon Blueprint of the Week
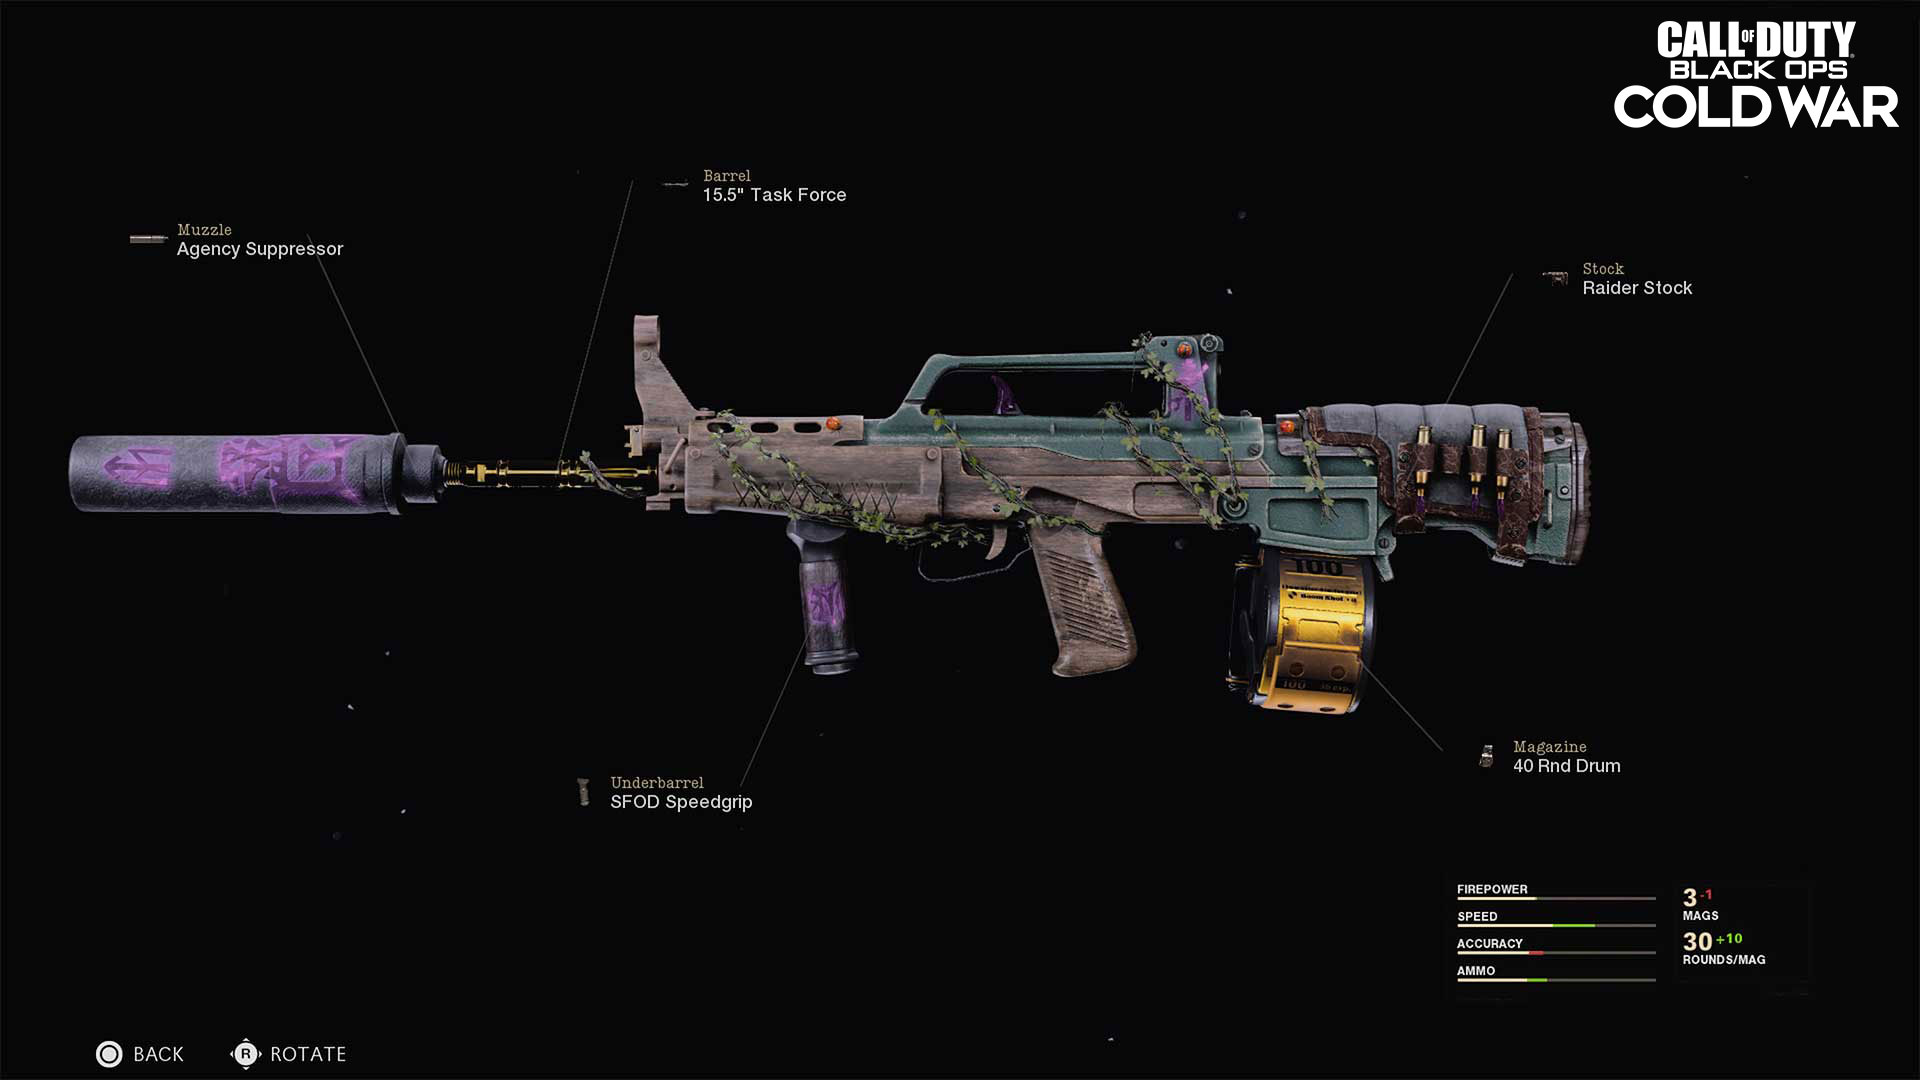
Earlier this week, the “Tracer Pack: Runic Demise” Bundle brought three new Weapon Blueprints to the Store from the previously undiscovered corners of nature itself, including the gorgeous “Natural Wonder” Legendary assault rifle Blueprint.
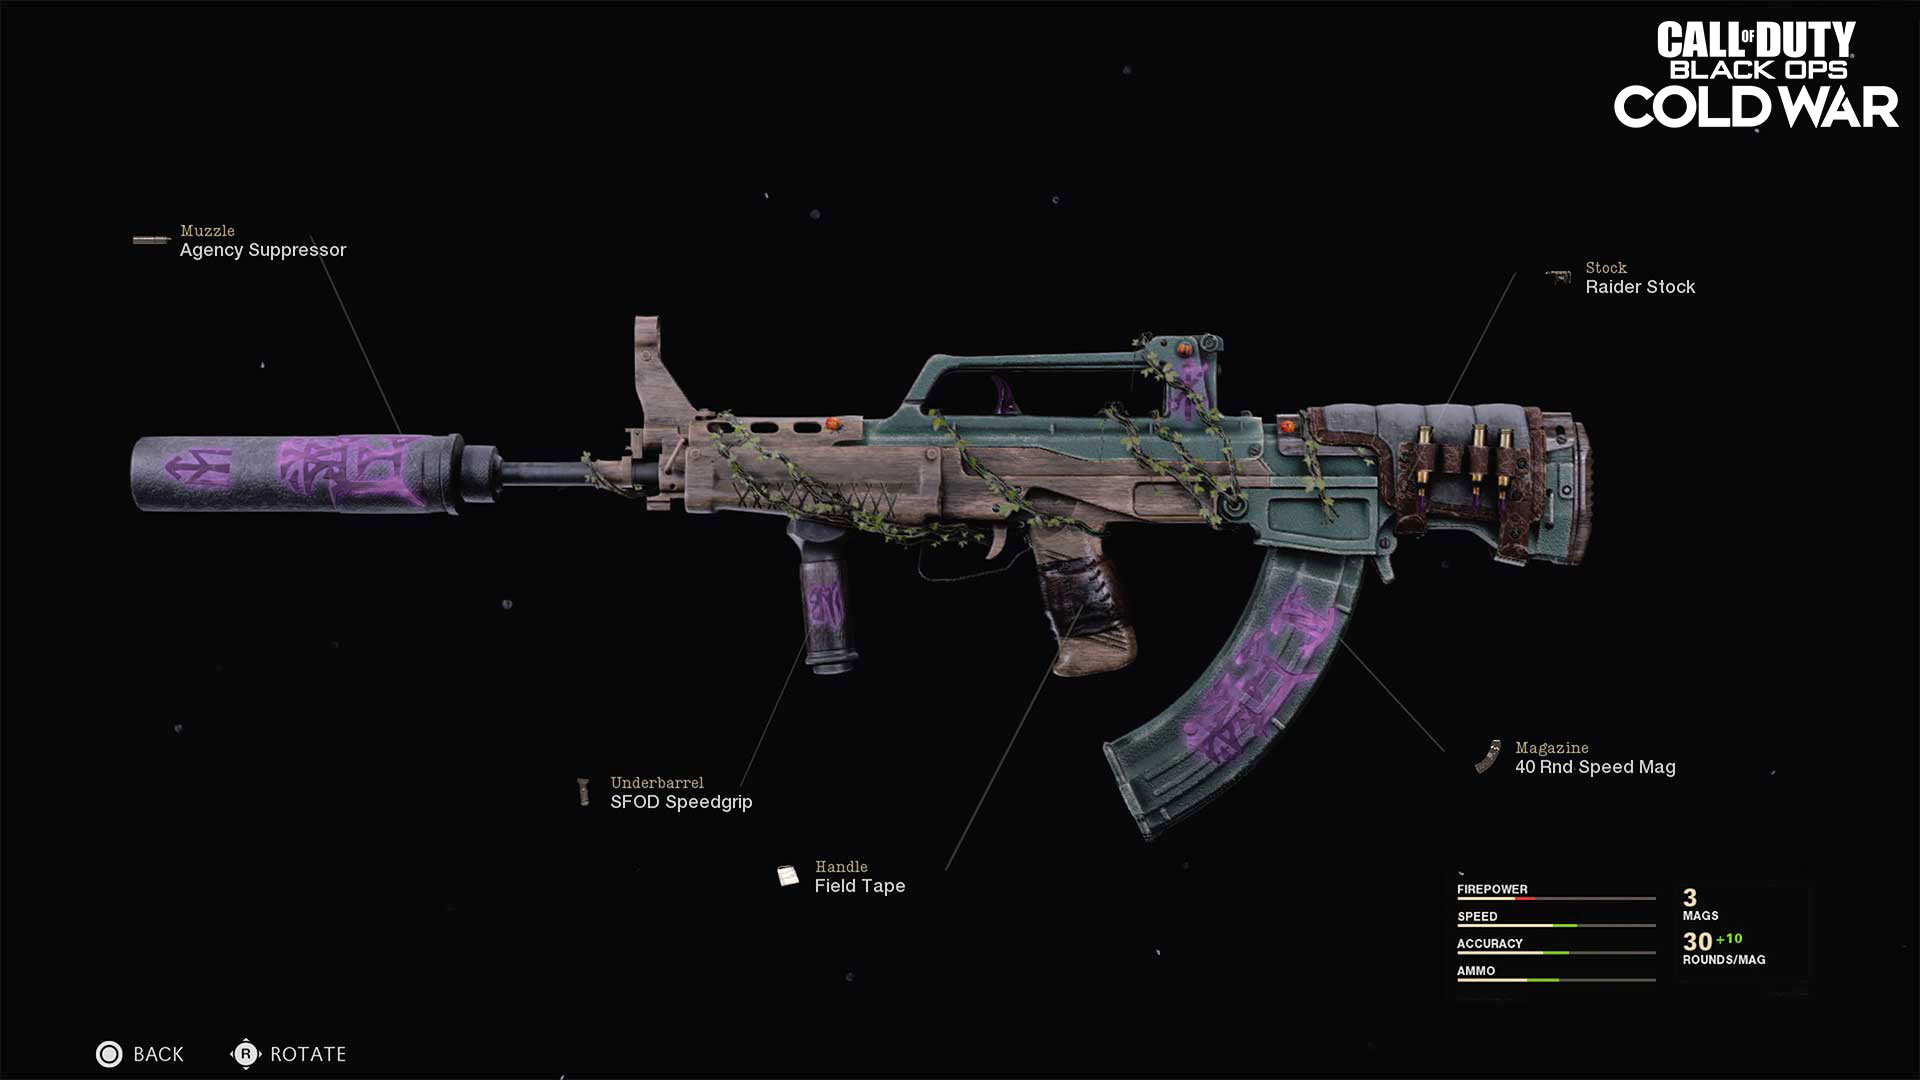
Outside of the weapon’s awesome appearance and its purple energy tracers, this five-attachment spread includes three late-level parts – the Agency Suppressor, SFOD Speedgrip, and Raider Stock – that make for a deadly combo in Black Ops Cold War Multiplayer. It’s also a Flashlight away from being phenomenal in Zombies, with the Agency Suppressor specifically giving a significant boost in Equipment drops.
As for Warzone, it can either be kitted for a primary range option like its assault rifle peers, or it can lean heavily into its highly mobile nature for Operators who want a speedy weapon that’s strong at mid-range. Here’s a quick overview of attachment recommendations for this Weapon Blueprint:
Optic: Some high-level players love a 3x scope, but if you aren’t building this specifically for mid-to-long range fights, the iron sights work fine.
Muzzle: Take the Suppressor if you are solely going for a high-mobility build. Otherwise, the Agency should be a go-to due to its versatility.
Barrels: The two most common attachments are the Task Force and Reinforced Heavy Barrels, both of which boost Range and Bullet Velocity to make it better at longer ranges. Both are considered highly recommended attachments.
Body: Flashlights and Sighting Points increase its range, which may be important for when engagements stretch out further than a few dozen meters. Consider them, but don’t replace bread-and-butter attachments for them.
Underbarrel: The Field Agent Grip once again sees plenty of play, but don’t count out the SFOD Speedgrip that comes with this weapon. In addition to Horizontal Recoil Control, it also buffs sprinting speed significantly, making you even faster on the ground for when you need to be on the move during engagements.
Magazine: We see plenty of magazine attachments floating around on popular builds, with the 40 Rnd Drum in Black Ops Cold War expanding to fit 45 bullets in Warzone, and the 50-round options getting an additional 10 in the clip between games. You might be able to get away without one in Solo or Duo modes, if you really want to take a Handle, Underbarrel, or Stock instead.
Handle: Aim Down Sight (ADS) attachments work wonders here, since it plays well into the weapon’s fast-handling statistics. We took the Serpent Wrap to highlight its not-so-recent buffs that let it compete with the Airborne Elastic Wrap as multi-benefit handles.
Stock: The Raider Stock is used heavily across the board since it greatly reduces Sprint to Fire Time while also considerably boosting Aim Down Sight Walking Speed. Those who are fearful about its effect to Hip Fire Accuracy should maybe use the CQB Pad or Marathon Stock instead. Another option? The Raider Stock, which plays well into the weapon’s fast movement speed while shooting by specifically raising that statistic among other benefits.
Don’t get us wrong; the assault rifle category in Warzone is currently a very deep pool thanks to weapons like the C-56 AMAX, RAM-7, Groza, AK-47, and Krig-6. But if you have space to experiment in your loadouts, give this weapon a try, especially if you love to strafe and move around during engagements.
This assault rifle is built for the SMG close-quarters expert who needs to take up an assault rifle role, and in the right scenarios with the right Operator behind it, can be up there among the top weapons in Warzone today.
Now execute the mission.
For more information on Call of Duty®: Black Ops Cold War, check out: www.callofduty.com, www.youtube.com/callofduty and follow @Treyarch, @RavenSoftware, and @CallofDuty on Twitter, Instagram, and Facebook.
© 2021 Activision Publishing, Inc. ACTIVISION, CALL OF DUTY, CALL OF DUTY BLACK OPS, CALL OF DUTY WARZONE and WARZONE are trademarks of Activision Publishing, Inc.
For more information on Activision games, follow @Activision on Twitter, Facebook, and Instagram.