Surviving “Mauer der Toten” – A Guide to the Black Ops Cold War Season Four Zombies Experience
A traitor gone rogue. A beloved pilot held hostage. And a broken city in peril from an undead army.
With everything against Requiem in their darkest hour, their finest agents must help their greatest enemy on earth destroy their greatest enemy across dimensions.
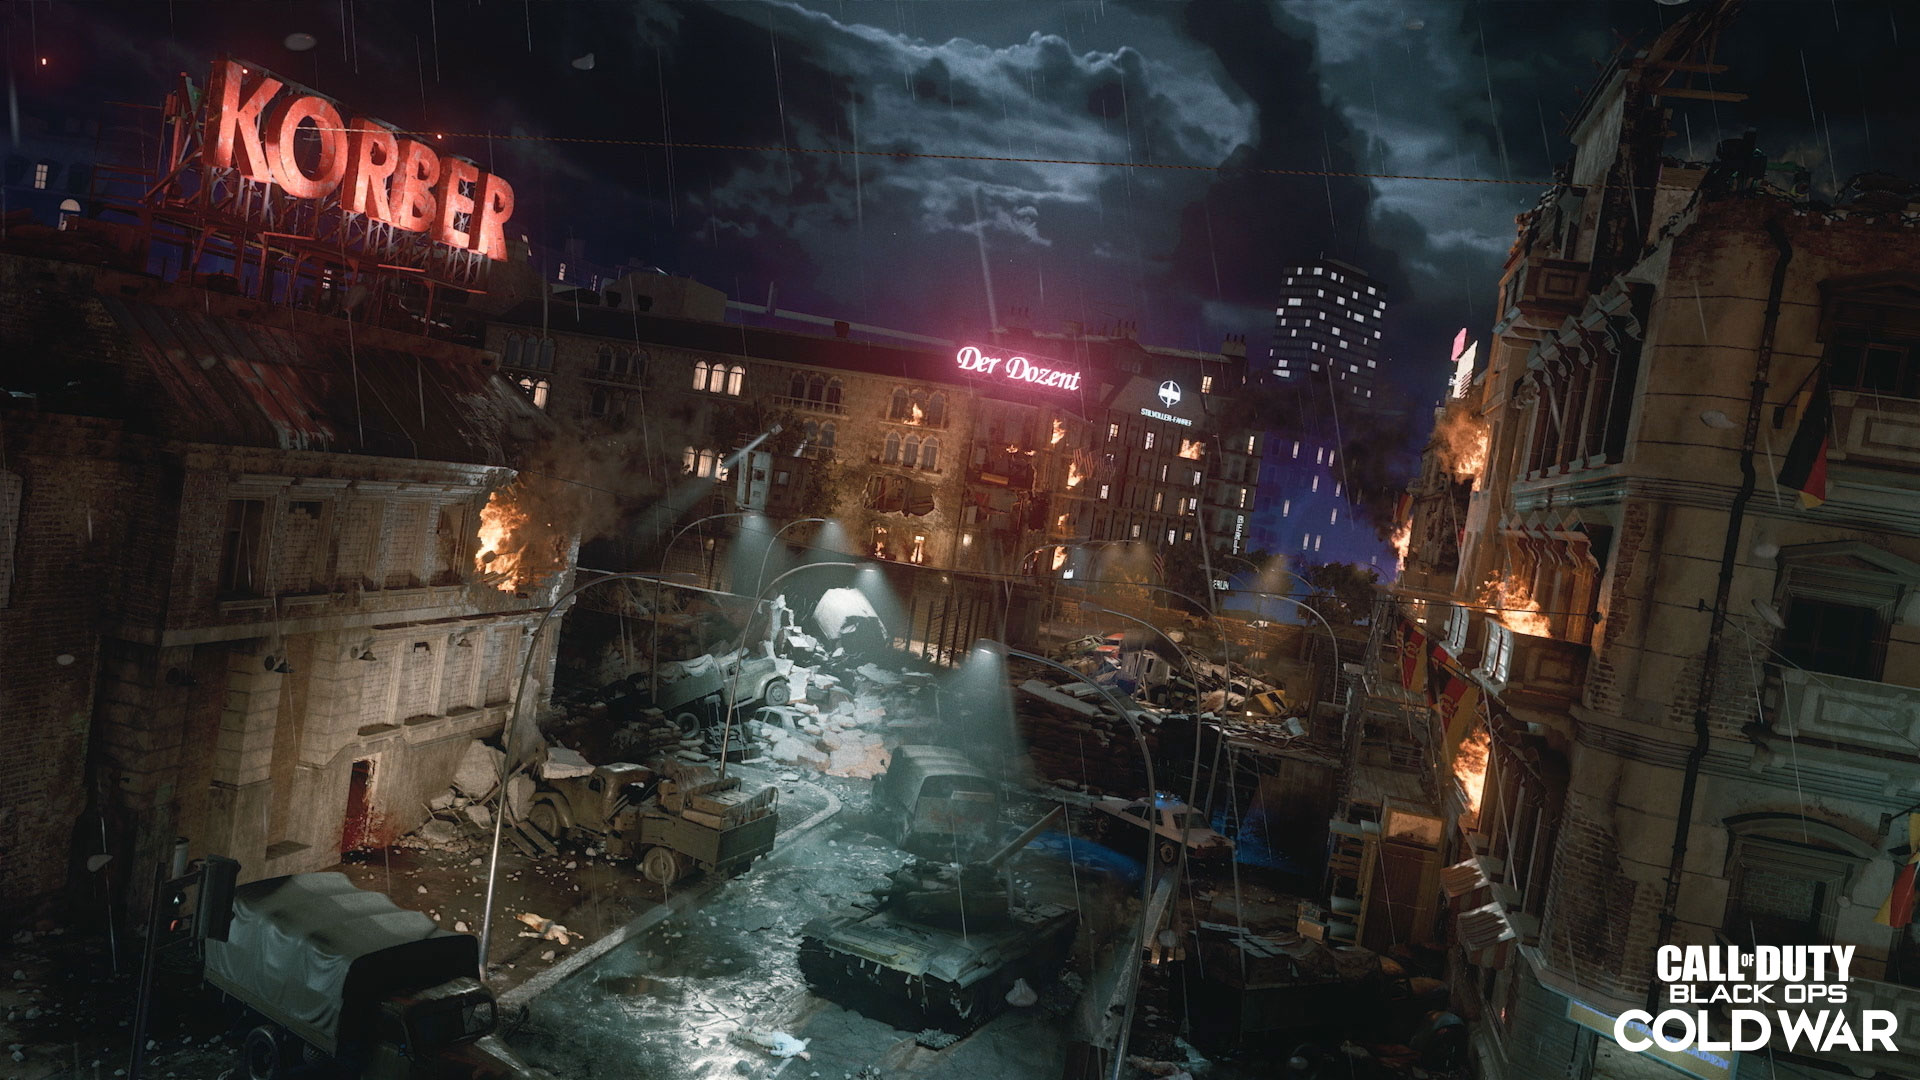
Available now in Call of Duty®: Black Ops Cold War Zombies, “Mauer der Toten” continues the Dark Aether story while bringing it to new heights, stretching the fight across the rooftops, streets, and U-Bahn system of Berlin, Germany.
Some of our most elite agents have explored every inch of this map for the past 24 hours, uncovering its secrets and blazing the trail for new recruits to take the streets. That includes you – whether you’re new to Zombies, playing “Mauer der Toten” for the first time, or just need a second-screen experience while taming the undead beasts on the streets, we have the intel drop that will help you survive in Berlin.
From breaking down the lore and various areas to info on new enemies and weaponry – and even a few bits of advice from the devilish minds at Treyarch’s Zombies team – here’s what you need to know:
Requiem Intel Briefing
Belin, Germany
February 2nd, 1985
Omega Strike Team
“Berlin. Normally such a beautiful city…” – Gorev via radio in “Mauer der Toten,” Call of Duty: Black Ops Cold War
Prior to the events of “Mauer der Toten,” which we detailed in full here, Requiem’s strike team was captured by Omega Group and its leader, Colonel Lev Kravchenko, at the end of the “Operation Excision” Main Quest in Outbreak.
That was on December 14, 1984. For over a month, Requiem’s best agents, plus their ace helicopter pilot, Raptor-1, have been in captivity. Unable to call in reinforcements and held deep in an undisclosed location, they were subjected to intense interrogation about Requiem’s plans, with even Kravchenko himself attempting to extract intel short of removing more eyeballs from his victims.
Fortunately for Requiem, the interrogations were cut short with zero intelligence handed over to Omega Group. Unfortunately for the world, it was because of a massive Dark Aether breach in Berlin.
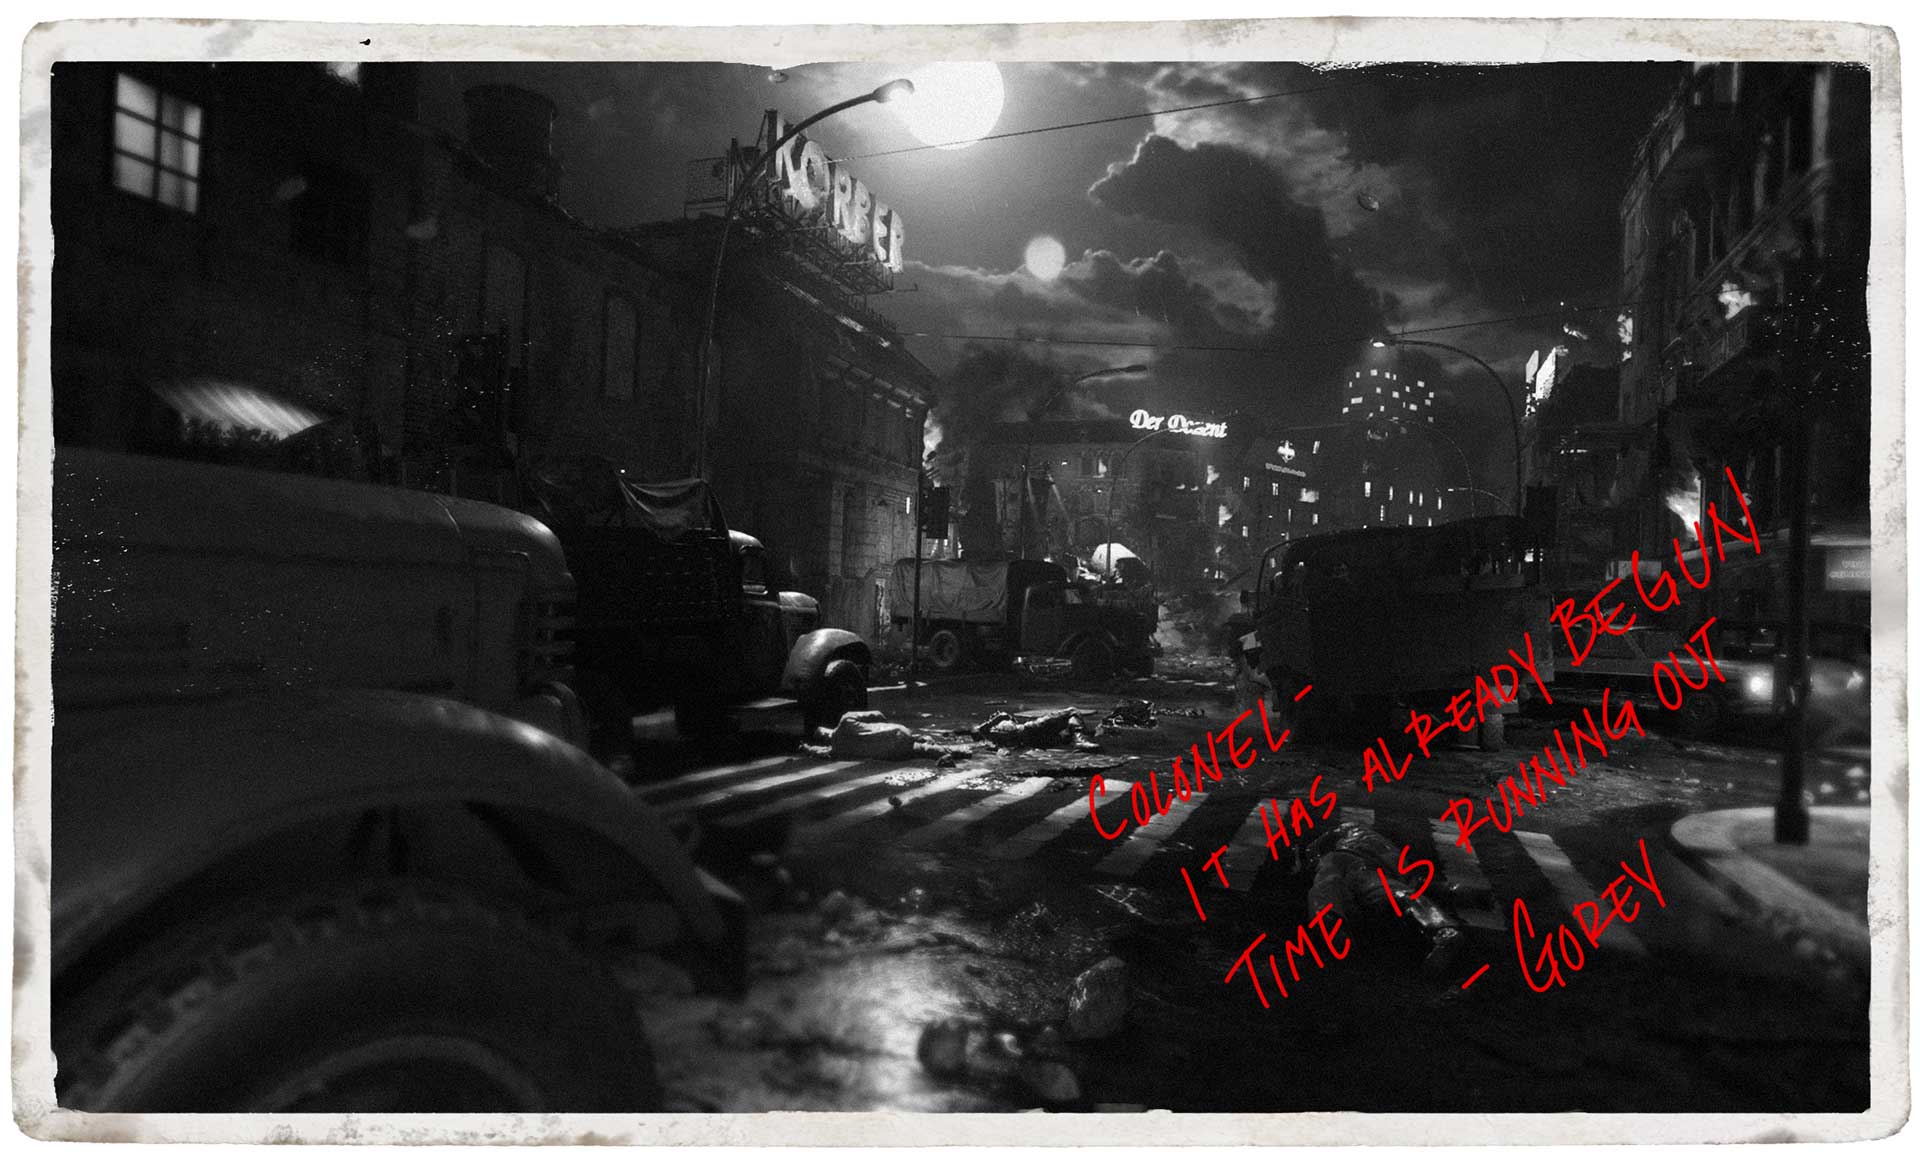
A city already broken in two, both East and West Berlin were reduced to near-rubble due to a zombie outbreak, with soldiers on both sides fighting valiantly to fend off the Dark Aether’s foot soldiers.
For reasons unknown to us, Omega and Kravchenko are unable to use their own soldiers to deal with this outbreak. Realizing who he has in his possession, Kravchenko offers Requiem a deal: stop the undead and capture the traitor responsible for the carnage in Berlin, and he might spare Raptor-1’s life.
Reluctantly, Requiem’s agents agree, especially if it buys them enough time to contact headquarters and make an escape.
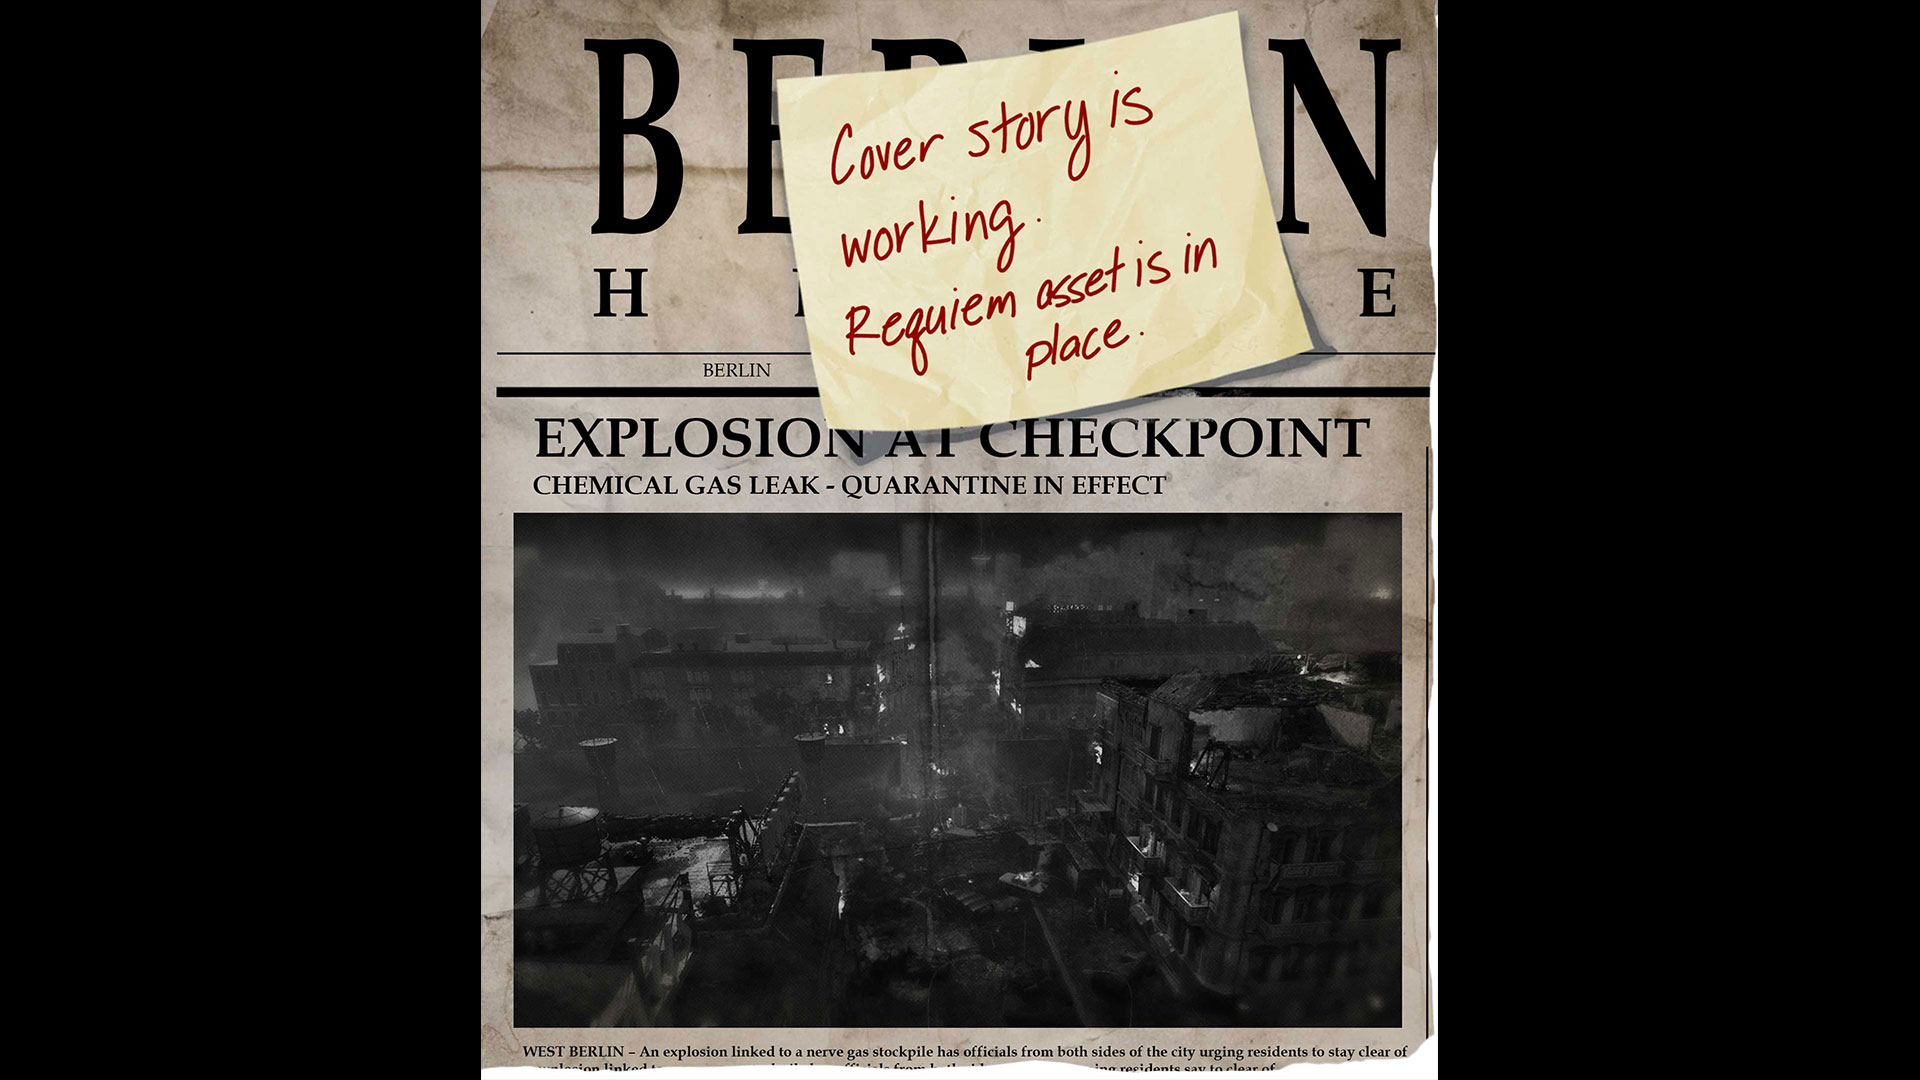
And so, Omega Group sets their operation in motion. With the public under the impression that the recent chaos was due to an “explosion linked to a nerve gas stockpile,” Requiem’s agents can get to work eliminating the undead in the now-evacuated city.
With little time to prepare and fighting against all odds, Requiem’s strike team is sent to East Berlin to capture this traitor, but quickly find far more than they bargained for…
“Mauer der Toten” Inspection
For the sake of turning on the power and unlocking the Pack-a-Punch Machine – two vital steps for prolonged survival and ultimately uncovering the secrets of “Mauer der Toten” – we‘ve we laid out all the locales you will visit on this path.
At minimum, you will need to collect 5,000 total Essence to reach the Power Room and complete a side quest to fully turn on the power.
But before you even think about Pack-a-Punching your weapon, let’s begin with the starting area:
5th Floor Apartments (Starting Area)
Via Omega Group airlift (not by the imprisoned Raptor-1 this time), you and your strike team will infiltrate East Berlin through one of the city’s remaining apartment complexes. Of course, it’s all but inhabitable; flaming debris and crumbled walls accent the partially destroyed tenement block, with pieces of the caved-in roof leading down to a hallway.
On the roof, you can find an Ammo Crate and a zipline next to a glowing arrow. If you’re lucky, the Mystery Box can also be found adjacent to the zipline. Head down off the roof into the hallway to see a pistol Wall Buy, a Crafting Table, and access to two apartments – 501 and 503 – connected via broken walls.
Within Apartment 503 is the Tombstone Soda Perk Machine, another zipline, and a view down to the streets below, which is great for sniping zombies when a squadmate is being chased. As for 501, remember its rappel line for later.
Your path then diverges to two ziplines, both of which cost Essence to access.
Destroyed Penthouse
Take the zipline on the roof to reach the Destroyed Penthouse, another building damaged as a result of the “nerve gas explosion.”
Solo players may want to come here first as the area contains the Quick Revive Perk Machine, which always comes in handy in Solo games.
Even if Quick Revive is out of service, you’ll find a pump-action shotgun Wall Buy, another Ammo Crate, a potential Mystery Box spawn, and a rappel line that needs power in order to access, in addition to a zipline down to the Garment Factory that costs Essence to unlock.
Hotel (Hallway, Lounge, Room 301 and Room 304)
Zip into the Königshaus, the “royal house” of East Berlin, to land right in Hotel Room 301, once considered a premium room before it was ransacked by the undead. The Königshaus once boasted state-of-the-art amenities, including a third-floor lounge that served its signature “all-day breakfast.”
You can find a semi-auto shotgun Wall Buy in Room 301, an Armory in the Hallway next to the Wall Buy, an Ammo Crate in between Room 304 and the Lounge, and a potential Mystery Box spawn within the Lounge itself. And while the Lounge no longer serves its rather expensive fresh-squeezed orange juice, there is a Stamin-Up Perk Machine right next to its bar.
Run through Room 301 to reach a set of double-doors marked by a glowing arrow, which indicates the path to the Garment Factory.
Garment Factory
Both sides of Berlin had plenty of businesses that still were in operation during the Cold War, including clothing manufacturing.
Case in point: the factory marked by a neon-lit sign that you can zip through between this building and the Penthouse. Below the roof, which features a Mystery Box spawn, Speed Cola Perk Machine, and another rappel line that needs power, is the main work floor. Here, scraps of discarded cloth, mannequins, and fabulous women’s dresses intermingle with eviscerated, half-finished creations and dried blood as red as the shelved spools of thread.
An SMG Wall Buy and an Ammo Crate can be found on this level in addition to a gated door. Spend Essence to open it, and you’ll move down into the building’s lower level, which ultimately empties out onto the dark streets below.
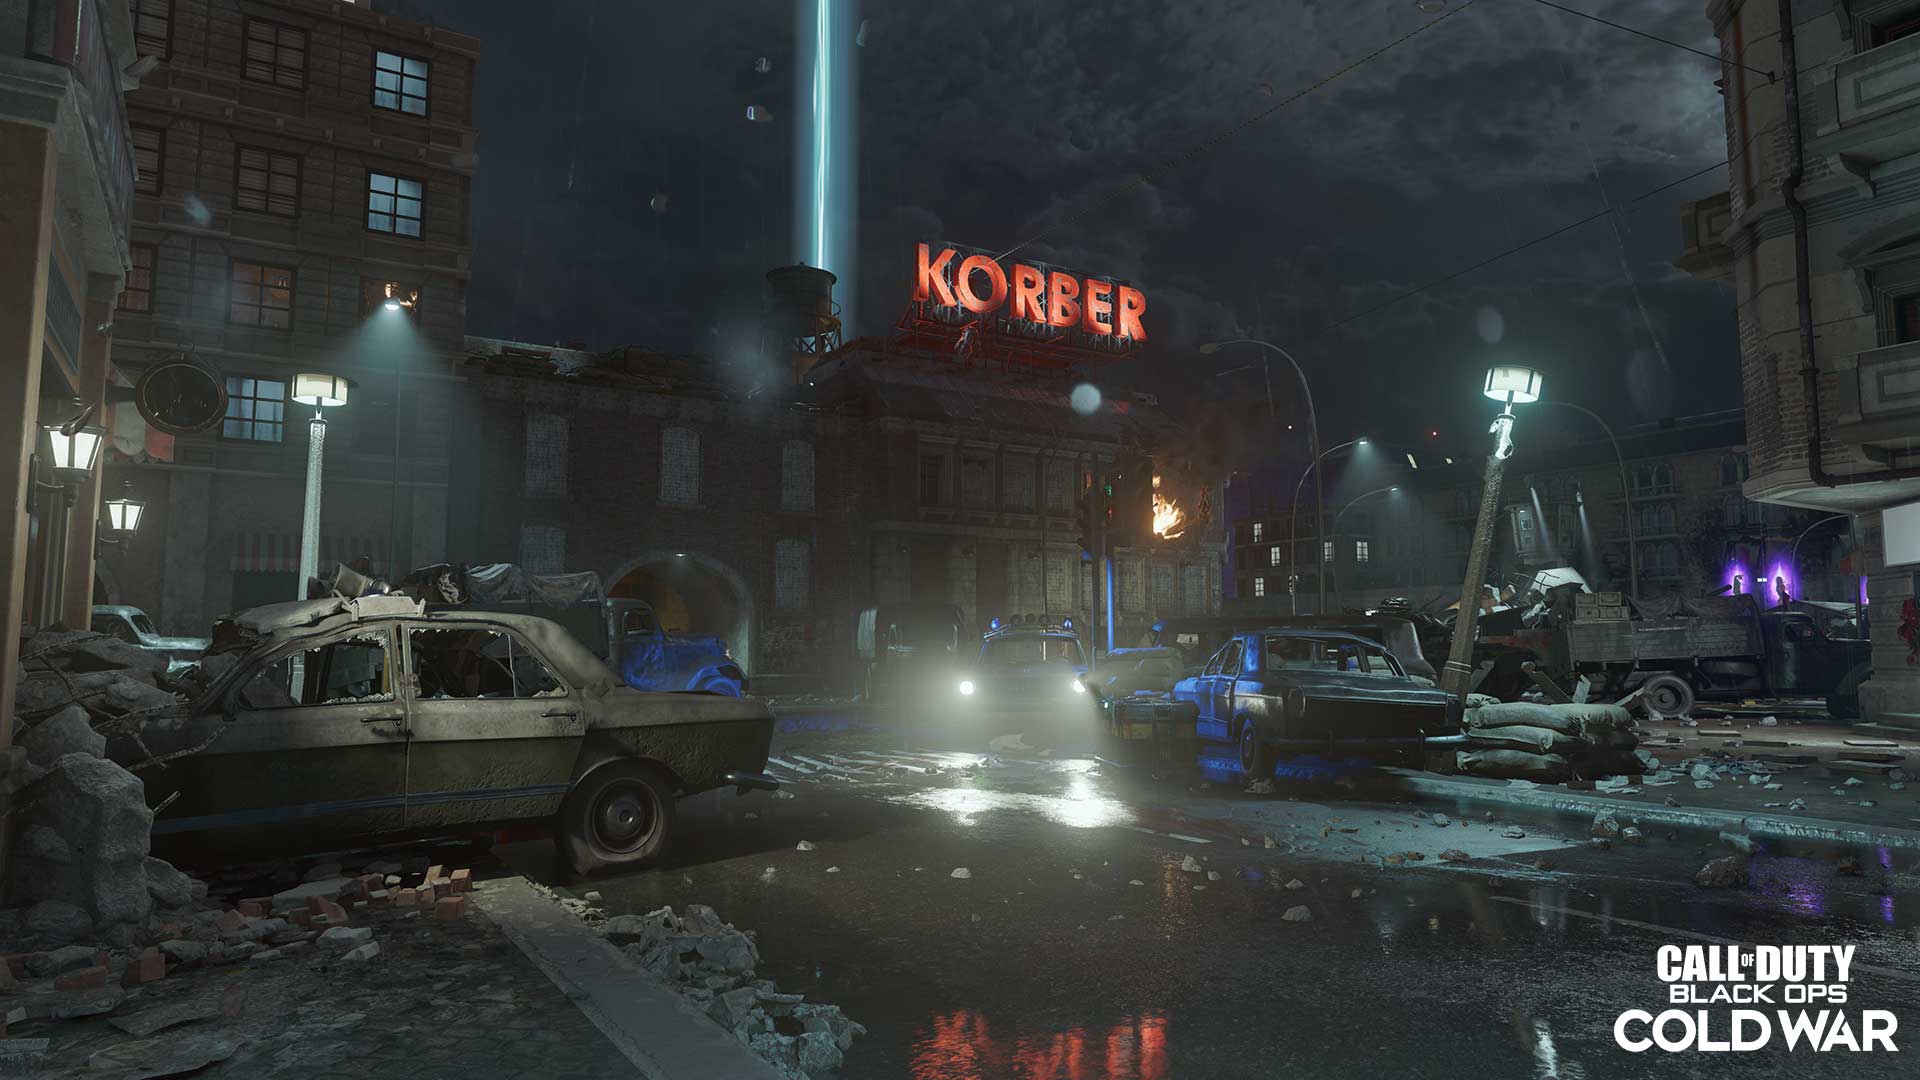
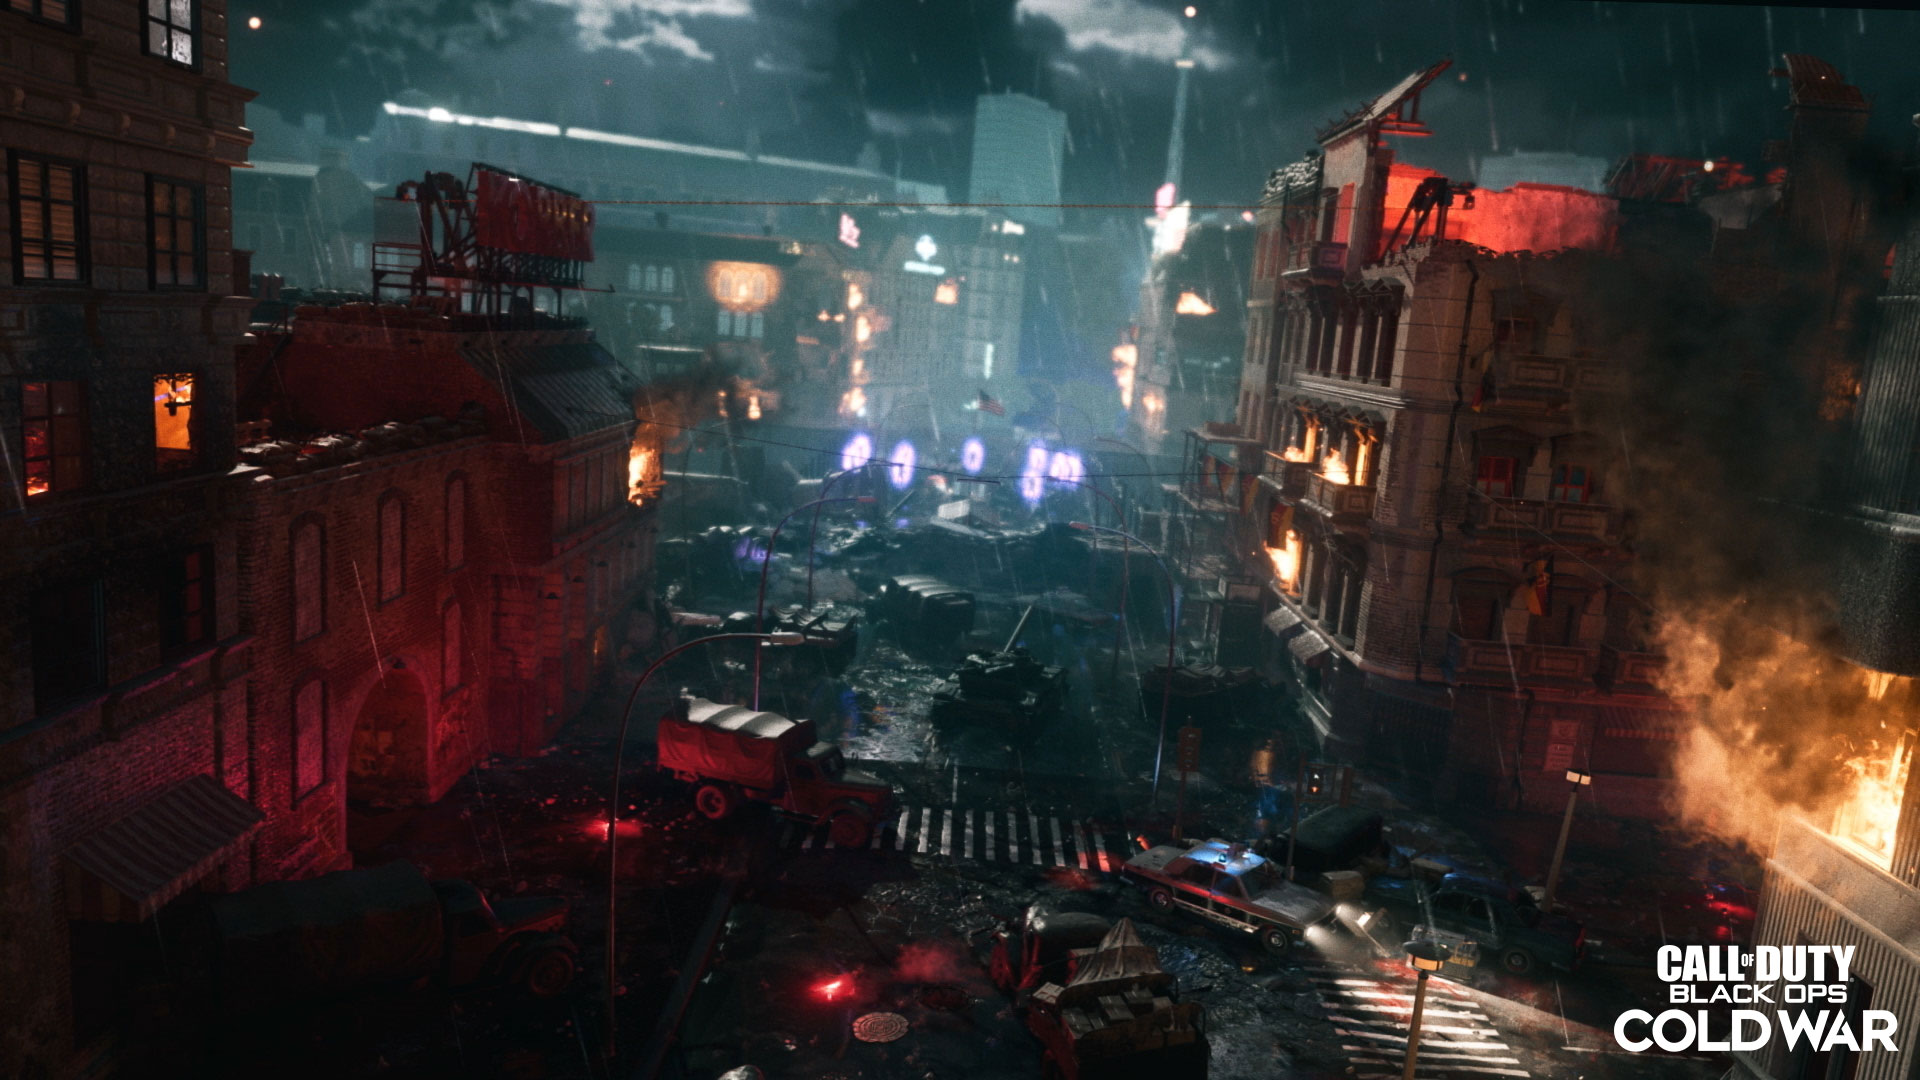
East Berlin Streets (Alley, Bar, and Electronics Store)
Here you step out into the Alley, with a solitary red flare offering the only light in an otherwise hollow courtyard. After making a left turn, you’ll reach the streets of East Berlin, littered with cargo trucks and tanks and long abandoned by civilians who either fled or became a member of the undead army.
This is by far the most open area on the map, where fellow agents can easily fire down from the buildings above to aid in dealing with the horde. Around here, you’ll find a different SMG Wall Buy on the outside wall of the Bar, and a semi-auto tactical rifle Wall Buy on the chalkboard within a triage tent, which also contains a workbench.
Between these two Wall Buys in the street are two familiar sights: an Ammo Crate and a yellow phone booth.
Without power, only two buildings are accessible on the street, the first of which is the Bar. While its leftover liquor, pilsners, and pale lagers are all inaccessible, there is a delicious Jugger-Nog Perk Machine that can be used once power is restored.
The Electronics Store, another establishment gone to the undead horde, is also accessible at its ground level. Your first part required to turn on the power lives here, inside a Tempest that will emerge from a side room where an Armory is located. Destroy it to pick up an item that you’ll need for later.
After exploring this side of the streets and collecting some more Essence, you can reach the underground via manhole cover near the Alley, or a U-Bahn entrance next to the triage tent across the street from the Electronics Store.
The Underground – South Entrance (Service Passage via Manhole)
Use the manhole cover to reach the Service Passage, where sewage workers once roamed to maintain the pipework below the streets.
From the landing area, turn right and walk through a bombed-out section of the wall to reach a square room with old boilers and monitoring equipment. Here, you can find an LMG Wall Buy and the Deadshot Daquiri Perk Machine, as well as another bombed-out portion of the wall that leads to the South end of the Ghost Station and an Ammo Crate.
The Underground – North Entrance (Ghost Station via U-Bahn Station)
Alternatively, the U-Bahn Entrance on the surface will lead directly down to the Ghost Station’s north end.
This Ghost Station is also known as Weinmeisterstraße, a Berlin U-Bahn station closed since World War II. While the rest of the U-Bahn operates as normal, the public-facing map does not include this station… however, those who lived in the apartments above the surface say they can still hear tracks rumbling, horns blowing, and unearthly passengers wailing in the dead of night.
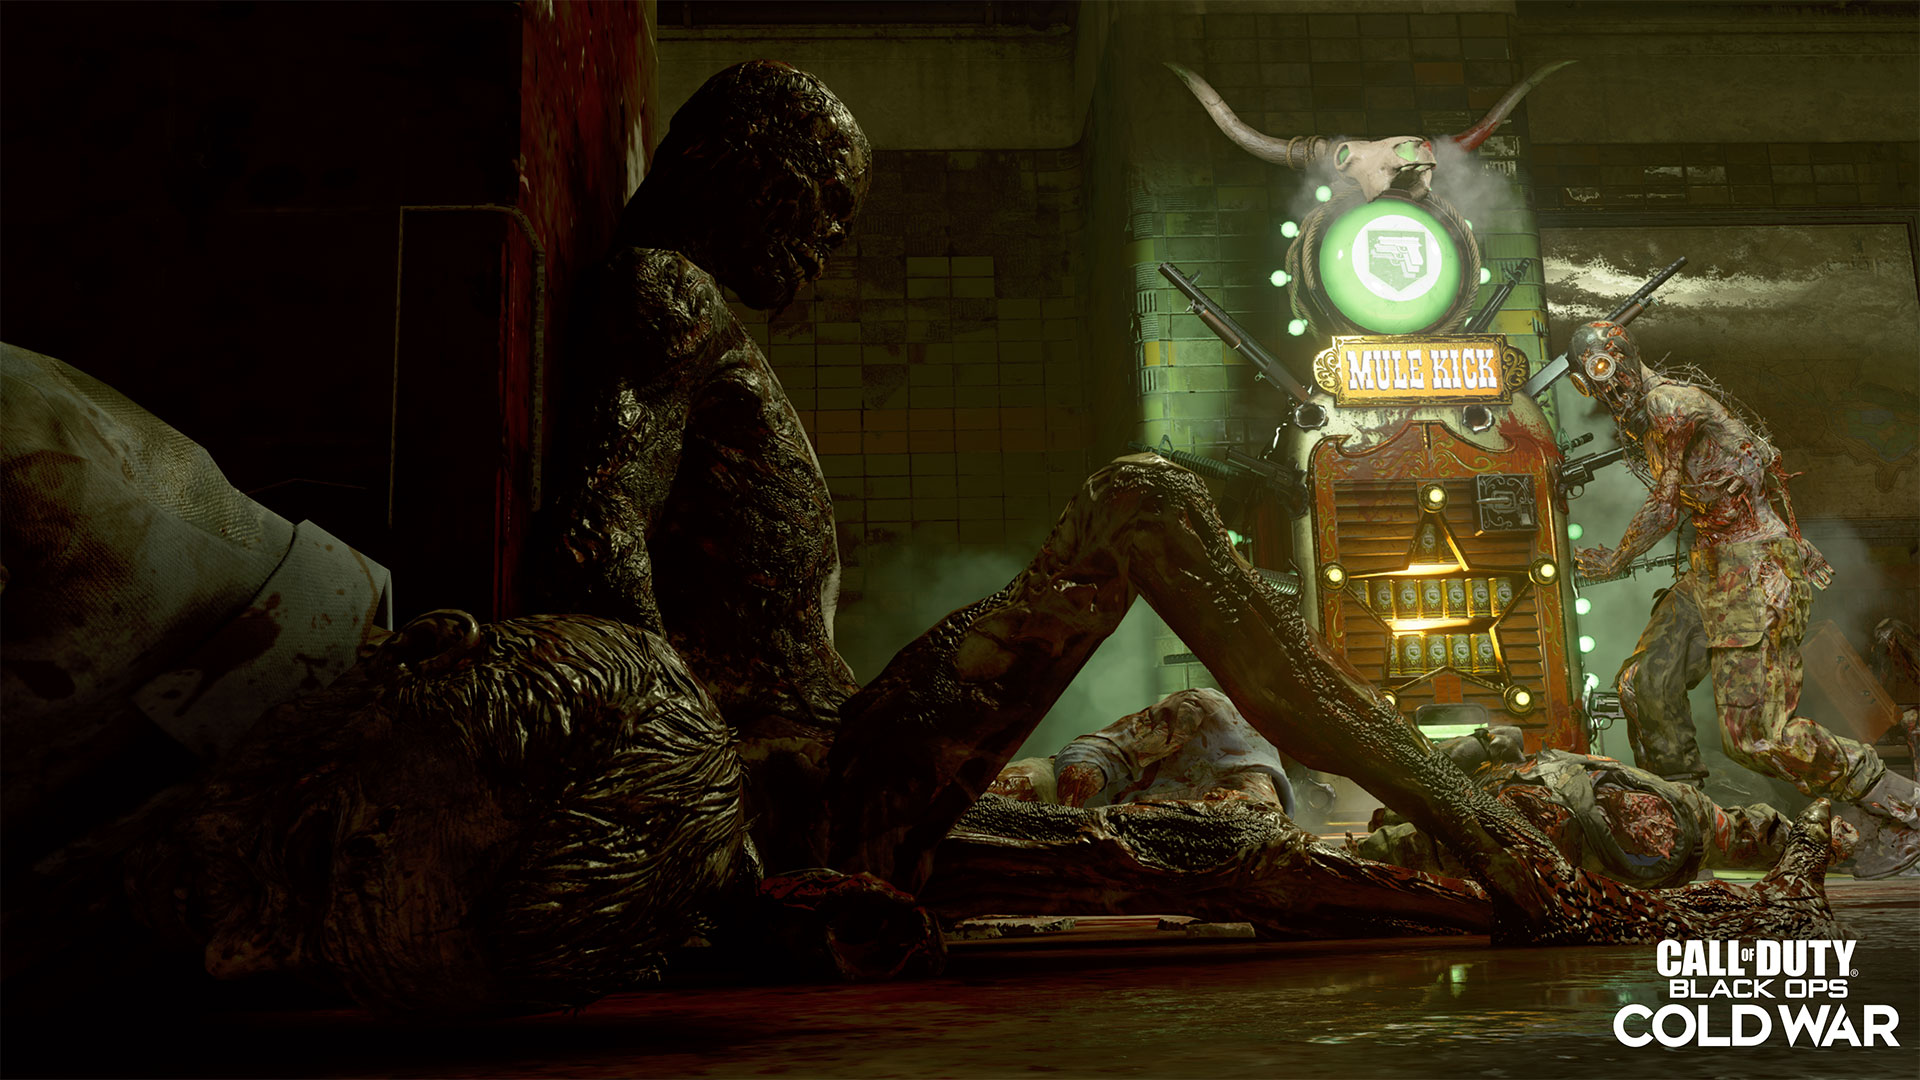
As you step down several flights past the bloodstained walls, you’ll eventually find yourself at the station’s platform, where you may just see one of these flaming ghost trains race by. Right in the middle of the two tracks is a tactical rifle Wall Buy and an Ammo Crate, and on the other side of the tracks is the new Mule Kick Perk Machine.
Your path to the Power Room splits into two one final time, depending on which cardinal direction you’d like to go after crossing the tracks. Each of the following doors costs additional Essence to open.
 This is Klaus – we’ll meet him more later in the guide, but for now, just know he lives here in the Safe Room on the Switch Control Path.
North Underground – Switch Control Path
Open the gate on the Ghost Station’s North end to find the Switch Control room. Here, a burned cadaver sits at a desk where one of the operators usually positioned themselves as a lookout. Walk deeper into the room, and you may encounter another Tempest guarding an additional item.
Make a left through a chunk of the wall to reach the Maintenance Tunnel. A hard left will take you directly to the Power Room, if you have enough Essence to open one more gate.
Alternatively, you can continue down the Maintenance Tunnel to reach the Safe House. Your Omega Group leaders will immediately point out the “tin man” – known to Requiem as “Klaus” – chained to a chair on the room’s east-facing wall. Before the power turns on, the most noteworthy features of this area are an assault rifle Wall Buy and an Ammo Crate.
South Underground – Sewer Access Path
Open a set of gates at the South end of the Ghost Station to reach Sewer Access, where another Tempest may appear if it wasn’t seen in the Switch Control room.
The Sewer Access area is deep, stretching far back into another room-like area with a set of stairs that leads to a brick wall “dead end.” As you walk from this area’s entrance from the Ghost Station, you’ll see an Ammo Crate, an Armory, a different assault rifle Wall Buy, and in the smaller dead-end room, a Mystery Box spawn location.
Between the Ammo Crate and Armory is a locked door that can be opened with additional Essence. Swing those gates open and climb up a short flight of stairs to be put directly into the Power Room.
Power Room
Whether you came here through the Maintenance Tunnel or Sewer Access path, the Power Room is where (you guessed it) you can turn on the power.
But not so fast… upon your first attempt of flipping the switch on the room’s central control box, the power won’t turn on. If you’ve been reading this guide so far, you may recall the items dropped by those Tempests; these are what you need to fully turn on the power. Once you have both items, place them into the box and flip the switch again to successfully turn on the power.
After you do this, you can then explore the rest of this room, which contains a Crafting Table, a slow-firing SMG Wall Buy, and the Elemental Pop Perk Machine. This also makes all the rappel lines accessible, including one at the end of the Sewer Access room and another in the Safe House.
You’ll be instructed to take either one up to the surface level, where you’ll then be directed to head to Checkpoint Charlie
Both will take you to the West Berlin Streets, where there is a Trials Computer, an LMG Wall Buy, and rappels to other parts of West Berlin. But for the purpose of this guide, let’s focus on heading into Checkpoint Charlie to unlock the Pack-a-Punch Machine.

Checkpoint Charlie
When Berlin was split into two during the Cold War, it was divided by several barriers, including the concrete wall that East and West graffiti artists used as their canvas. An additional measure that split East and West Berlin was known as the “Death Strip,” a flat area covered in sand or gravel to make it easy to detect if someone had crossed, or for guards, who sat in watchtowers above this area, to spot trespassers.
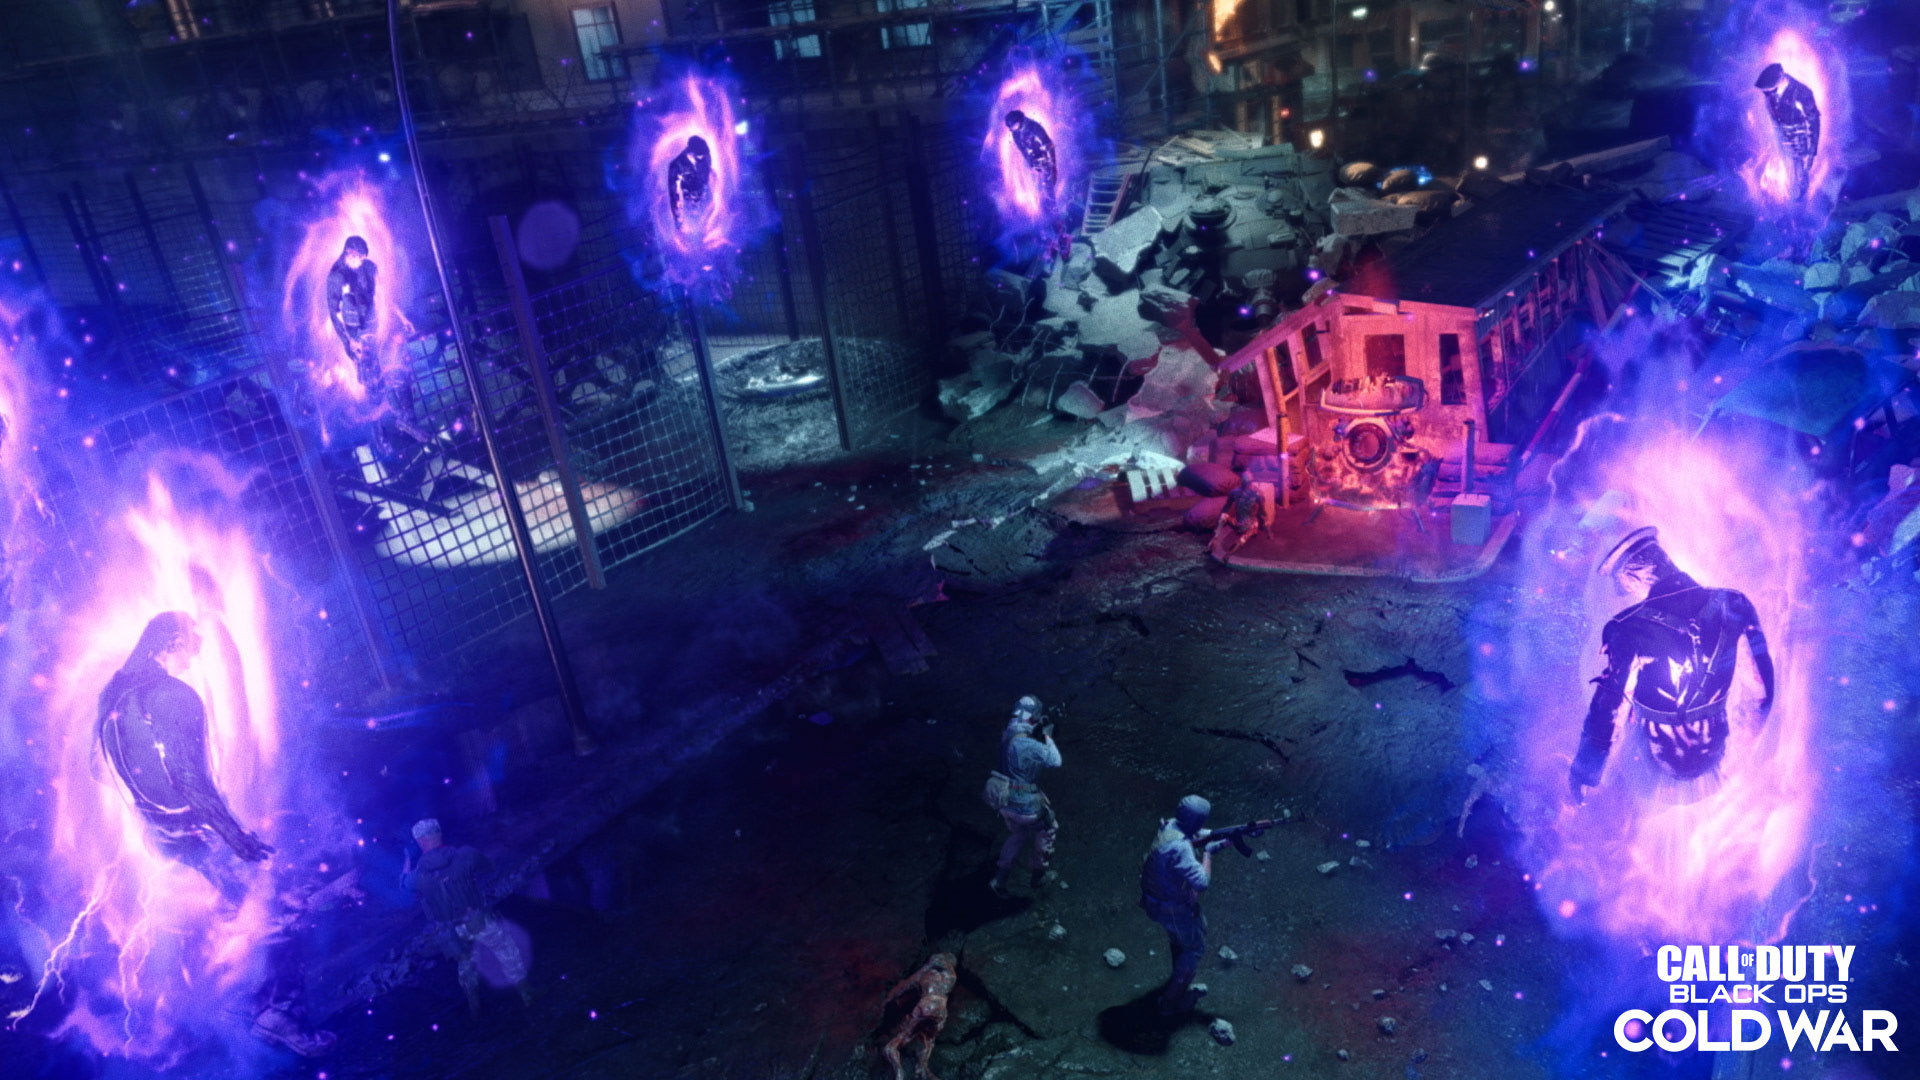
In “Mauer der Toten,” the Death Strip, situated at Checkpoint Charlie, has another definition: the site of an ancient undead ritual. One can see the ritual in place as they explore the streets of East Berlin, but it is inaccessible until the power is turned on.
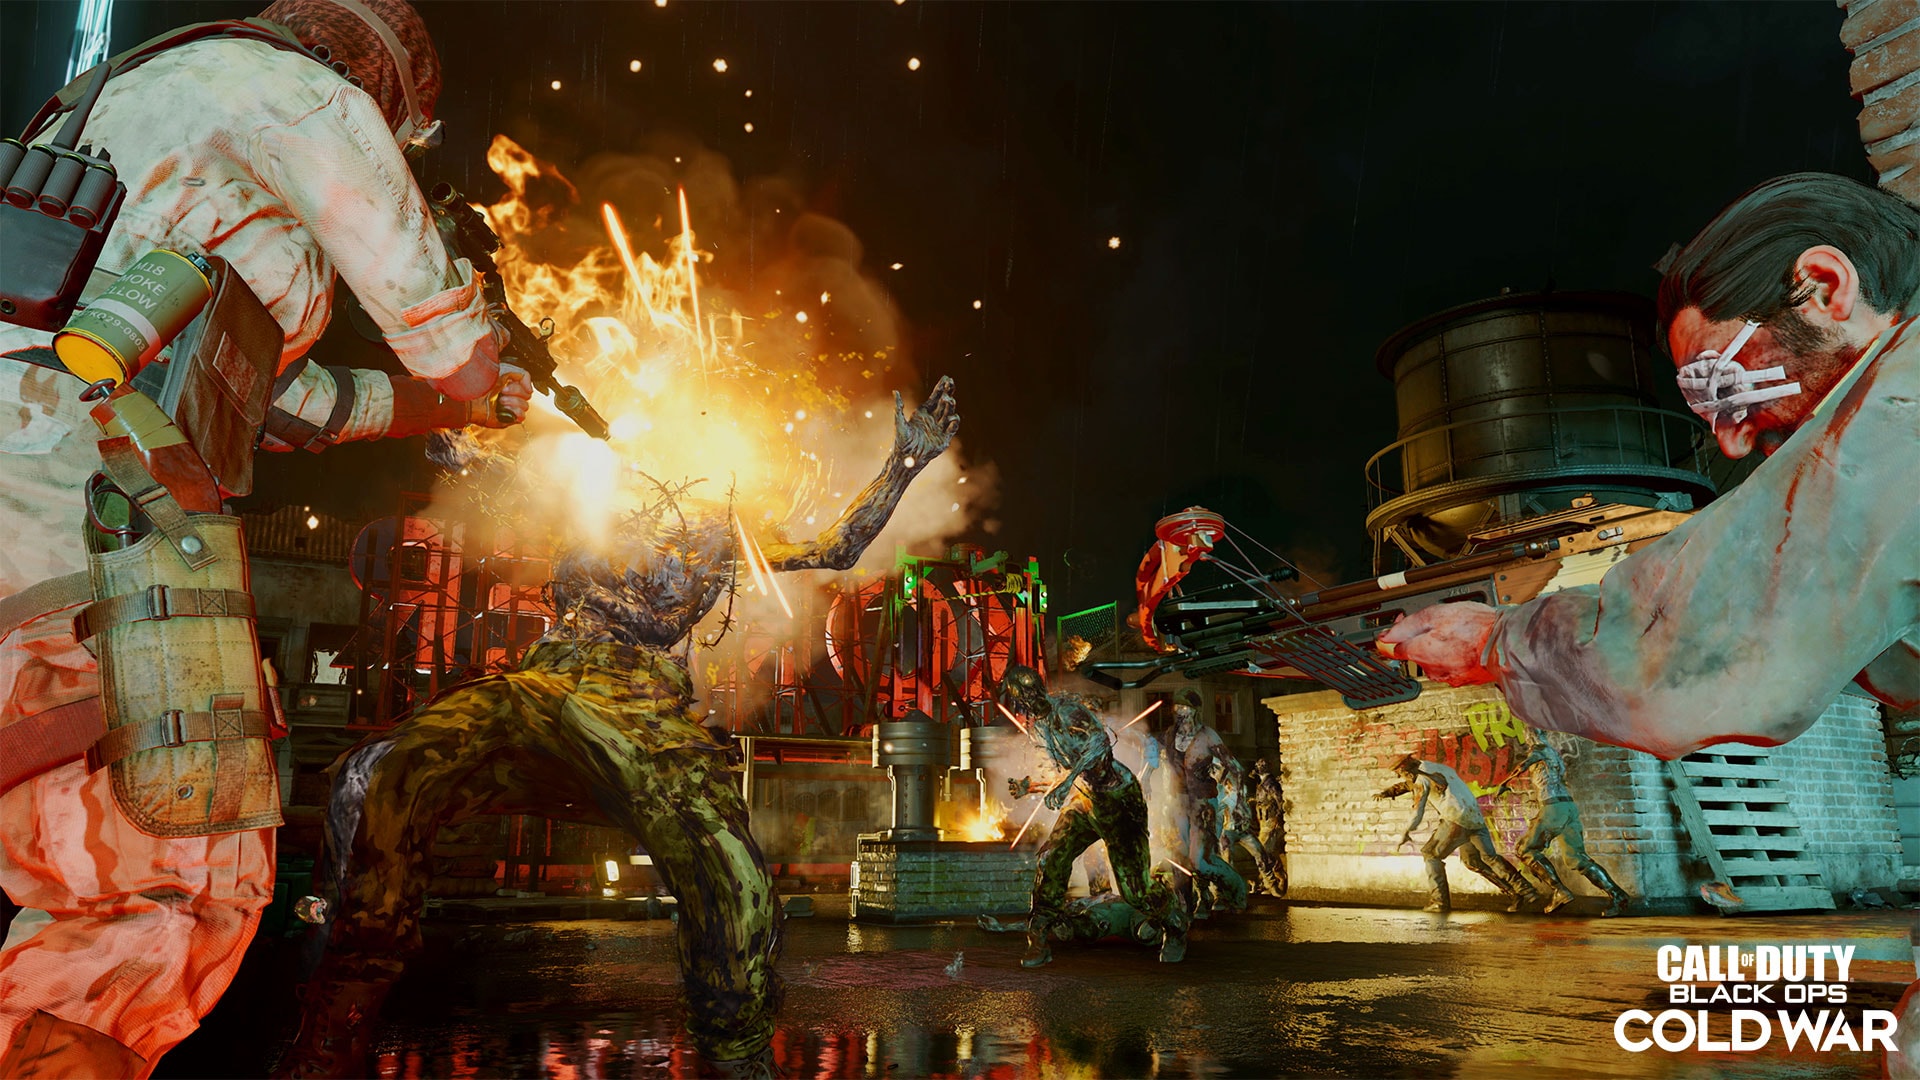
As soon as the power is on and an agent walks over the West Berlin wreckage, they will see the ritual up-close. Between two watchtowers – one has an Ammo Crate and the other has an assault rifle Wall Buy – is a circle of undead soldiers floating above the street, with an empty space right above the Pack-a-Punch Machine. The machine glows red with evil energy; upon approaching it, it will say it is a “Locked Pack-a-Punch” Machine, and that you must “Confront the Dark Aether to prove you are worthy.”
What happens next involves a new enemy, which serves as a tough mini-boss battle to unlock the Pack-a-Punch. You can activate either watchtower for some Essence to help you deal with these threats, or hope your Loadout Weapon, Wall Buy Weapons, or anything you grabbed from the Mystery Box is enough to help you survive. Should you want to escape, you can destroy a pile of wreckage for additional Essence to be placed back on the East Berlin Streets.
We haven’t even detailed everything on other side of the wall in West Berlin, as well as the other locales you’ll need to visit to unlock a Calling Card for visiting every area on “Mauer der Toten.” We’ll leave that up to you to explore and report back to Requiem HQ with your findings… if you can escape Berlin and Omega Group’s clutches, that is.
Field Manual – Tormentors and Disciples
“I will consume your world. This cannot be prevented.”
During your time in “Mauer der Toten,” you will come across two new threats in addition to regular zombies, Tempests, the Krasny Soldat, and more familiar foes.
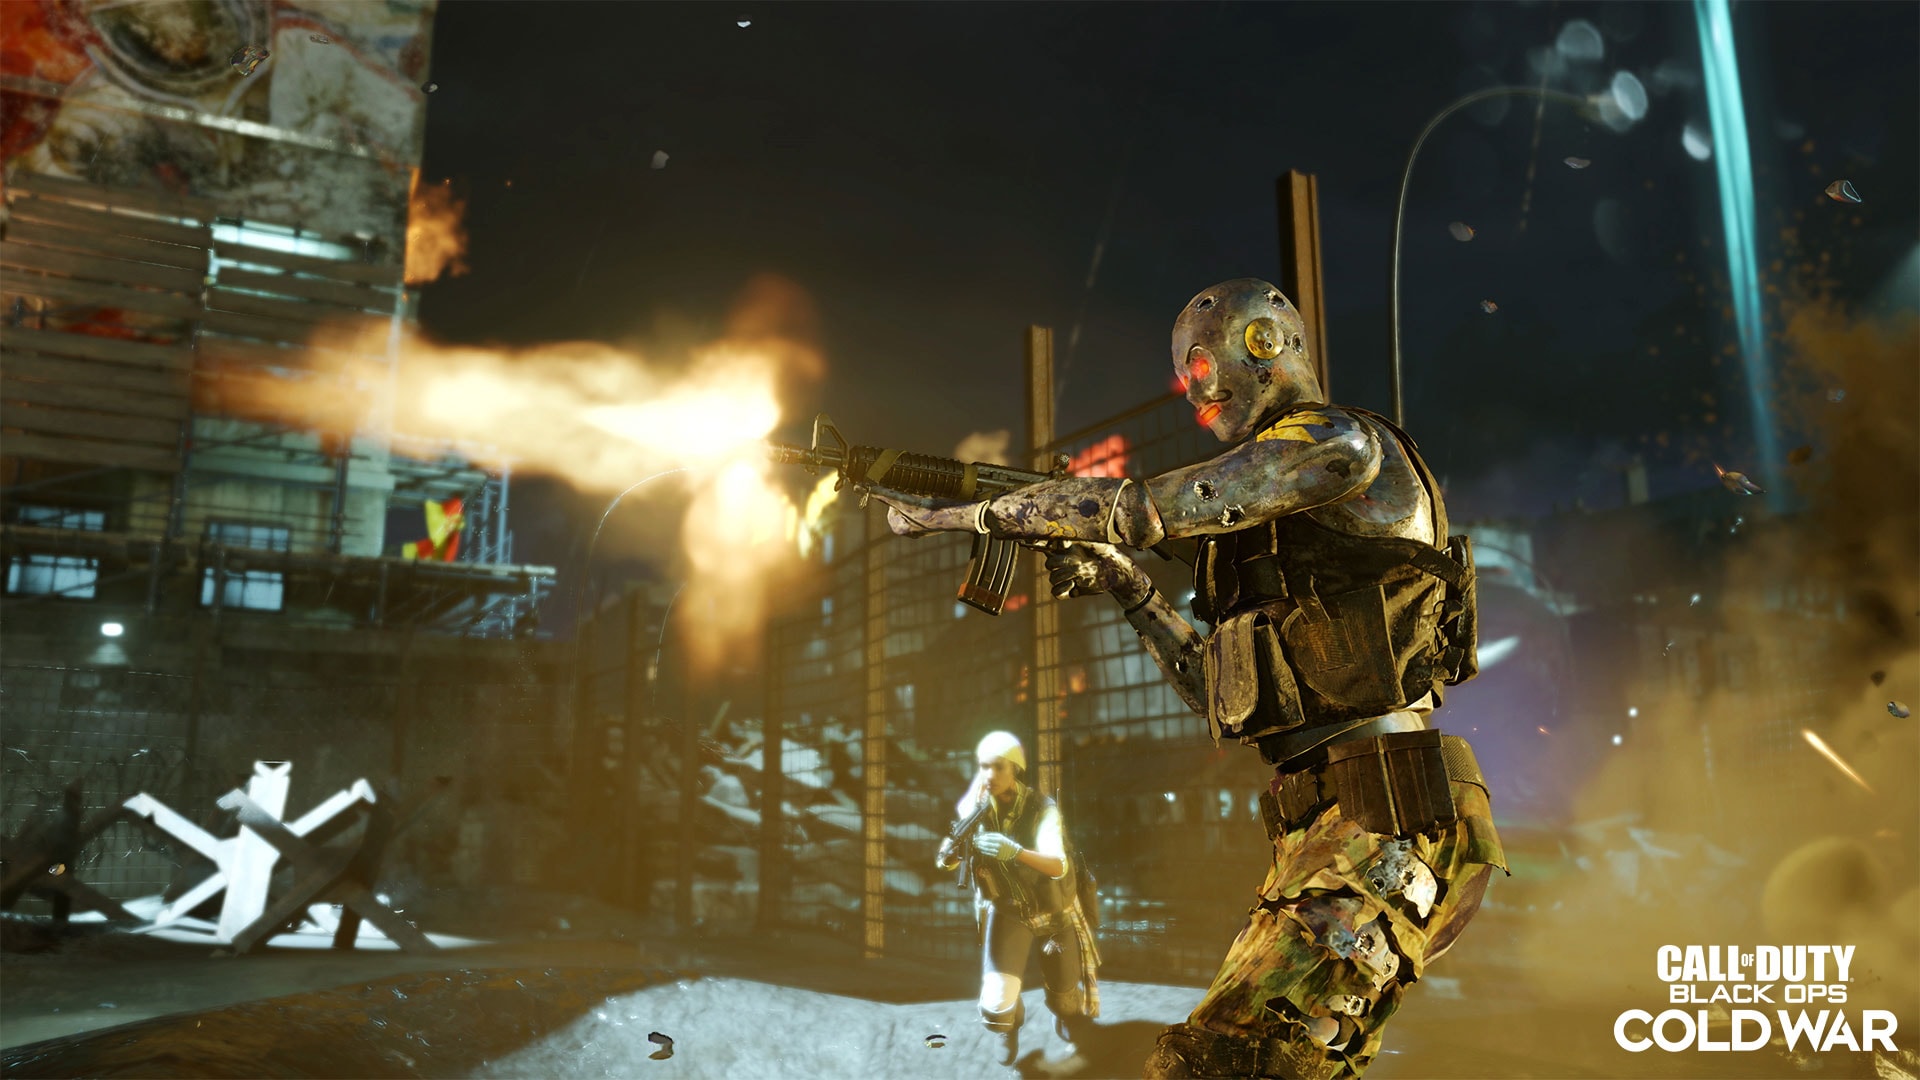
One of them is the Tormentor, a raging speedster whose agility rivals that of the fastest Hellhounds, and whose very purpose is to chase down perceived threats only to explode and deal plenty of damage to them.
Within its immediate blast radius, the explosion can wipe out nearly half of an agent’s health. This means two such explosions will down you if you don’t have Armor or Jugger-Nog.
Therefore, it’s wise to keep Tormentors at a distance as you would a Hellhound. However, Tormentors are at their most deadly when mixed with other zombie types, including Tempests and other Special enemies.
Having Stamin-Up and a weapon with high mobility can help you keep some distance, but ultimately, your loadout weapons or equipment, such as the new LT53 Kazimir device, will neutralize them before they combust.
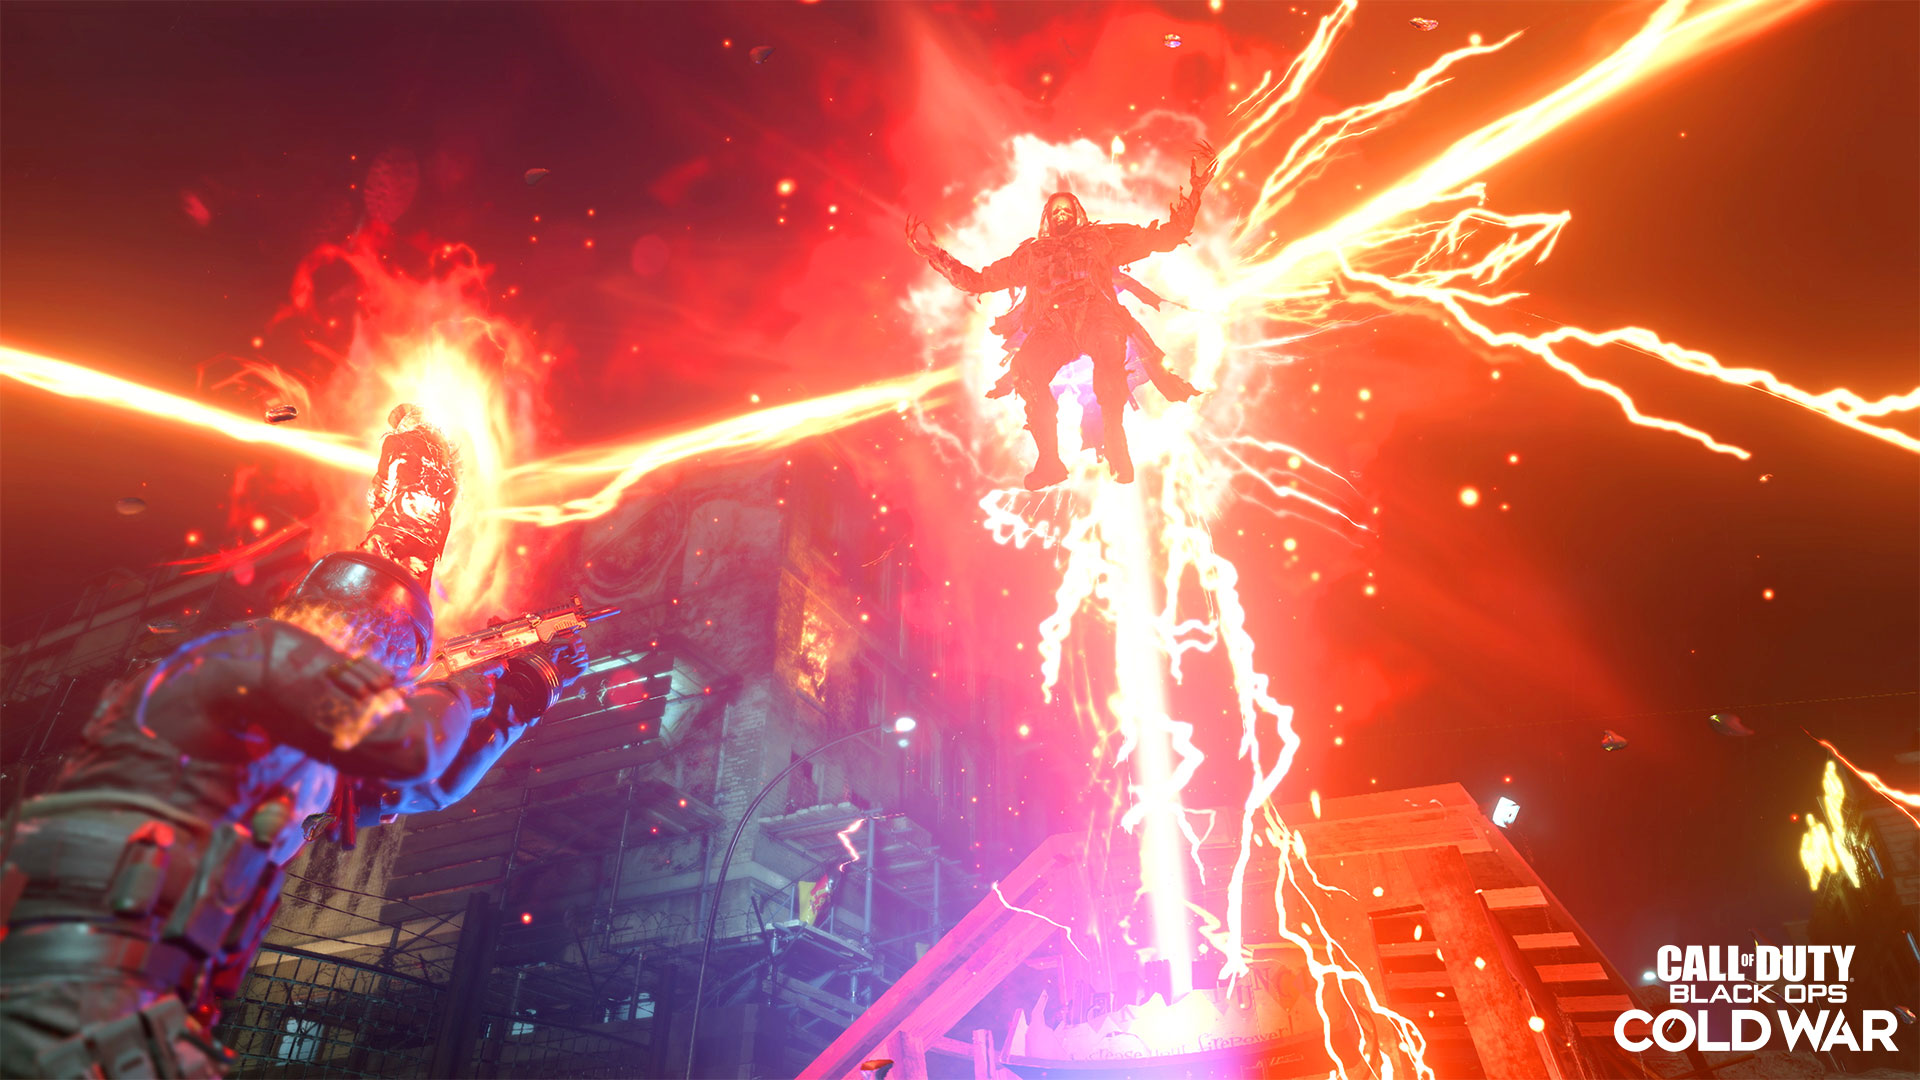
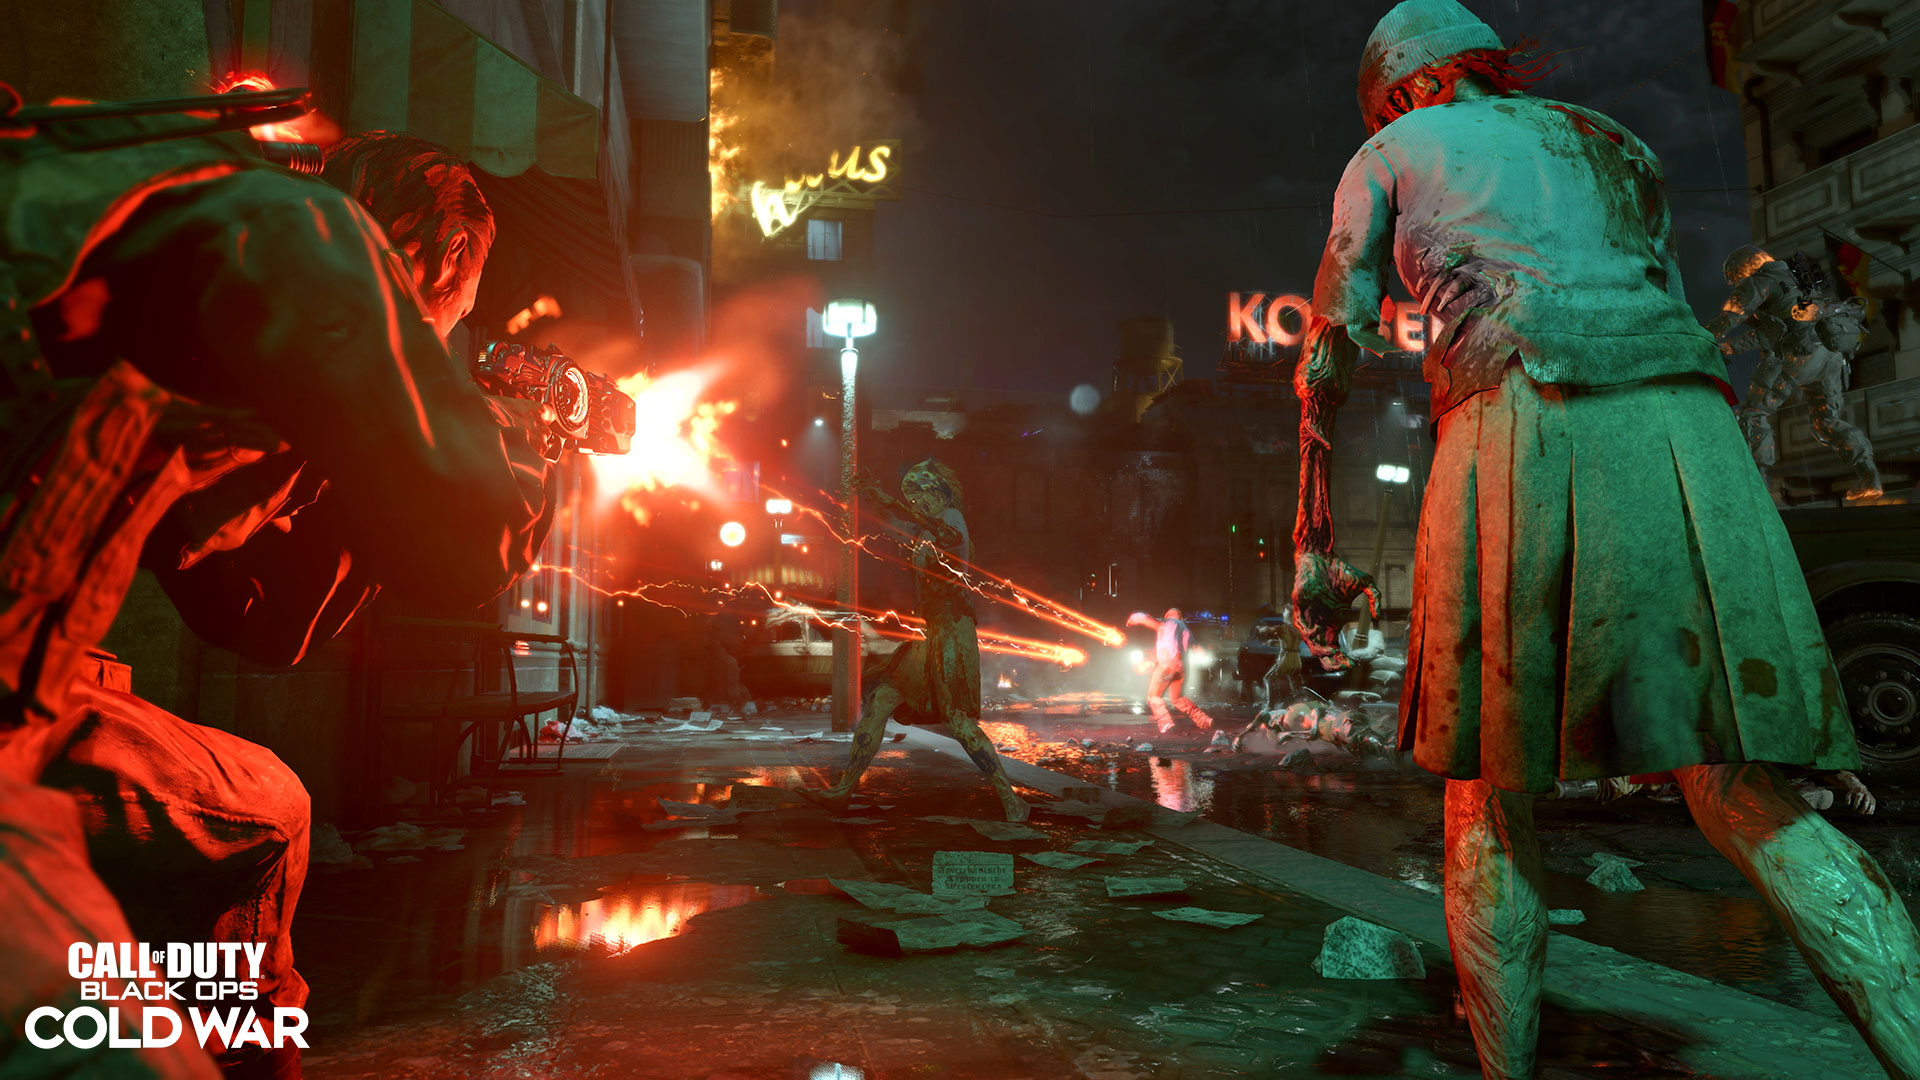
Then there is The Disciple, an intelligent creature unique to “Mauer der Toten” and a formidable opponent indeed.
You’ll encounter at least one of these by default when trying to unlock the Pack-a-Punch Machine; it is the leader of the undead ritual. Upon disturbing it, The Disciple will use its supernatural abilities and natural leadership skills to command nearby zombies, turning their eyes purple and giving them buffs such as increased speed. Think of The Disciple as the “healer” or “support” class of zombies, chaotic commanders who fly above and let the meat shields soak up damage while they hang back for buffs.
When faced with a Disciple, it’s wise to focus fire onto it. It can summon more undead at their discretion, so trying to outlast the hordes it sends at you is a recipe for disaster.
Outside of a health bar, The Disciple will grow increasingly eldritch as it takes damage, becoming less and less human as agents destroy its humanoid façade. When this happens, The Disciple may be threatened enough to go into direct attack mode and use its signature move: a close-range life drain attack.
This lethal maneuver is one to watch for, especially if you use a shotgun, SMG, or other close-range weapon. As its health dwindles, pay attention to whenever it stops focusing on its allies and chooses to flies towards you. This, as well as some other in-game cues, will mean that it’s ready to steal your life to prolong its own.
These are not the only two new hostile forces that agents will encounter in “Mauer der Toten,” but they are the ones that our initial scouting agents have fought against and lived to tell the tale. Expect deadlier and more horrifying forces as you continue to uncover this map’s secrets…
Requisitions – Klaus, LT53 Kazimir, and CRBR-S Wonder Weapon
“I am Klaus. I’m here to help.”
Not everything new in “Mauer der Toten” is here to rip you limb-from-limb – while in Berlin, look for a rusted robotic companion, a black hole device, and a new Wonder Weapon to aid in your survival:
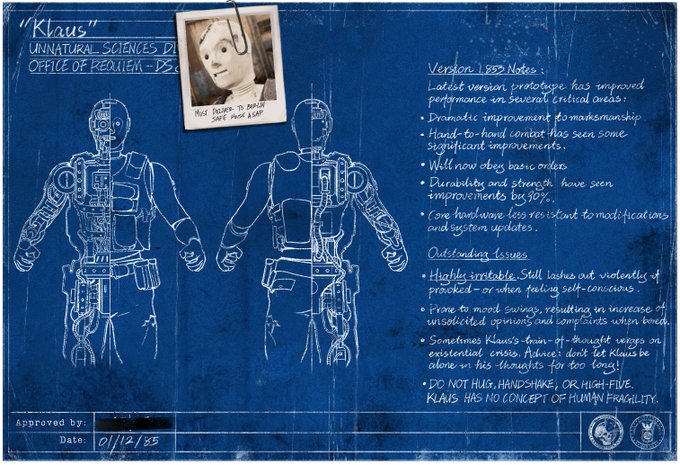
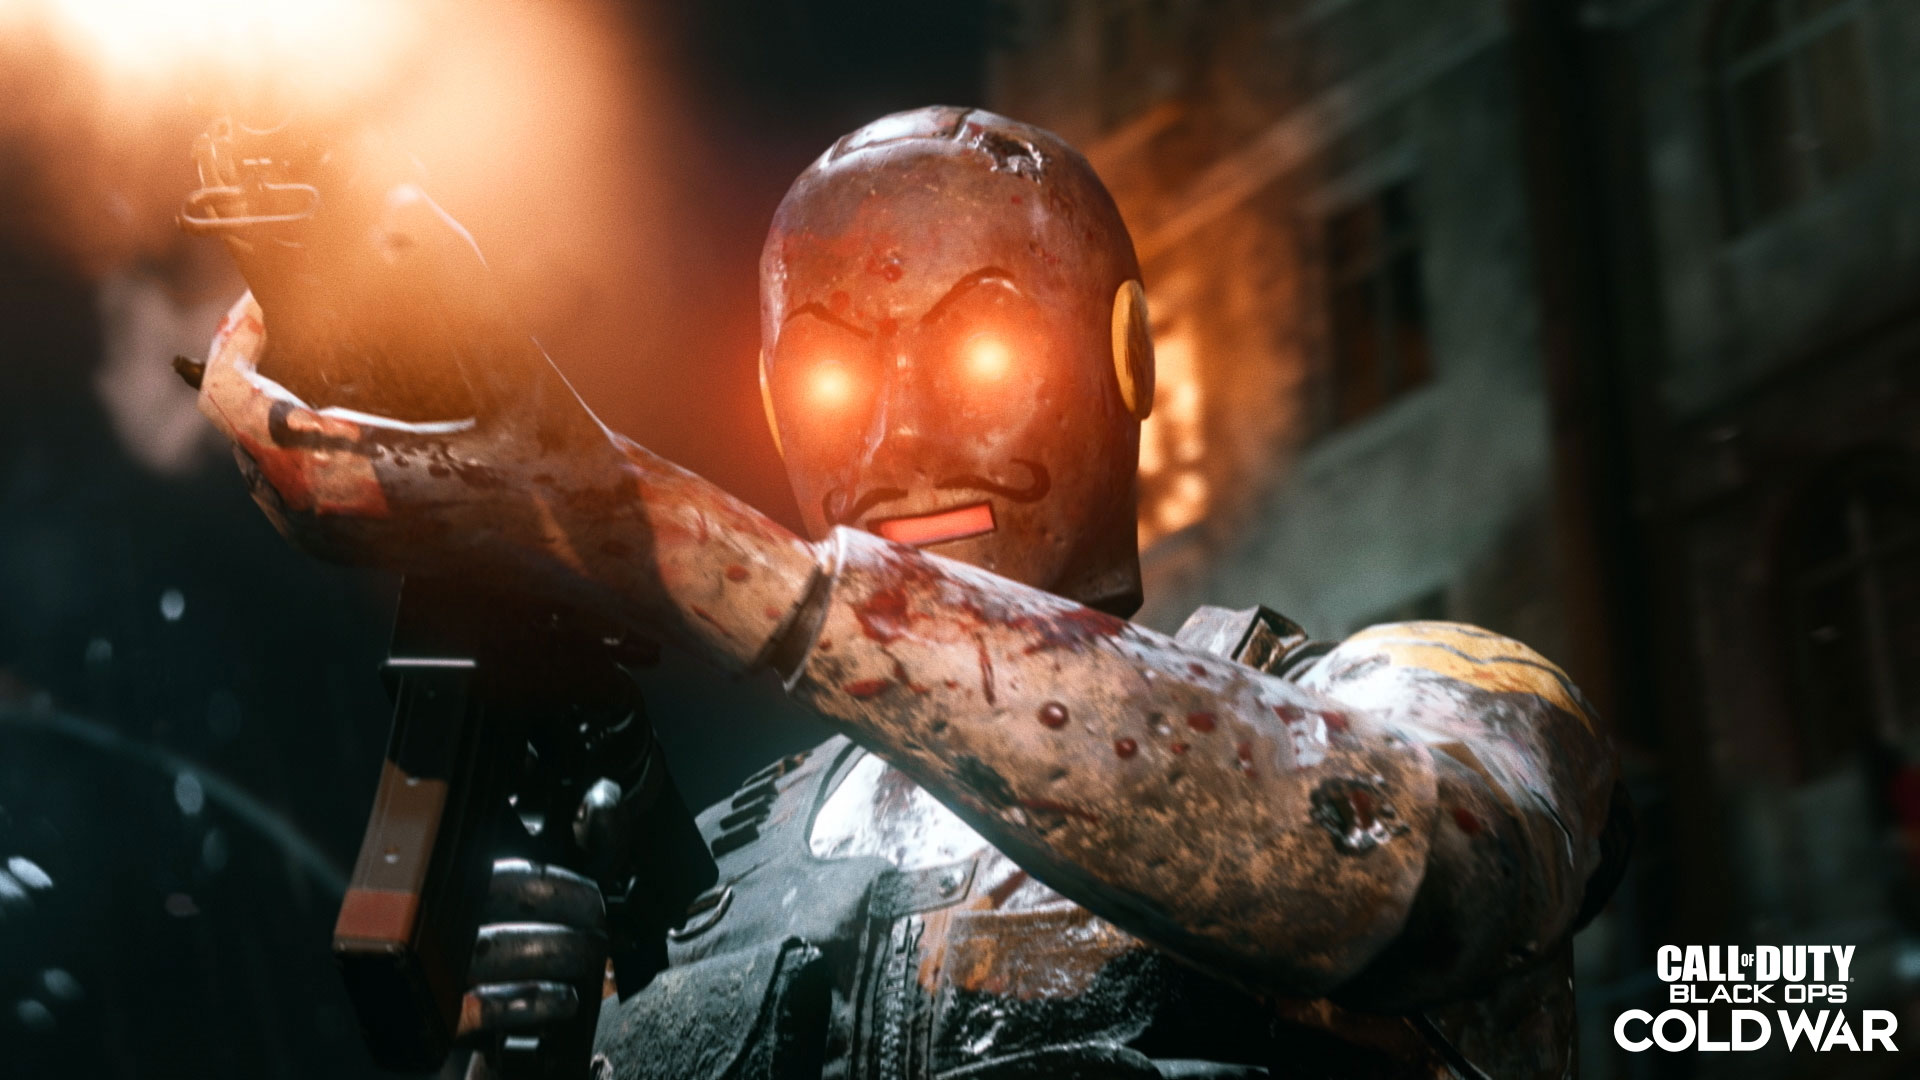
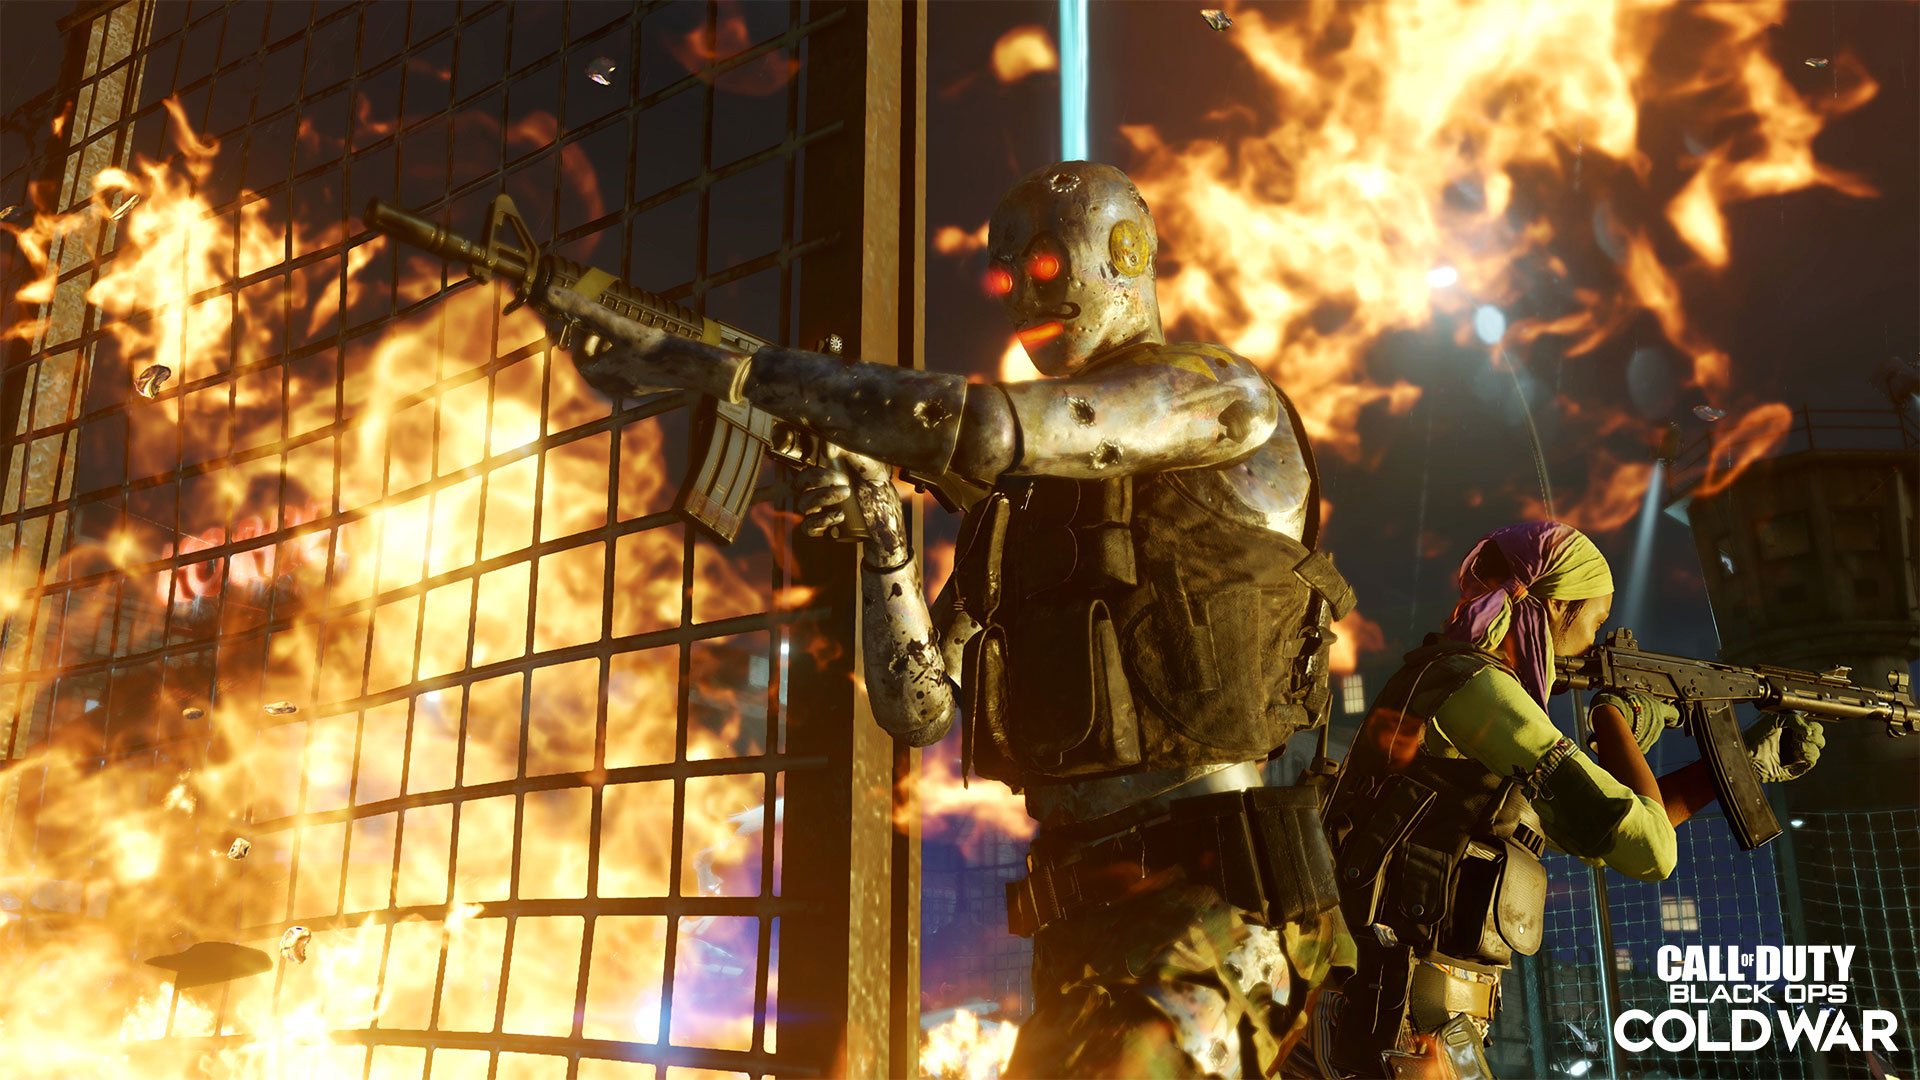
Klaus
Found within the dark recesses of Berlin’s underground chained to a chair, “Klaus” is a mechanical soldier whose quickdraw is just as swift as his quick-yet-dry German wit.
During the Cold War, Requiem sent Klaus to a CIA safehouse underneath Berlin, much to the confusion of the CIA agents operating there at the time. When Requiem agents arrive, they will find Klaus chained up to a chair within the safehouse.
If he is freed, which can be done via a side quest, Klaus will handsomely repay his saviors by helping them slay the undead. He uses a NATO standard-issued weapon, which is rather effective against all zombies. There is little strategy on the surface to Klaus once he is freed; just allow him to stand by your side and he’ll know what to do.
While he may be a helpful ally in your fight through Berlin, there’s much more to this robot than meets the eye. Exploring the map and uncovering new Intel will reveal the truth about Klaus – and the fate of the safehouse staff.
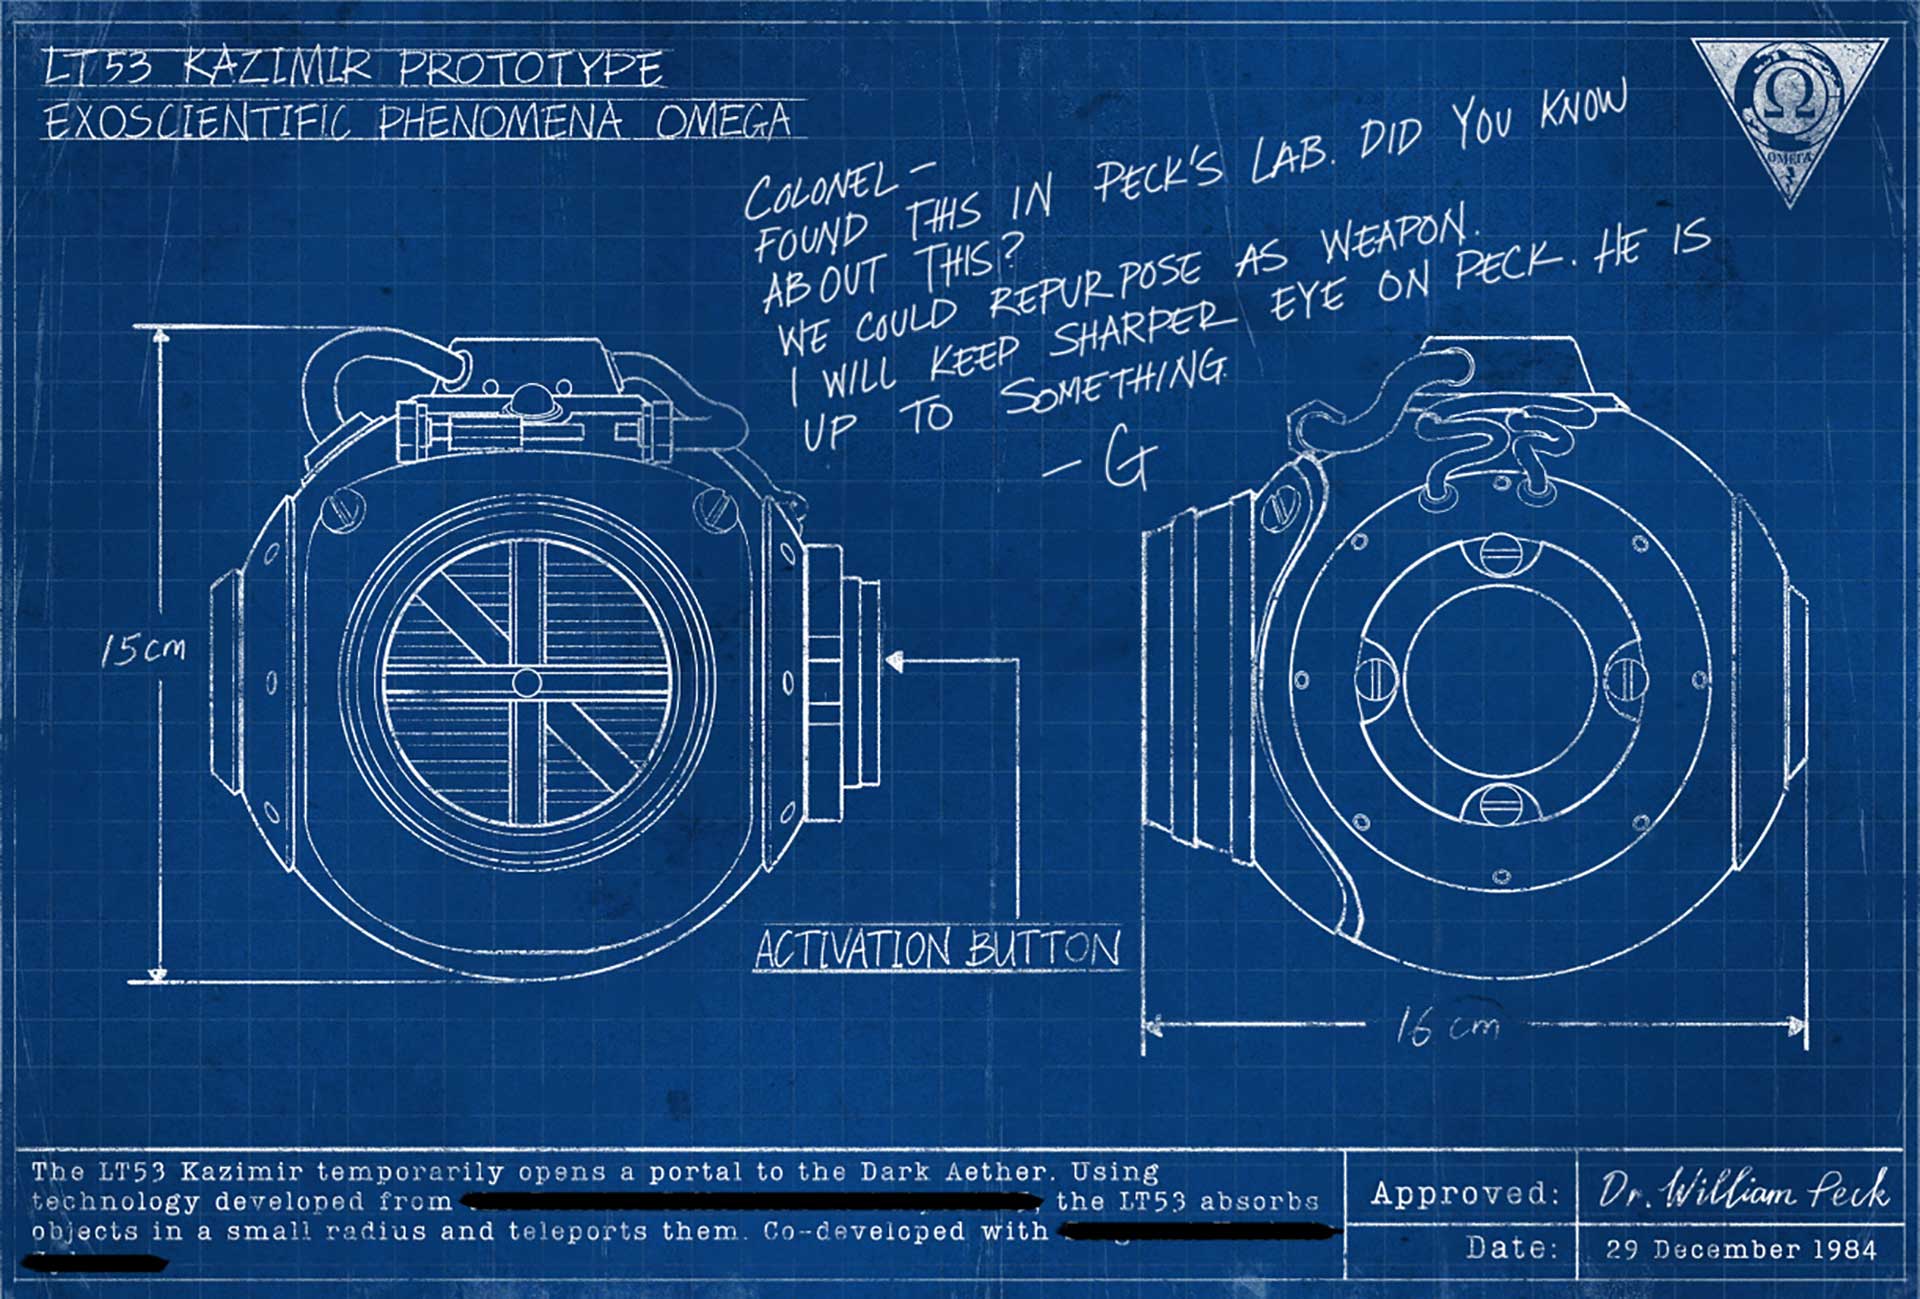
LT53 Kazimir Grenade
A product of the currently one-eyed Dr. William Peck, the LT53 Kazimir creates a temporary rift into the Dark Aether, pulling any organic matter, such as zombies or agents, into the portal.
For a whopping 2,000 Salvage, you can craft the LT53 Kazimir. Alternatively, this device is an incredibly rare Equipment drop (making it worthwhile to consider Suppressor attachments for increased drop rates), or can be found via the Trials Computer or Mystery Box.
Once it is dropped, the LT53 Kazimir will suck in any nearby hostile forces, killing them instantly once they reach event horizon. This tool is extremely effective against massive groups, as it can throw them back into the Dark Aether within a few seconds.
However, you might not want to place it near you, unless you’re ready for the ride of your life. The LT53 Kazimir can also transport non-undead humanoids across dimensions safely, meaning that if you step into its mini-portal, it will warp you to a random location. Keep that in mind if you accidentally walk into it in the heat of combat.
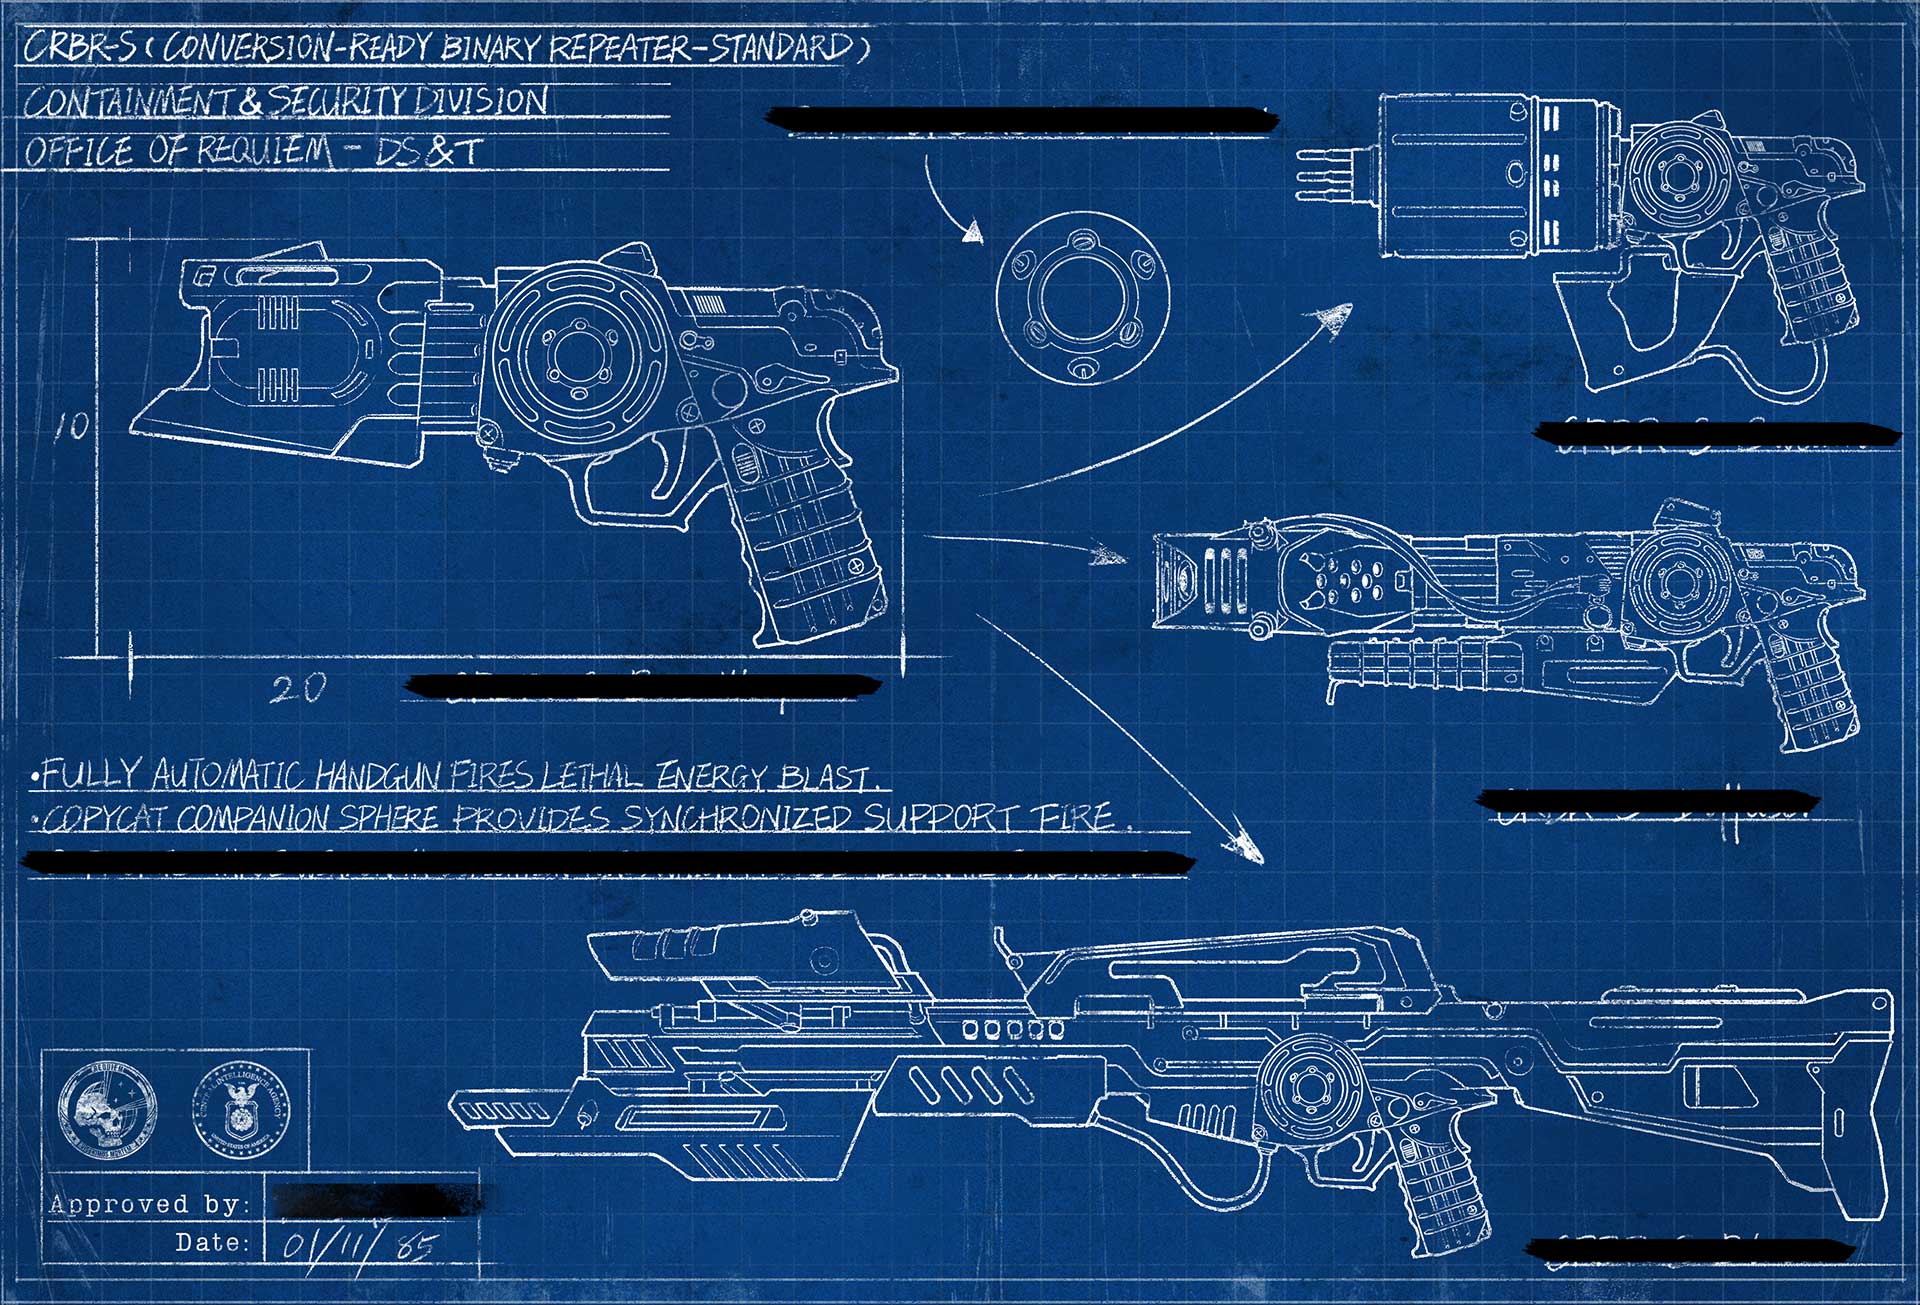
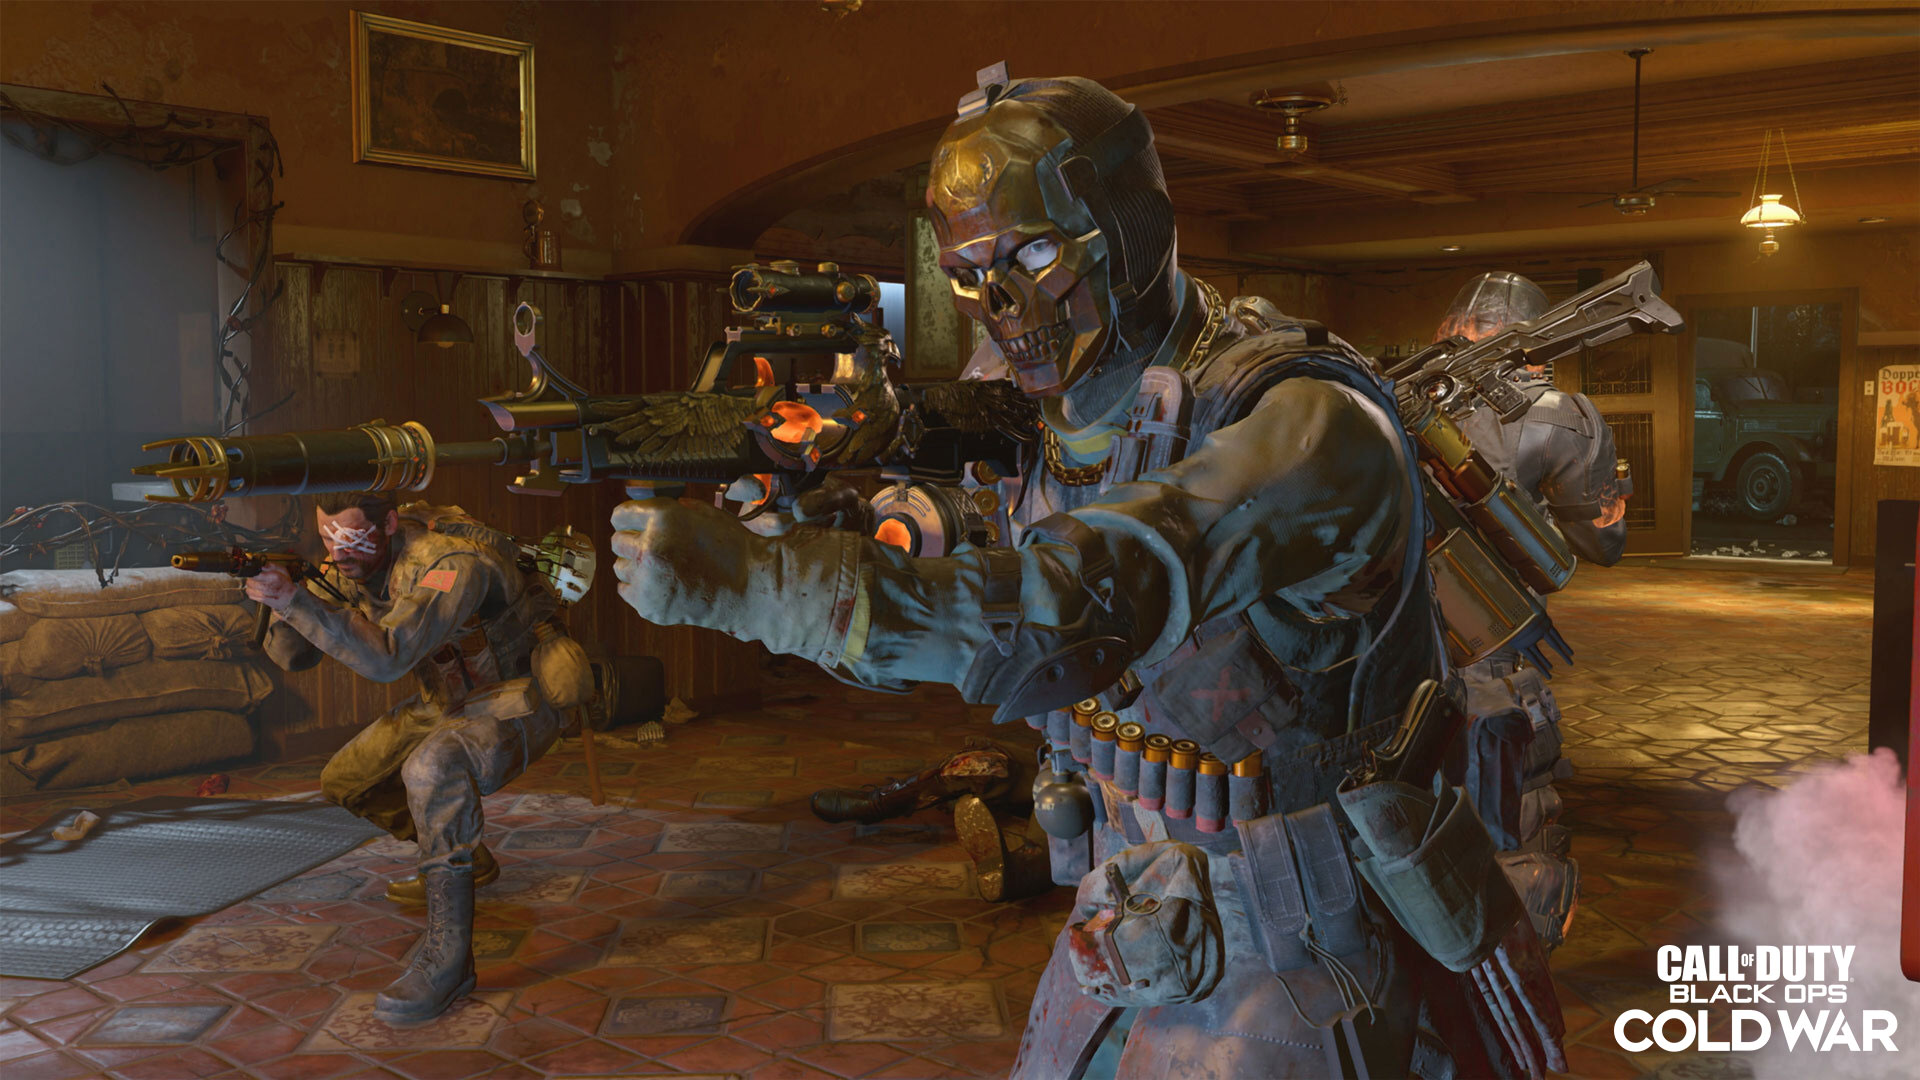
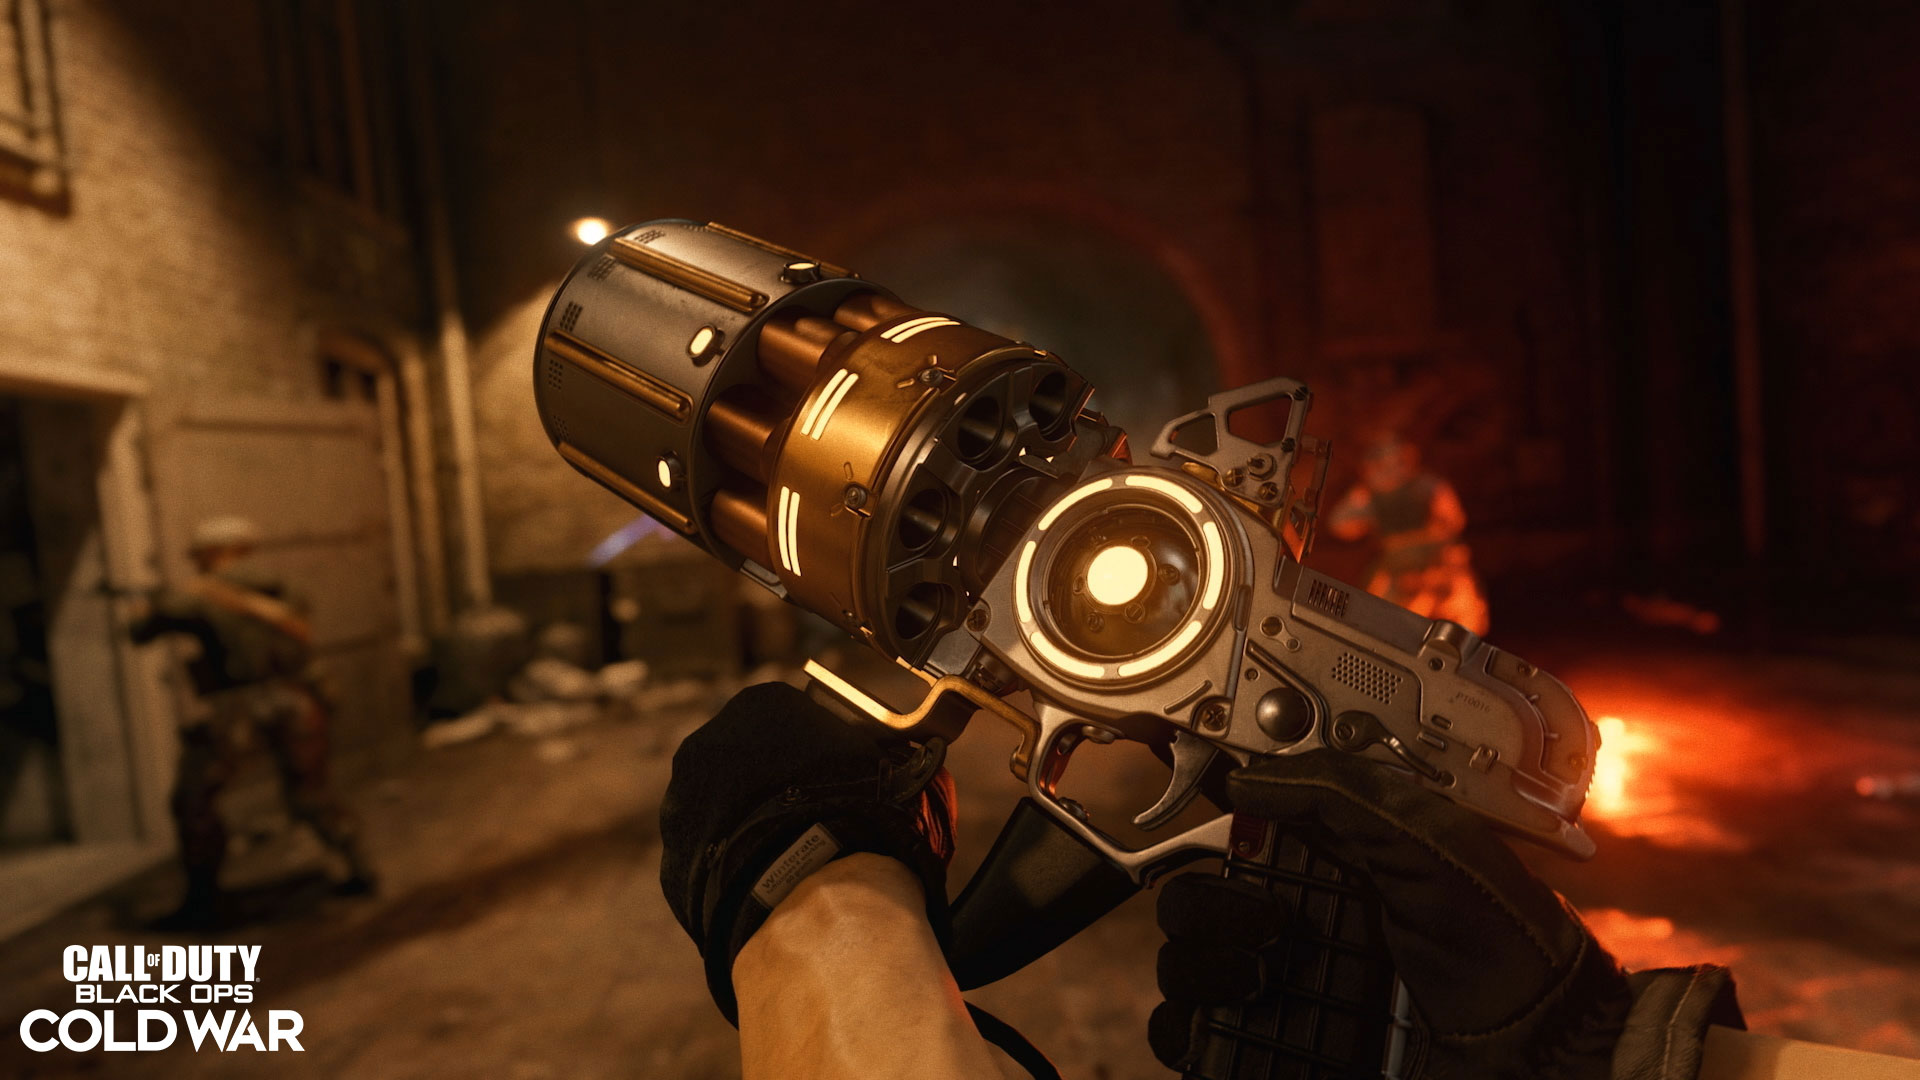
CRBR-S Wonder Weapon
Due to its wonderous nature, full intelligence on the CRBR-S is still highly classified to newer agents. However, thanks to Requiem’s elite strike teams, we can confirm that this new Wonder Weapon and its variants can be found in “Mauer der Toten.”
As a Requiem-created Wonder Weapon, its full details are still classified by the CIA. What we can say is that the CRBR-S (pronounced “Cerberus”) is a fully automatic handgun that discharges an Aetherium energy blast, like that used with the Ray Gun and RAI K-84. Its parts are strewn around the map, or a fully-built version can be earned via the Trials Computer or Mystery Box.
Again, its classified nature makes it difficult for us to recommend any strategies, especially as there are specific “Mod Kits” that can be dropped by the undead. According to initial intel, these Mod Kits transform the weapon from an automatic pistol to other weapon types, such as a shotgun for clearing hordes or an assault rifle for sustained mid-to-long range fire.
Consider yourself lucky if you get your hands on one through the Trials or Mystery Box; no matter how you get it into your possession, you’ll find that it’s just as easy to use as the other Wonder Weapons found within the Dark Aether universe.
Top Ten Tips from Treyarch’s Zombies Team
As a special treat, the hard-working developers of Treyarch have shared some tips and tricks to help you survive the streets of Berlin:
10. Ready to do some zippin’? All the rappel lines will become available when the power comes on. Many of them provide shortcuts to the rooftops of buildings, so be sure to memorize their locations so you can take advantage of them.
9. Lights, Please. Berlin can be a dark and scary place, even with the power on. Don’t forget that you can toggle the flashlight on and off at any time (up on the D-Pad for controllers), or if you have a Body attachment like the Tiger Team Spotlight, it will illuminate the path ahead of you by default.
8. Subjected to Torment. Tormentors are super-sprinters with one purpose: to blow themselves up right next to you. Two detonations are enough to kill you if you have no Armor or Jugger-Nog, so take them out before they even get near you!
7. Mind the Gap. Look both ways before crossing the U-Bahn tracks. You might escape one train only to be hit by another!
6. Never Shooting Blanks. The Mule Kick Perk machine, located within the Ghost Train area, shoots real bullets, so if you're being pursued while getting yourself a refreshing can of Mule Kick, use the extra firepower to your advantage!
5. Charlie Knows No Allies. Across “Mauer der Toten,” especially at Checkpoint Charlie, use the hazards to your advantage. While the guard towers will shoot at you if you're caught in the spotlights, you can also temporarily override them at their base to make them ignore you and aggressively target zombies.
4. Conquer the Commander First. The Disciples are intelligent commanders who will usually hang back and buff other zombies to attack you… and if they run out of undead to command, they can summon more. So it's in your best interest to target them before taking out their buffed minions. Killing The Disciple will also neutralize any of its active buffs on enemies.
3. He’s Here to Help! Klaus is a powerful and useful ally to have around. Not only will he help protect you from zombies, in the unlikely event that you go down while he is around, he will also revive you!
2. Disciples Part Two: The Pain of the Drain. Disciples will sometimes decide to engage you at close range with their life drain attack that they use to heal themselves at your expense, so keep your distance!
1. An Absolute Mythical Unit. If you find yourself in the possession of the powerful CRBR-S Wonder Weapon, keep an eye out for Mod Kit drops. Not only will they transform your weapon into a new and powerful variant, it will also refill some of the ammo for the base pistol when you return to it.
Above all else, Zombies can be fun as a solo experience, but it’s always great to have a full strike team of four. Grab your friends and explore the horrors that await in “Mauer der Toten” together; your teamwork may just be the key to unlocking its darkest secrets.
Execute the mission.
For more information on Call of Duty®: Black Ops Cold War, check out: www.callofduty.com, www.youtube.com/callofduty and follow @Treyarch, @RavenSoftware, and @CallofDuty on Twitter, Instagram, and Facebook.
© 2021 Activision Publishing, Inc. ACTIVISION, CALL OF DUTY, and CALL OF DUTY BLACK OPS are trademarks of Activision Publishing, Inc.
For more information on Activision games, follow @Activision on Twitter, Facebook, and Instagram.