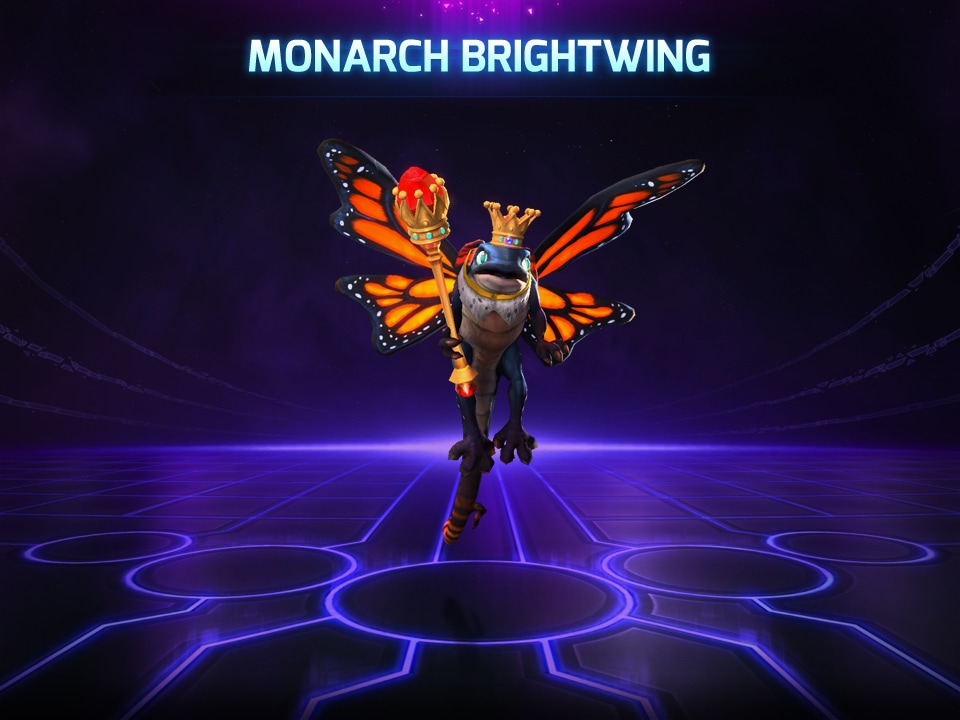
World’s First Butterfly Cosplay – Part 1: Sculpting Monarch Brightwing
"Brightwing like loyal subjects! Bow down. Now."
- Monarch Brightwing
While numerous people have dressed up as butterflies, how many actual live insects have dressed up to mimic video game characters?
I’m Community Manager Kimberly “Vaeflare” LeCrone, and today I wanted to share with you a unique project I’ve been working on over the last couple months that may very well result in the world’s first butterfly cosplay!*

How It All Began…
From the first time I saw Brightwing snacking on Uther’s corpse, I knew that she was a hero I could get behind. The mix of her sugar-sweet personality with just that *touch* of something dark and sinister amused me to no end, and it was a treat to work on her Hero Week blog and Twitter Takeover!
But as soon as I saw her Monarch Brightwing alternative skin, something clicked.
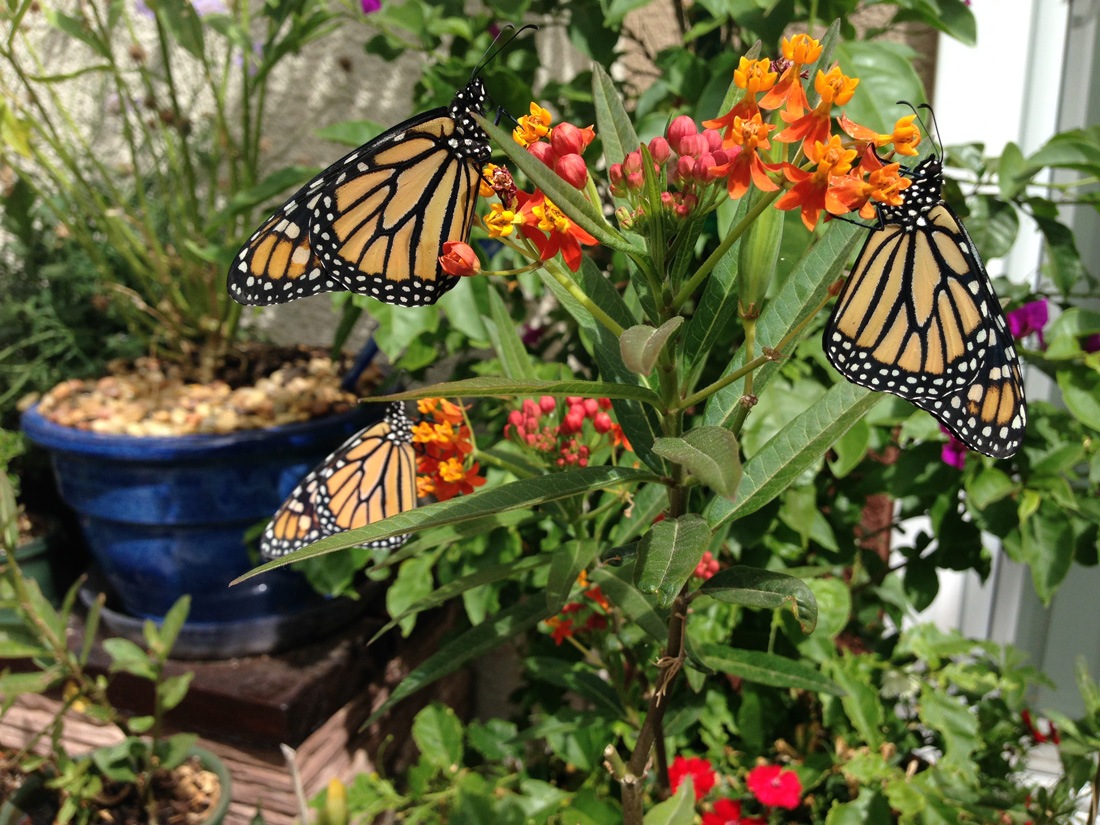
…because by pure happenstance, I actually raise monarch butterflies!
 |
 |
 |
And I wondered… was there a way for me to combine my love of both?
A Plan Takes Shape
In addition to raising monarchs, I also do quite a bit of art and writing in my free time. This personal interest in art is one of the reasons I’m so passionate about sharing the work of our creative community of fan artists, cosplayers, musicians, machinima artists and more. I genuinely love sharing their hard work and ingenuity with other Blizzard players!
In time though, the more I thought about it, the more I thought it would be a fun challenge to try and have a live monarch butterfly “cosplay” atop a wingless, scale Monarch Brightwing sculpture, so that the wings of the butterfly could act as the “wings” of the resulting sculpture. I talked to some coworkers about this fun and quirky project, and after getting folks like Samwise onboard, it was time to get to work!
The Amazing Life Cycle of Monarch Butterflies
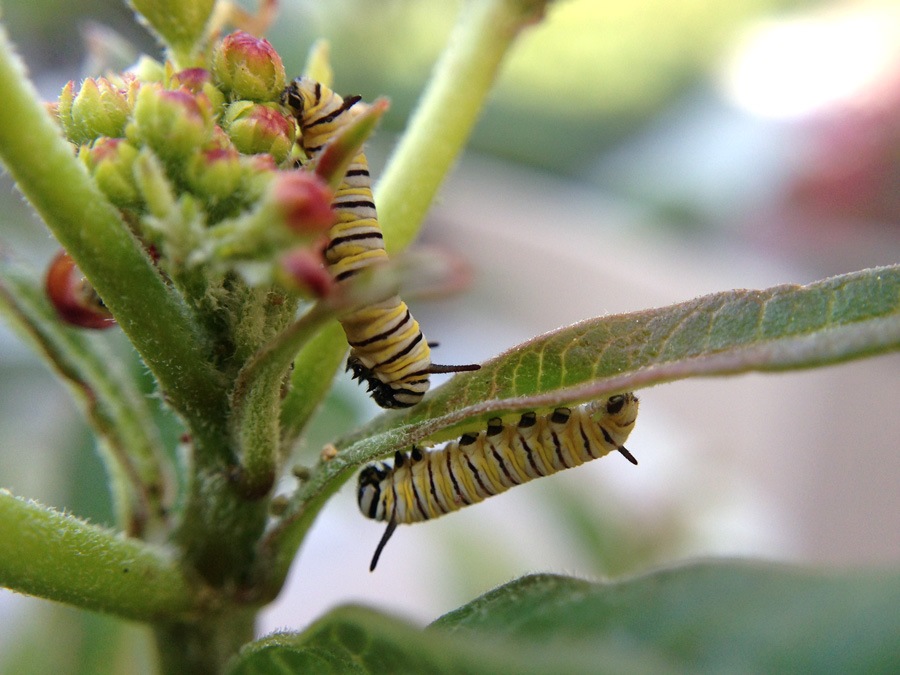
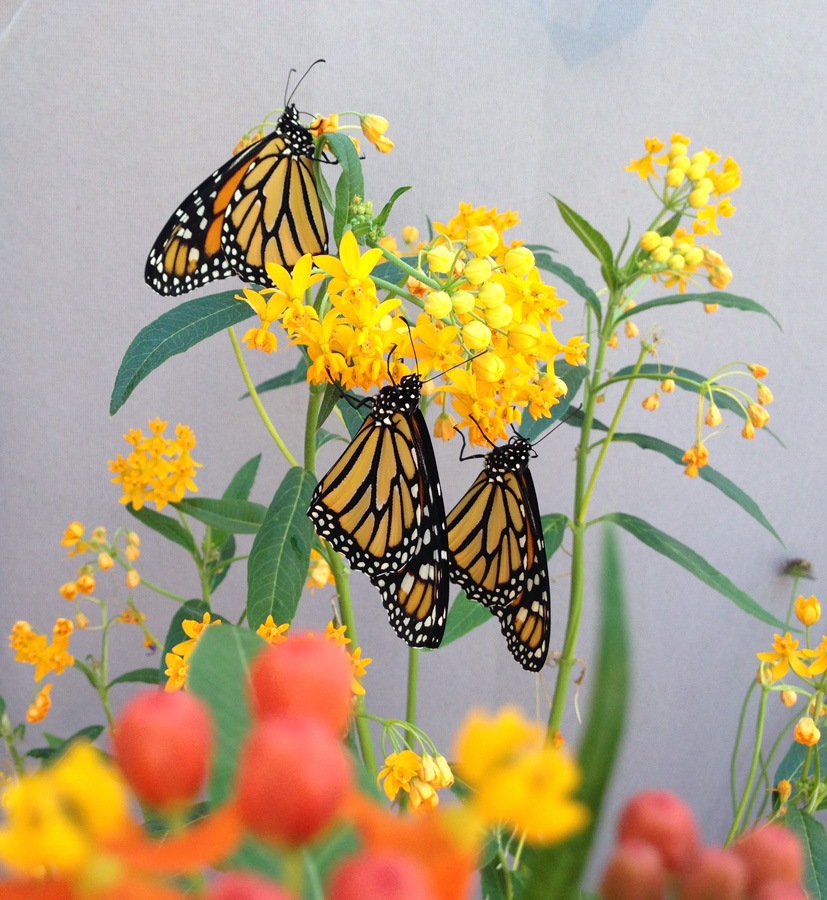
There’s a lot written about monarch lifecycles online, so I won’t bore you with the details, but suffice to say, they are a Near Threatened species of butterfly. During the Spring, Summer, and Fall months, these colorful creatures carry on their life cycle on or around a flowering plant called milkweed, or “butterfly weed.” Then as the winter chill draws near, the final generation of the year head off on a great migration to areas in Southern California, Mexico, and Florida where they will stay cozy in various overwintering sites.
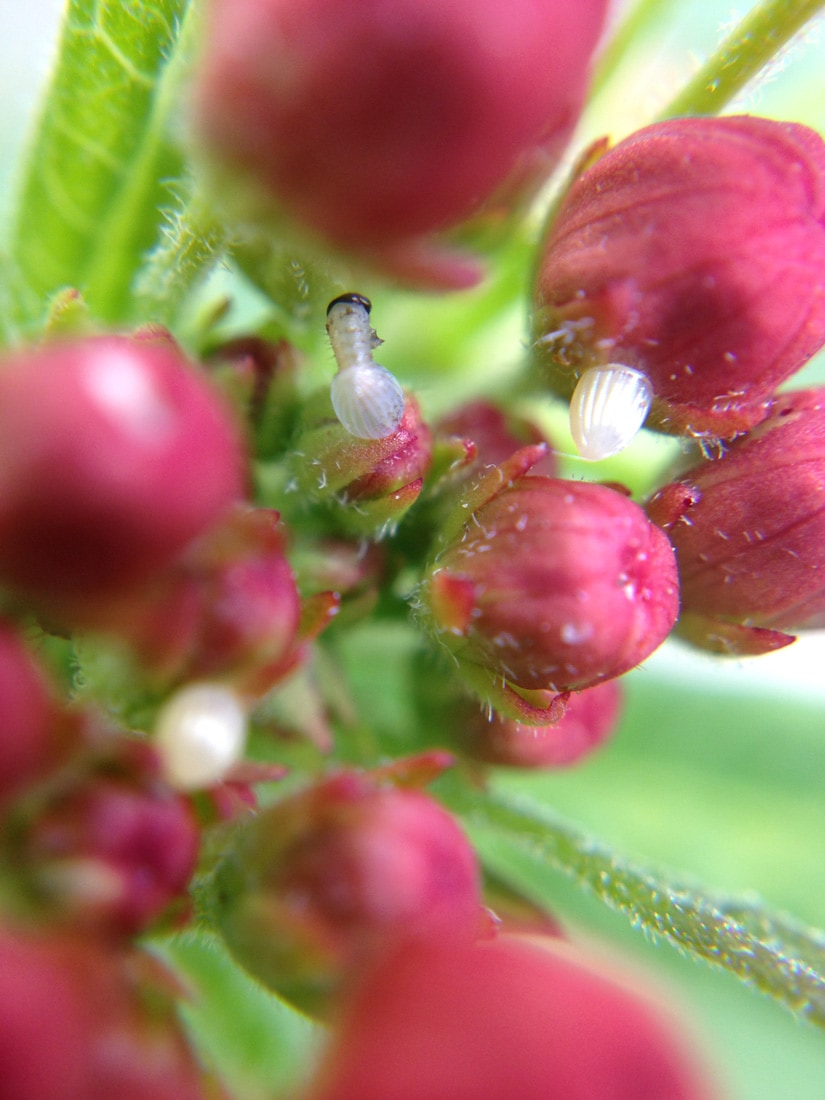
Once the worst of winter is over, these winged wonders migrate northward again to continue their lifecycle. Monarch caterpillars grow inside an egg for around four days, and then they munch on milkweed for about two weeks. When the caterpillars have eaten their fill and they’re large enough, they’ll form a chrysalis for around two weeks, and will stay inside as they undergo a metamorphosis into a butterfly. When they emerge, summer generations will only live for about two to five weeks as adults, but winter monarchs will live for as long as seven to nine months. This allows the winter monarchs to complete their full migration cycle, which can entail thousands of miles worth of travel.
 |
 |
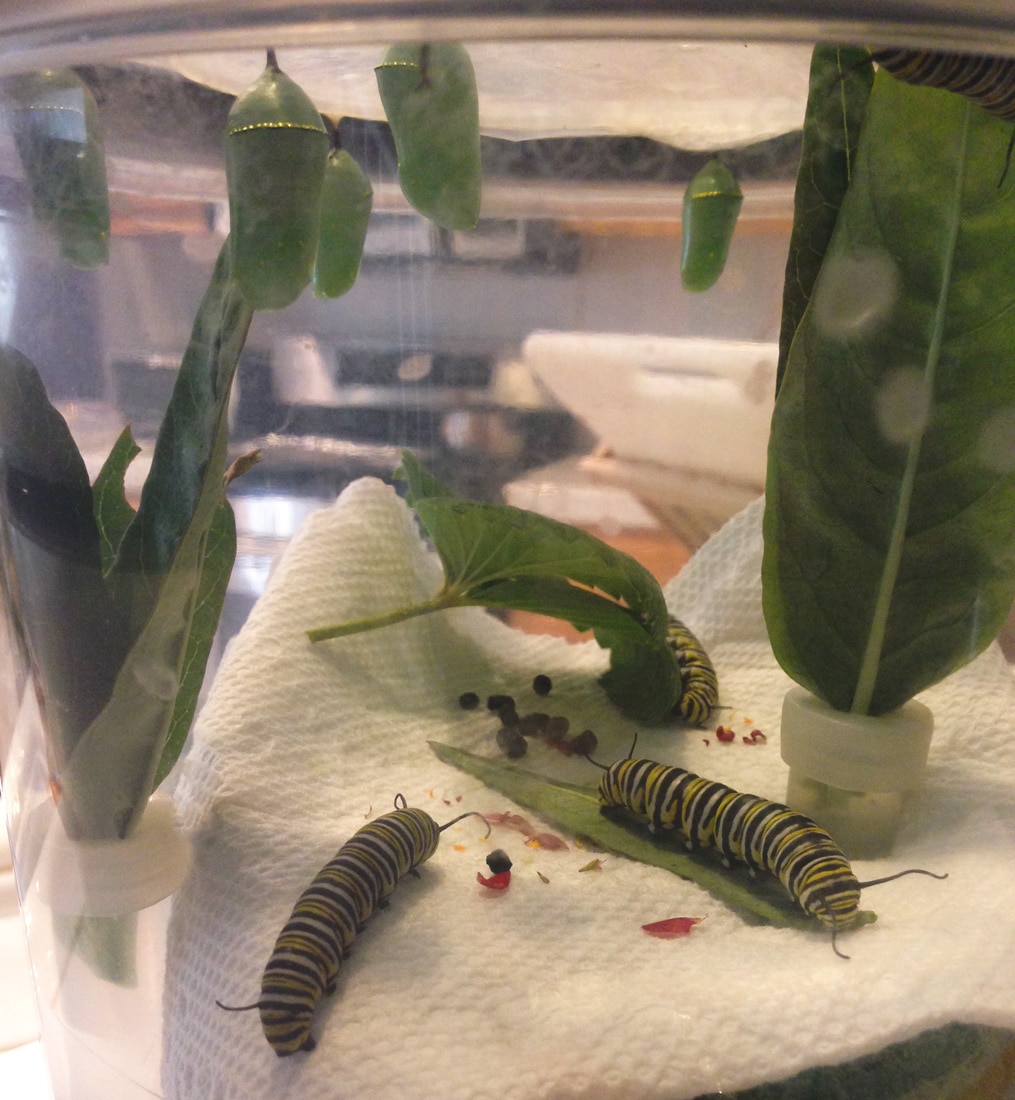 |
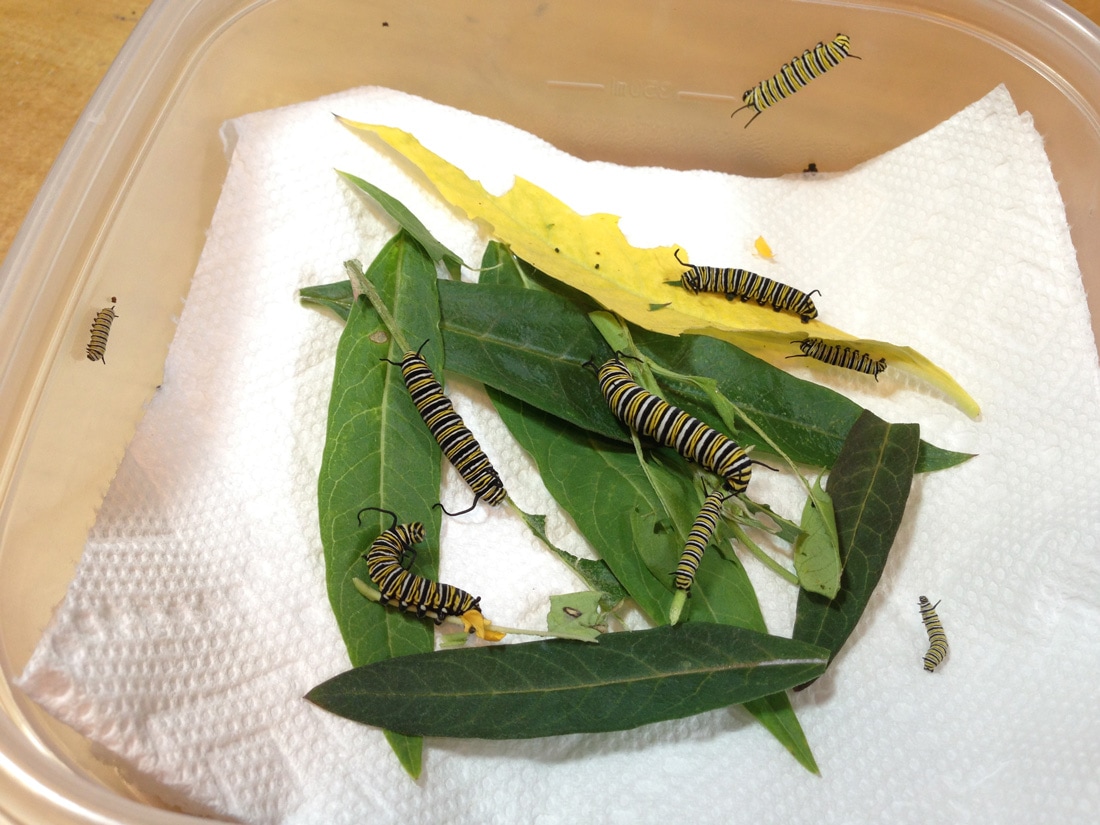
| A newborn caterpillar emerges from its egg. | Caterpillars getting their fill of fresh milkweed. | Some large caterpillars and chrysalises. |
 |
 |
 |
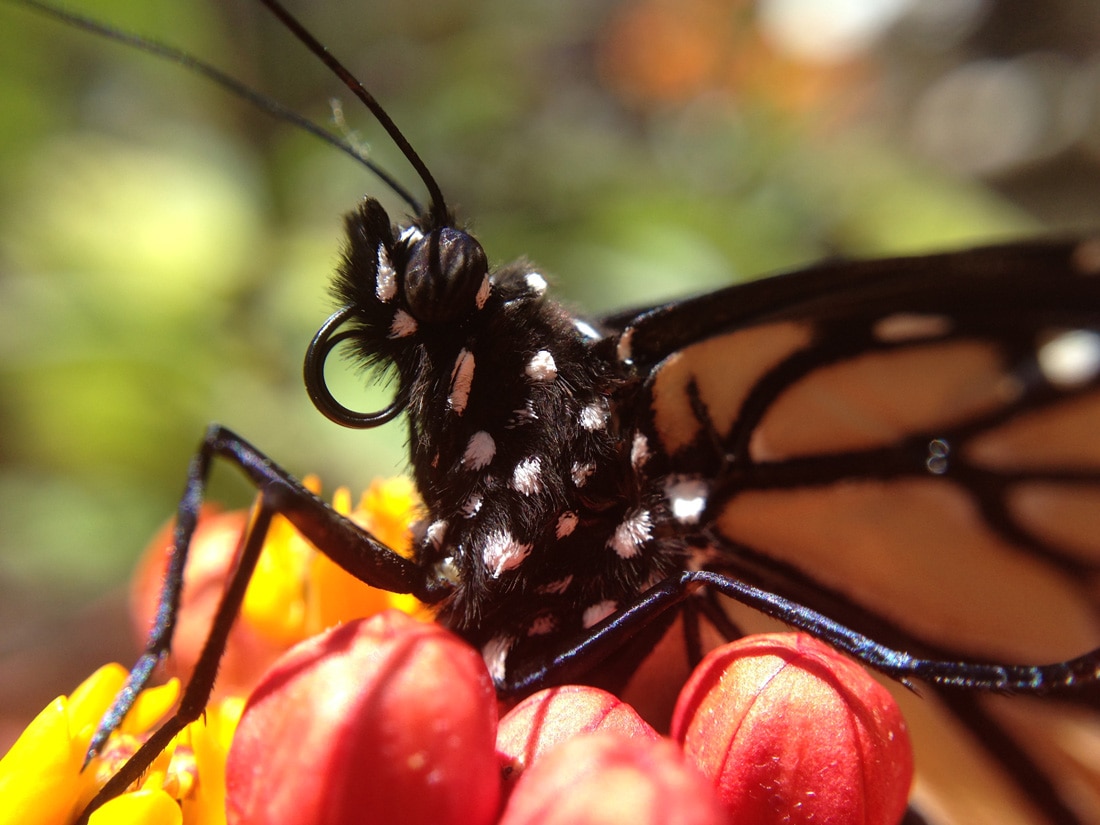
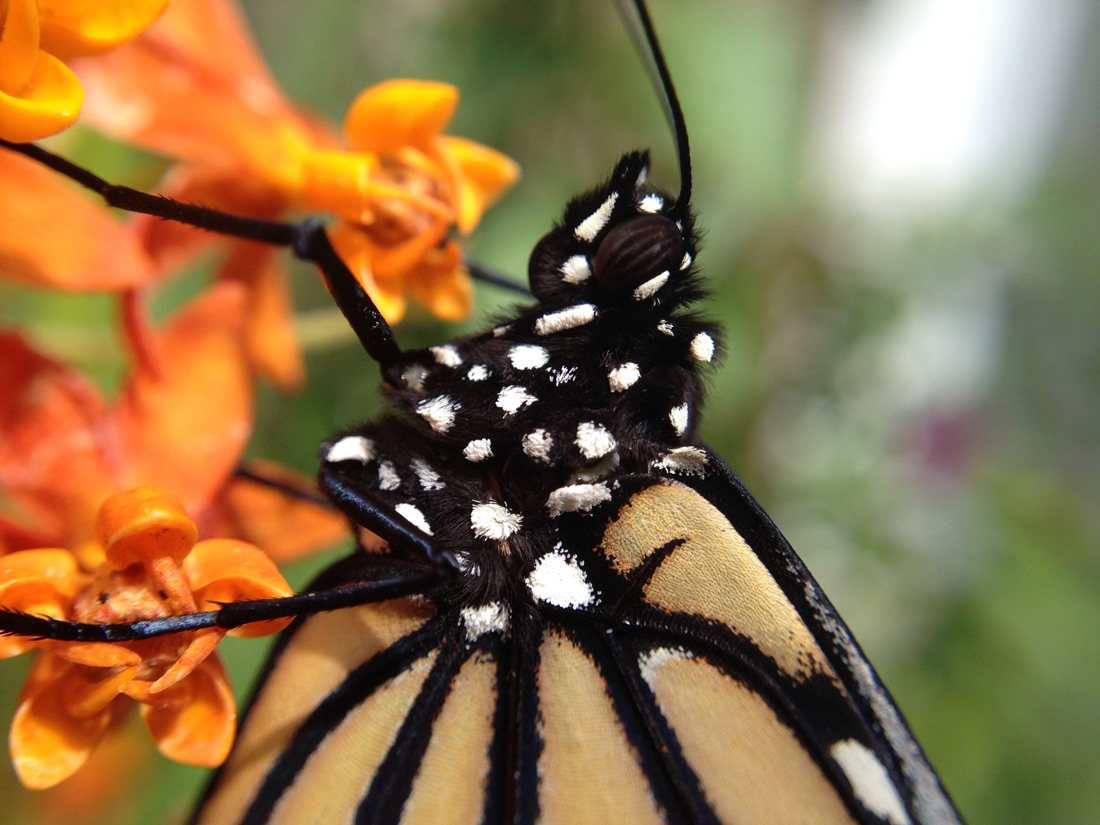
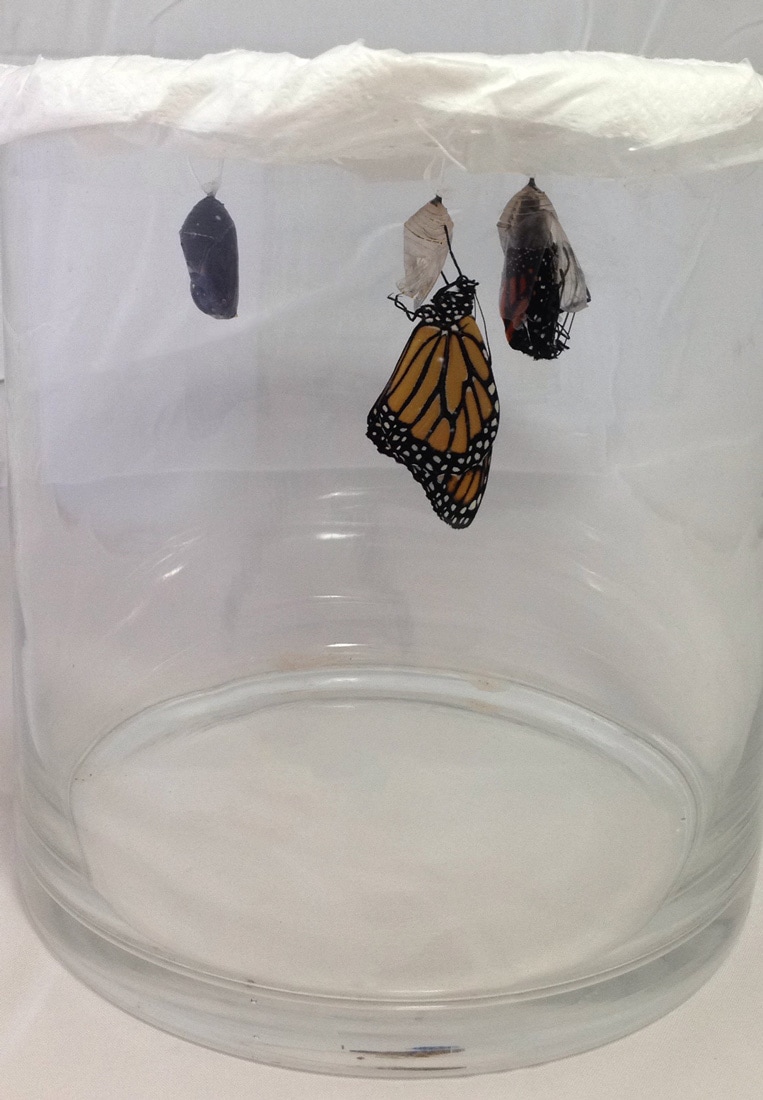
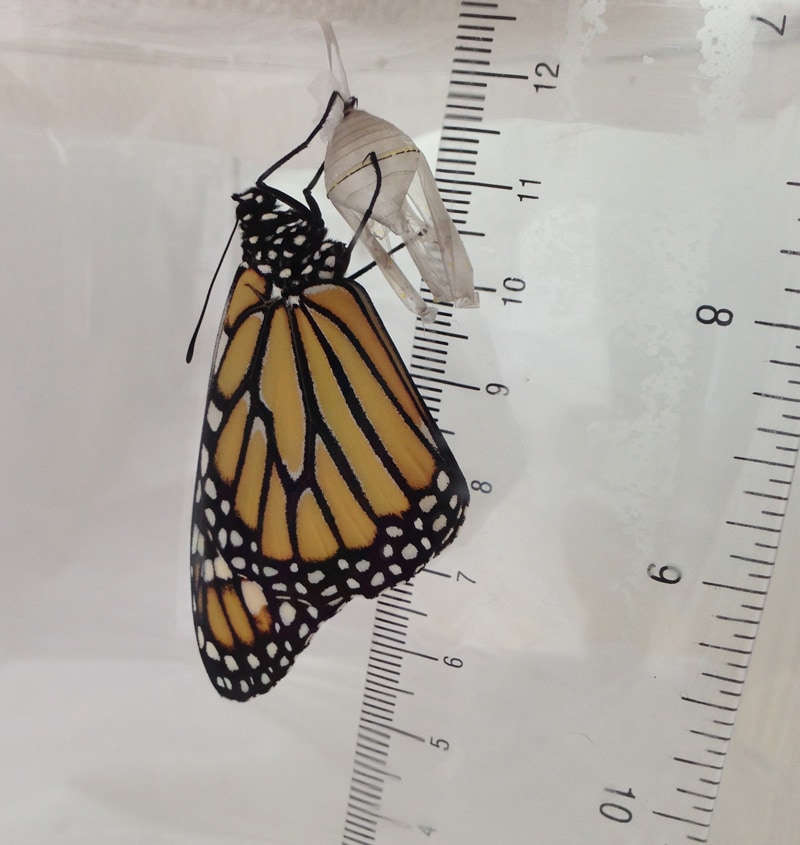
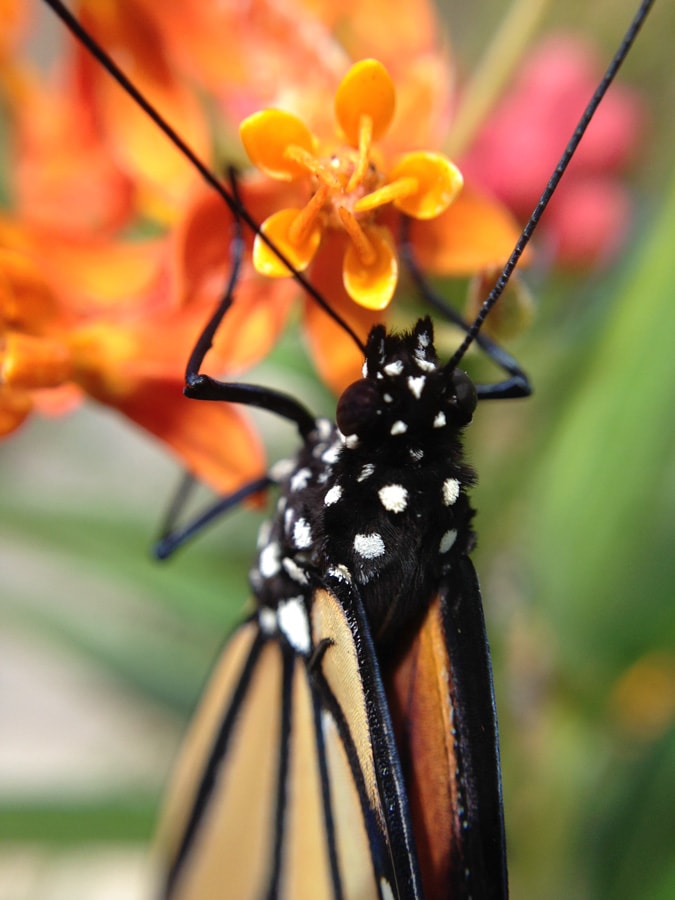
| A stunning chrysalis shortly before the monarch butterfly emerges. | Three monarchs in various stages of emerging from their chrysalises. | This male monarch is just a few hours old, and very curious! |
During the last year, I’ve enjoyed getting involved with monarch conservation, and continue to revel in raising monarchs and releasing them back into the wild (I’ve successfully released 63 so far)!
As soon as I realized I wanted to do this project, one of the first things I did was to start measuring how large the various monarch butterflies were that I was raising so that I could have a proper sense of scale for the sculpture I was to create. I found that their size varied quite a bit, so I took an average of my measurements and then compared that against the in-game model of Monarch Brightwing. Thanks to the great folks on our machinima team, I was also able to get a few screenshots of Monarch Brightwing to use as references throughout the process.
From there, the hard work began.
 |
| "There's work to be done!" |
A Butterfly-Sized Armature
My next step was to get to work sketching out a scale profile view of Monarch Brightwing. This view was especially important because I would be using it to determine how large each piece of her underlying support armature was to be.
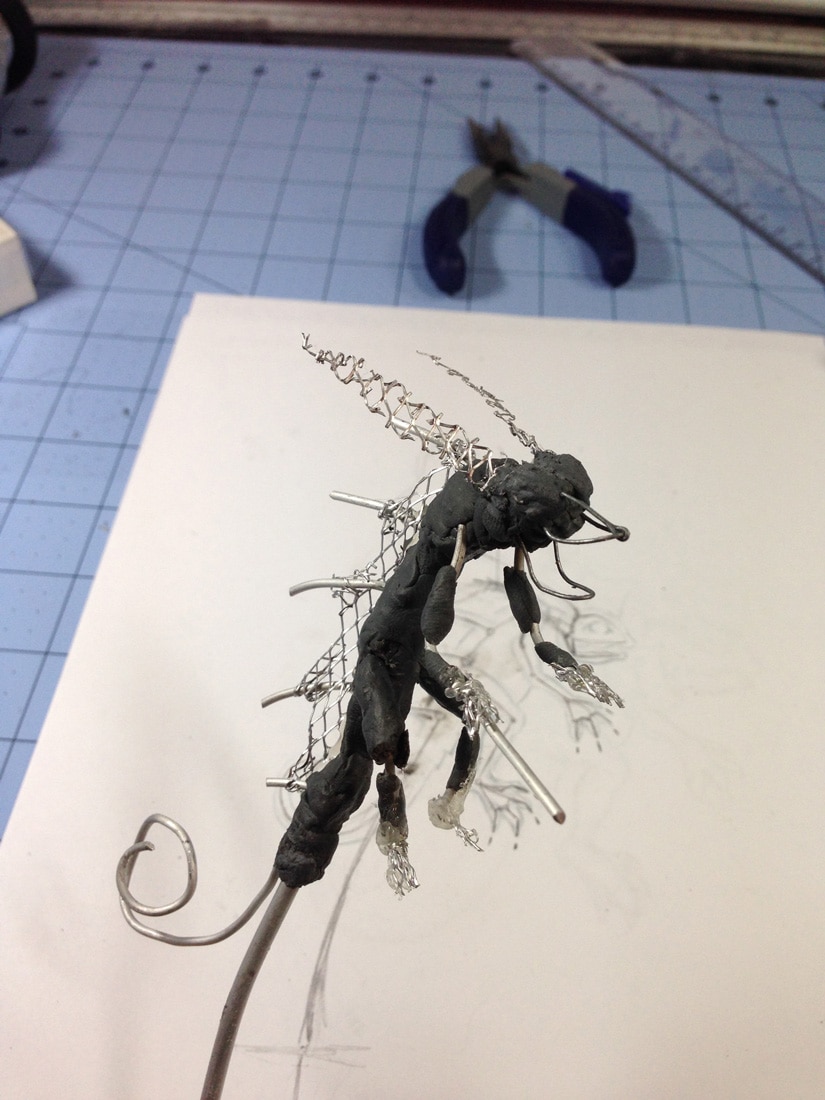 |
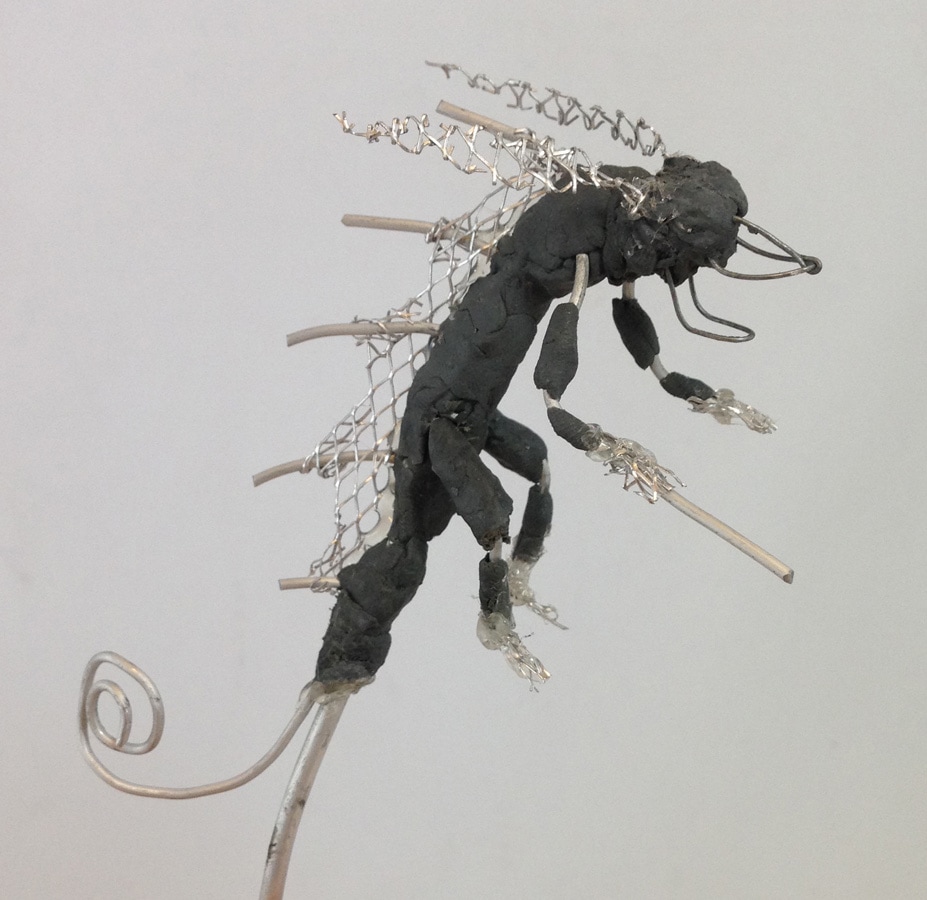
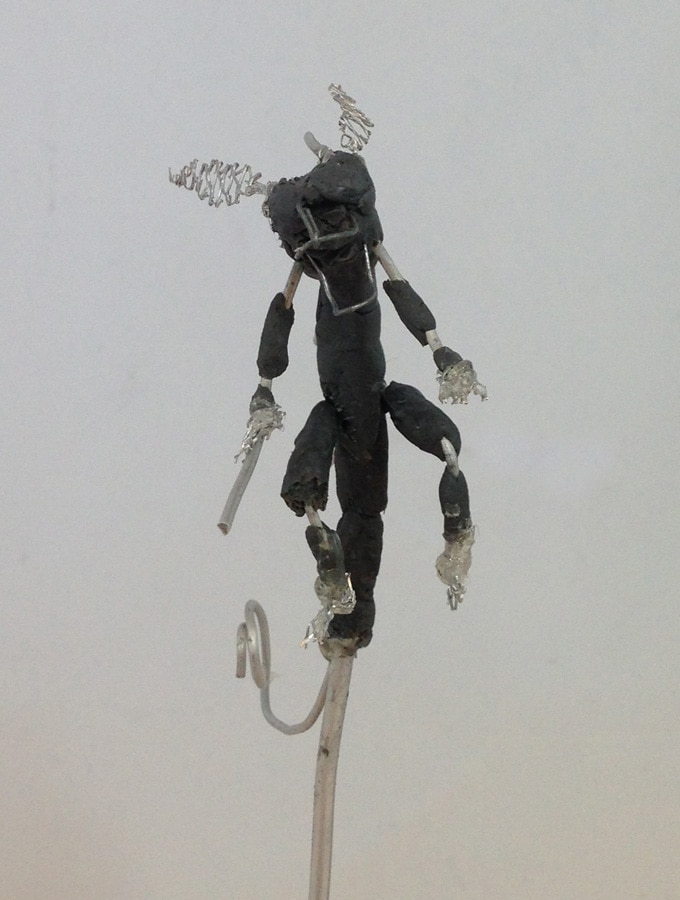
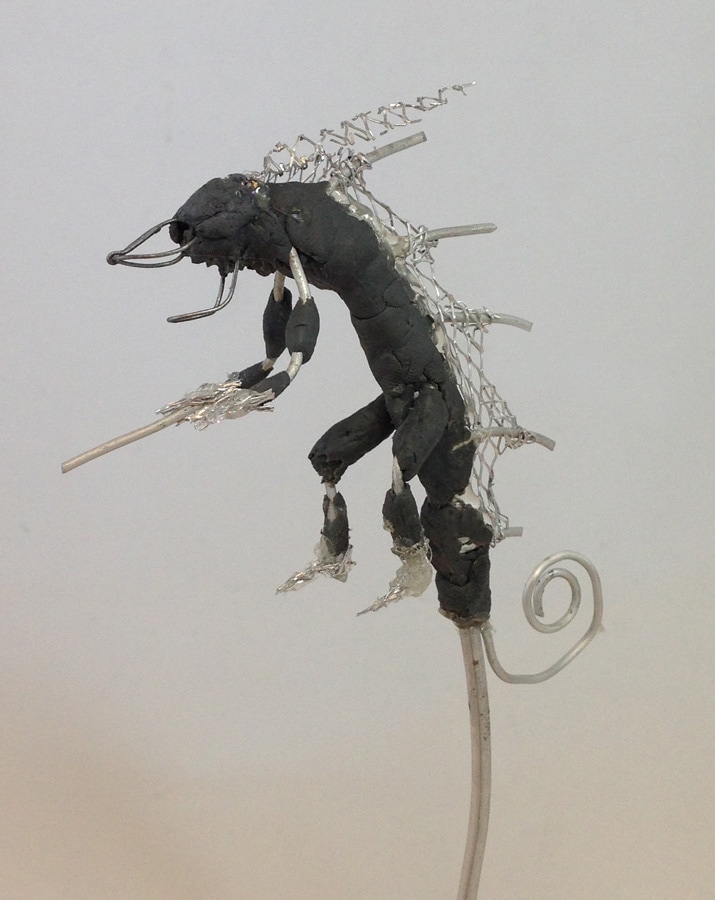
From there, I started assembling her armature using various gauges of aluminum armature wire, aluminum mesh, hot glue, and two-part epoxy. Once cured, the epoxy is incredibly hard, so it allows the armature to carry the weight of the clay that will be put on top of it later. I also like to use the epoxy to form “bones” along the limbs of a creature, so that I’m able to selectively pose a figure along where their natural joints would be, such as a shoulder, elbow, or wrist, without the whole arm bending out of shape.
 |
 |
 |
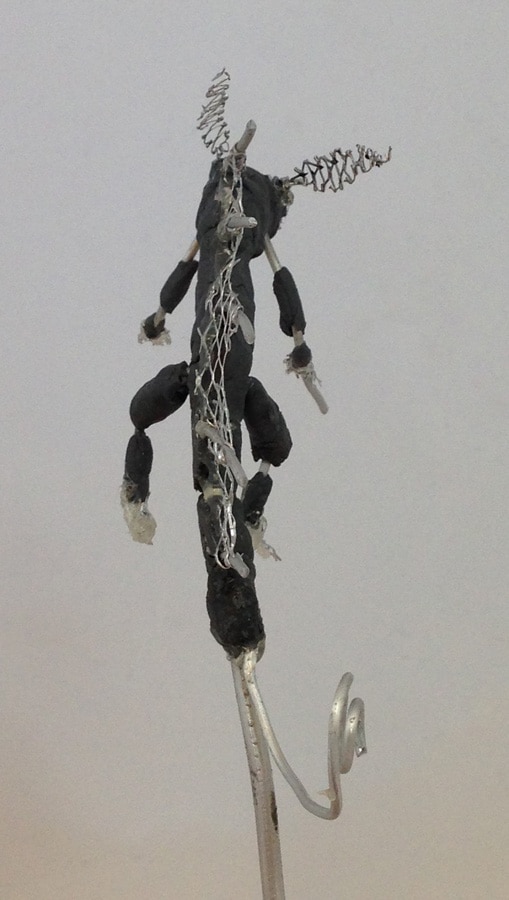 |
It was around this time in the process that I began to truly appreciate the stunning complexity of this character, for in addition to having four limbs and a long, curled tail, she also has sixteen fingers and toes, five spines, two antennae, the fin along her back, and an open mouth! In addition, she would need a proper monarch’s jeweled crown and scepter, which was due to be more than a bit of a challenge at this scale!
Rough Sculpting a Faerie Dragon
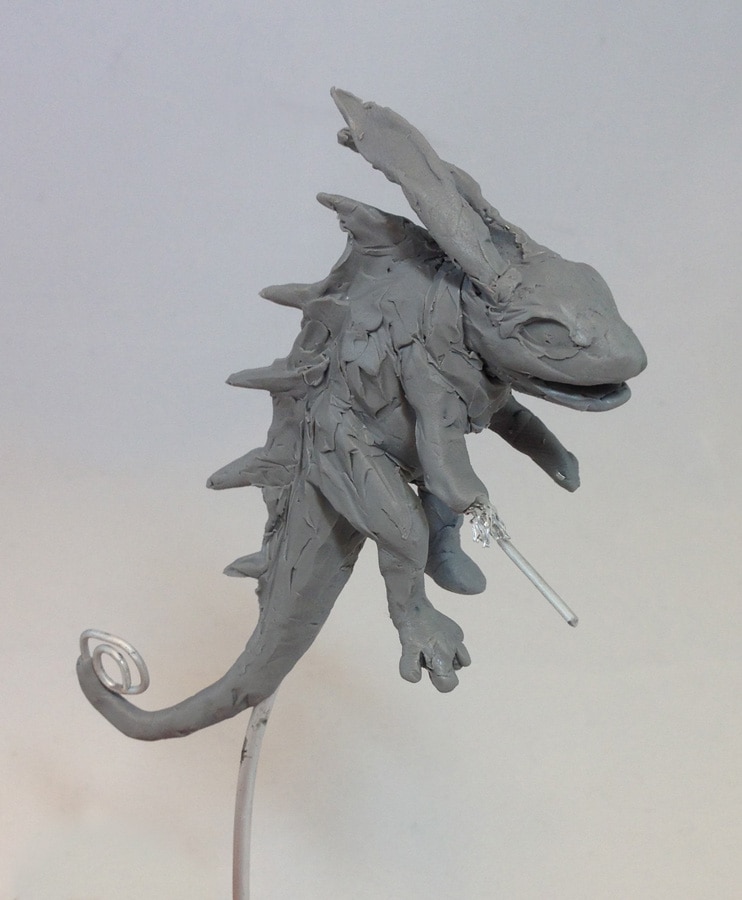
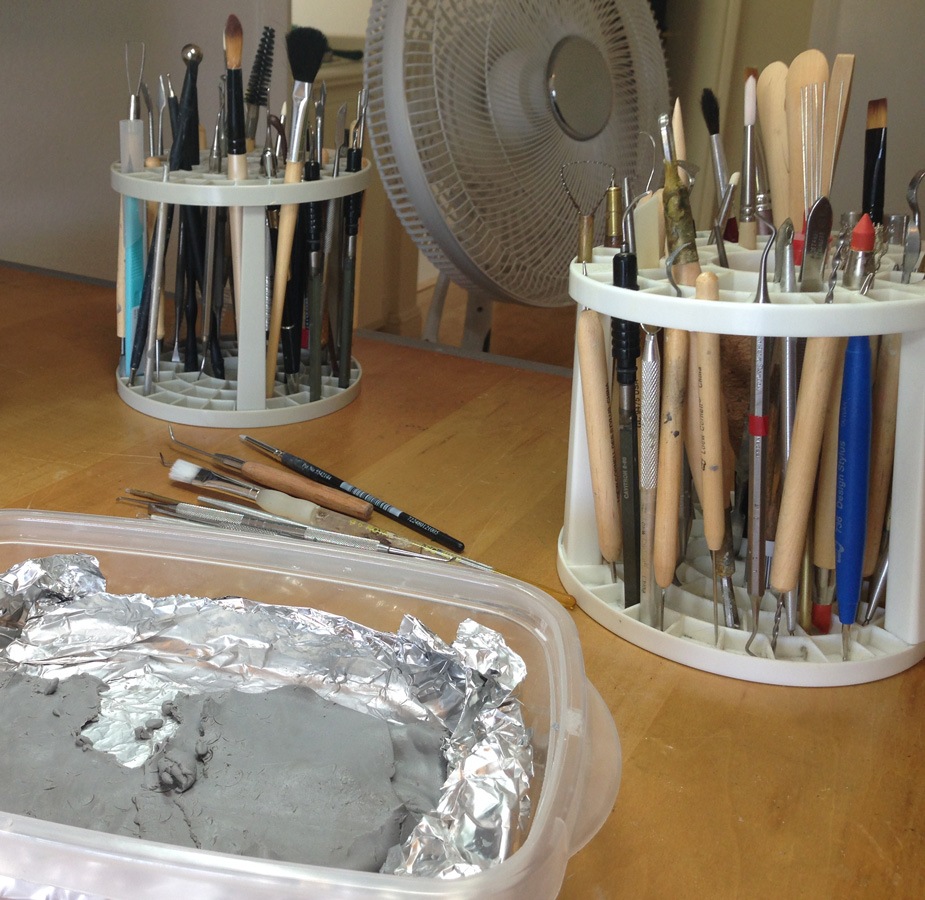
Next up, I created a mix of Sculpey polymer clays that I felt would suit the detail needs of the project, while still being “buttery” enough to work with. I then took this clay and began to layer the clay over top of the underlying armature. The figure didn’t need to be detailed at this point, instead I was focusing on trying to build up the basic figure and try to get it to “read” as Brightwing from multiple angles. The thought in my process is that I work from bone, to muscle and sinew, to skin and final details.
 |
 |
 |
 |
 |
 |
| So many tools! | A quick proof-of-concept with a winged volunteer. |
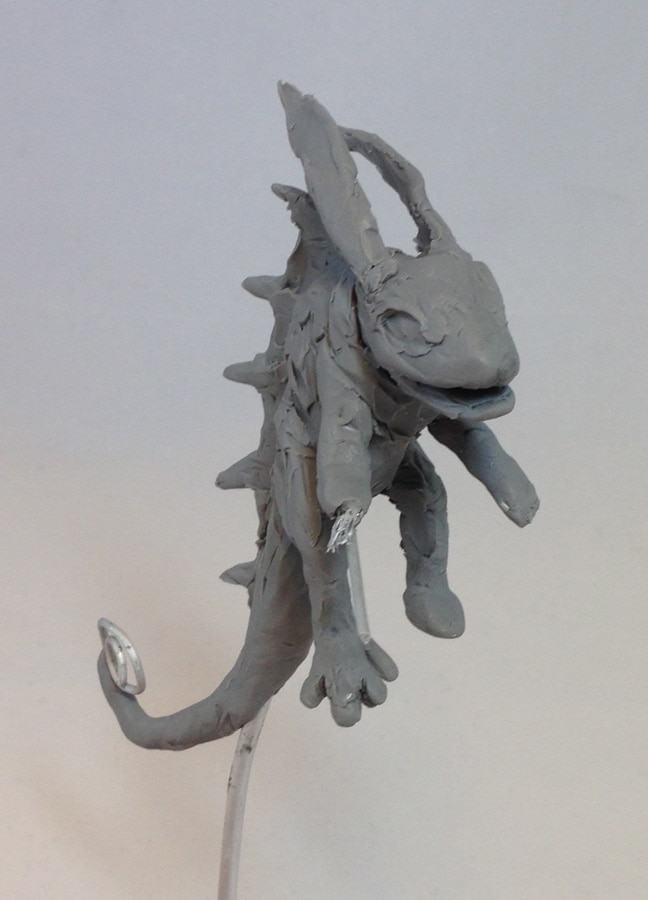
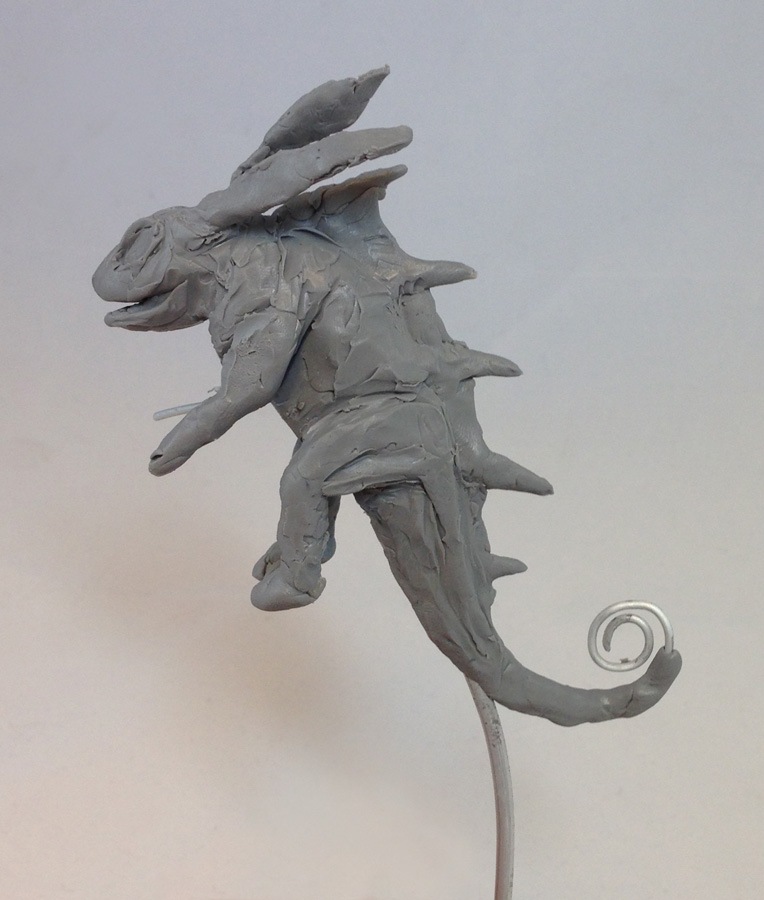
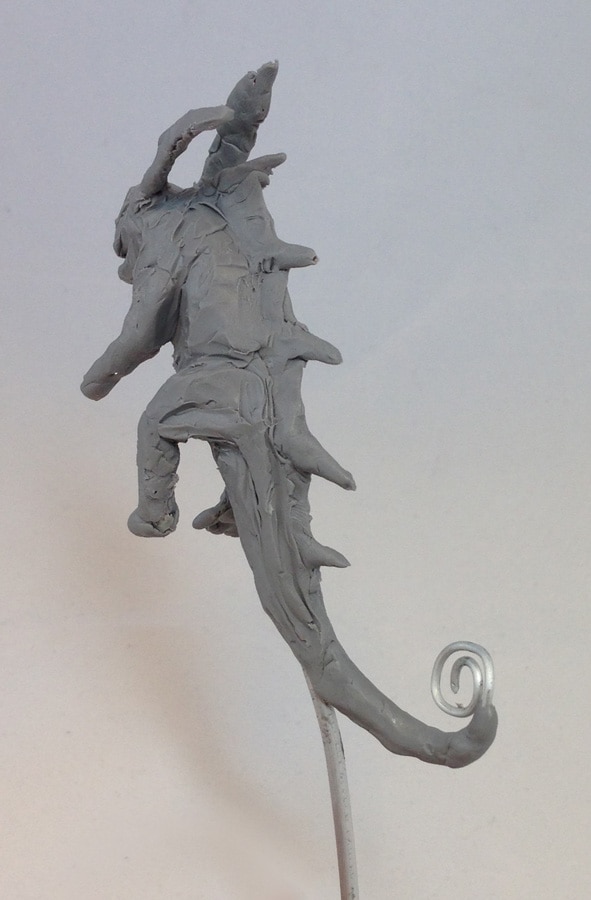
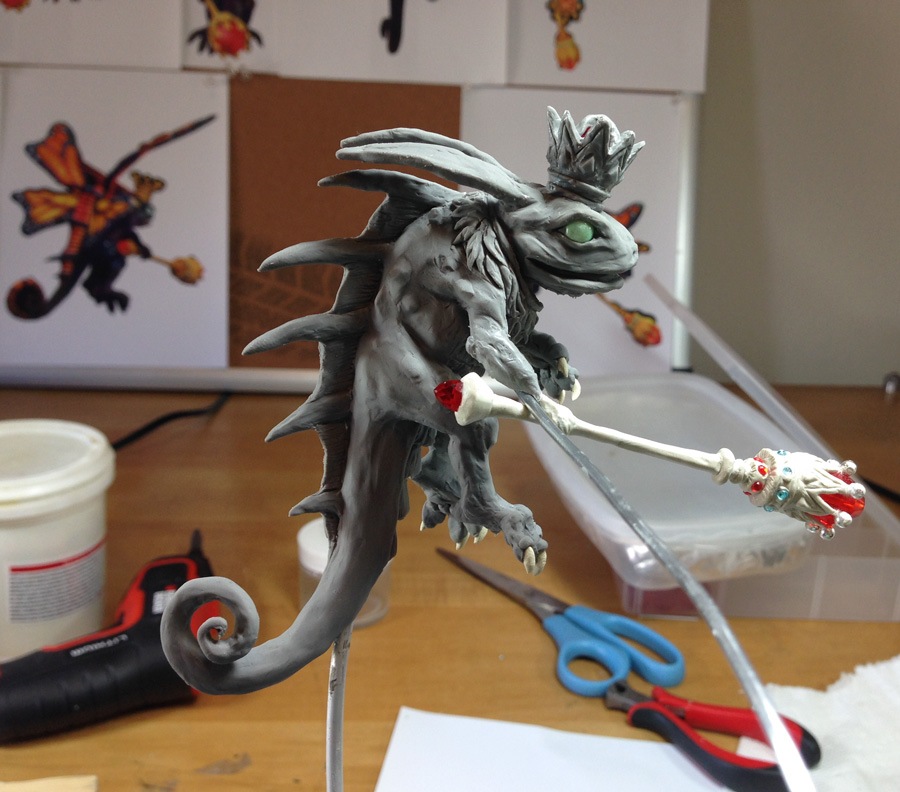
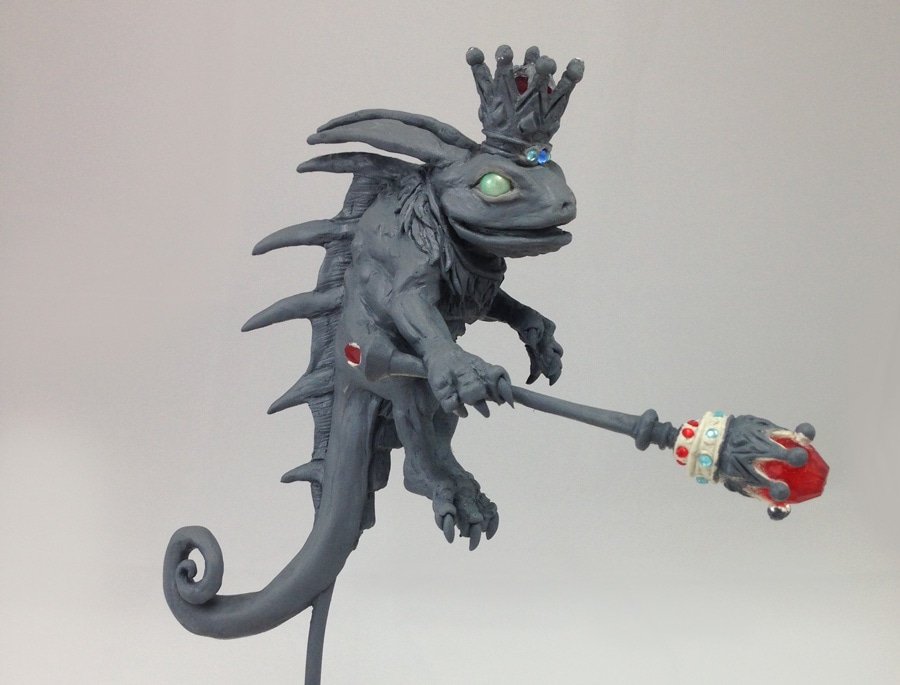
Brightwing Begins to Emerge
Slowly the figure started to emerge, and I worked to cover up the majority of the remaining mesh and wire and begin smoothing her with some rubbing alcohol. I intentionally left her right hand unfinished as I knew that down the road I would be using the excess wire to help support her regal scepter.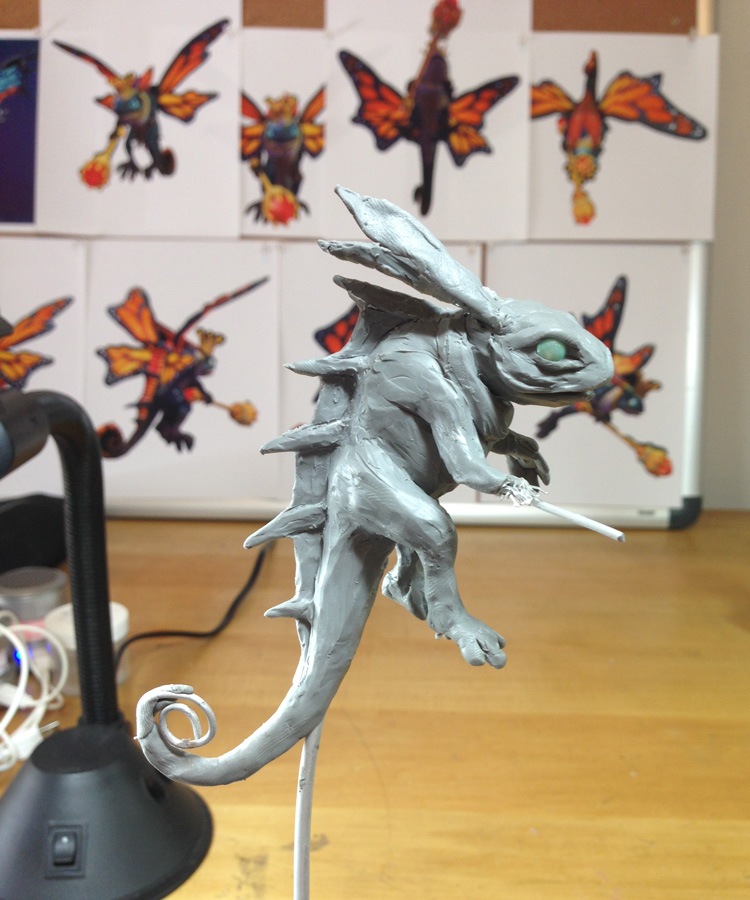 |
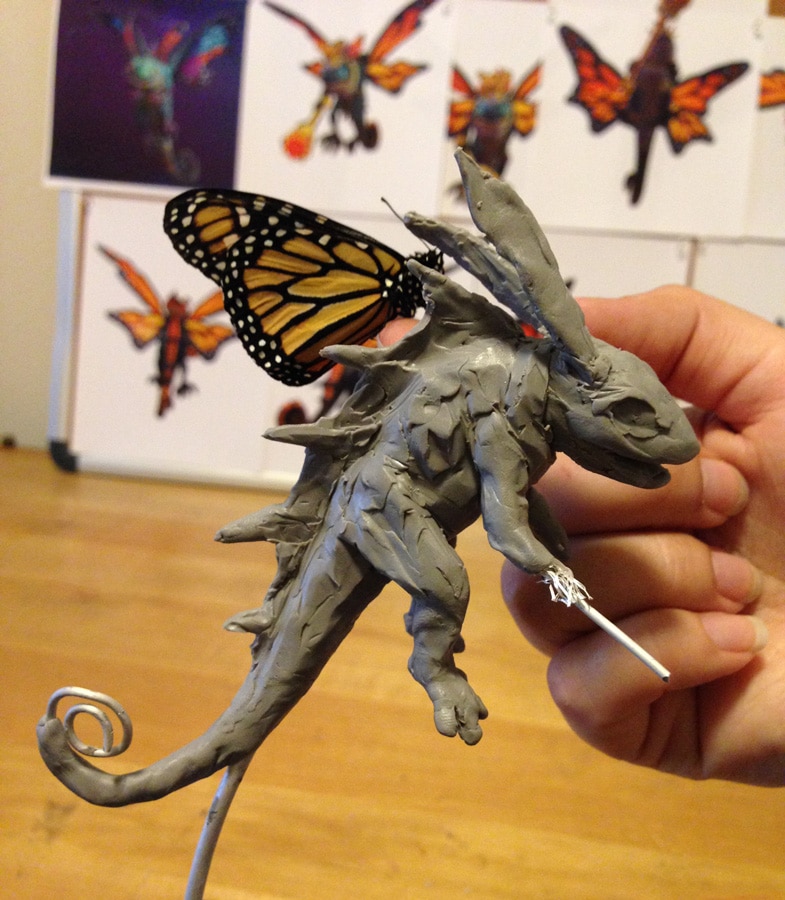
| You can see some reference screenshots of Monarch Brightwing in the background. |
During this stage, I also decided it was time to Dremel out some holes in her armature so that I could insert Brightwing’s new glass eyes! These particular eyes seemed just spot-on for Monarch Brightwing, and having them in place really helped me get a better feel for how the sculpture looked as a whole.
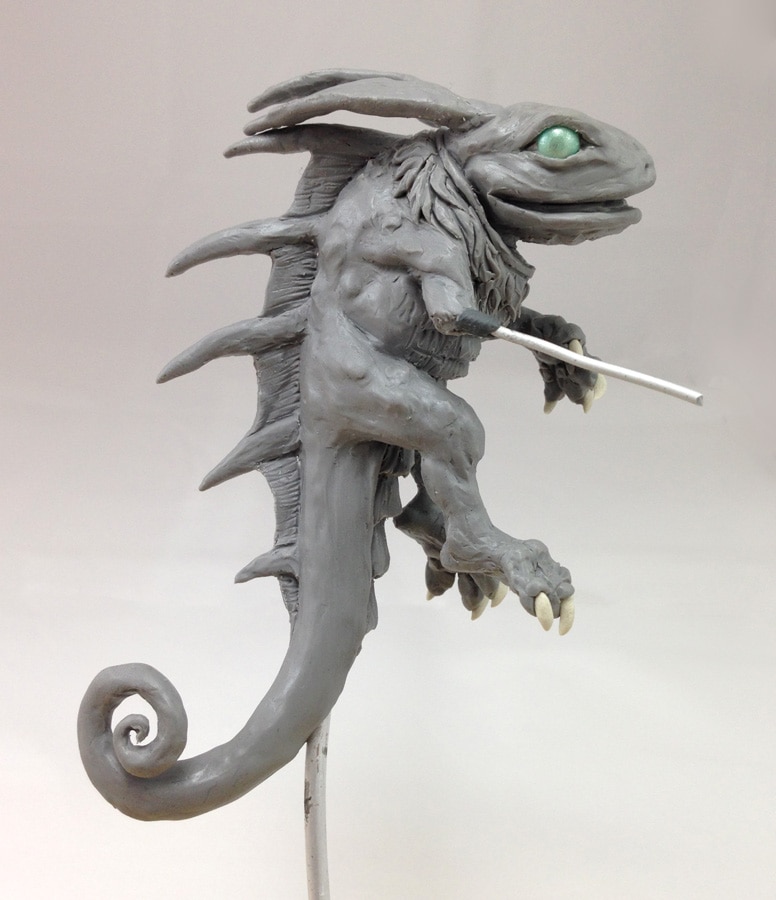
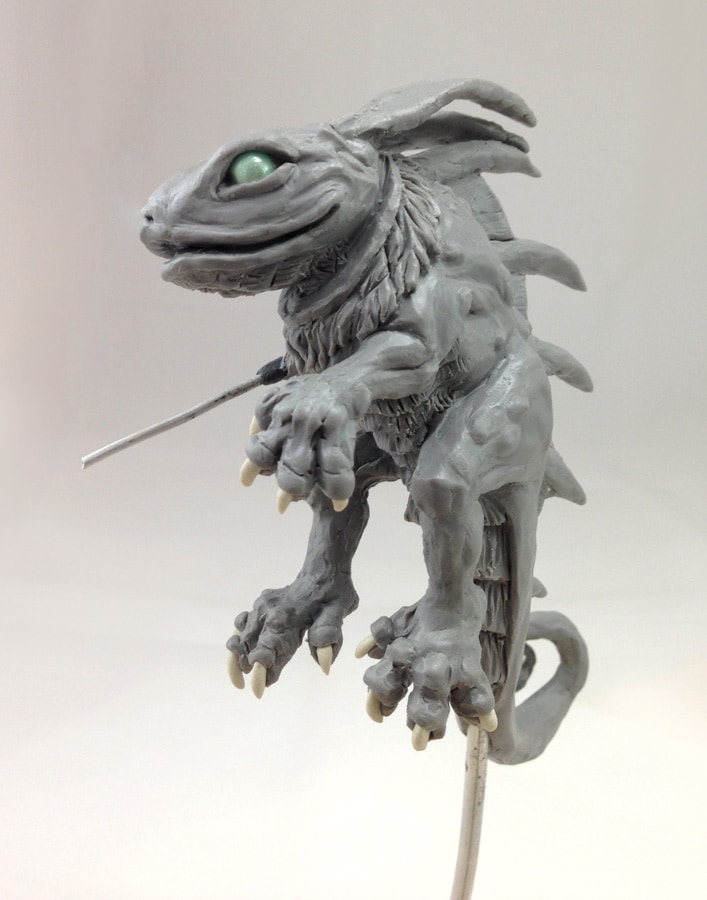
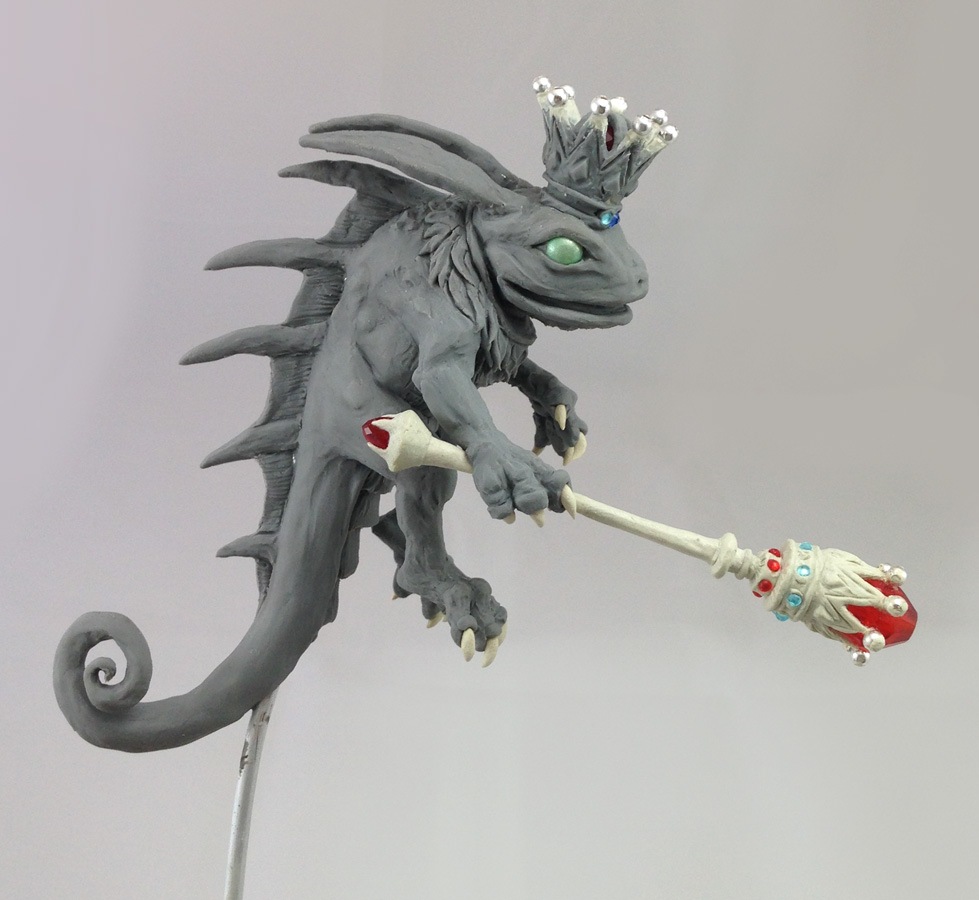
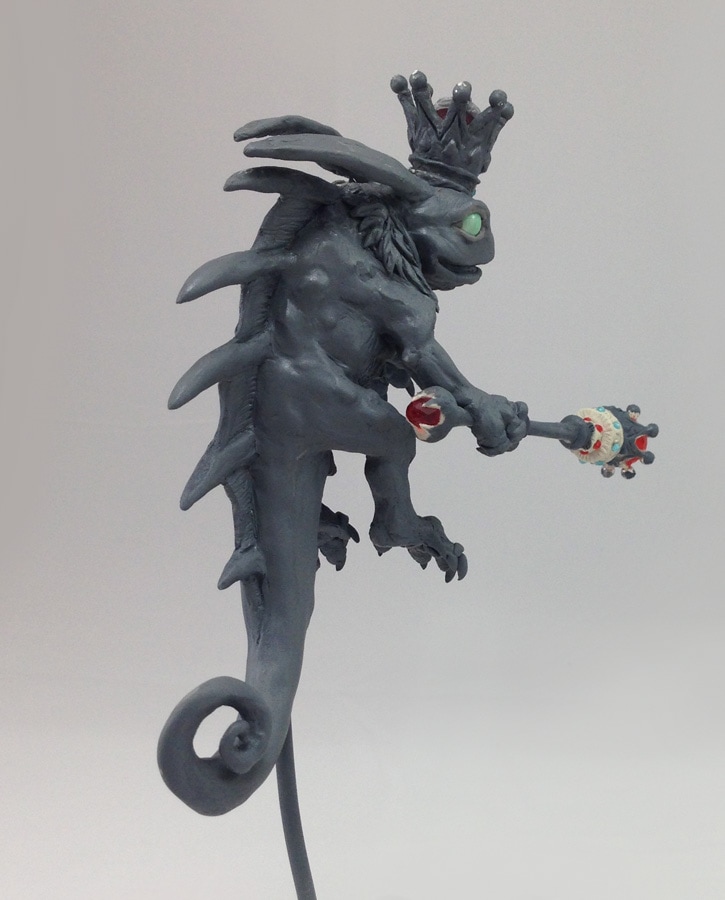
Muscles, Fingers, Toes, Claws, and More!
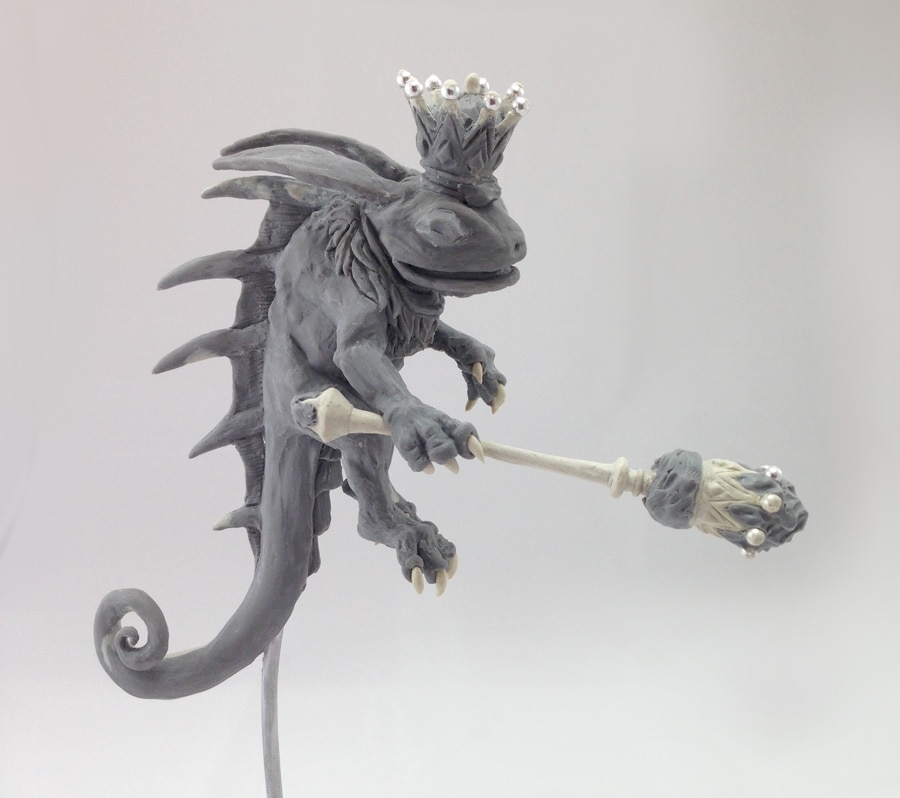
I continued to layer on the muscles, and began to try to finalize Brightwing’s pose so that she looked natural and interesting from multiple angles. Once I was decently-pleased with her pose, I used some Aves Fixit Sculpt to create hardened claws so that I could get them all into place prior to continuing work on detailing and smoothing the figure with rubbing alcohol.
 |
 |
 |
 |
This was also a perfect time for me to take a few more photos with a live monarch butterfly to see how the sculpture was shaping up!
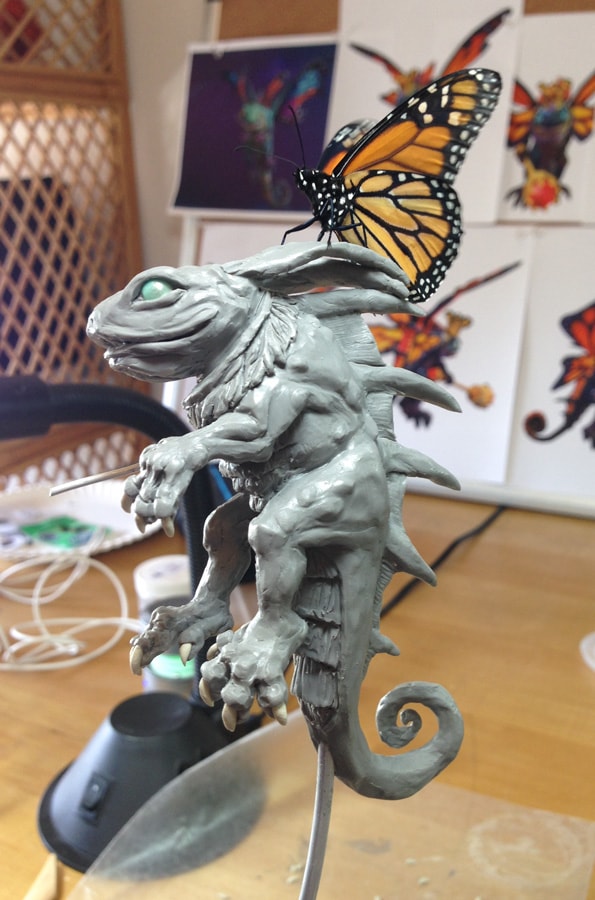 |
| "The view up here's great! I can almost see my house from here!" |
The detail phase continued, and soon it was time for the next big challenge: Monarch Brightwing’s accessories.
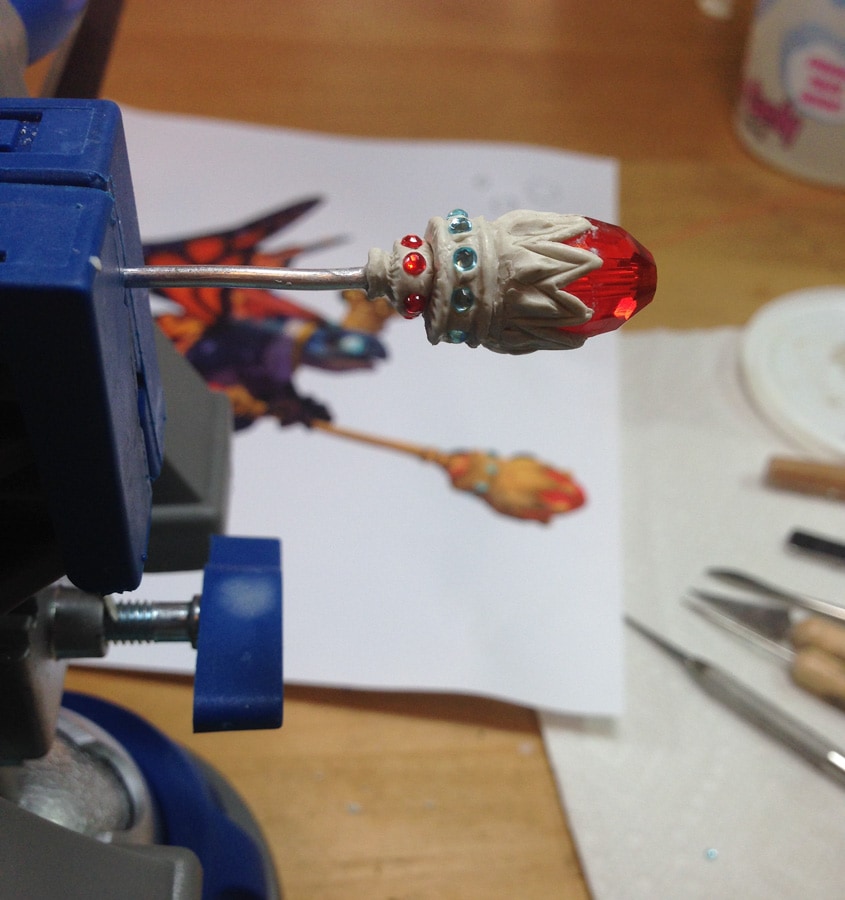
Accessorizing a Monarch
Due to their painfully-small size, I decided to work on Brightwing’s accessories separate from the main sculpture. The first order of business was to determine their overall size, and from there I started hunting for gems that best reflected the sizes and colors of those seen on Monarch Brightwing’s model. The smallest of these were barely larger than the tip of a pencil! At this stage, I was sculpting using the smallest tools in my arsenal.
 |
| A refurbished dental tool and two itty-bitty hoop tools. |
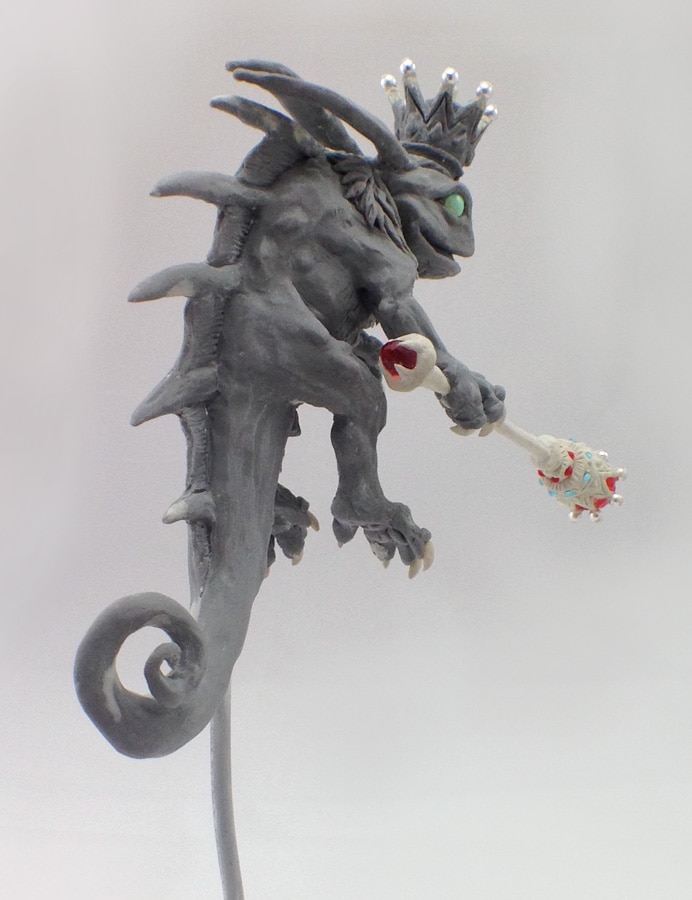
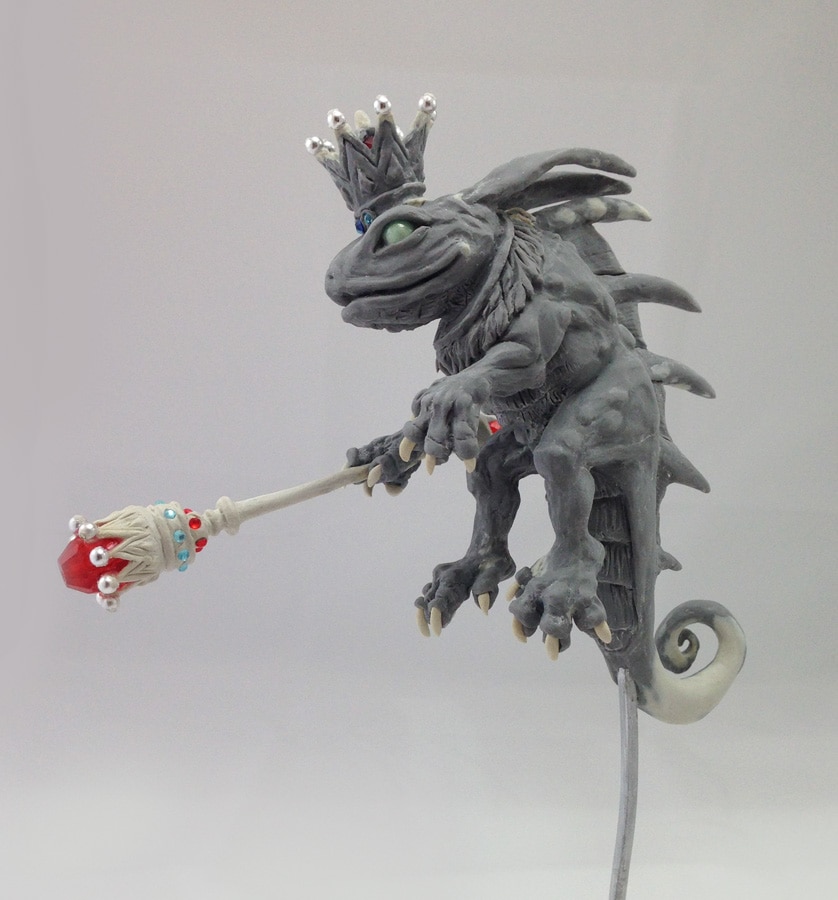
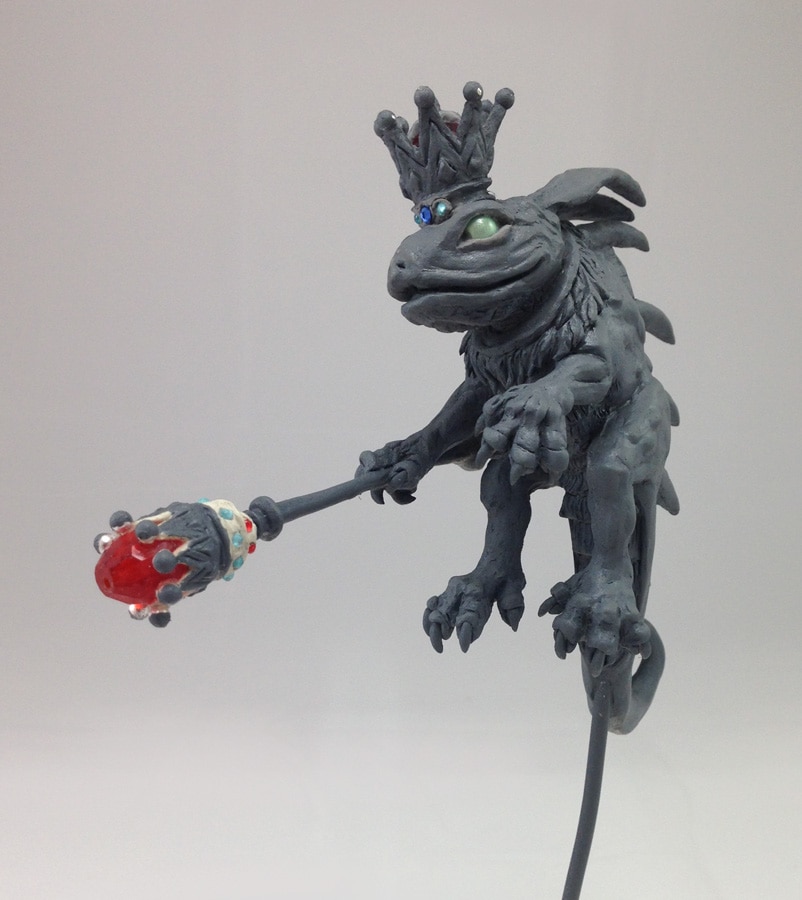
Next, Monarch Brightwing got her first bake in my oven. This made it so that I would be able to attach her crown and scepter without risking damaging the work I’d already done on her.
I sculpted the crown in my Sculpey mix, but I opted to sculpt the scepter almost entirely in Aves Fixit Sculpt since it would be particularly precarious to support. Once I was nearly done with the scepter and all its tiny gems, I attached the scepter to the wire I’d left exposed on Brightwing’s arm. After that, I sculpted the hand and claws around the scepter so that it appeared as though Brightwing was holding it.
 |
 |
 |
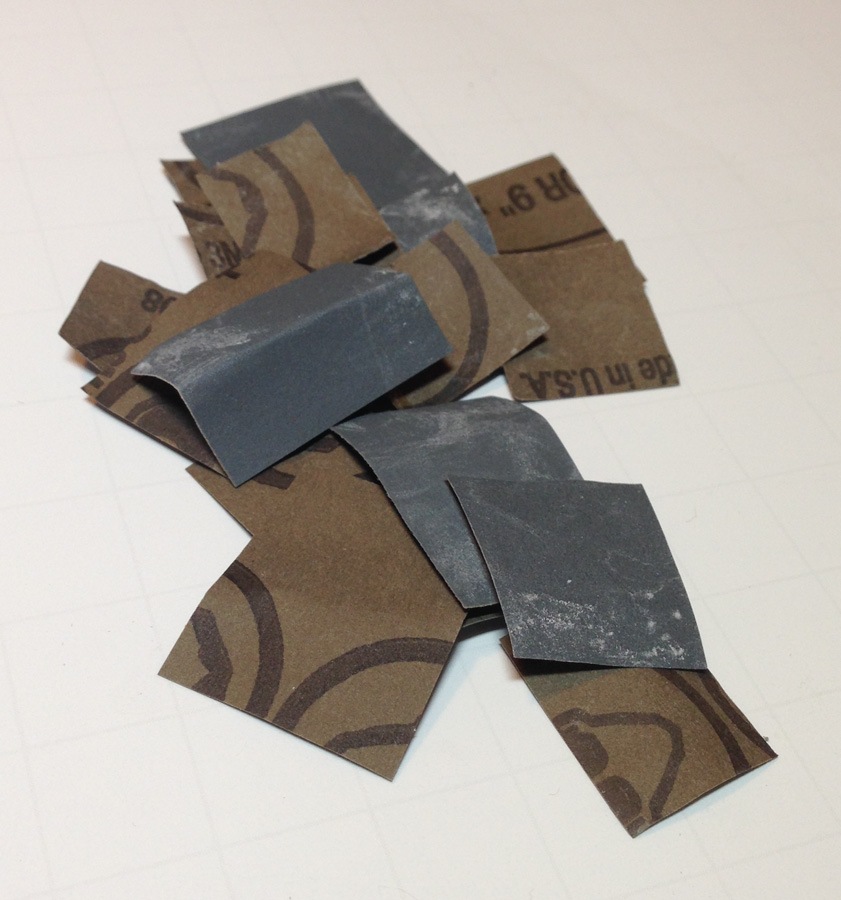
Baking, Patching, and Sanding Her Majesty
Next, Monarch Brightwing underwent her final bake in my oven, and then it was time for a bit of touch-up work! During this stage I patched some areas I wasn’t completely happy with using two-part epoxy, and then helped give Brightwing a smooth finish by going over her with wet/dry sandpaper, followed by fine steel wool.
 |
| Sanding each nook and cranny may take time, but the smooth result is totally worth it! |
|
 |
 |
Masking and Staining
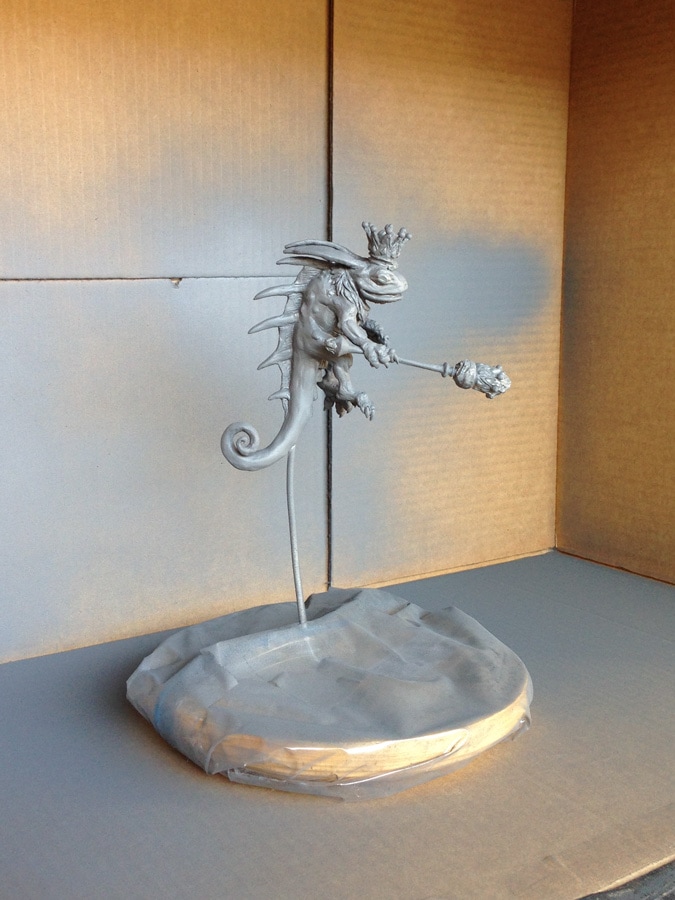
Next I planned to cover Monarch Brightwing in a sandable-primer, so to protect her eyes and gems from the spray paint, I masked those areas with clay before spraying her. Shiny!
During this stage I also began drilling, patching, sanding, and staining her final base in the hopes that it would be ready around the same time the sculpture was!
 |
 |
 |
Monarch Brightwing all Primed and Ready for Color!
But Monarch Brightwing wasn’t yet ready for her butterfly cosplayer (or world domination), because she still needed her luxuriously-colored coat and regal accessories! In the next blog covering this quirky project, you’ll be witness to the next colorful stage of this sculpture’s inception!
 |
 |
 |
 |
 |
 |
 |
Do you have any questions about sculpting materials, the sculpting process, or raising monarchs? Let me know in the comments below!
Are you working on any Blizzard fan creations or Heroes fan art? Make sure to tell us all about them over in our Community Creations forum!
*- As far as we know!
