Season 04: Showdown Map Intel
Showdown
United Republic of Adal
Day 229, 17:30
Factions Deployed: SpecGru / KorTac
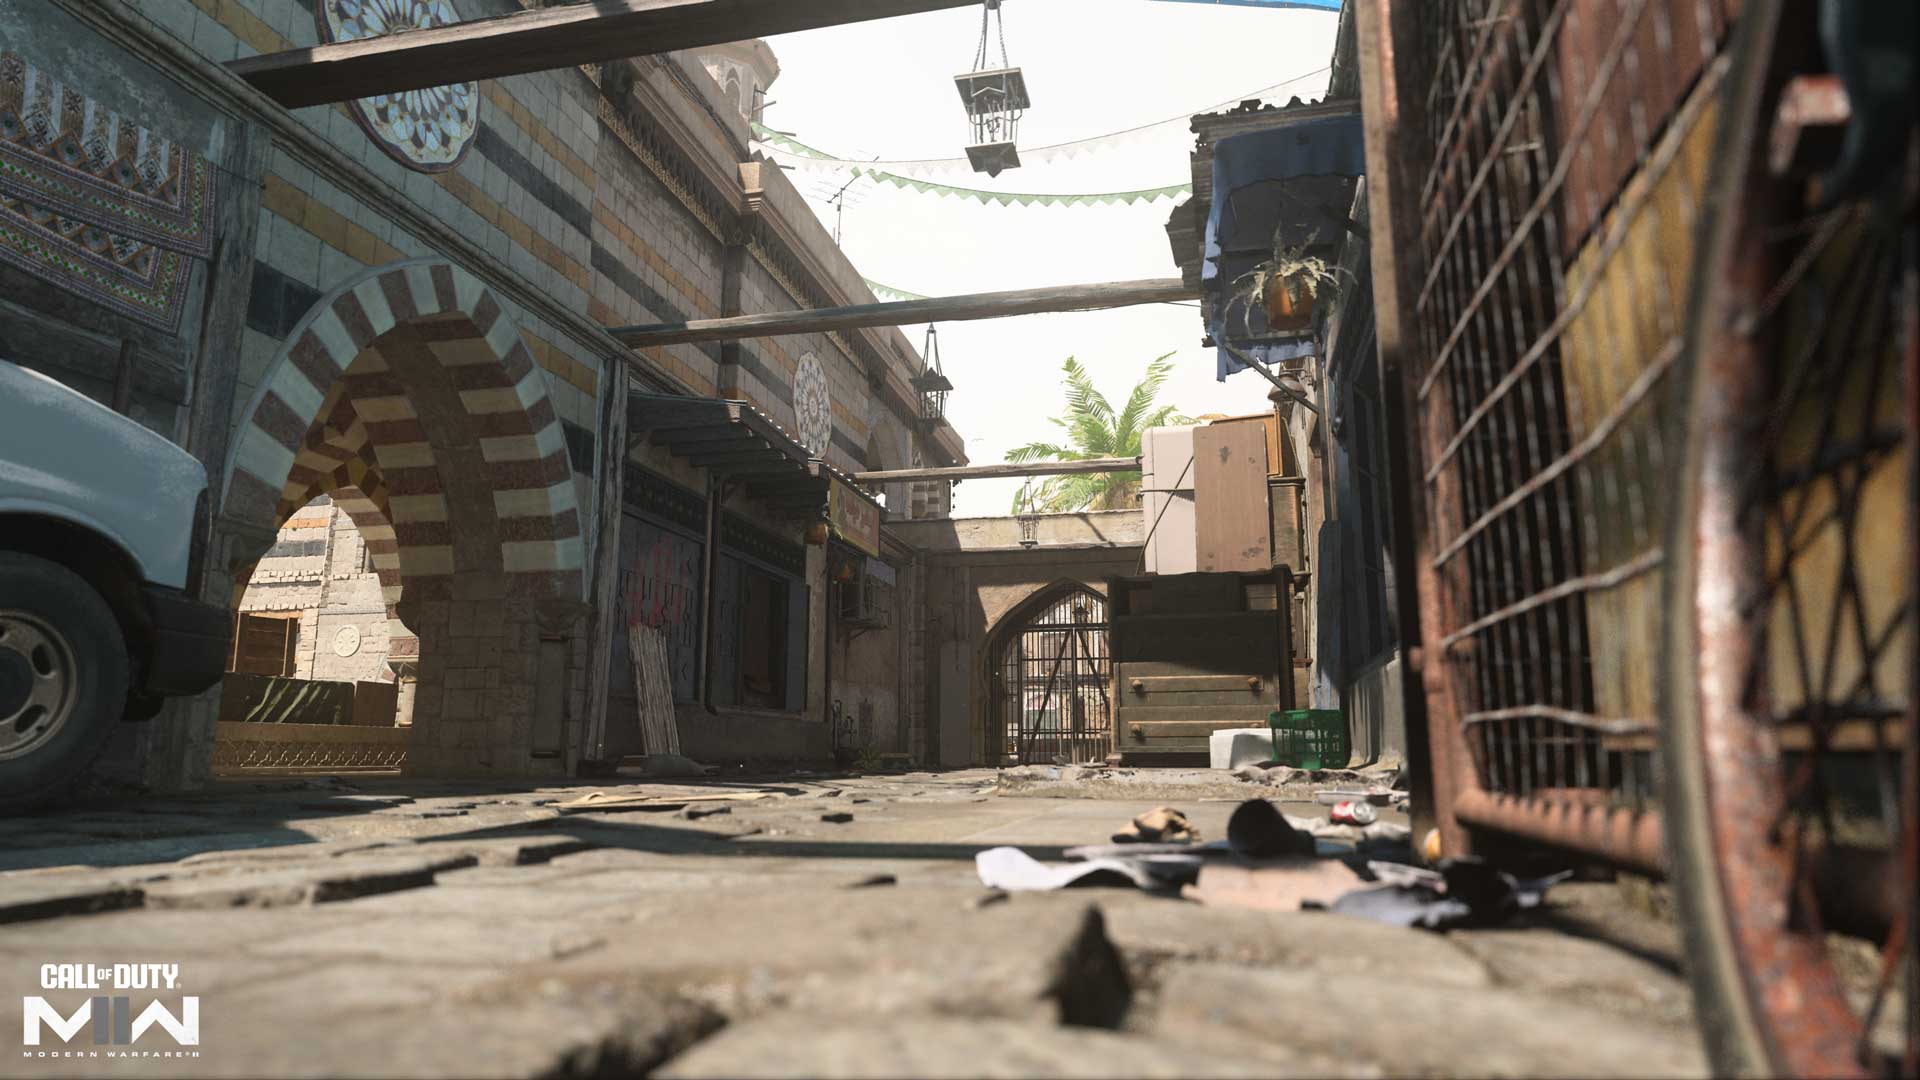
Positioned in Al Mazrah’s Akhdar Village, Showdown — first featured in 2007’s Call of Duty® 4: Modern Warfare® — is a medium-sized Core Multiplayer experience where action funnels in and around an iconic courtyard and its statue.
Only the bravest — or most foolhardy — Operators will attempt a crossing, with danger looming above and below. The perimeter offers its own challenges, funneling players into tense engagements in its narrow confines.
Here is what you need to know:
Spawn Point: KorTac
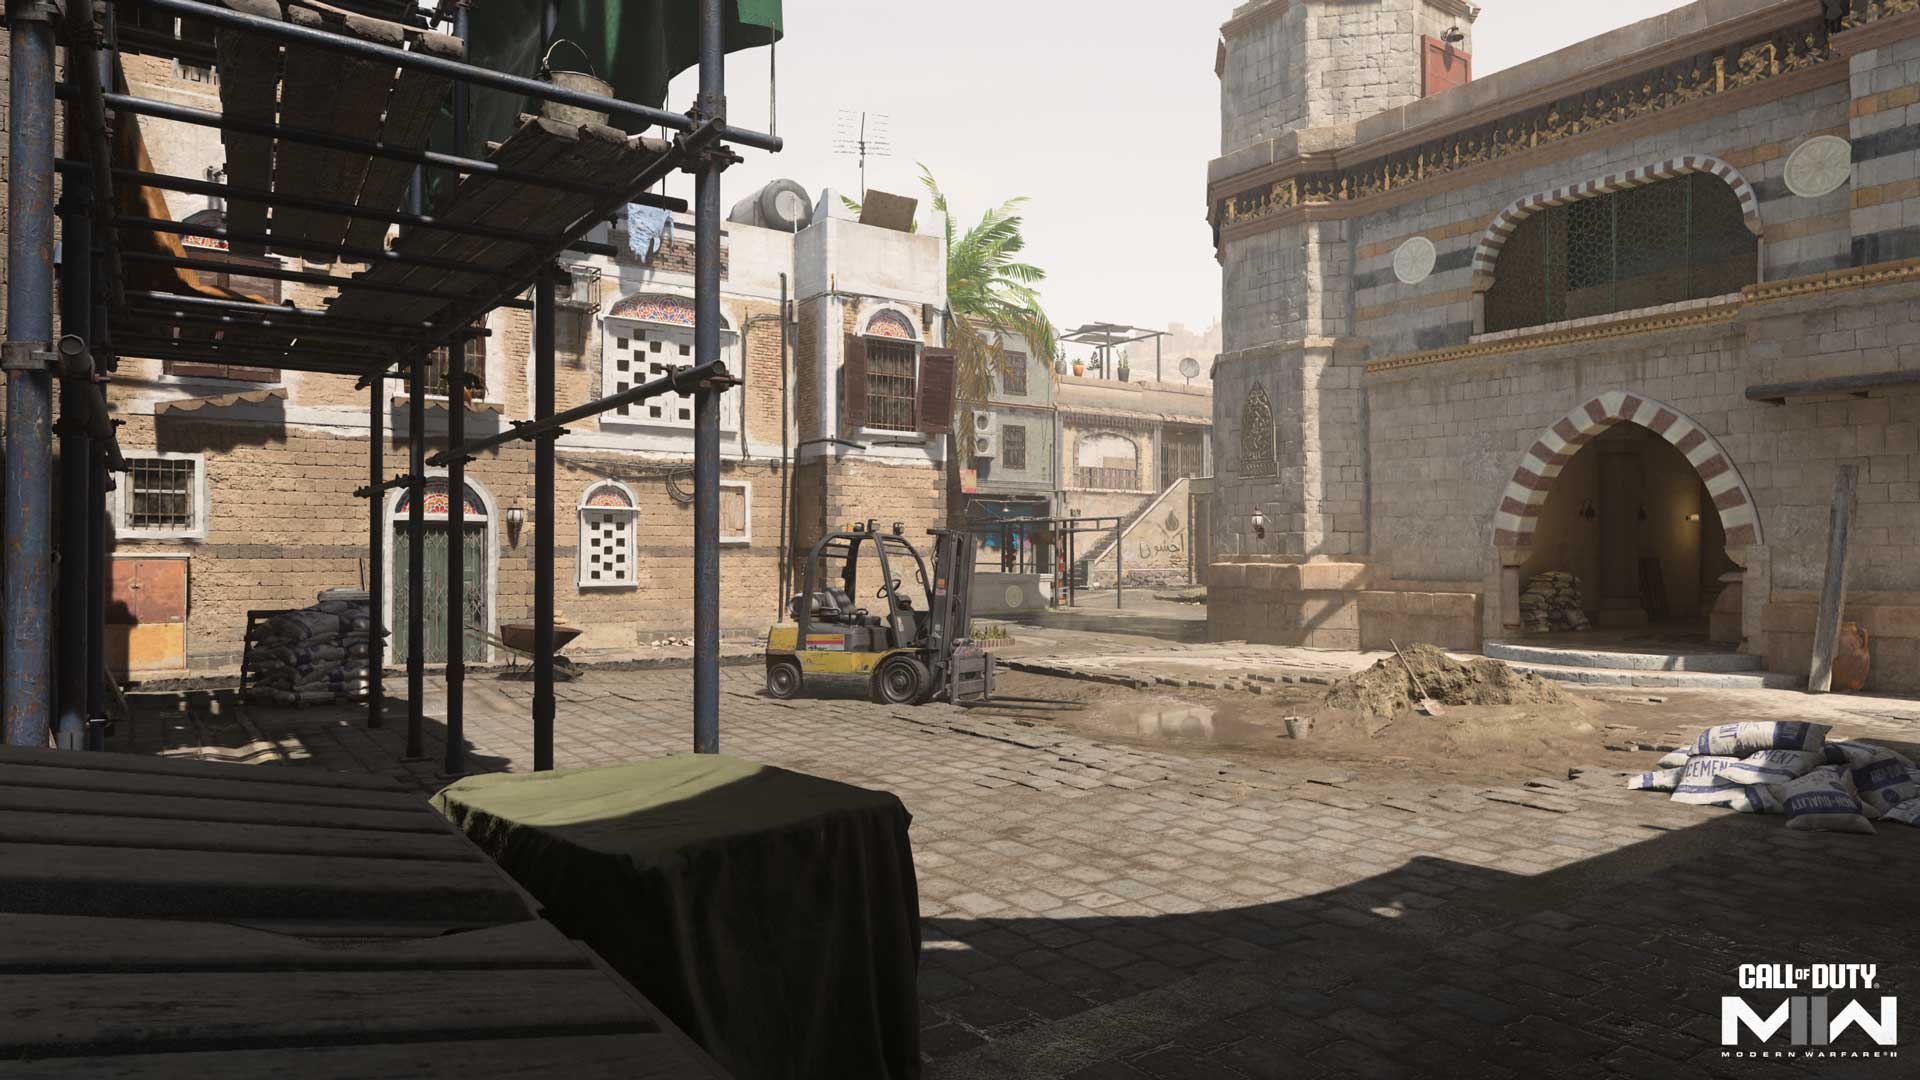
KorTac Spawn Zone (West) — Construction
KorTac forces start in Construction amid ongoing renovations. From here, there is a direct view through the West Tunnel toward the courtyard. Branching paths lead to the southern Chicken Coop and the northern Food Stalls. Heading straight towards the central Statue can be a death trap, though the stacked sandstone and wooden pallets in the West Tunnel may be useful as defensive positions against those situated at the other spawn.
On the perimeter, the Food Stalls offer a slightly safer route compared to the Chicken Coop route. The stairs here offer easy access up and over the closed metal gate. Where the Chicken Coop gets the advantage, however, is in its side entrance toward Statue, which can serve as a flank route against enemies in the courtyard.
Spawn Point: SpecGru
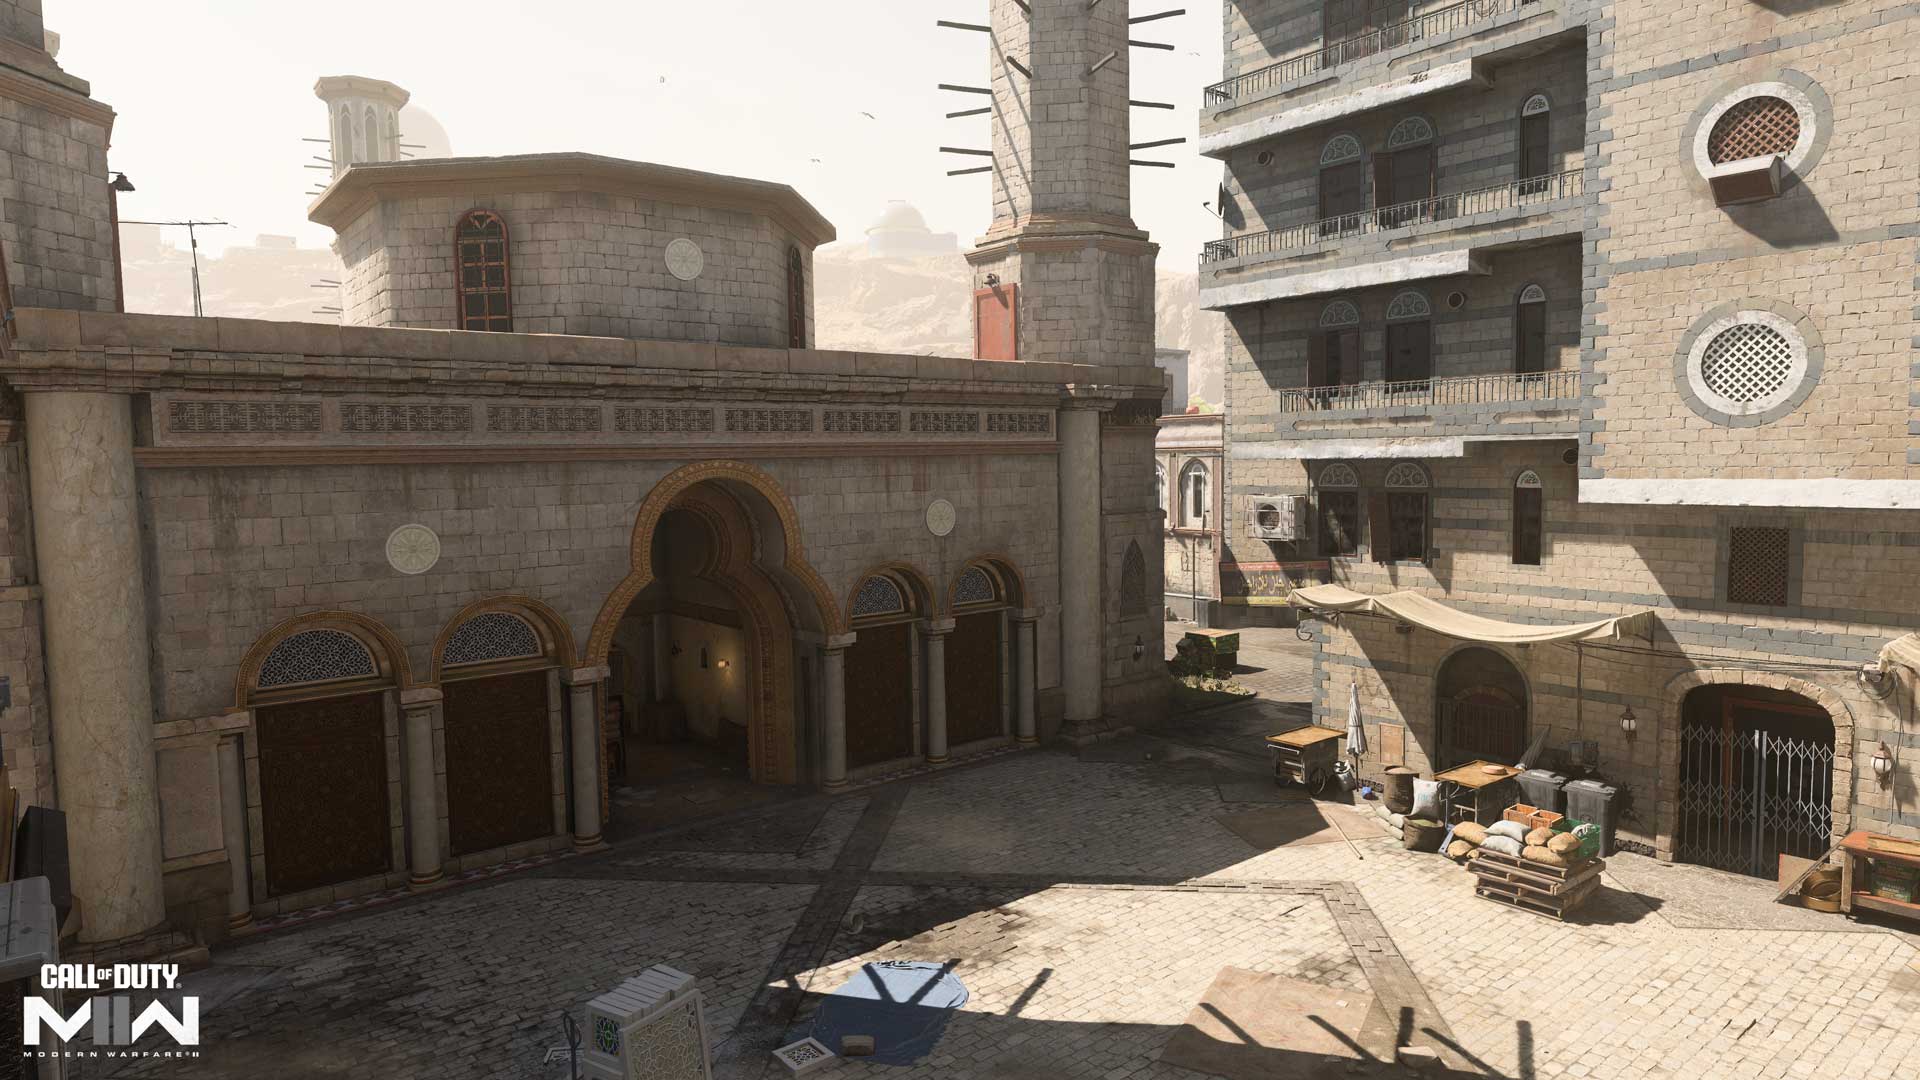
SpecGru Spawn Zone (East) — Main Entrance
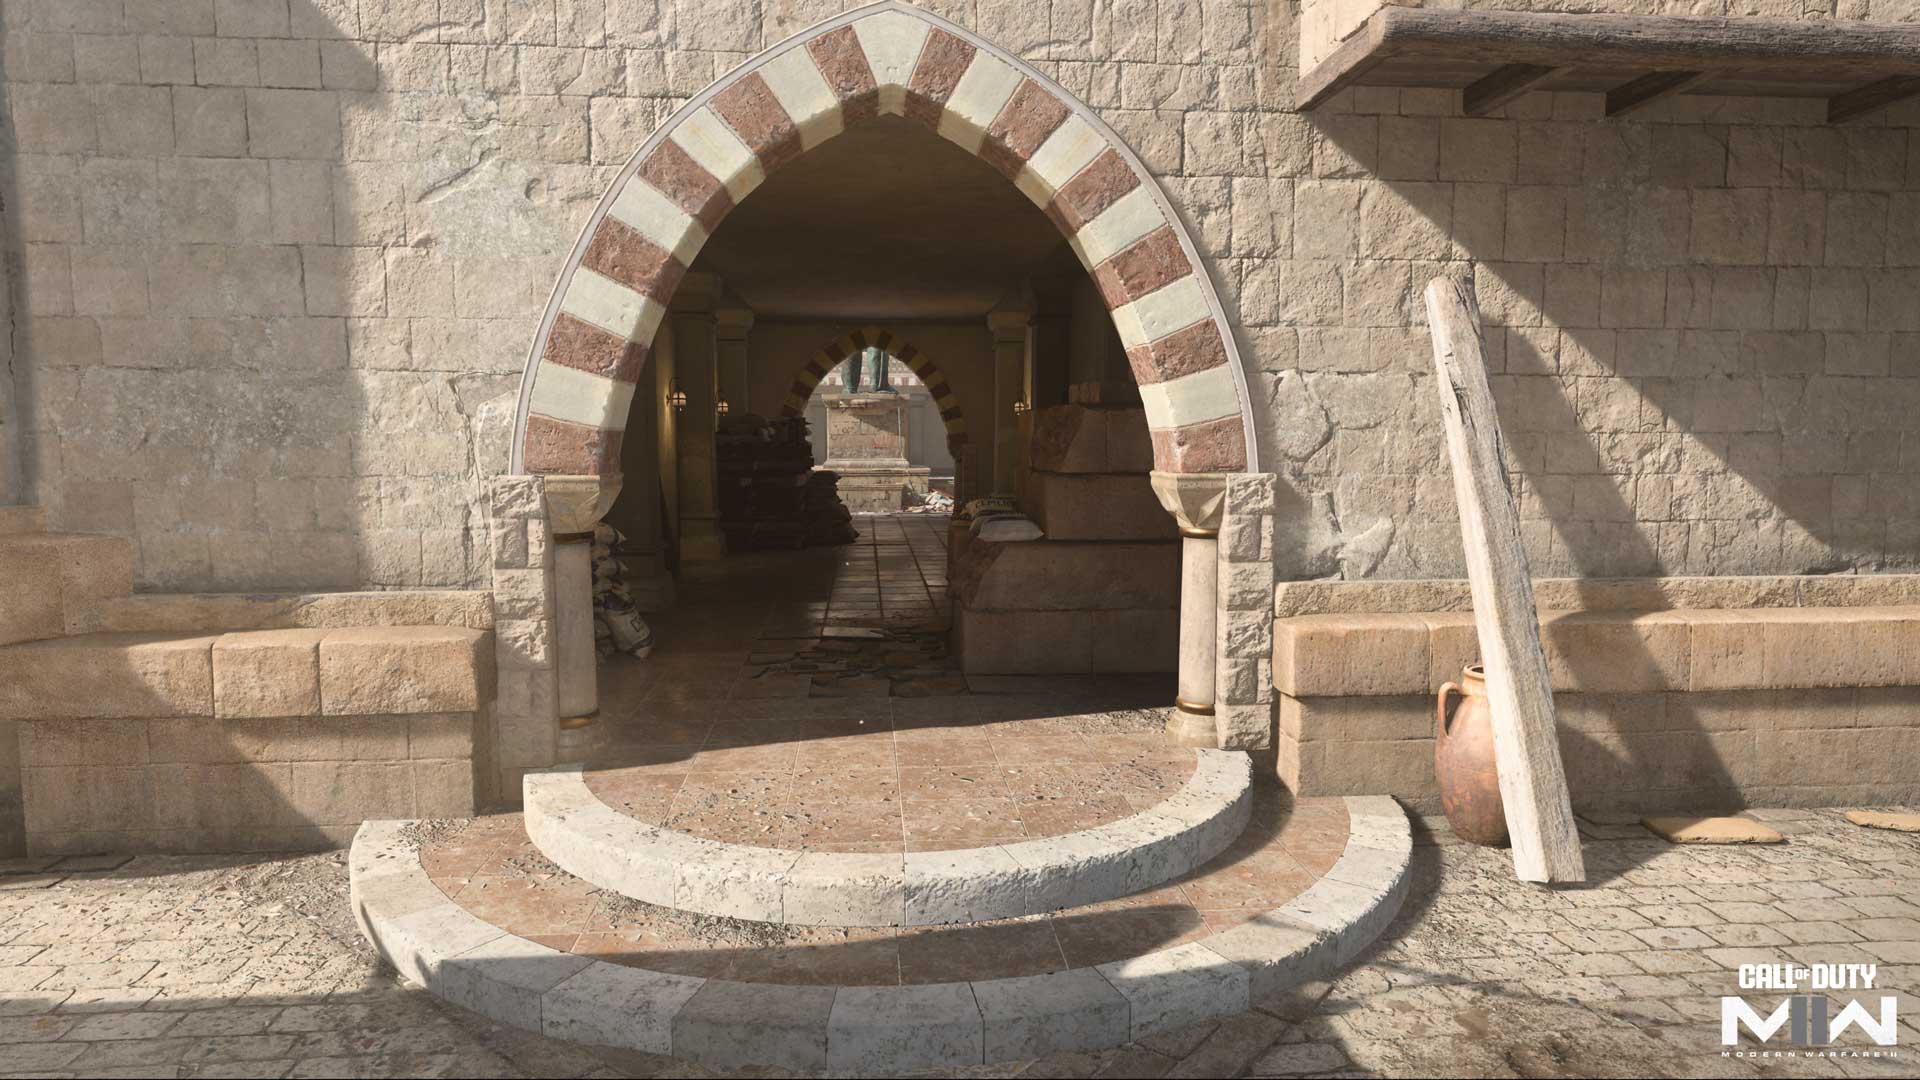
SpecGru enters the match through the more pristine Main Entrance. They, too, can head straight toward the courtyard or flank around the perimeter. The East Tunnel features some large cover options that can be used for a more defensive approach toward Statue.
The northern Van route is exposed to sightlines past the metal gate, though it’s possible to climb atop the vehicle and mantle to the overhead ledge, where you’ll have a greater vantage point against enemies on the other side. There’s also an entrance to the covered walkway surrounding the courtyard. Break to the southern Glass shop for a less exposed approach to the gate. Nearby stairs offer rapid access to the courtyard’s second story.
Map Maneuvers: Route Planning
For the purposes of this guide, we’re dividing Showdown into five main sections:
- Construction
- North Path
- Main Entrance
- South Path
- Courtyard
Construction
Construction is nearly wide open, with only the forklift, cement bags, and the corner dumpster offering cover across its flat, square surface. The biggest challenge here is anticipating enemy attacks — will they arrive via the West Tunnel, Food Stalls, or Chicken Coop? Using the cover objects at hand, it’s possible to partly conceal yourself from one or two of these pathways, but you’re in turn reducing your own spatial awareness while doing so.
When holding the area for an objective, request support to cover the left and right flanks so you can focus on the central tunnel. If one of the flanks comes under fire, move up for additional support to better concentrate your defenses.
North Path
For this guide, the North Path includes, from east to west, Van, Blue Tarp, and Food Stalls. Van is mostly open, with some scattered cover objects for added defense. Your options expand near the eponymous vehicle, offering a quick means to get onto the ledge overhead. Run across the hanging boards to switch sides, or race for the upper path to move toward Food Stalls or into the upper levels of the courtyard. There’s also a ground-floor entrance into the courtyard from here, though getting to it exposes you to attacks from enemies on the other side of the gate.
In Food Stalls, the corner staircase and the low wall in front of the cafe provide great defensive positions when covering the area. When you’re covering the main path through the gate, consider setting up behind the white planter box with a sniper rifle or other long-ranged weapon in hand. For more aggressive play, race up the staircase to fire on enemies from above or to slink into the courtyard’s upper walkway.
Main Entrance
While not identical, the Main Entrance offers largely the same tactical choices as Construction, with a flat open square and some minor cover options throughout. Bring backup when defending the area to help you cover the three pathways in, and be ready to book it for the East Tunnel should any aerial streaks descend on your position.
South Path
Consisting of Glass Shop, Slide, and Chicken Coop, the South Path offers the other means of crossing the map outside of the Courtyard. Though cover objects are sparse, the long planter box in Glass Shop offers a solid defense when engaging enemies here, while the corner scaffolding offers a height advantage but little cover. Note the wooden platform under the Courtyard’s southeast ledge — this is a solid position from which to ambush incoming enemies.
The stone staircase offers a straightforward route over to Slide. From here, you can jump down to ground level or head into the lower Courtyard. You can also hop onto the wooden awnings along the bottom map border to maintain verticality. The Slide offers a powerful vantage point over Chicken Coop.
Courtyard
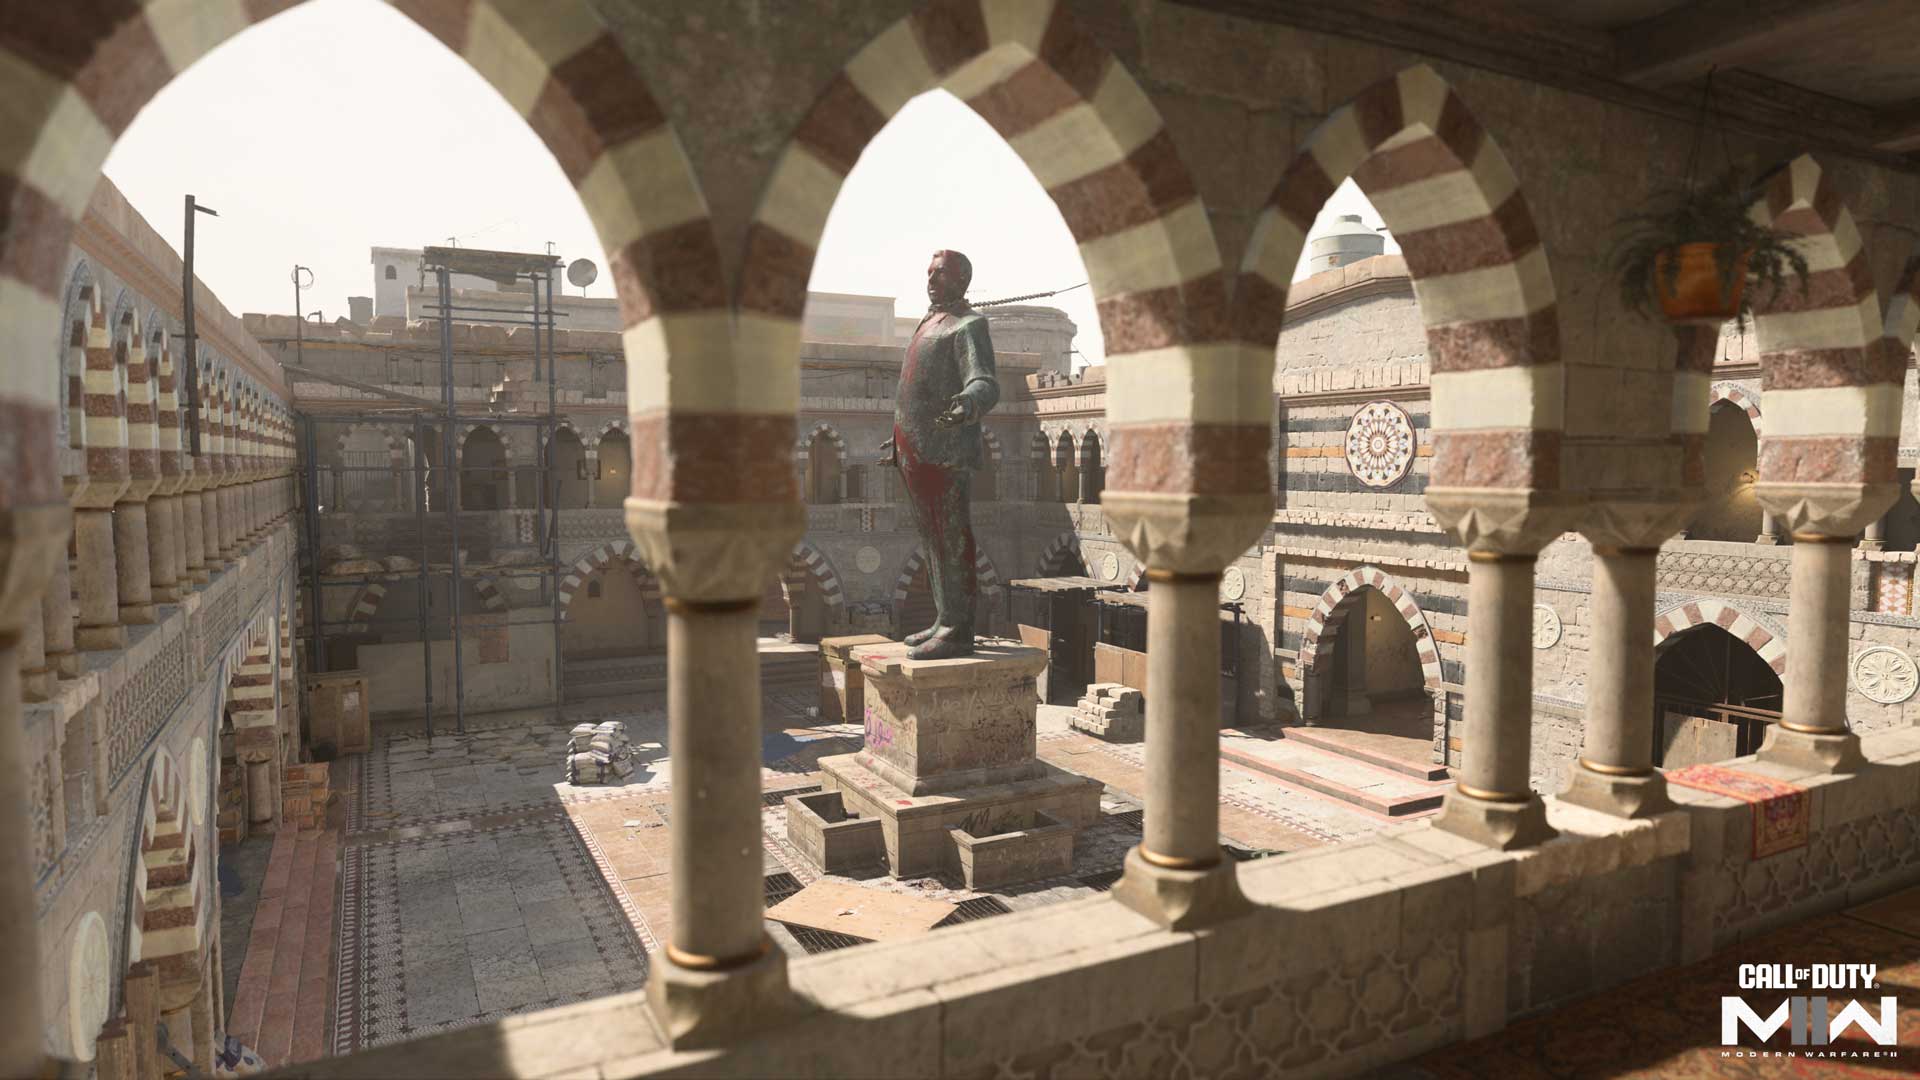
At the dead center of the map, the Courtyard with its central Statue sees some of the most intense action in the match. The surrounding walkways present dangers at every turn, but when you need to cross the map fast, it’s tempting to take the risk. With a combination of intel-gathering through comms and UAV assistance, plus judicial use of the available cover, it’s possible to get through here alive, but your timing’s got to be flawless.
When it comes to the surrounding walkways, be prepared to fight for your position on the coveted upper level. With a vantage point over Statue, plus sights over the North and South Paths, it’s a powerful area. With four entry points leading to the upper level, however, you must always be on guard, prepared to take on enemies attempting to usurp your position.
Objective Routes and Rotations
Mode Intel: Domination
At the start, expect some serious action on the South Path as teams fight to get through the courtyard’s southern opening toward the B flag. The East and West Tunnels will likely see similar levels of action as well; consider taking the stairs to the upper walkway, which is a good — albeit slightly exposed — power position.
Though the A and C flags are on opposite ends, the map is small enough that one or two aggressive Operators can push to the other side while the rest of the team is engaged with the B flag by Statue. This helps take the pressure off the Courtyard as the enemy falls back to retake their lost flag. Once that happens, taking the B flag becomes more feasible.
Mode Intel: Search & Destroy
Search & Destroy changes up the dynamics on Showdown with both bomb sites positioned along the upper walkway to the north and south. With just one life per round, it’s important to master the four entrances to the upper floor: the staircases leading up from the ground floor in the southwest and northeast corners, as well as the two outer walkways over the metal gates leading straight to the top floor.
As the attacking team, consider aggressively pushing forward while sending a bomb carrier — and potentially a bodyguard to assist — upstairs to plant. Defenders will have to send at least one Operator upstairs to gather intel if they hope to counter this strategy, but no matter what, a midrange weapon with a 3.0–5.5x magnification scope can help take out the bomb carrier regardless of which site they go for.
Mode Intel: Hardpoint
Showdown has six Hardpoints, with each one positioned in a meaningful location outside of the central Courtyard. However, there will definitely be foot traffic here as players take the shortest route possible to the next objective.
It’s worth fighting for a position along the upper Courtyard walkway; because there are two Hardpoint locations here, as well as two Hardpoints by the metal gates, it is certainly a power area to lock down. Also, staying up here offers protection from aerial streaks and largely negates threats from below.
When it’s time to take the Hardpoints in Construction and the Main Entrance, however, head back to the ground floor to clean up hostile forces.
Top Tips
1. Explore the perimeter first. While dangers abound everywhere, the fight perimeter is generally more focused and predictable. Once you’re familiar with the layout, start moving into the central walkways and exploring the middle.
2. Careful with the aerial streaks. Though the skies are clear, the structure surrounding the courtyard offers thick overhead cover against incoming aerial streaks, so be mindful of your timing or you’ll have a hard time finding a target.
3. Downtime, what’s that? Showdown’s layout pairs long, narrow lanes with plentiful right angles, often requiring a sudden change between close- and long-range engagements. Remember that swapping to your pistol is always faster than reloading, and it provides dependable power when you need to make the switch.
4. Ledge hang trick shot. See those overhead boards set up along the northern Blue Tarp? With a precision jump, you can activate a ledge hang from them, catching incoming opponents off guard. You’re quite exposed in this position, so don’t overdo it.
5. Grenades to upper walkway. When you don’t have time to engage in a precision firefight with someone on the upper walkway, consider tossing a grenade up there instead — or using a Drill Charge to penetrate the walkway — for a quick engagement starter, if not a solid elimination.
6. The right tool for the job. Versatility goes a long way when holding the upper walkway over the Courtyard. The new Season 04 Tempus Razorback Assault Rifle, unlocked for free in the Battle Pass, is a great example of a weapon that can engage targets downrange but can also hold its own against nearby enemies.
7. Pincer attack. When approaching an objective within Construction or the Main Entrance, try to split your forces to come in from at least two different directions, thus dividing the enemy’s focus with an effective pincer attack.
8. Now try to find me. Smokes — Grenades and the Field Upgrade — can be helpful to conceal movements, especially in the Courtyard. Just be mindful of Thermal Sights or predictable movements that can counter this strategy.
9. If it ain’t broke, don’t fix it. This version of Showdown is very faithful to its original design, though on top of the massive graphical improvements since then, the updated movement mechanics add a new layer of strategy. Use your mantling abilities — especially around the perimeter — to get above your enemies fast and use slide to get behind cover when taking fire.
10. Take your skills to Call of Duty: Warzone. Starting to feel confident after several matches? Consider switching over to Warzone and heading to the Ahkdar Village POI in Al Mazrah. Use the skills you gained in Multiplayer to lock down the area as you fight to be the last squad standing.
Stay frosty.
© 2023 Activision Publishing, Inc. ACTIVISION, CALL OF DUTY, CALL OF DUTY WARZONE, and MODERN WARFARE are trademarks of Activision Publishing, Inc. All other trademarks and trade names are the property of their respective owners.
For more information, please visit www.callofduty.com and www.youtube.com/callofduty, and follow @Activision and @CallofDuty on Twitter, Instagram, and Facebook.