Call of Duty: Modern Warfare II Dome Map Intel
Operation Dome
United Republic of Adal
Day 339, 18:30
Factions Deployed: SpecGru / KorTac
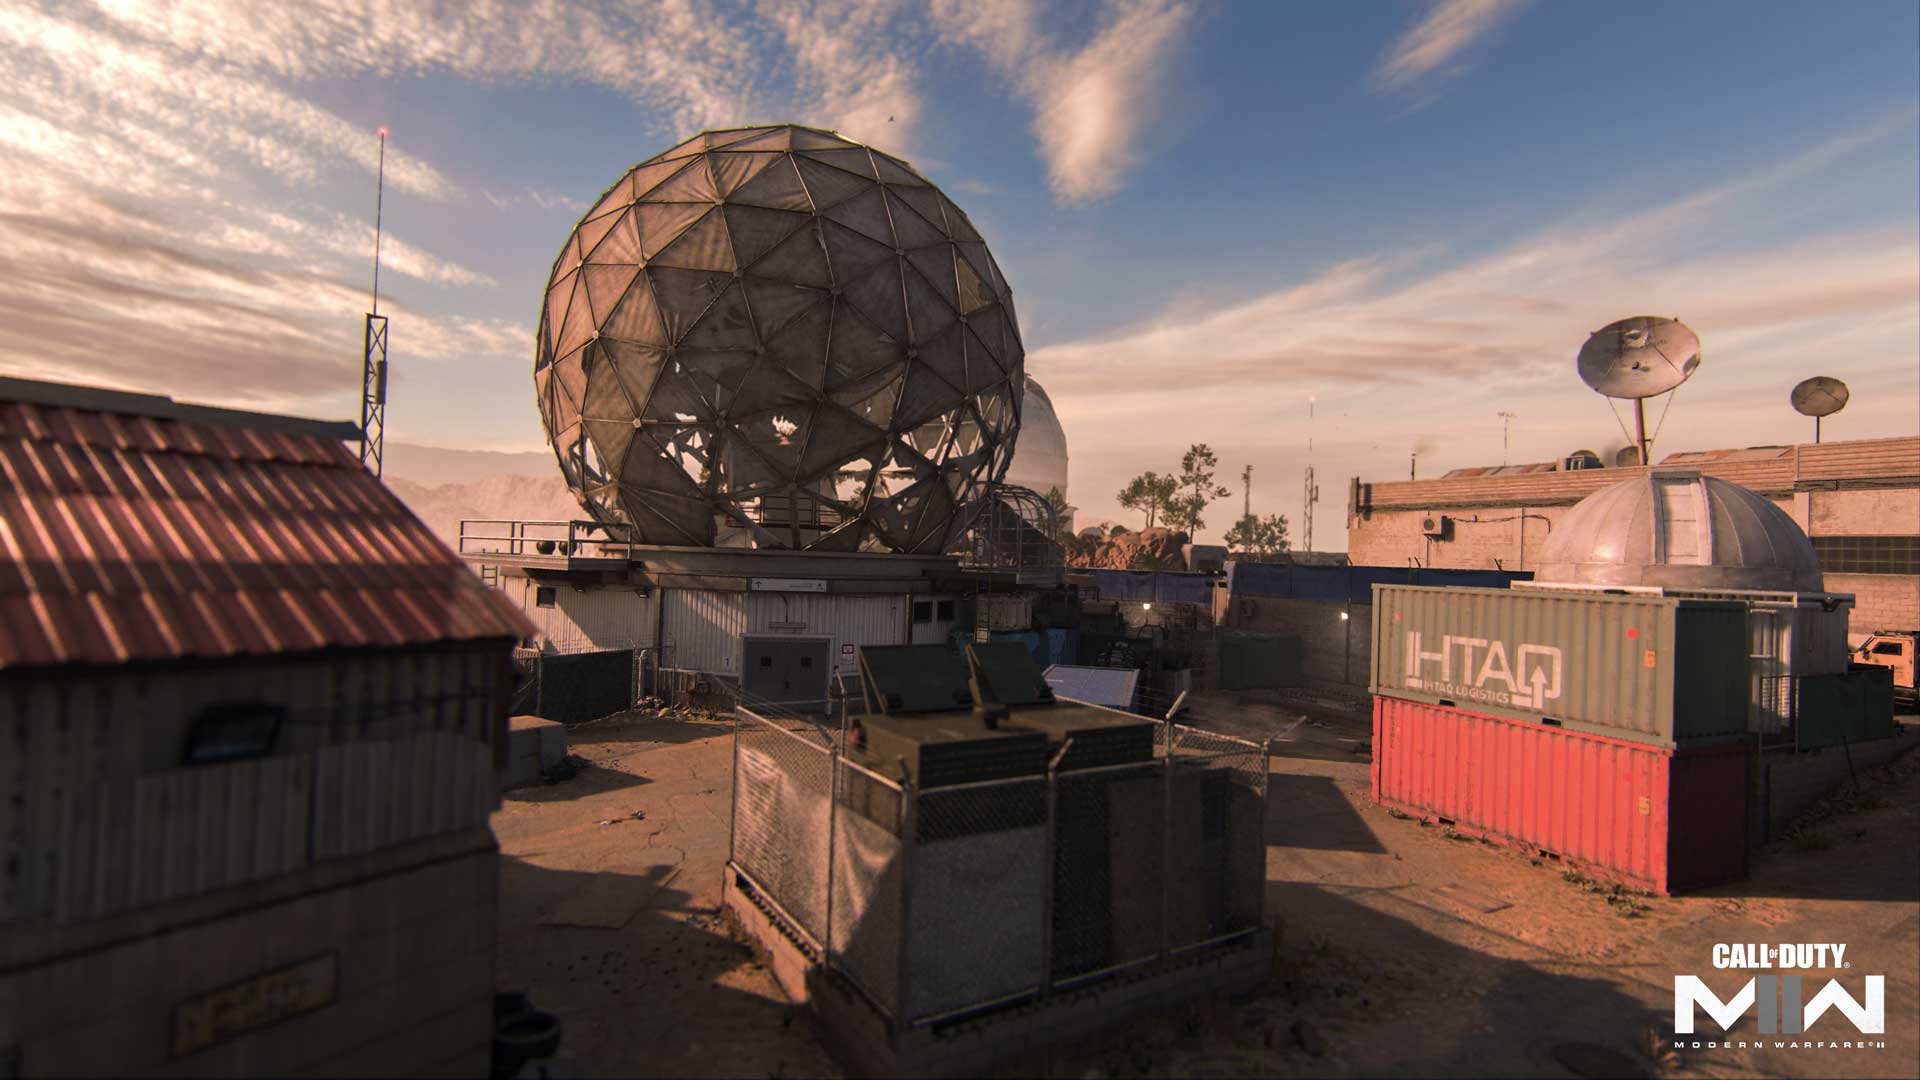
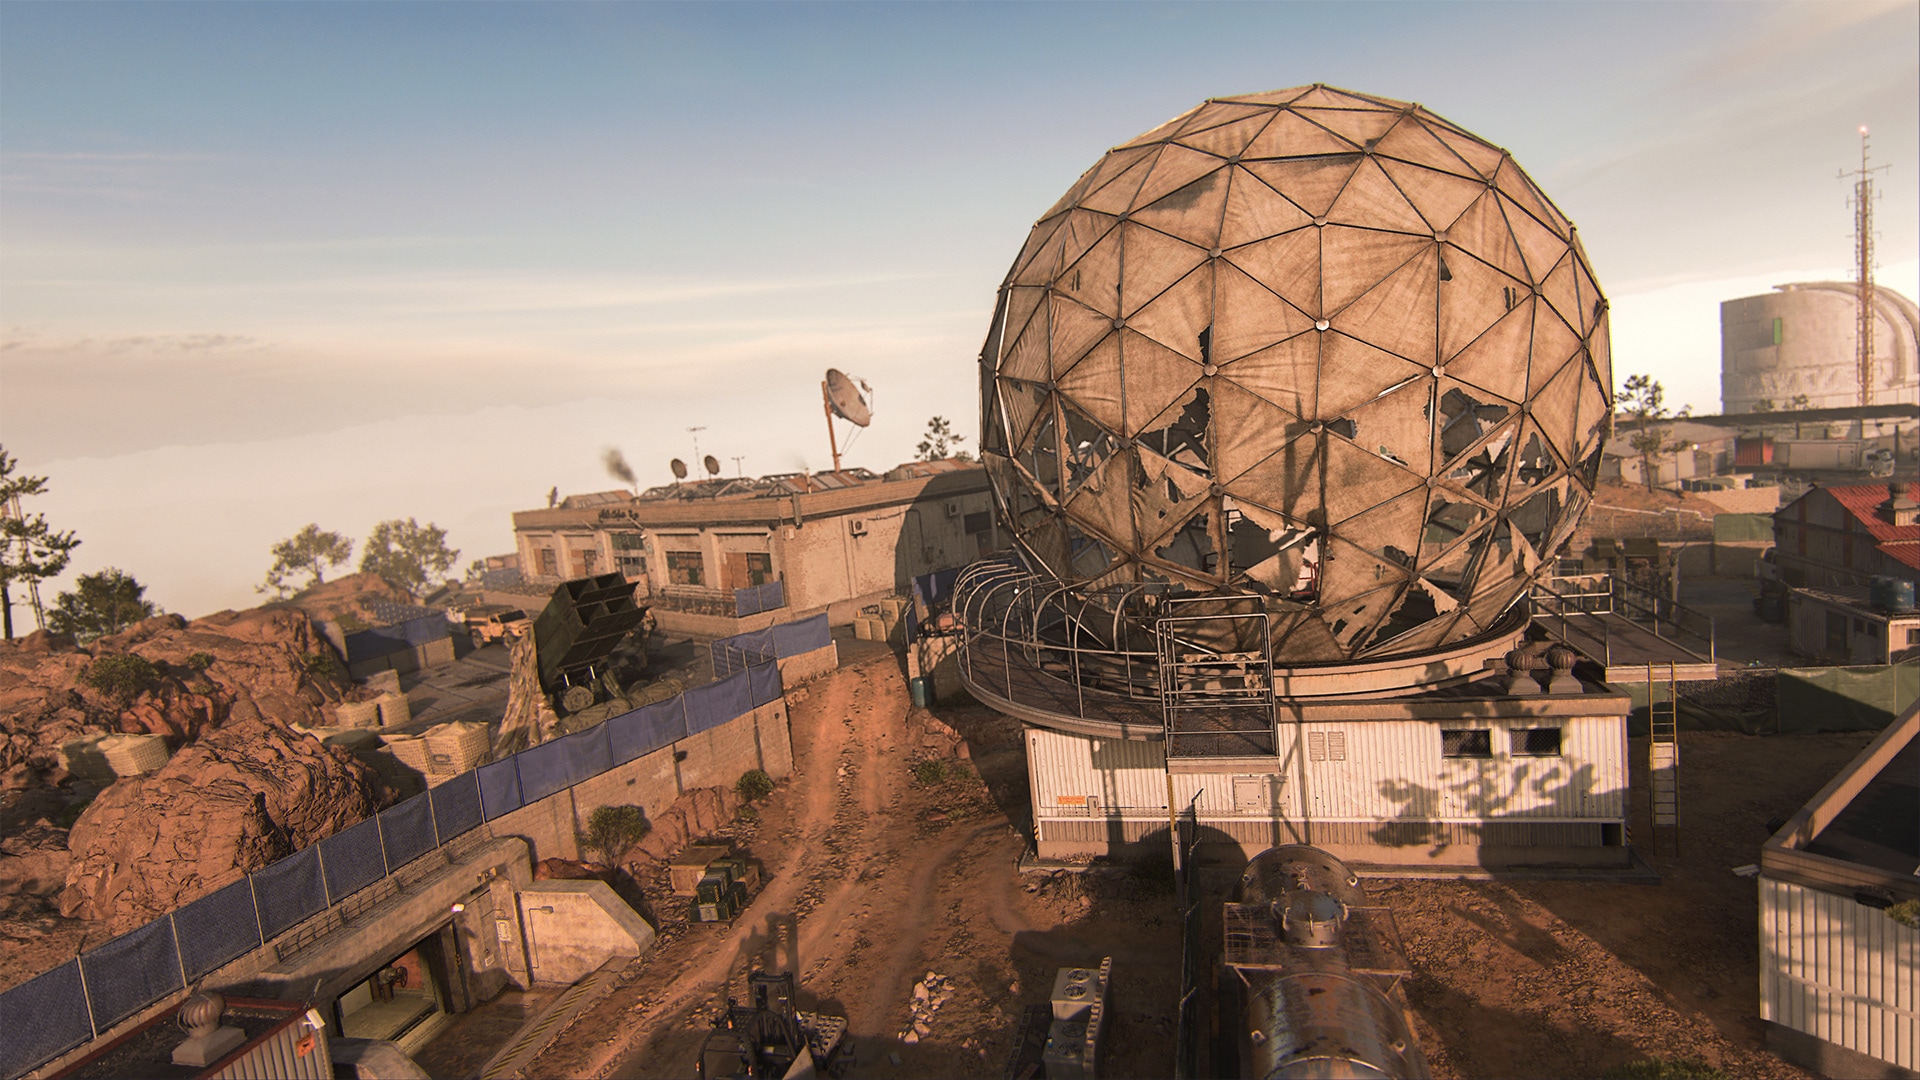
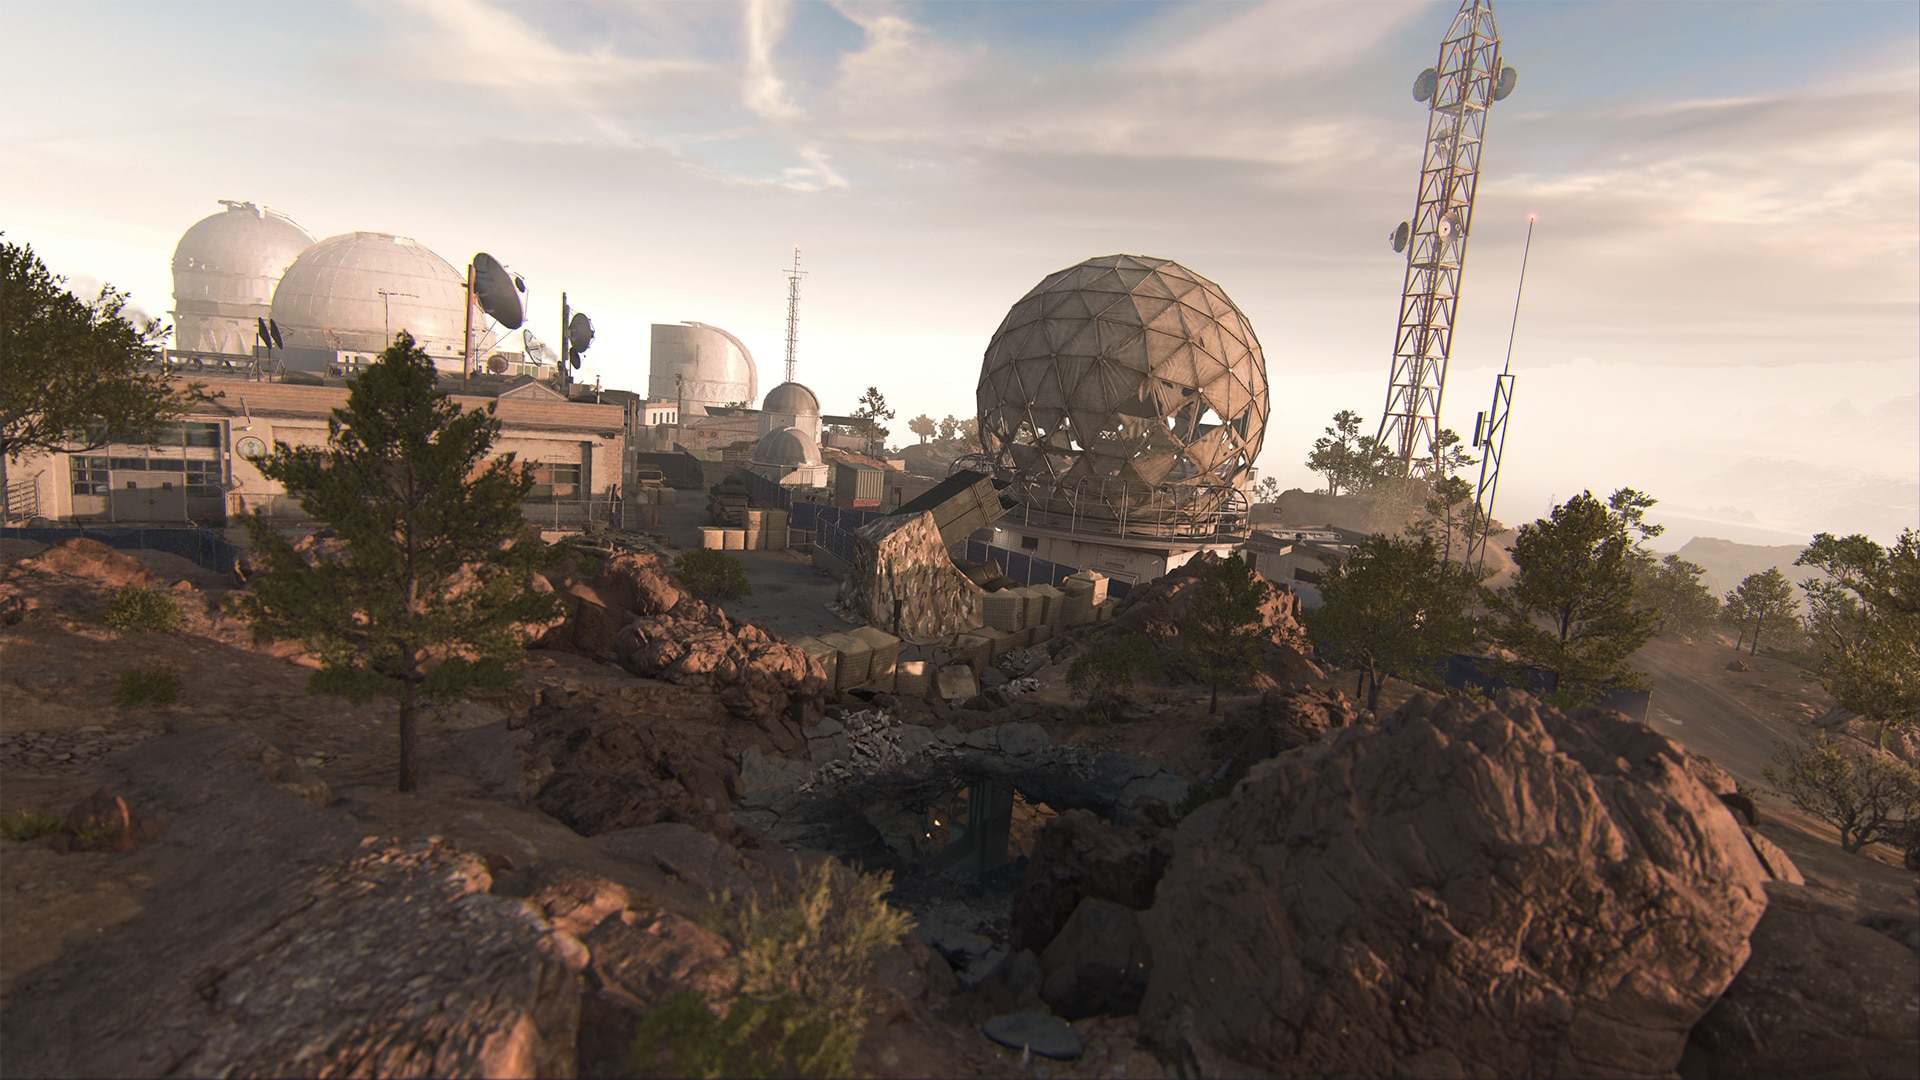
Prepare for high-altitude combat as Operators deploy to Dome. Though the Observatory’s position at the highest point in Al Mazrah offers sweeping views of the surrounding terrain, our SpecGru and KorTac Operators will need to focus on their immediate surroundings to complete the mission.
Dome is a re-imagining of one of Call of Duty’s most iconic Multiplayer maps, many will feel right at home in the battle ahead. Whether it’s your first or fiftieth time here, it’s always helpful to review the fundamentals. Here’s what we know about the map.
Spawn Point: KorTac
KorTac Spawn Zone (East) — Front Gate
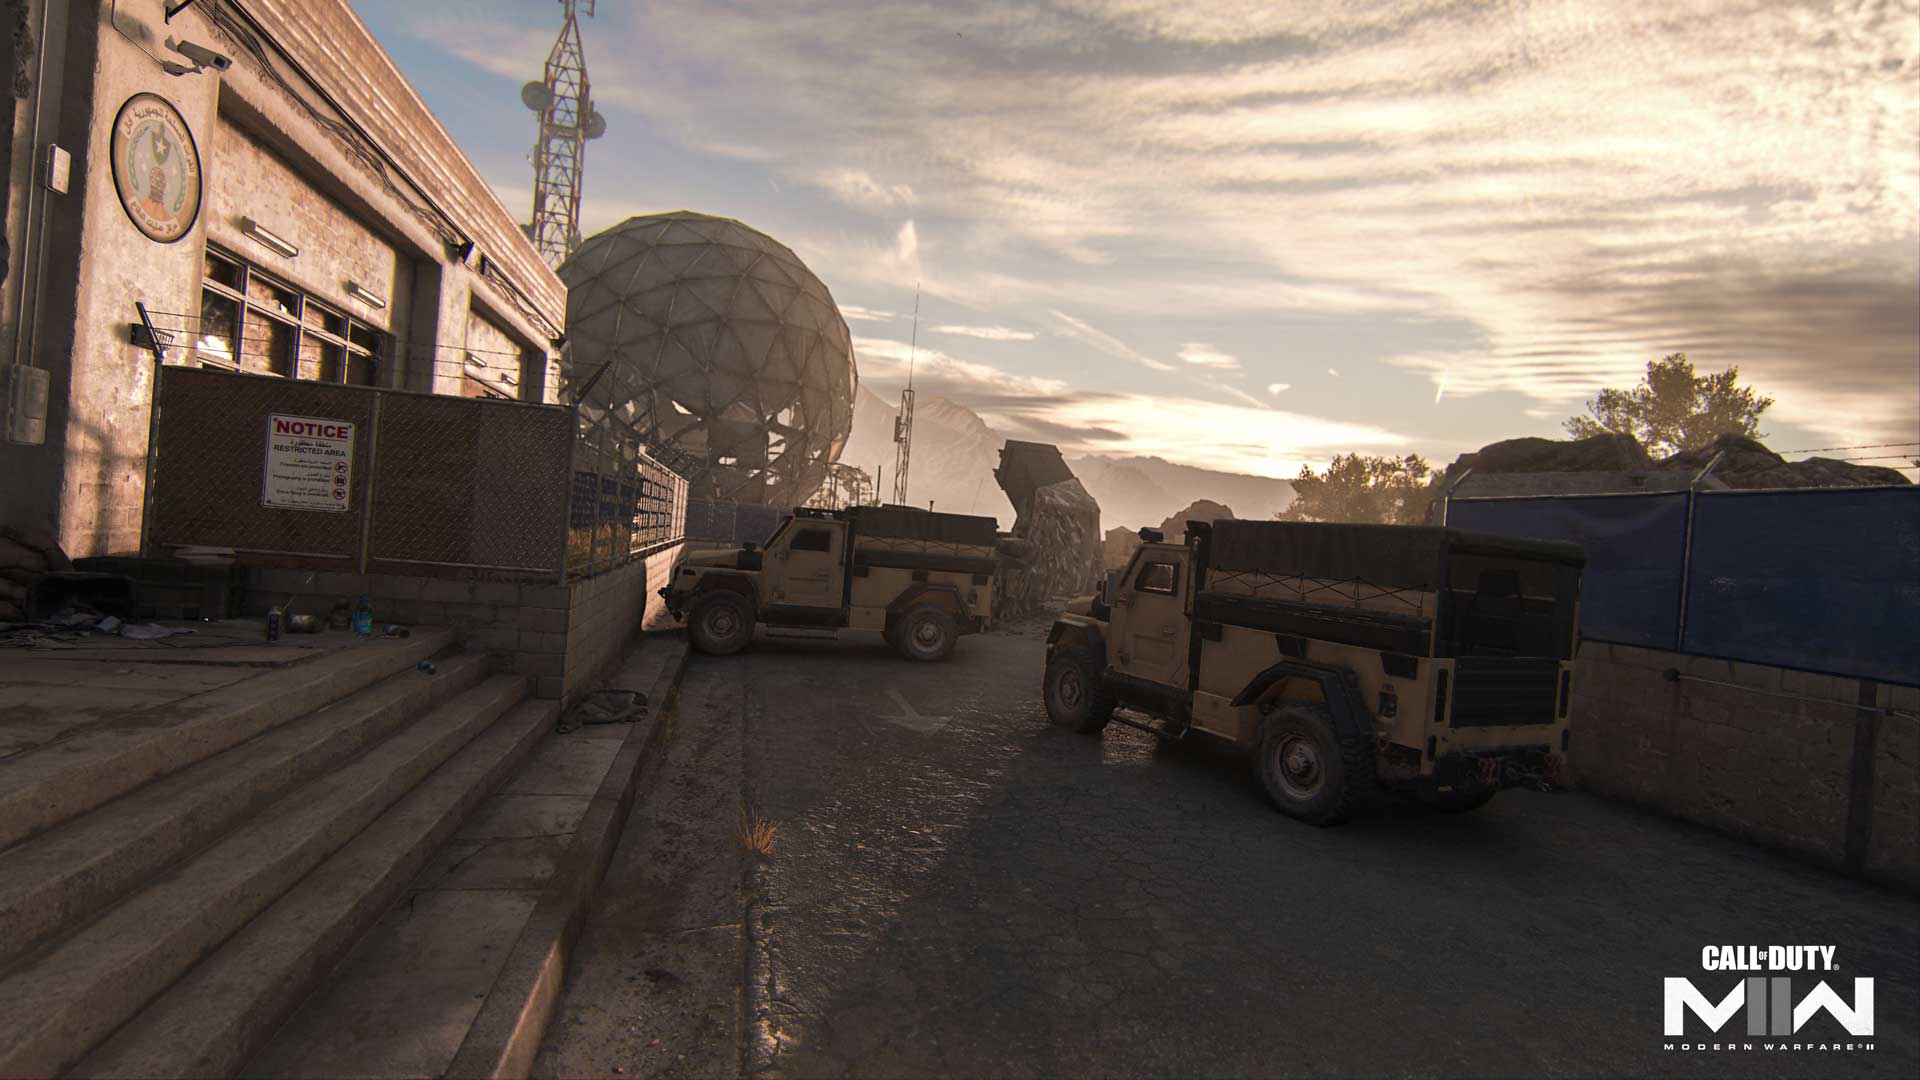
Starting at the Front Gate, KorTac forces have rapid access to the Office and Bunker, as well as a clean break toward Dome and the Low Road. For a strong defensive start, head to the Office or Bunker and set up your position before the SpecGru forces arrive.
For a more direct approach, take up position by the beige containers facing down the Alley. This provides a powerful start so long as one or more teammates simultaneously head down the Low Road, providing a buffer against enemy Operators getting behind you from Dome. You may also want to hop onto the back of the destroyed tank at the Front Gate, which offers a clear view of SpecGru Operators rushing Dome’s Catwalk.
Spawn Point: SpecGru
SpecGru Spawn Zone (Southwest) — Cargo Gate
SpecGru forces begin the match positioned between the Dome and the Office. When breaching the Office, prepare for defenders who can get inside more quickly from the KorTac starting spawn. Alternatively, take up position within Dome or race through it for an aggressive start coming in for the Low Road flank. If you’re feeling risky, climb straight up to the Catwalk for a view of the enemy’s spawn — just remember that an enemy Operator may be prepared to engage your position immediately.
Map Maneuvers: Route Planning
Observatory consists of four main sections:
- Dome
- Bunker
- Office
- Streets

Dome
The iconic domed structure sees a lot of action, its small interior often leading to abrupt skirmishes as enemy Operators come face-to-face. The center column further tightens the room, leading to games of cat and mouse. Much of the equipment in here is climbable, providing strong angles from which to ambush players rushing through the area.
When approaching Dome, it could be a good idea to lead with a Flash or Snapshot Grenade to disorient or spot enemy Operators within.
The exterior Catwalk is accessible from either side, providing another potential point of contact as players vie for position over the map’s greatest vantage point. Along with the reward of this great view, however, comes the risk of being equally exposed. Get up there, land a few eliminations, and then move on.
Bunker
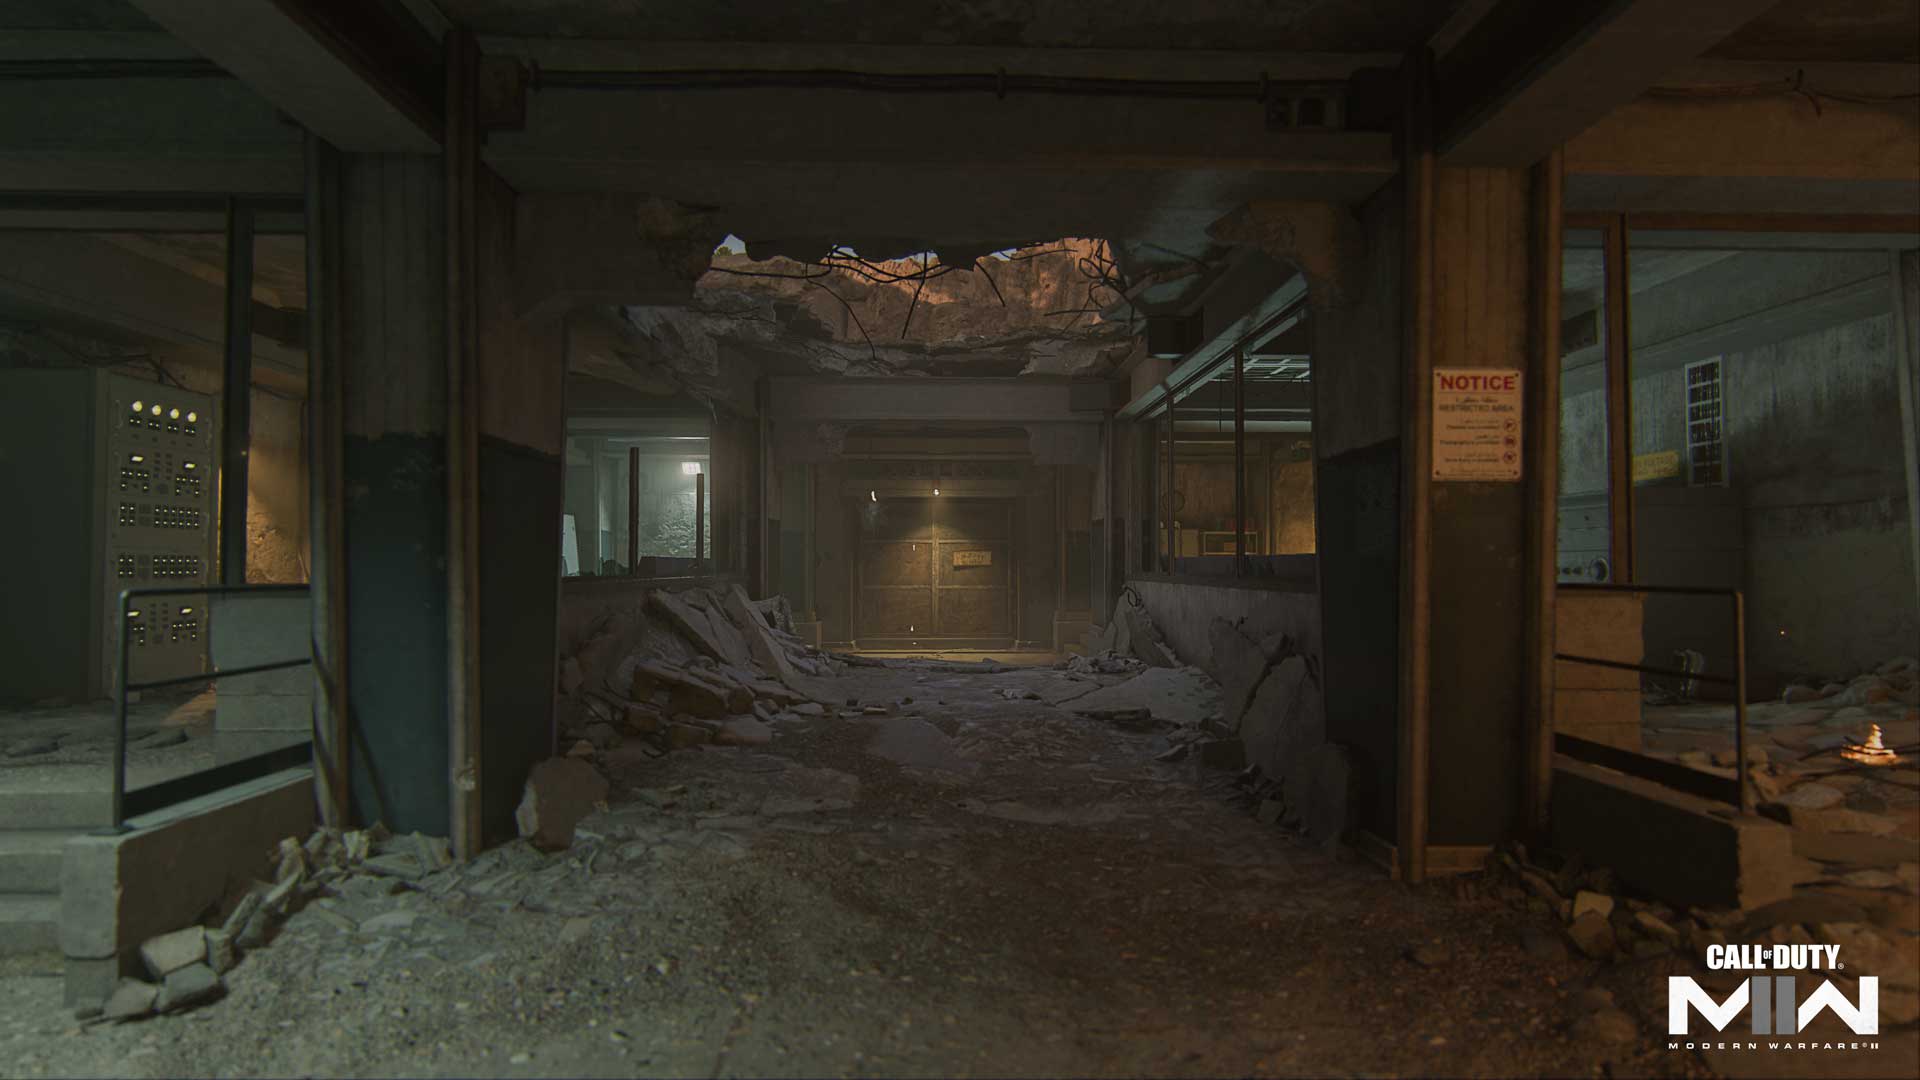
Adjacent to Dome, the Bunker presents its own tactical challenges, with three possible entry points leading into a single open room. Low walls to either side of the center offer some protection and concealment, though you’ll sacrifice your mobility to get much use out of them.
The western Low Road entrance makes for a great breaching point against enemy defenders. You can take in most of the room from here, and the right wall offers much needed protection. However, as it’s a small room, keep your eyes out for incoming grenades.
Office
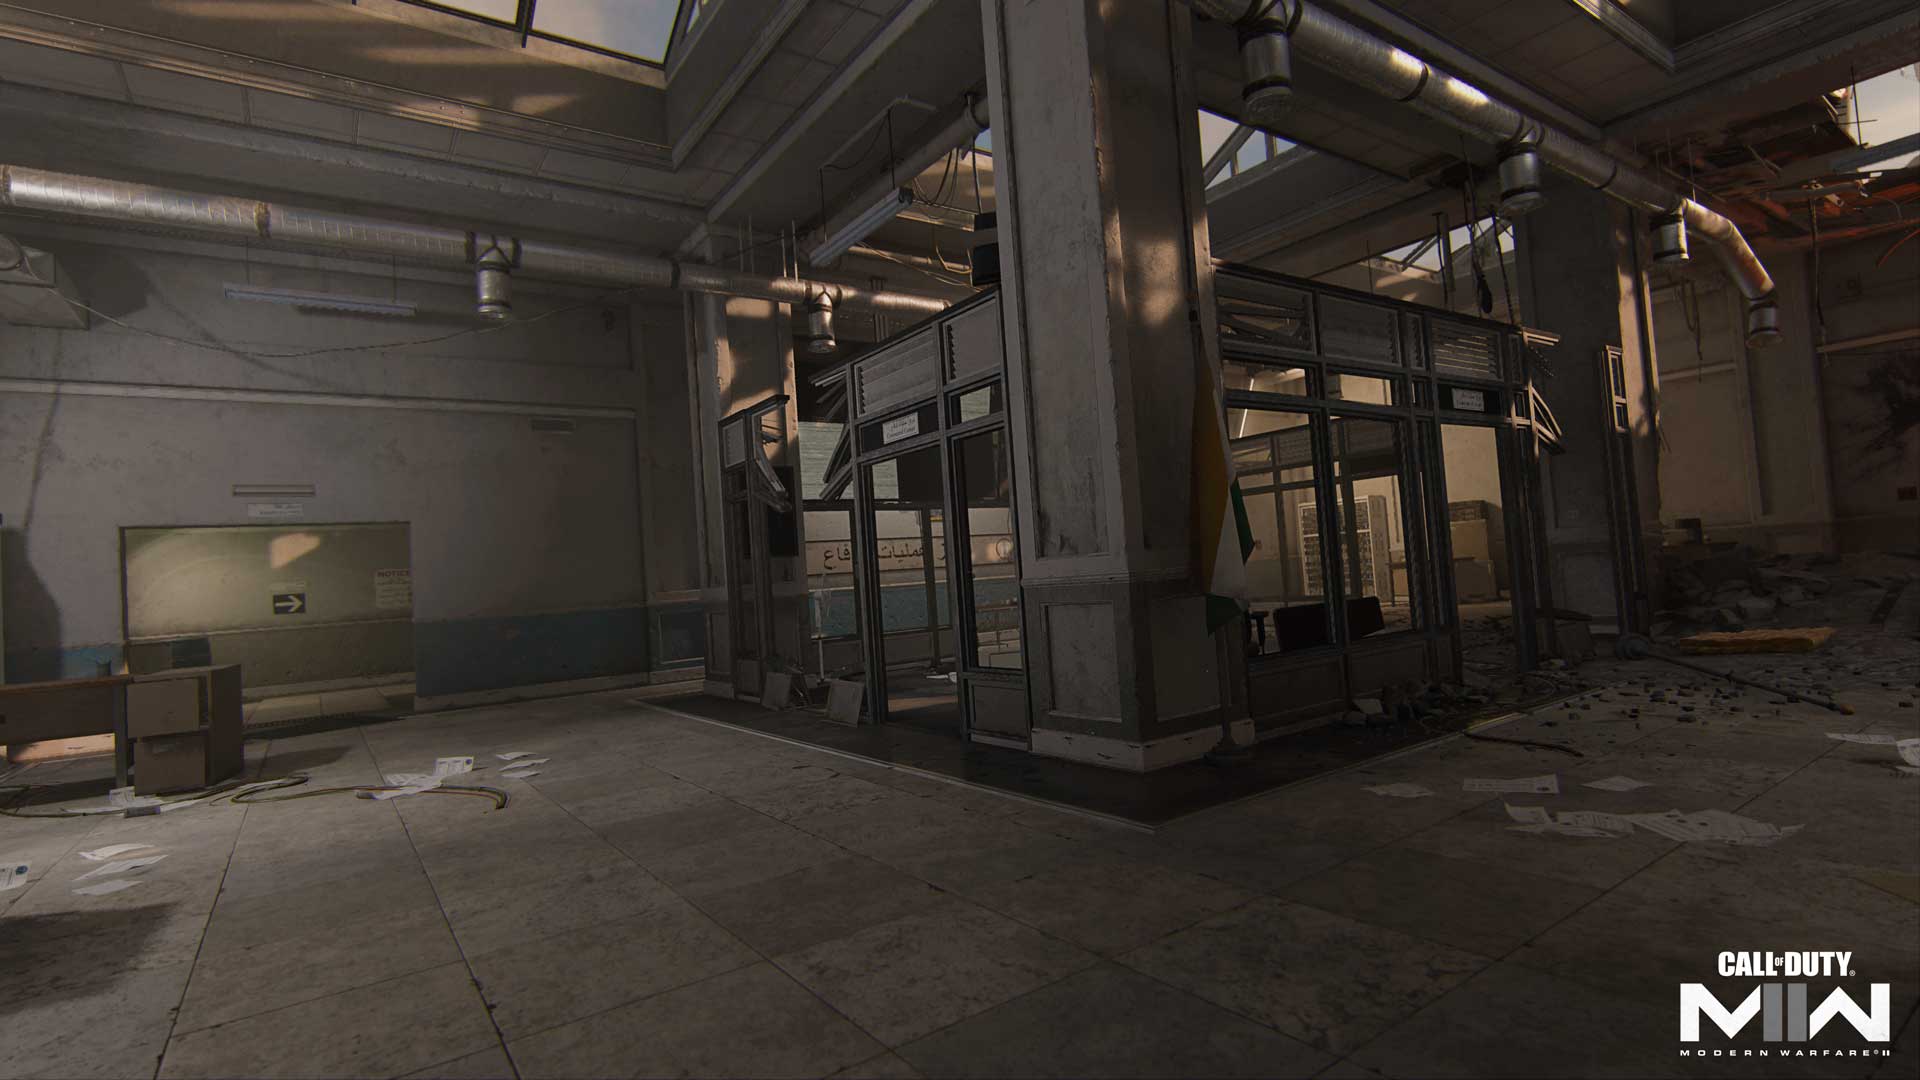
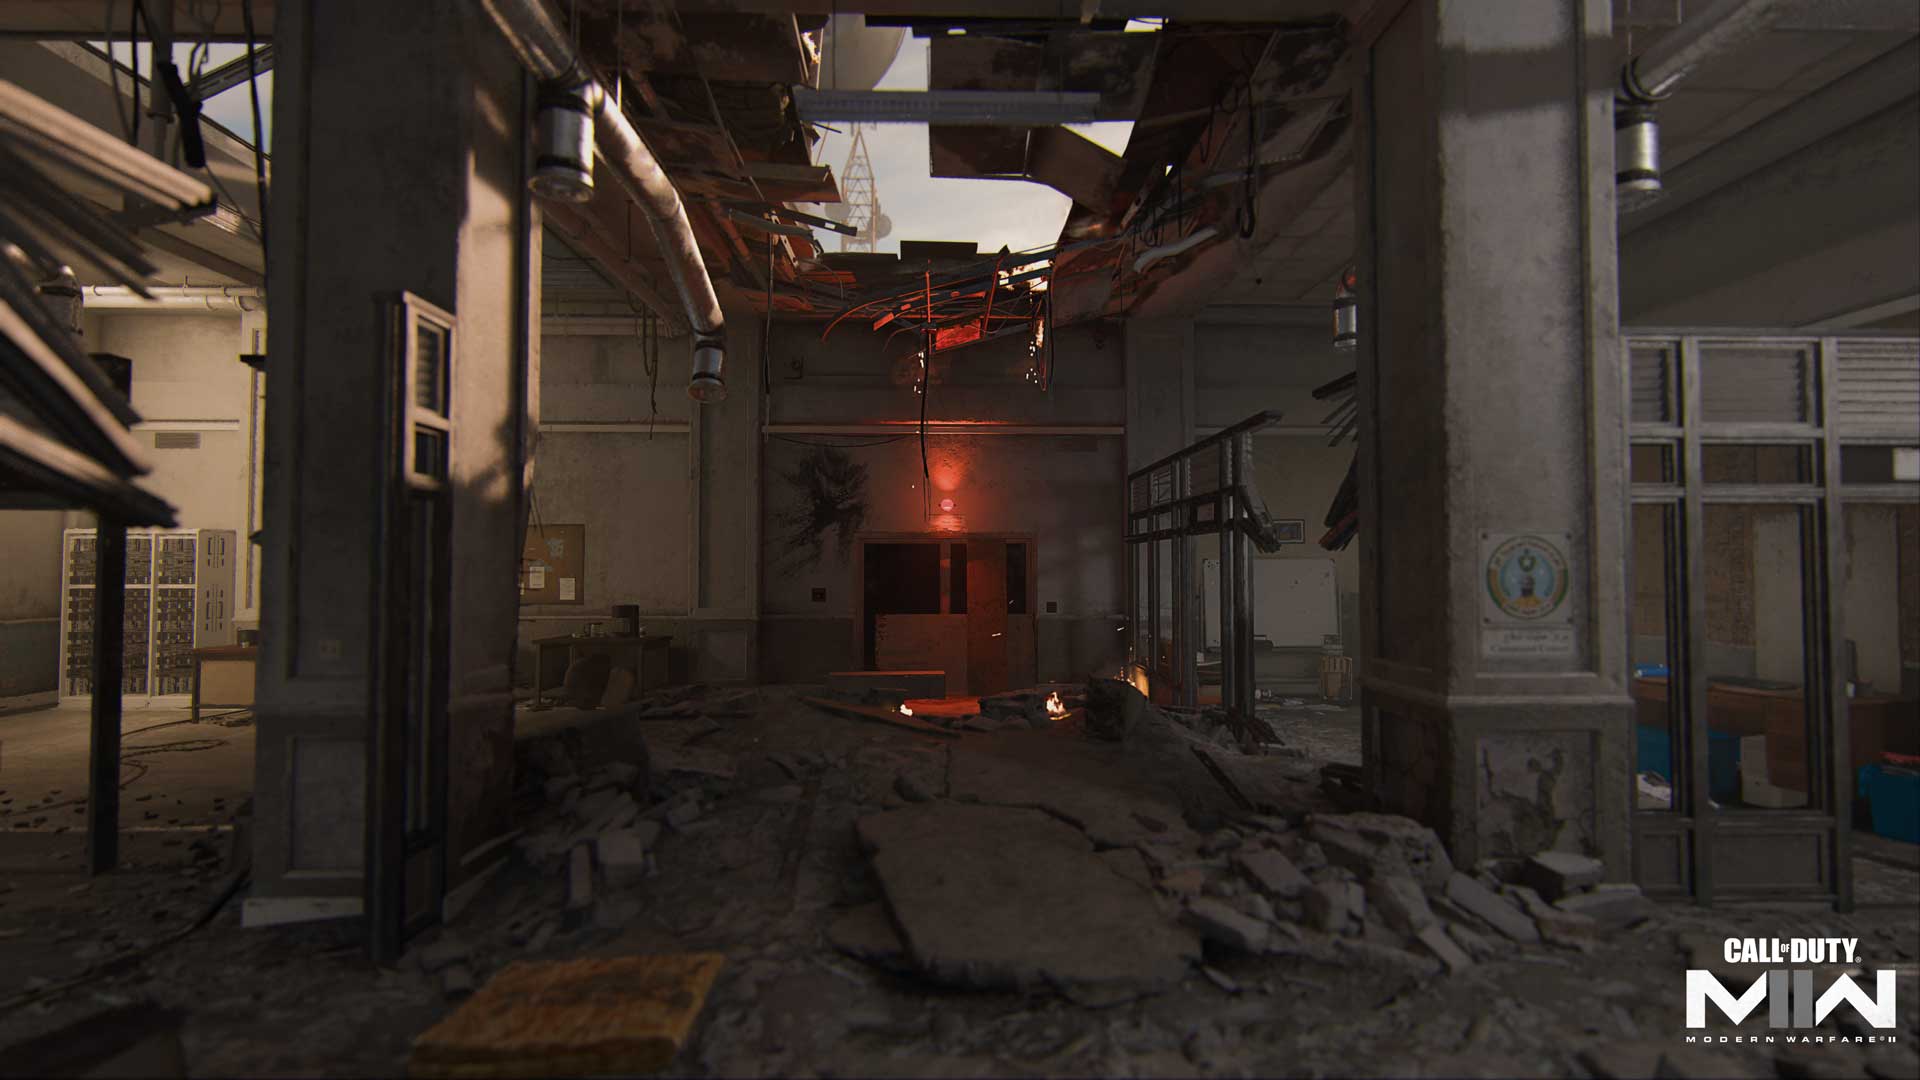
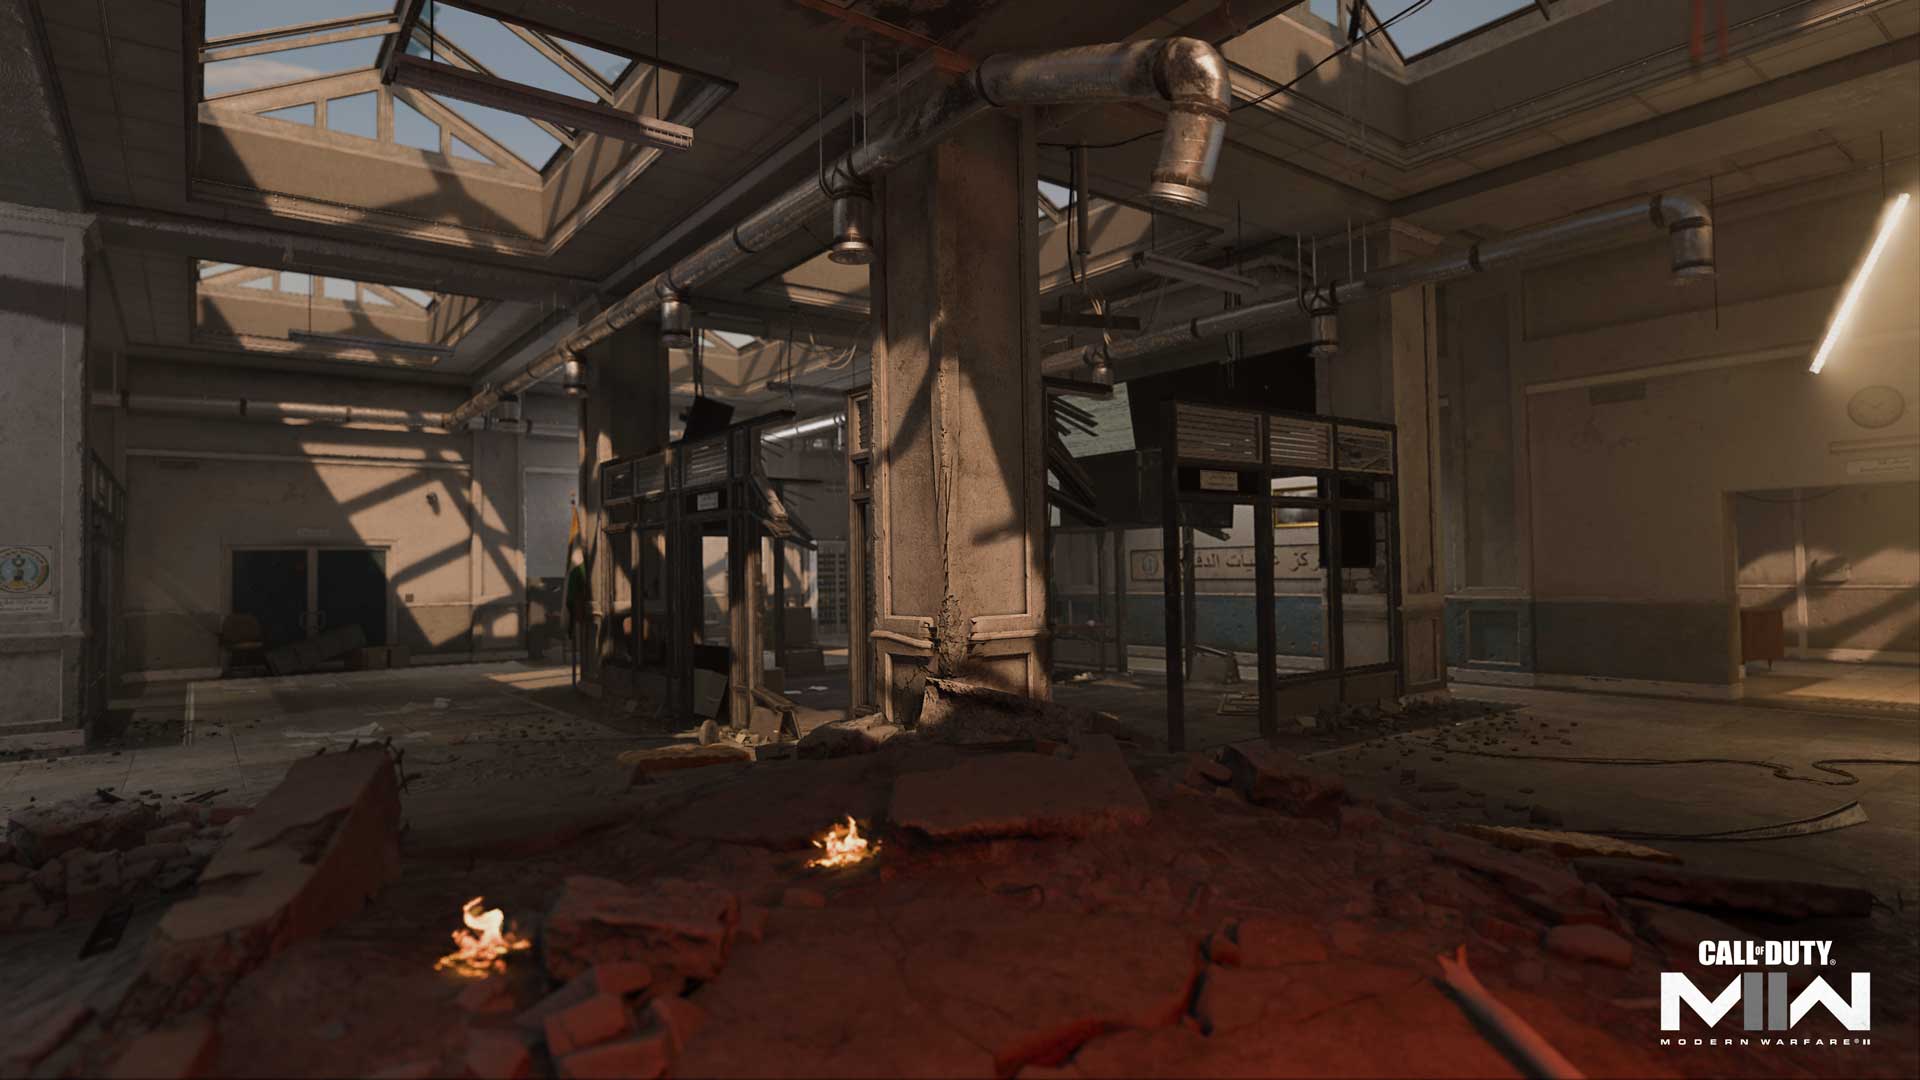
When you need to dig in, the Office is your best bet. Of the three interior sites on Observatory, this zone offers the most room to move around and establish a position. That hardly means you can sit back and take it easy; its boarded-up windows may prevent others from looking in, but it equally prevents defenders from spotting incoming attacks.
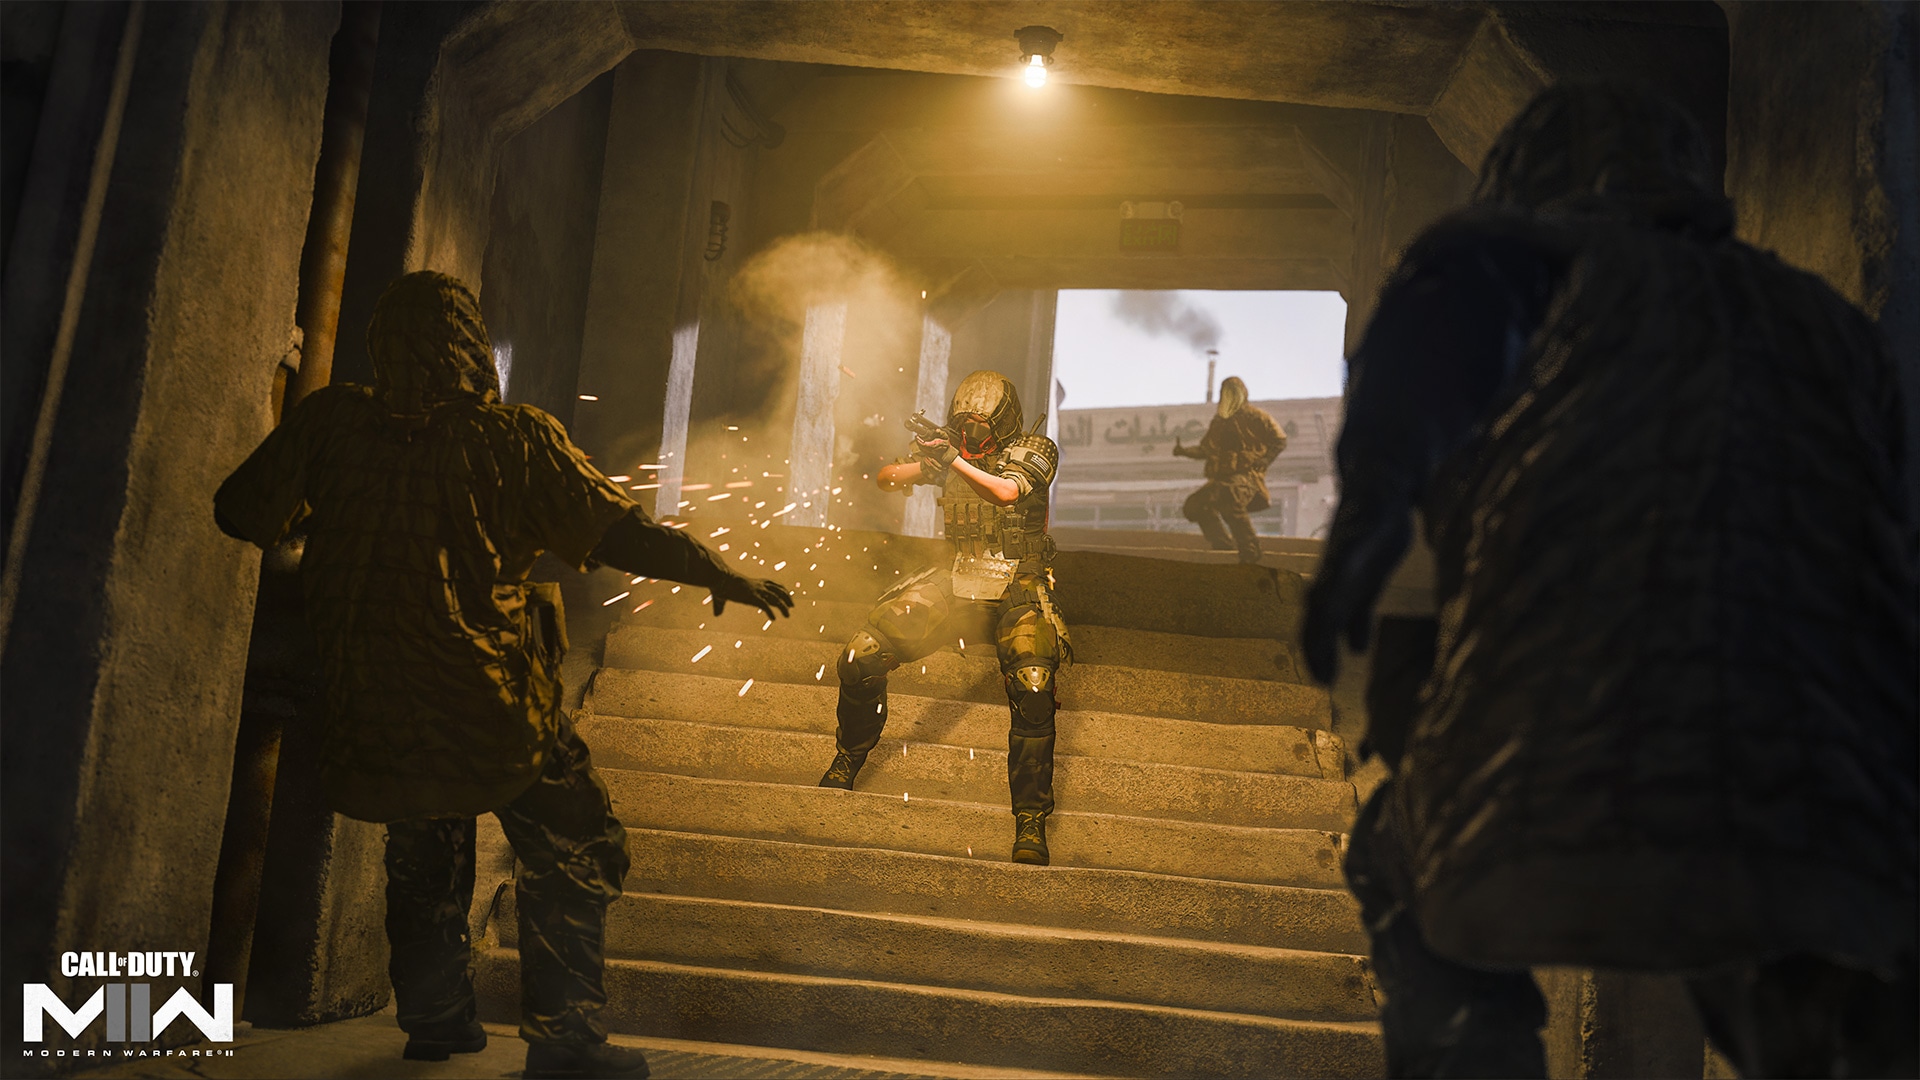
Entry points include the single northern front entrance facing the Bunker, or either of the two openings leading in from the Hallway. The Hallway itself marks another of Observatory’s most confined areas and at the right moment can be used to defend against enemy Operators entering or exiting the Office’s southern entrance.
Streets
Consisting primarily of the Front Gate, Alley, Low Road, Yard, and the Cargo Gate, the streets offer access to each of the three main buildings. Though you’ll often run into Operators hoofing it through the streets to reach the next interior space, the plentiful vehicles, containers, and other obstacles offer enough cover for flanking attacks and abrupt skirmishes.
Savvy Operators may even prefer the streets, changing from position to position as they eliminate enemies focused only on getting to their destination. When using this approach, take warning: The skies are wide open, so get out of sight when warned of incoming streaks.
Recruit Tactics
Full Awareness

Considering Observatory’s close-knit, tri-building layout, there’s never danger lurking far from your position. Use all of your senses and available loadout items to predict and anticipate enemy movements. And, wherever possible, communicate relevant info to your team to improve your chances of success.
Get in There, Soldier
Sometimes it’s best to just risk it. Though you’re taking your chances when rushing into any of the Observatory’s small buildings, don’t let that keep you from breaching enemy territory when the match calls for it. Every interior has multiple entryways, so you always have the chance to catch enemies off guard.
Going up against a fortified group? Lead with your Lethal and Tactical. A smoke grenade tossed into the middle of the Bunker can cause a lot of chaos and confusion, especially when followed up with an explosive and a charge into battle.
Veteran Tactics
Get Climbing
The scattered vehicles and containers outside of Dome offer many climbing opportunities, providing new attack angles and the chance to ambush incoming enemies. Utilize interior obstacles as well, particularly within Dome near the two entrances. With enemies appearing at such close range, you can often eliminate them before they notice your position and adjust their aim up high. Keep moving around, lest they charge in after you, sights pinpointed on your position.
Timely Streaks
It’s always tempting to call in a streak the moment you unlock it, but the right timing can alter the course of the match. Especially in objective modes, it’s worth waiting until the enemy is forced to move — either to defend or attack a position — and then hammering them en route to the objective. This is doubly important with aerial streaks, where blasting enemies in the street is more likely to produce results.
Prestige Tactics
Clear the Catwalk
Dome’s Catwalk is obviously helpful for landing shots across the map, but in addition to being a vantage point, it can be used as a trap. Try using a mid- to long-ranged weapon for attacking from up top, or a Shotgun or SMG to eliminate enemies trying to do exactly that. In any case, check the ladders to either side and climb up to attack enemies positioned there, especially if you have a Sidearm to use on it. By doing so, you’ll deny the enemy a valuable vantage point.
True Defender
With such tight interior spaces, every second counts when engaging in a skirmish. But not every engagement needs to be a gunfight. If you like the challenge of defending areas like the Dome and Bunker, especially in objective modes, consider using loadout items that are fixed to a specific location – Inflatable Decoys, Suppression Mines, and Proximity Mines, just to name a few. Using these in combination with ranged weapons could allow for easier defense of objectives or key areas around the map, ultimately helping your team achieve victory.
Objective Routes and Rotations
Mode Intel: Domination

With a flag in the Bunker, Office, and Yard, you’re never far from an objective when playing Domination. Here, it’s more than just a fight for the B Flag, as the objectives’ triangular layout forgoes its typical central location, lending equal weight to each flag. This makes the match more fluid, meaning it’s often better to fall back from a heavily contested flag in order to grab a different, less-protected one, forcing the enemy to stay on the move if they hope to keep up.
The layout also lends itself to pincer attacks, an excellent strategy when attacking an objective. Squeeze out defenders by attacking the Bunker and Office from either end and approaching the Yard’s A Flag from the Dome and Alley. This requires some coordination, so don’t be shy about hopping on comms. There will also be plenty of natural opportunities to use this tactic; when your allies go one way, you go the other way.
Mode Intel: Search & Destroy
Starting from the Office, the attacking team can head to the A Bomb Site positioned in the Yard or the B Bomb Site in Bunker. Determine at the start of each round whether the team will rush toward one site together or split up to confuse the enemy. The time to get to each site is minimal, so expect resistance right away.
The defending team begins on the Low Road, with rapid access to the Bunker and a quick run through Dome to get to the Yard. Fast-moving Operators will likely be able to set up their position before the attacking team arrives, so have an idea of where you’d like to go and get there quick.
The climbing aspects really come into play in this mode, as throwing off enemy expectations can give you a huge lead in the round. When you know the enemy is heading toward your position, climb up on something and ambush them the moment they appear.
Mode Intel: Hardpoint
The five Hardpoints on this map consist of three interior and two outside positions. The first objective begins at the intersection of the Alley and Parking, meaning you can almost guarantee that someone will beeline to the Catwalk for a view down onto the spot.
After that, the objective moves through the Office, Dome, and Bunker, and ends outside again by the Cargo Gate. As with Domination, pincer attacks become a real threat here, more so as each Hardpoint focuses the action on a single point. To best adapt to your current needs as either an attacker or a defender, head into the match with a variety of Loadouts.
When focused on defense, opt for items like the Trophy System and a Proximity Mine, the Battle Hardened and Bomb Squad Base Perks, and anything else that allows you to hold down the Hardpoint against heated attacks. As an attacker, the DDoS Field Upgrade can cause major disruptions, along with the Snapshot Grenade to spot enemy positions and the Ghost Ultimate Perk to keep a low profile when attacking the point.
Top Tips
1. Hold your position. If this is your first time on Dome, try holding down one section of the map at a time. Stick around the Yard and Catwalk for a while or try your luck at defending the Bunker or Office. By zeroing in on one area at a time, you’ll learn all the nuances of each location until you’re able to take advantage of every detail throughout the whole map.
2. Inside information. The Spotter Bonus Perk can be great on this building-heavy map, as it allows you to spot and mark for your teammates the position of various enemy equipment, Field Upgrades, and streaks. This is helpful in determining whether there are enemies within the location you’re attacking as well as what kind of defenses have been set up by known defenders. If you’re lucky, you may even get the chance to hack enemy equipment near a building entrance, turning their own traps against them.
3. Oh, no, you don’t. The Cold-Blooded Bonus Perk is something to consider when focusing on defense in objective modes, not only for its obvious protection while battling across the streets, but also for its interior protection. The blasted ceiling in the Bunker and the skylights in the Office mean that even while inside you’re never totally safe from aerial attacks.
4. Get back to your desks! When defending the Office, try not to bunch up in the center. The two side offices near the north entrance offer additional angles of attack against enemies coming in that way and through the rear Hallway. The more spread out you are, the more difficult it will be to dislodge your team at a critical moment in the match.
5. Take the lead. Get on your comms and call out enemy positions. This is important with all maps and game modes, but especially here. It’s a whole lot easier to hold down places like the Dome, Bunker, and Office if you know which direction the enemy is coming in from.
6. Try Scorestreaks. If you typically set your streaks to Killstreaks, try changing them to Scorestreaks on this map. This makes all those assists and objective plays work toward your next streak, allowing you to play an active supporting role that rewards all your moves, not just the eliminations.
7. Top up. When using a weapon like an SMG with a high fire rate, consider adding the Scavenger Base Perk to your Loadout. The action can become intense here as you engage Operator after Operator. With Scavenger equipped, you’ll be prepared for every fight without negatively impacting your weapon stats through use of a high-capacity magazine.
8. Bunker blast. Remember what we said earlier about timely streaks? If you’ve got an air-to-ground streak equipped, it may be worth holding on to it until the Bunker is being held by the enemy. Send the attack right through the hole in the ceiling, then rush in and attack remaining enemies along the sides.
9. One-hit melee. Equip the Throwing Knife Lethal not only for its ranged ability, but also because it allows a one-hit melee elimination against enemy Operators. Sometimes it’s the best tool to get the job done when rushing into tight spaces like Bunker and Dome.
10. Flyswatter. While clear skies make for more effective streaks, they also make those streaks much more vulnerable to Launcher attacks. Be a good teammate and knock out enemy aerial streaks before they can wreak havoc; with Scorestreaks enabled, doing so will get you closer to calling in your own.
Stay frosty.
© 2023 Activision Publishing, Inc. ACTIVISION, CALL OF DUTY, CALL OF DUTY WARZONE, and MODERN WARFARE are trademarks of Activision Publishing, Inc. All other trademarks and trade names are the property of their respective owners.
For more information, please visit www.callofduty.com and www.youtube.com/callofduty, and follow @Activision and @CallofDuty on Twitter, Instagram, and Facebook