Call of Duty: Vanguard Zombies — The Operator’s Survival Guide to Shi No Numa

“That swamp is where Die Wahrheit found the artifact of Saraxis.” — Professor Gabriel Krafft
The end game draws near. There may be some way to stop Von List and his undead army: His bond with Kortifex the Deathless can be broken.
According to new intelligence, a certain relic found deep in Japanese swampland was used by Saraxis the Shadow’s enemies to cast her out of her human host. If only her memories hadn’t been stolen, she could tell exactly where the relic lies in the so-called Swamp of Death…
But that is up to you and your allies to discover on familiar ground — Shi No Numa — and use it to cast Kortifex the Deathless out of Von List.
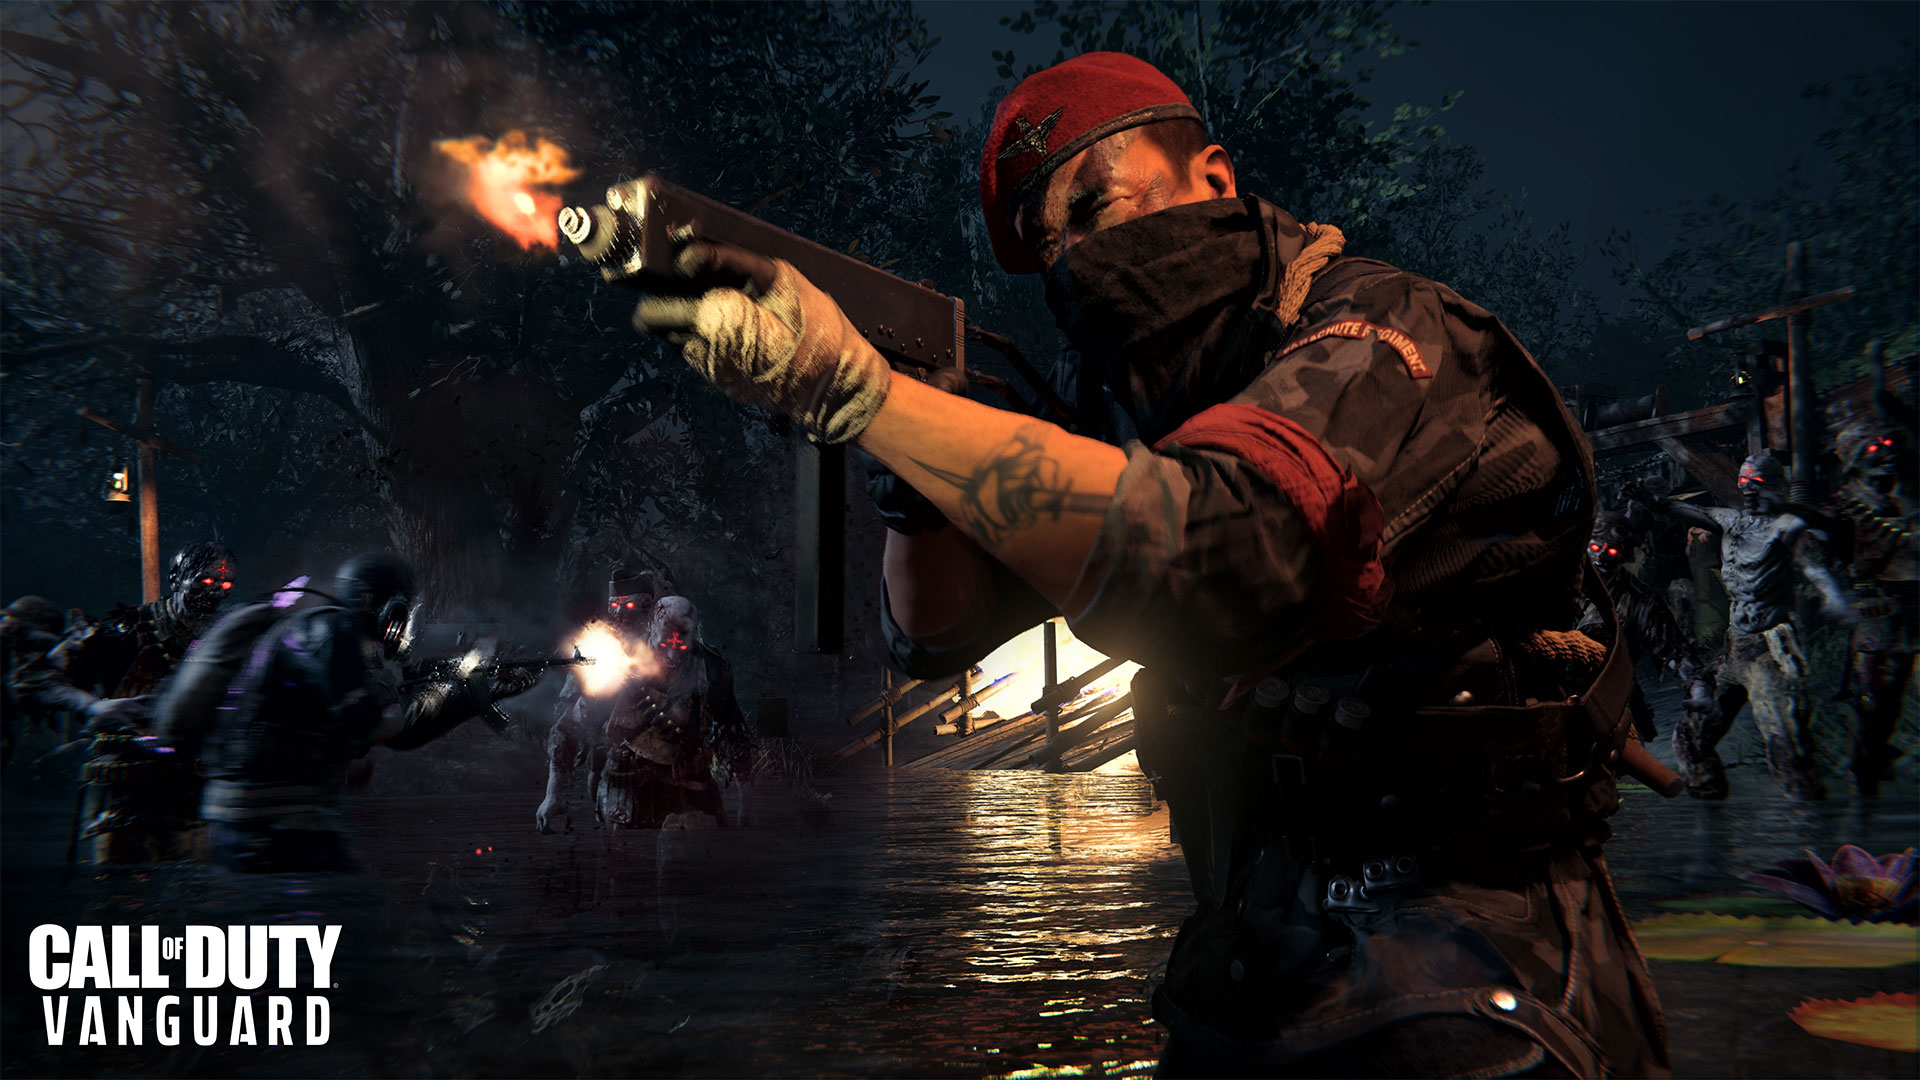
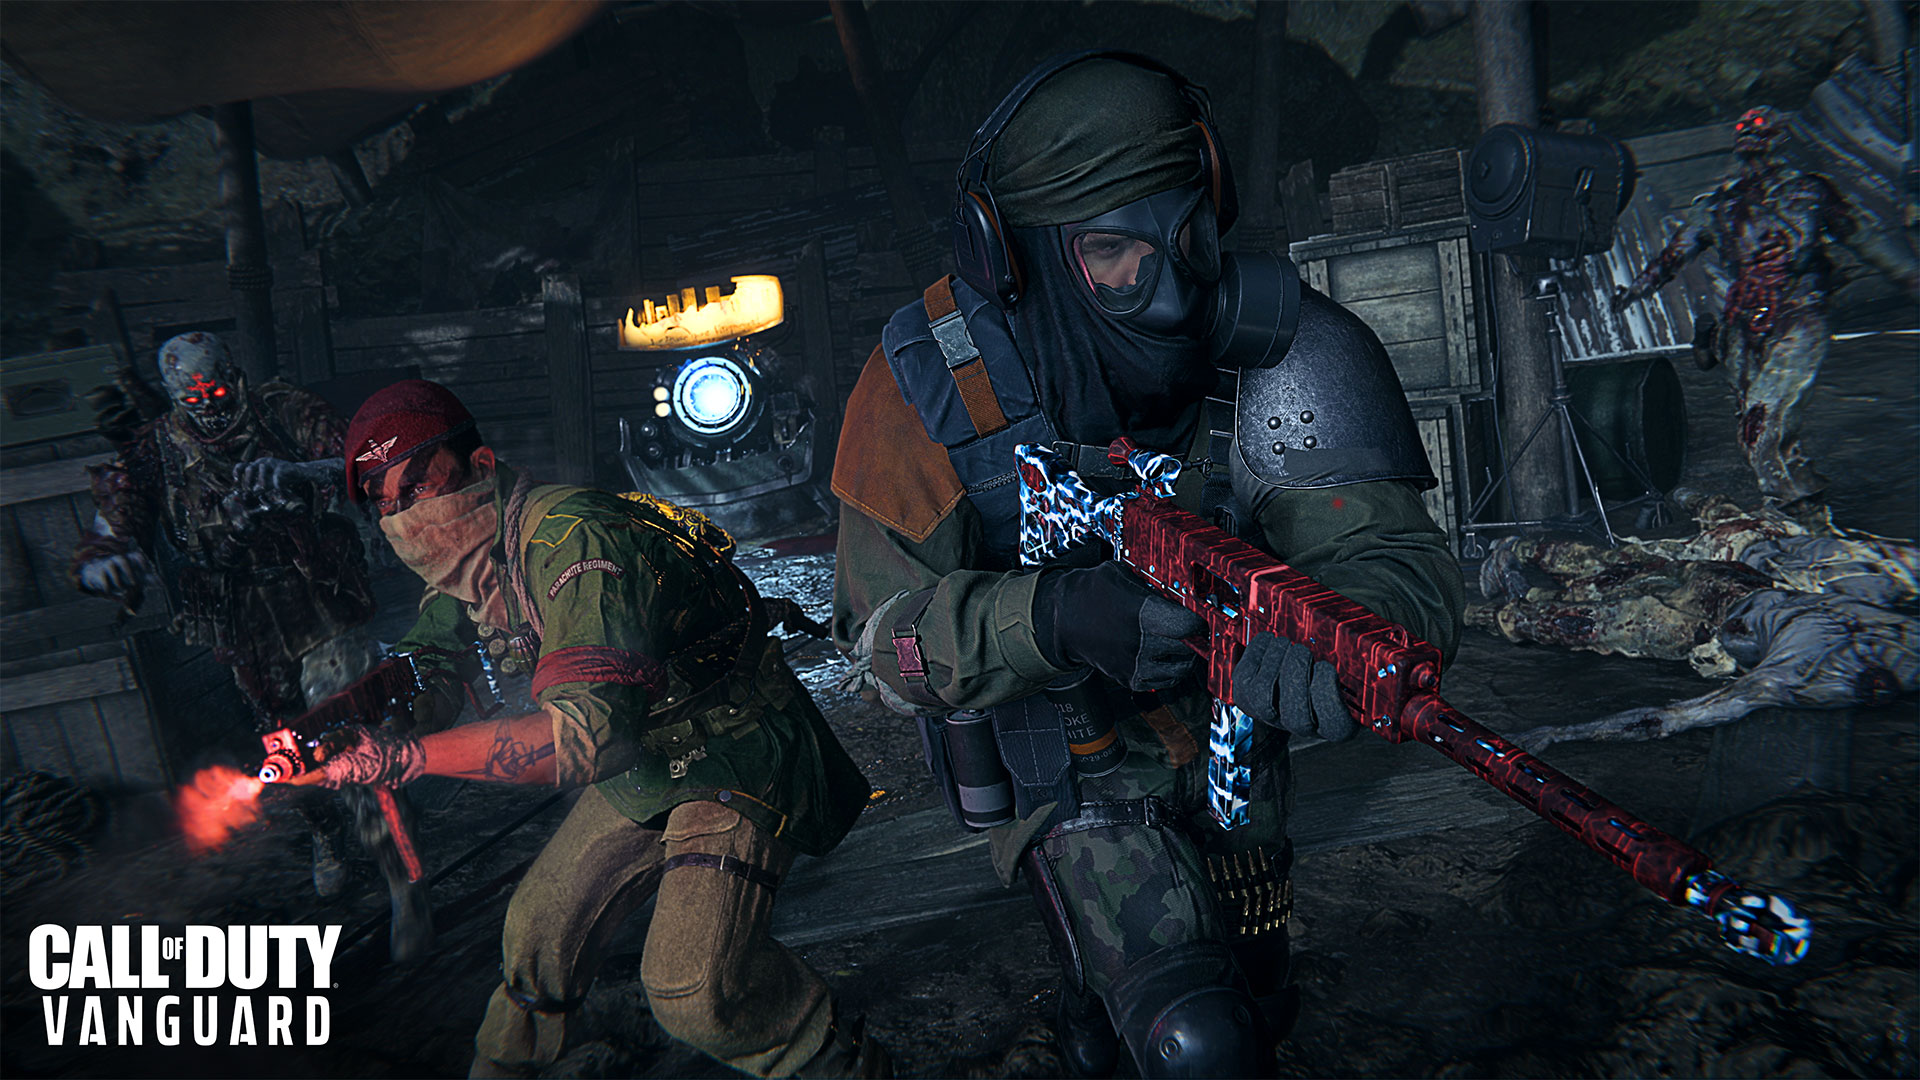
As part of Mercenaries of Fortune, the fourth season for Call of Duty: Vanguard, Zombies fanatics can head back to a reimagined Shi No Numa in a classic round-based experience.
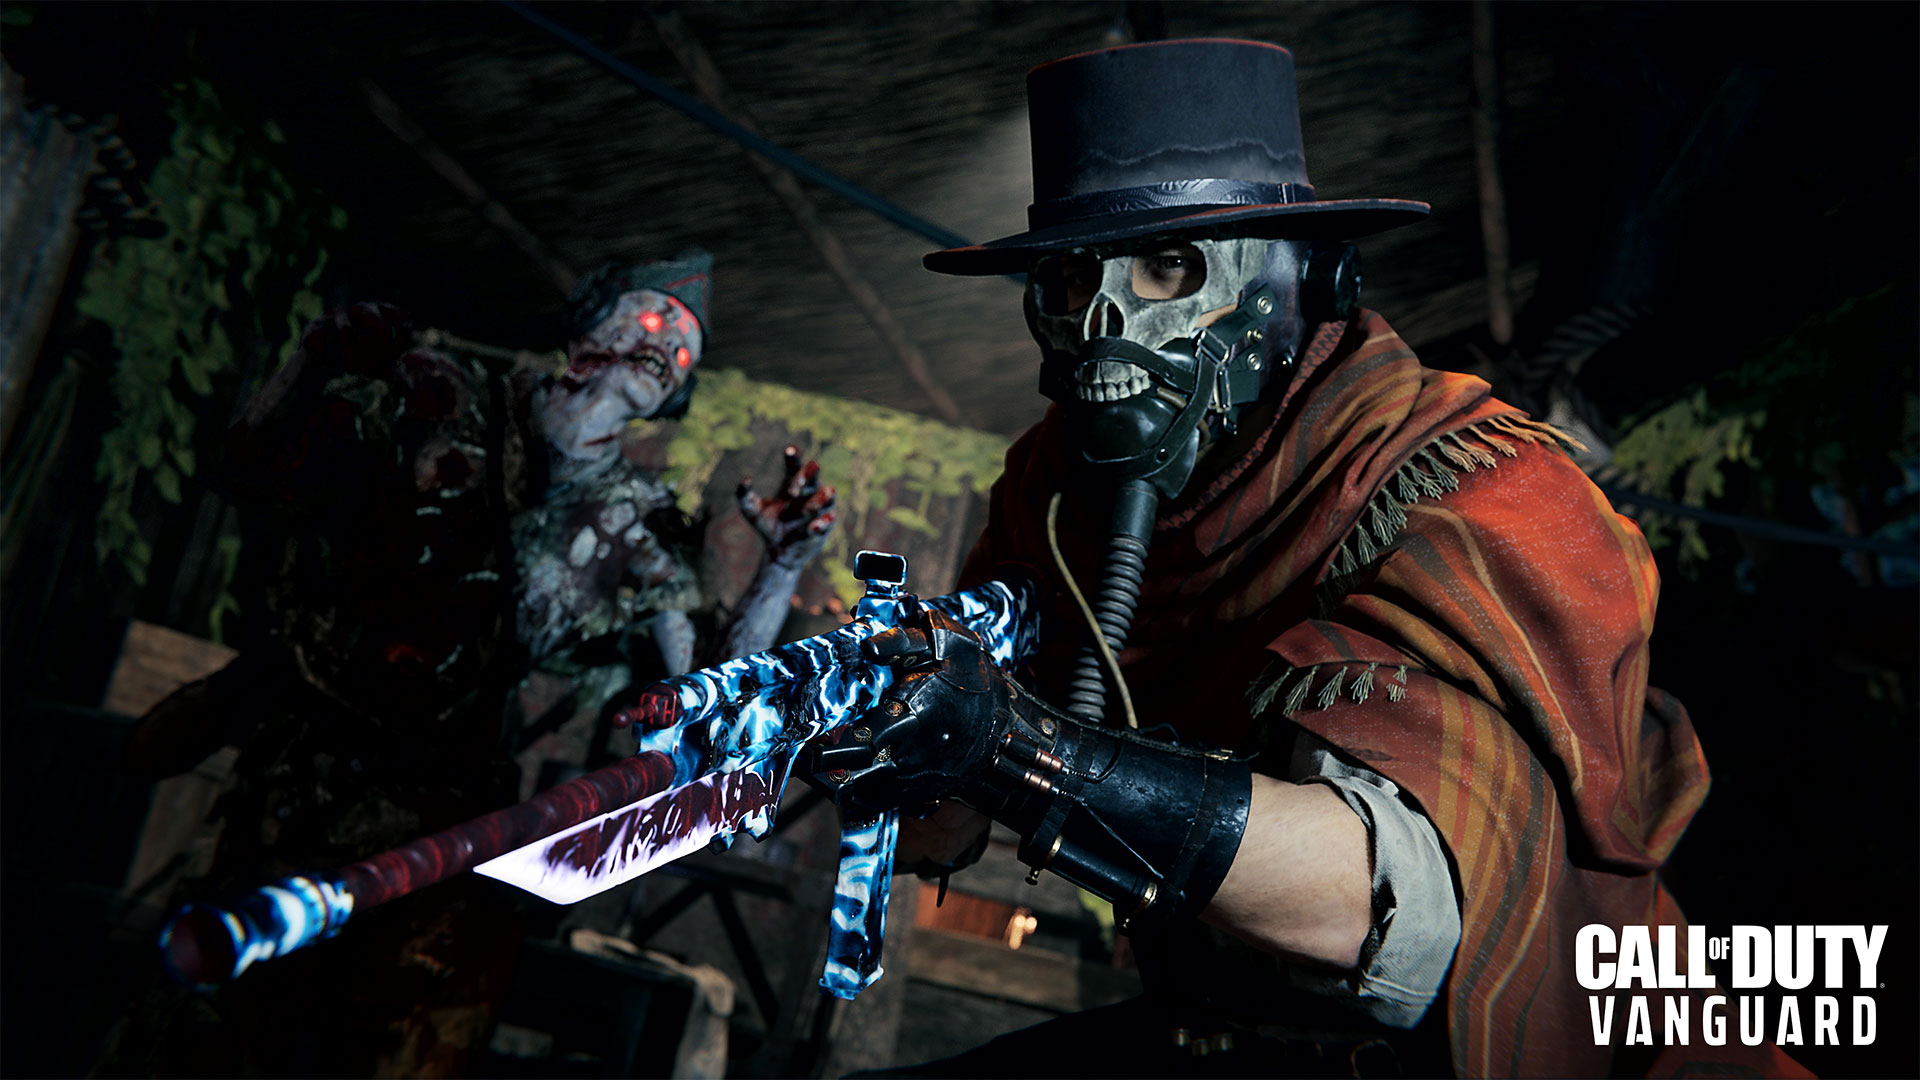
Your mission? Build the wonder weapon, find the relic, and expose the hidden horror of Kortifex’s past.
The Layout
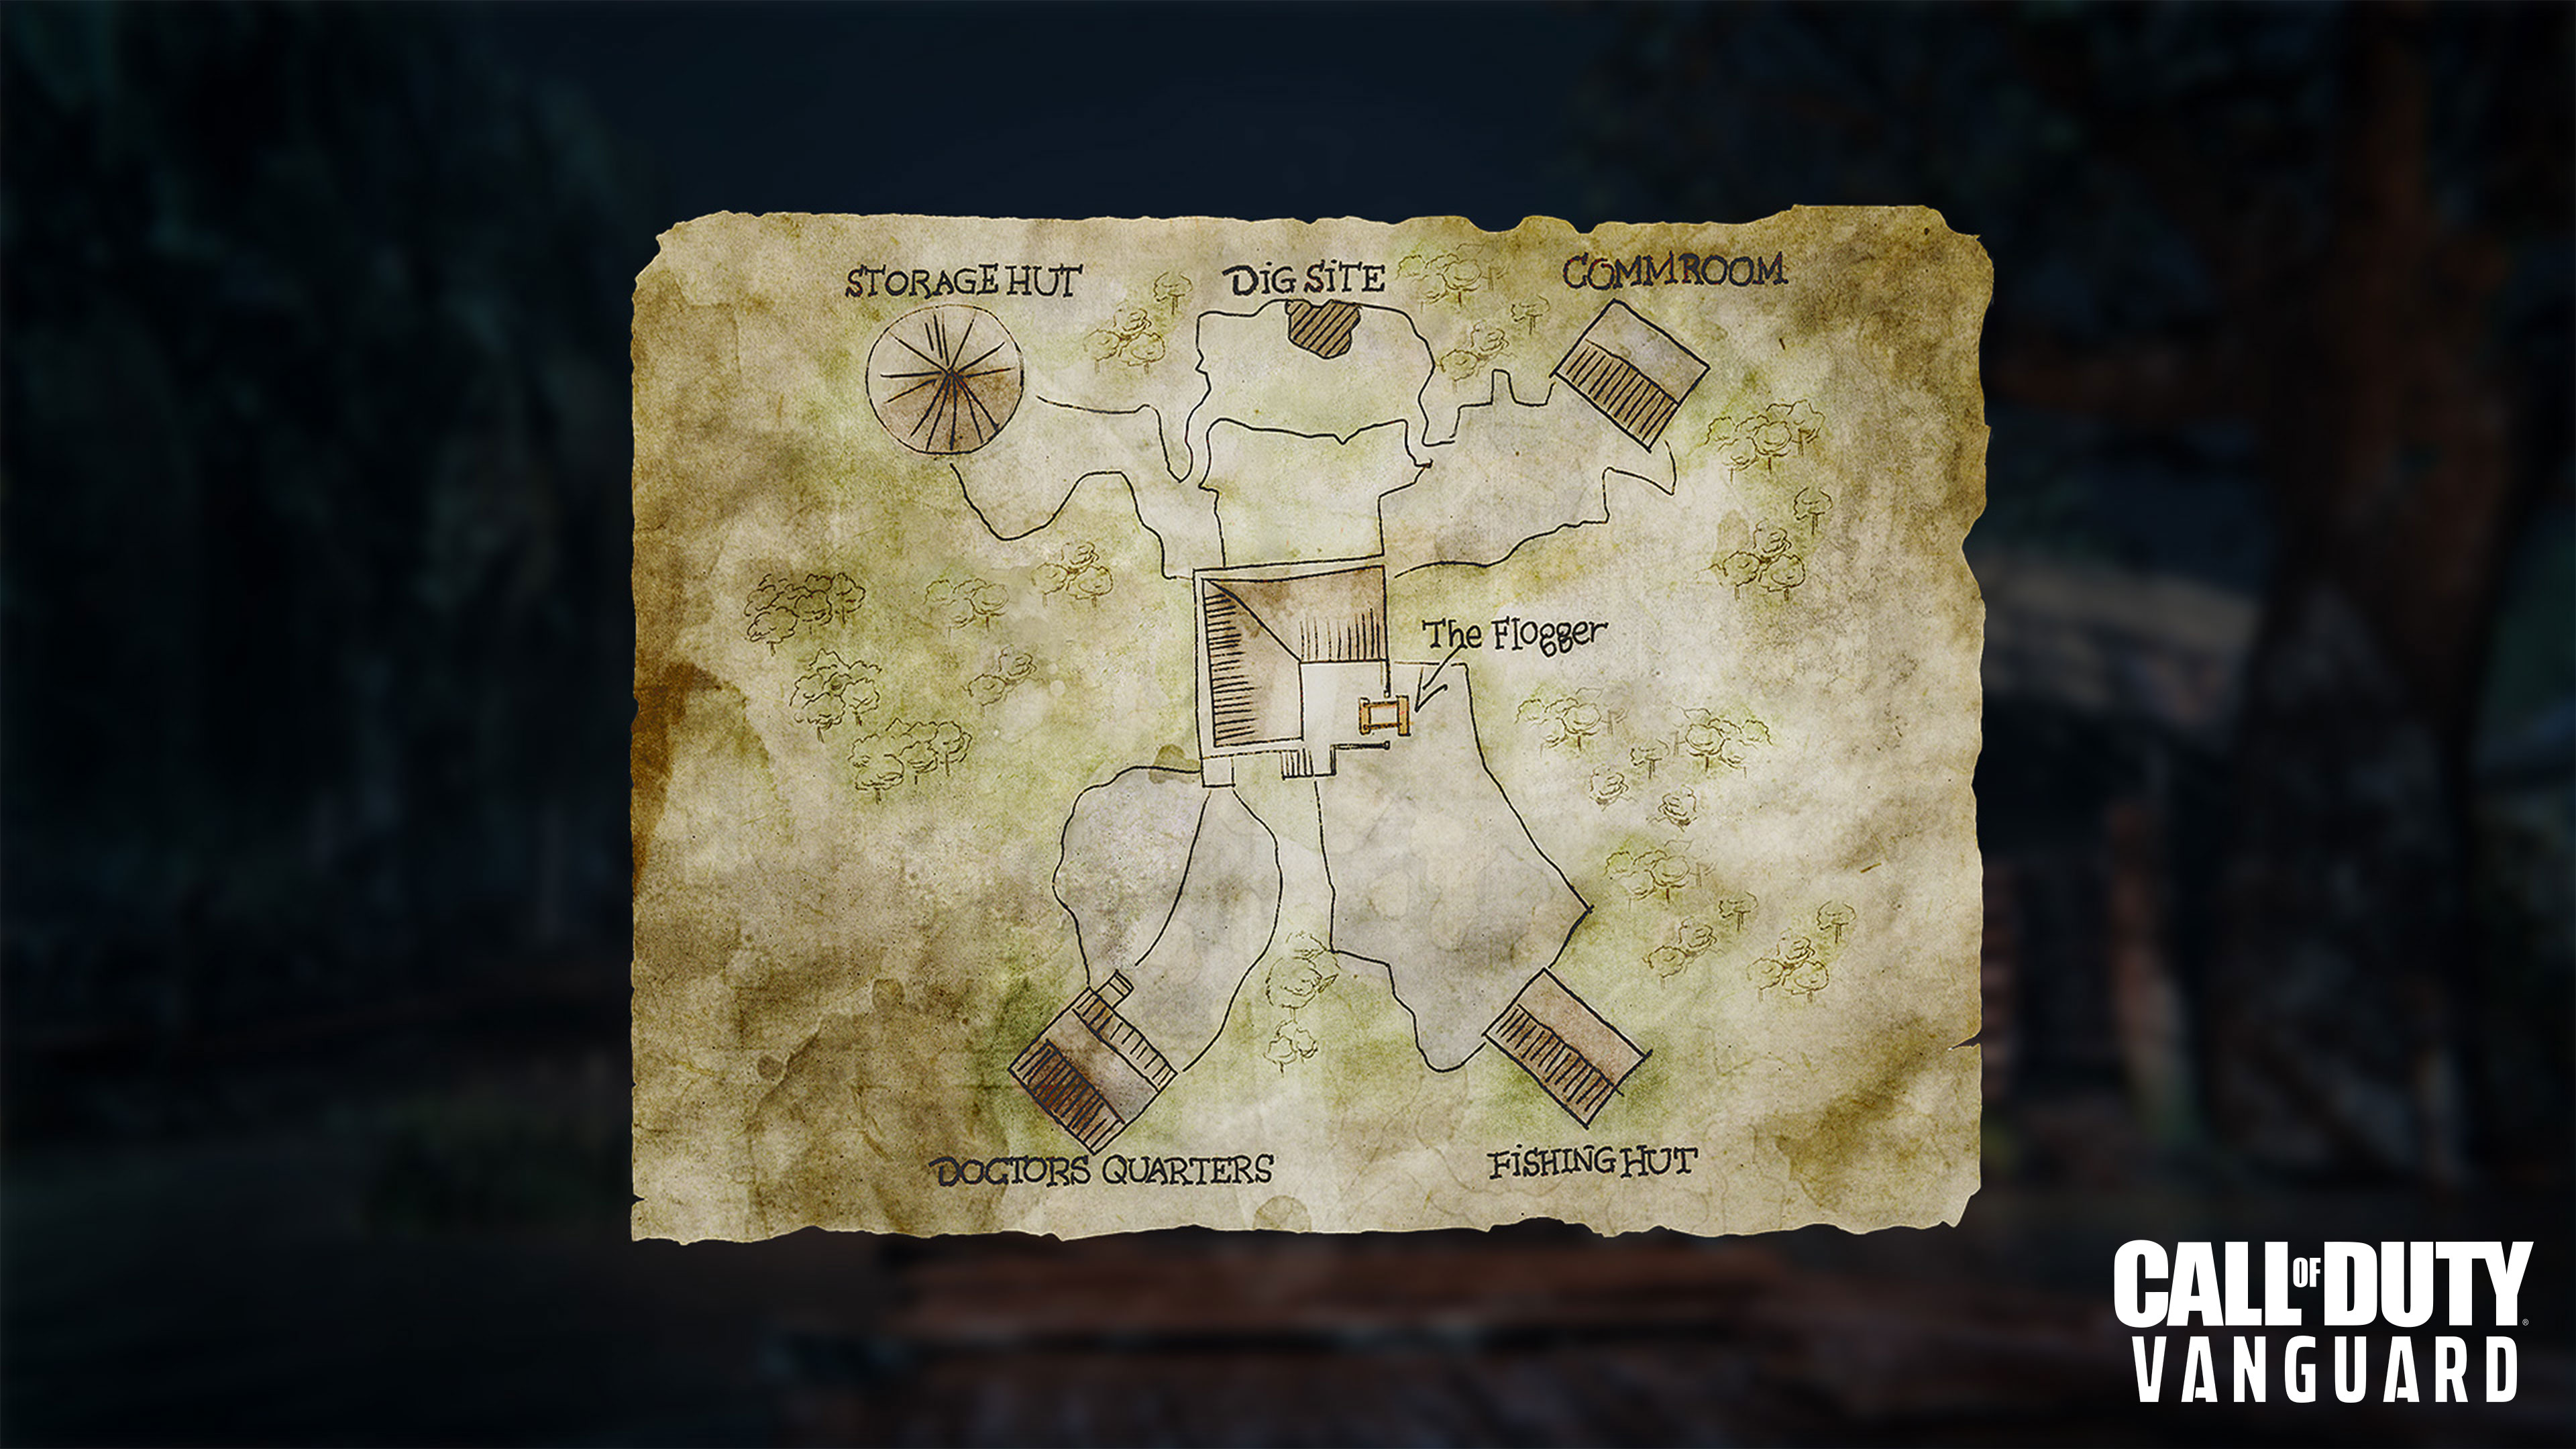
The map is divided into six primary sections: the Doctor’s Quarters, Fishing Hut, Comm Room, Storage Hut, Dig Site and — where the adventure begins — the Main Hut.
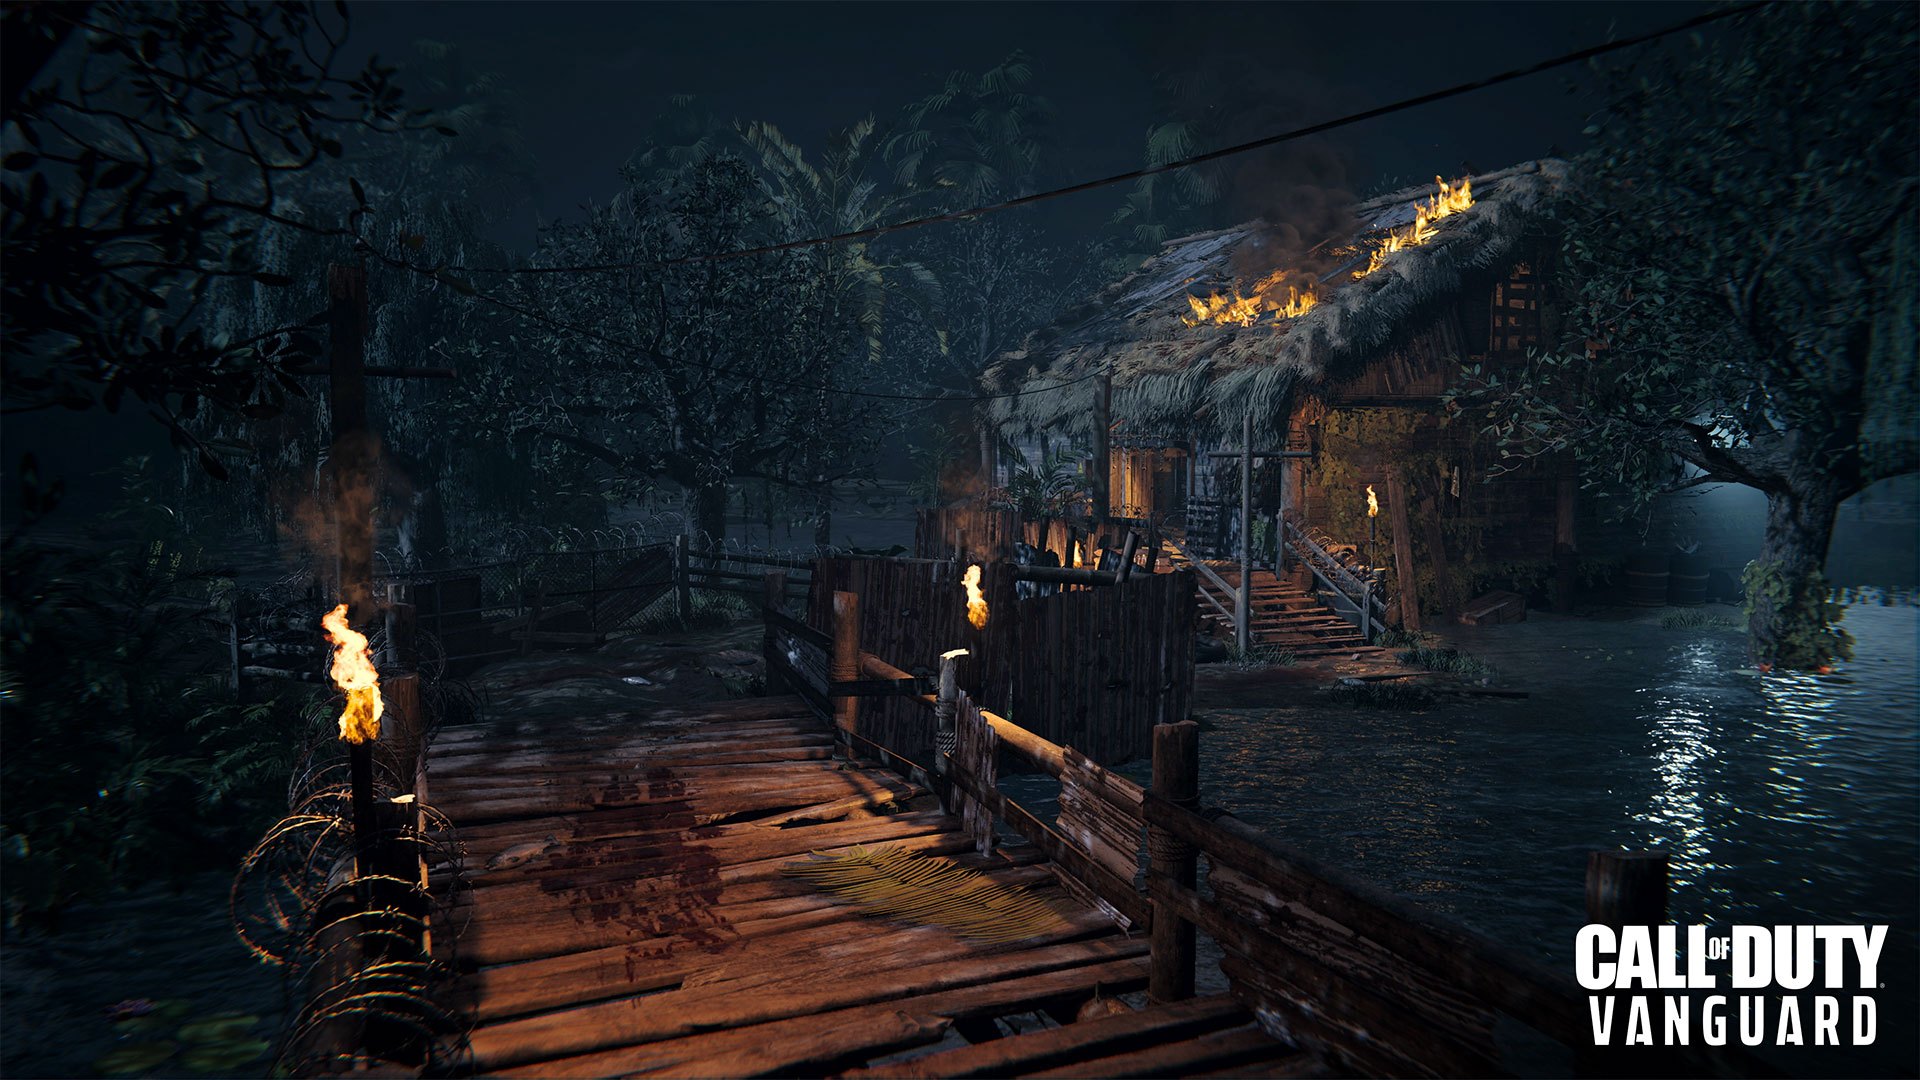
Main Hut
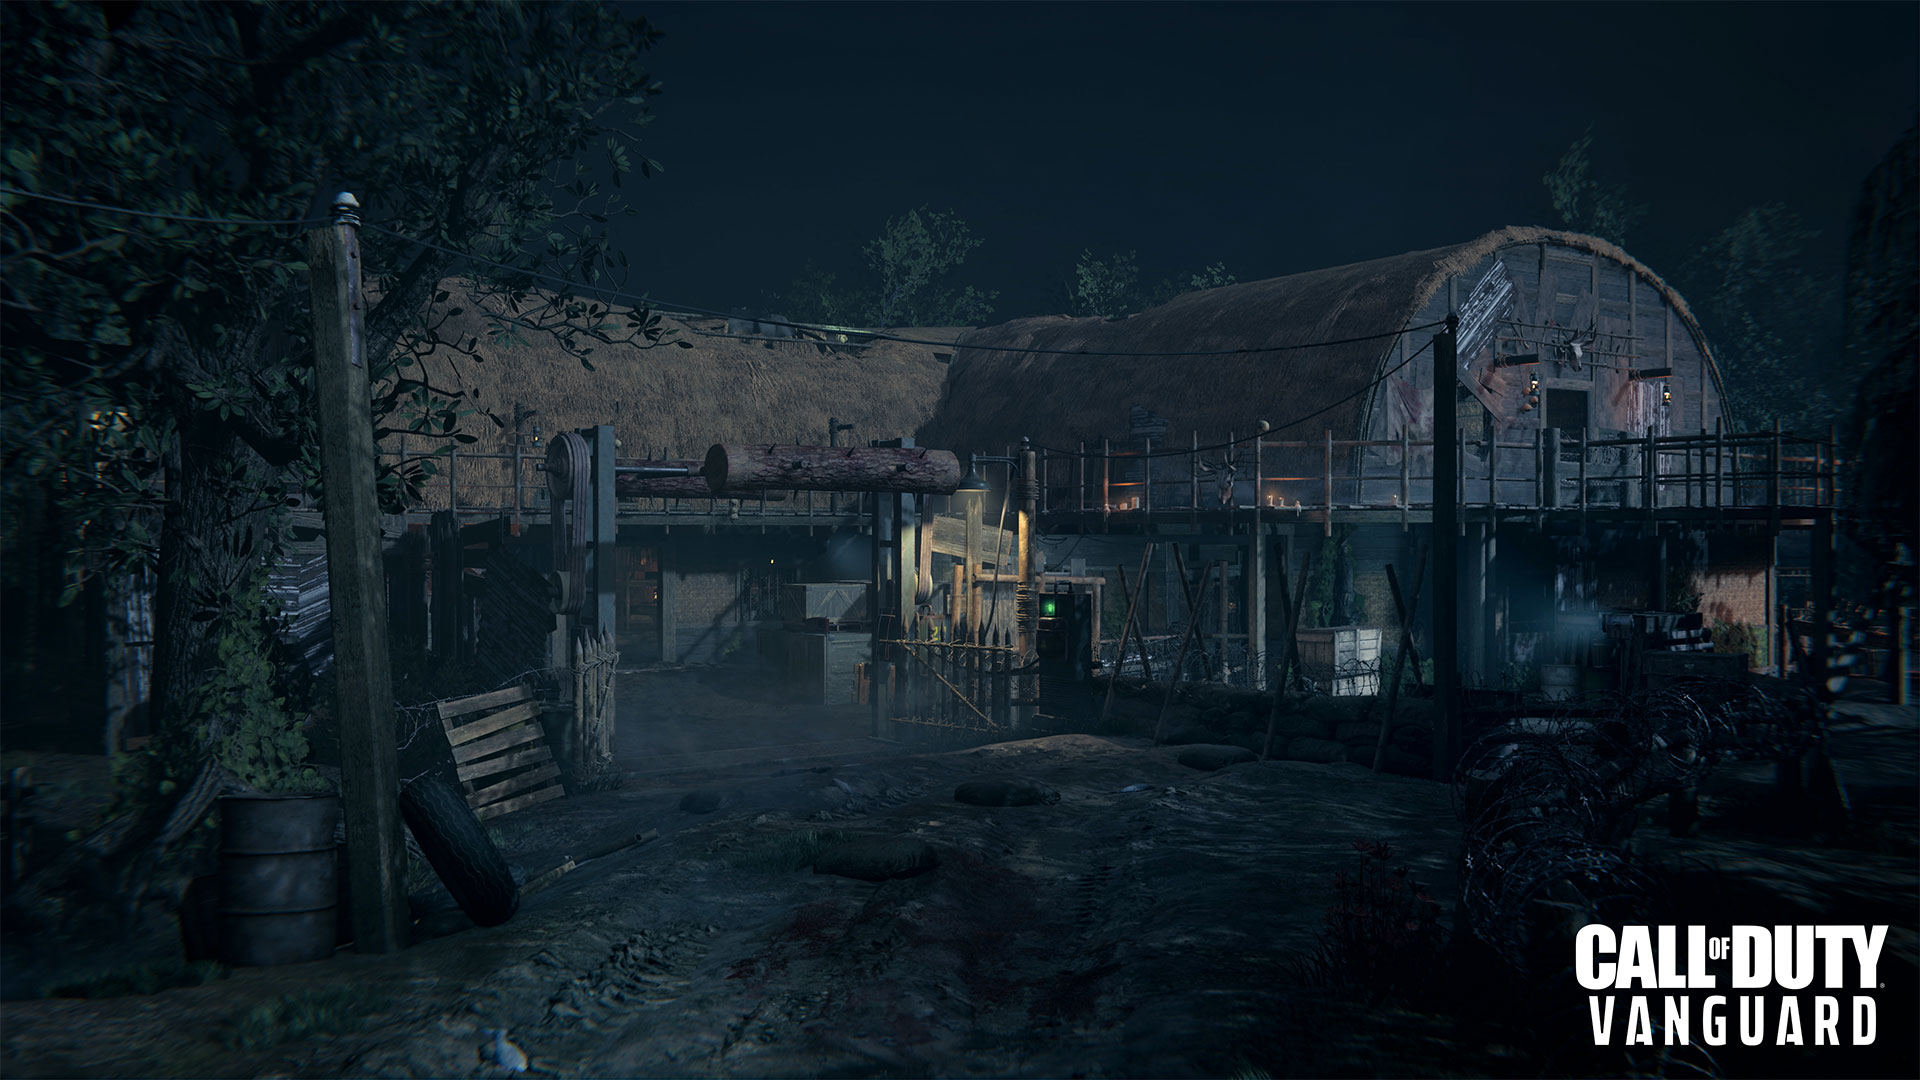
Your journey begins through the Swamp of Death in the Storage Vault, a small upper room in a two-story hut with access to two wall weapons, a radio, and an ammo box.
After opening either the staircase or the passage to the Infirmary, you’ll have access to the entirety of the Main Hut and the courtyard. For ease of movement throughout, you’ll want to open both eventually.
On the Main Hut’s lower level are several rooms, including the Mess Hall, War Room, Dormitory, and Excavation Room, as well as the outer Flogger Courtyard. Up the courtyard stairs is the Fiendish Fortitude Perk Fountain; chug it down for an essential health increase.
Of special note is the MK2 Frag Grenade Wall Buy in the upstairs Infirmary and the Stun Mine Wall Buy in the courtyard. These can be lifesavers when you’re getting squeezed by a large undead horde. Add the Energy Mine artifact into the mix and enemies will have one hell of a time even getting into striking range.
There’s a potential Mystery Box location in the Infirmary as well. Remember: the active box is indicated by a light pointing to the sky. Go to it and get armed.
From this point, there are various gates on the lower level and in the courtyard that lead to four of the map’s main sites. One of them, the Doctor’s Quarters, is accessed by opening the labeled gate in the Main Hut’s lower southwest corner.
Doctor’s Quarters
A large swamp area separates the Main Hut from the Doctor’s Quarters, featuring two islets along the way, the larger of which houses a monolith that may just hold the key to unlocking Saraxis’s memories.
In front of the Doctor’s Quarters is a power generator for the zipline. Turn it on and a platform will descend from the Main Hut, knocking over any zombies in its path. Pay 500 Essence to ride it back up to the Main Hut.
Open the door to access the Doctor’s Quarters. Here, as in all the exterior huts, you’ll find a randomized Perk Fountain, a possible Mystery Box location, and a trap switch. It costs 1,000 Essence to activate the trap switch, which causes electricity to zap anyone entering or exiting the hut’s main entrance, including friendly Operators. Use with caution.
Fishing Hut
Accessed via the Main Hut’s outer gate, the Fishing Hut features some incredibly useful tools to use in your journey for the relic.
First, once you open the gate that leads toward the hut, the incredible Flogger trap becomes available for use. Activated by a switch on either side of the gate for 750 Essence, the Flogger smashes all who foolishly attempt to traverse its path, living or undead. Be sure you’re on the side you want to be when it starts up.
On the way to the Fishing Hut is the Tome of Rituals. Exchange Sacrificial Hearts — awarded every three rounds — for improvements to your equipped artifact. This is vital for staying alive in later rounds.
Within the Fishing Hut, you’ll find another Perk Fountain, an electric trap, a Mystery Box location, and a Crafting Table.
Comm Room
Outside the Main Hut’s northeast exit lies a narrow wooden pathway leading to the Comm Room. There is a bit more room to maneuver in this larger hut, with a Perk Fountain and Wall Buy just past the front entrance. There’s another Mystery Box location and electrical trap here as well.
An Altar of Covenants is located along the path that leads to the Comm Room. Spend Sacrificial Hearts here as well to gain powerful passive abilities, and make sure to check back regularly, as the selection rotates throughout the rounds. Even if you’ve already got three Covenants, there’s always the possibility that a higher-tier version will be available the next time you stop by.
To the left of the Comm Room hut is a shack with a barred entrance to the Dig Site. Spend some Essence to clear the debris and move on.
Storage Hut
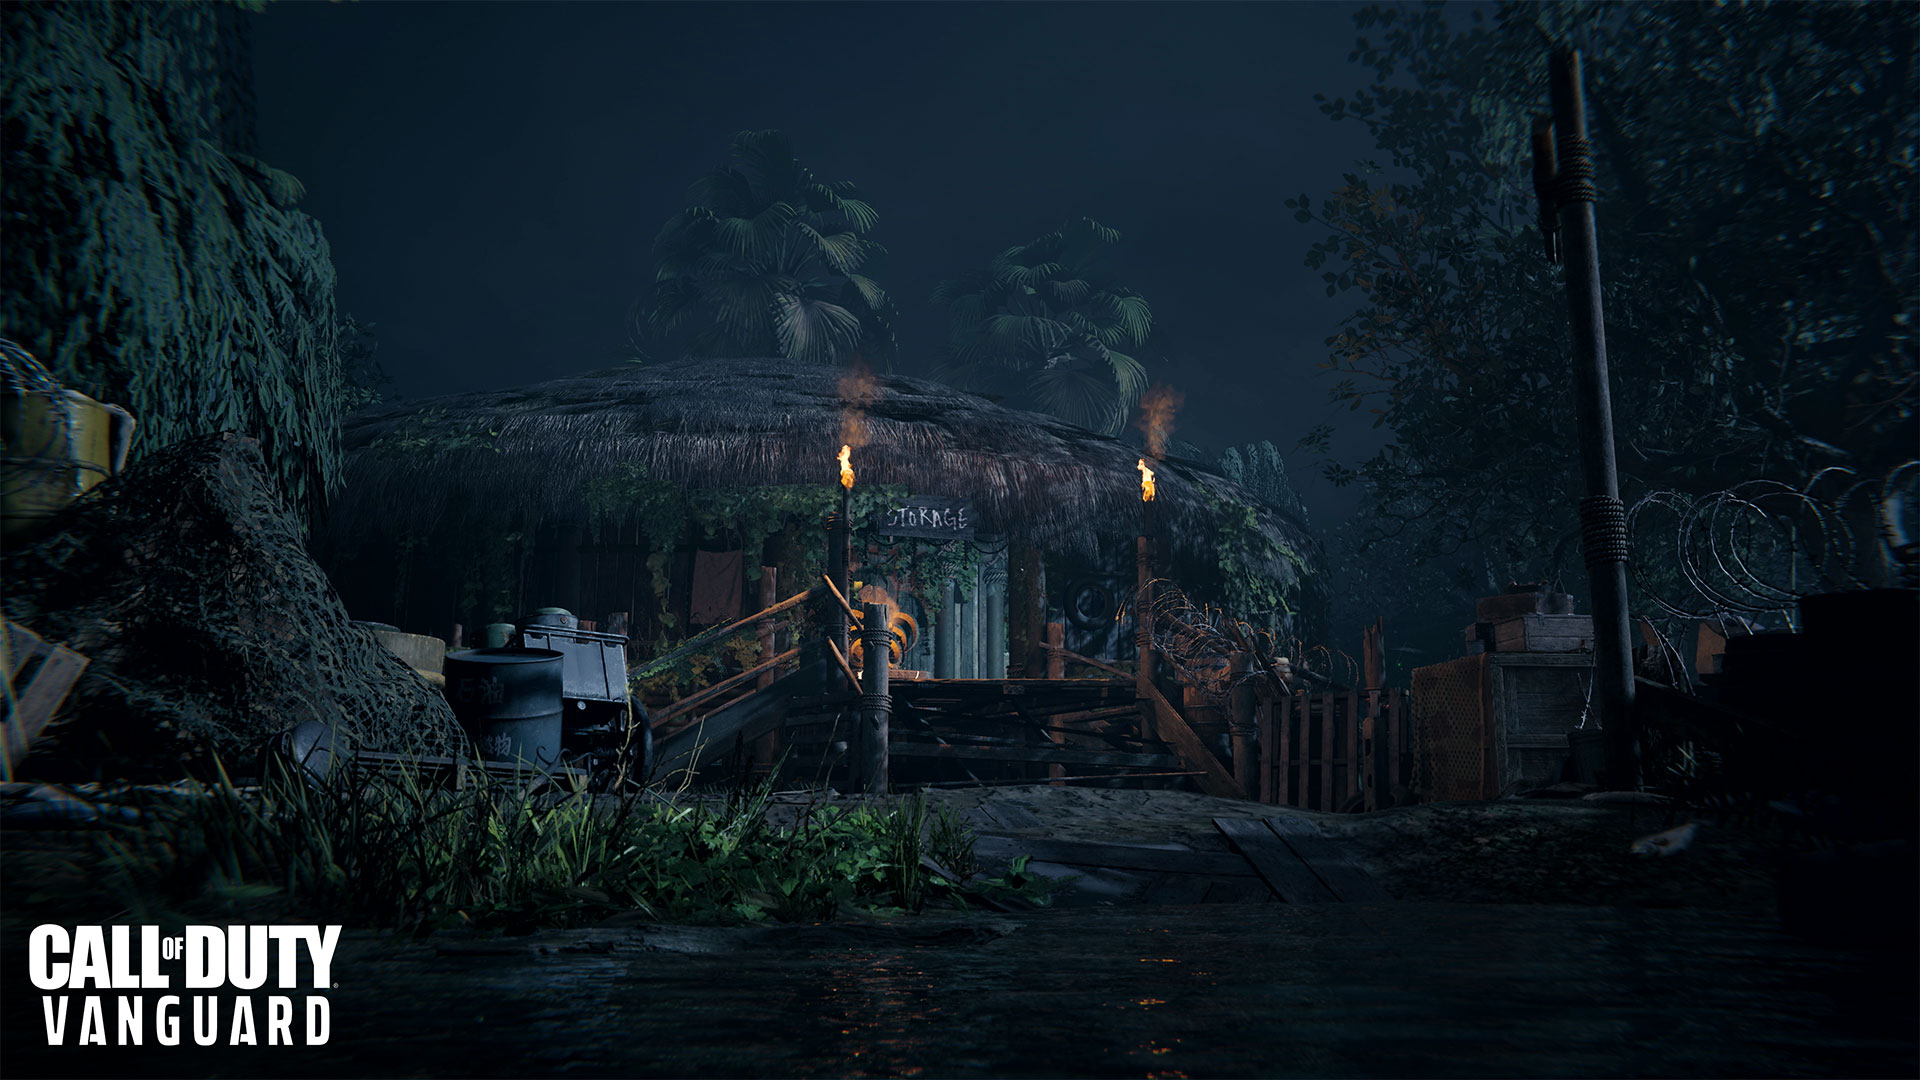
Like the swampland leading to the Comm Room, the terrain near the northwestern Storage Hut also offers a route to the northernmost Dig Site.
Two paths lead from the Main Hut to the Storage Hut — one is dry and the other is flooded. The hut is tiny, so be prepared to get in and out fast or to activate the electric door trap and defend your position if needed.
Inside is a Perk Fountain, a Mystery Box location, and a very interesting weapon lying on a workbench beneath a blueprint titled “Wunderwaffe DG-2.” If only there was a way to get it functioning again…
Dig Site
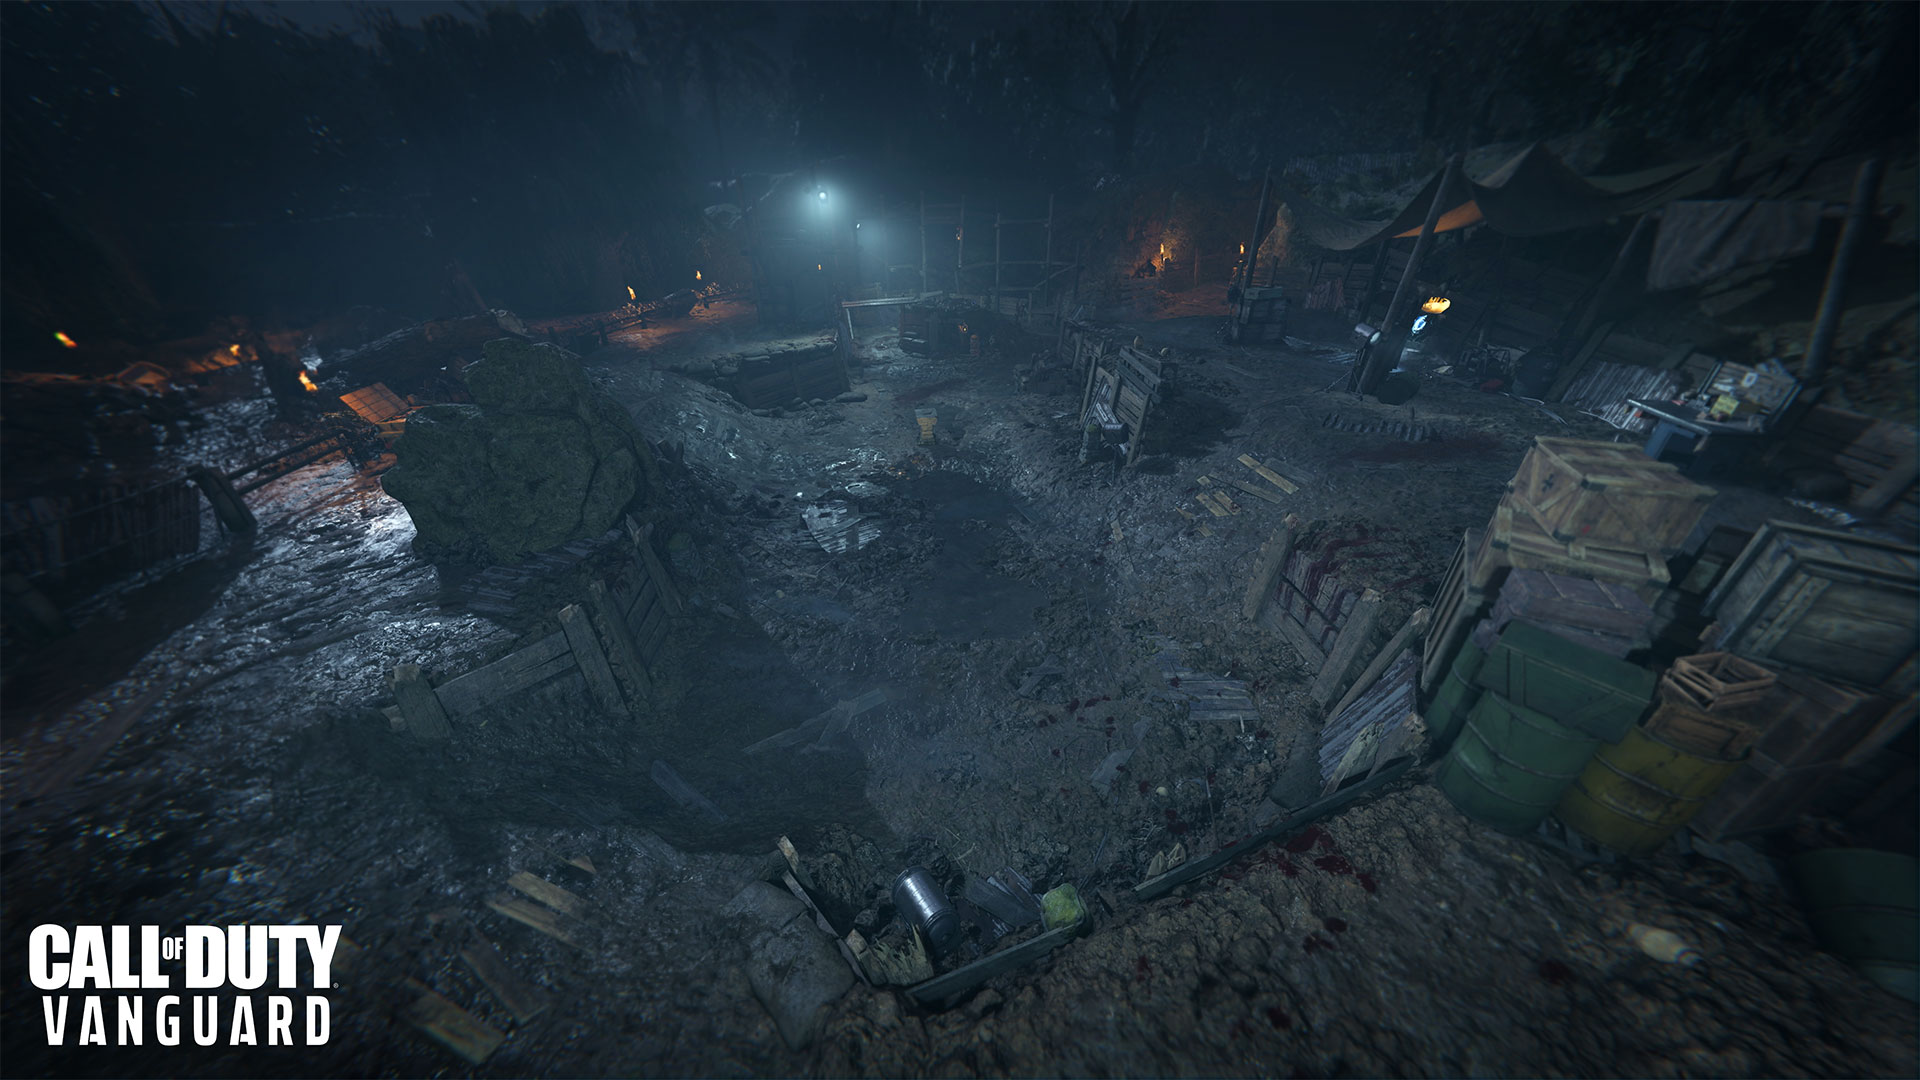
The Dig Site is where the initial objective points toward, accessible only via the Comm Room and Storage Hut pathways.
This large outside area is composed of a central ditch surrounded by an elevated pathway. On this pathway is a Crafting Table and the coveted Pack-A-Punch machine.
The open space here makes it a great spot to take on a large zombie horde — just keep in mind the several entry points into the area, including the eastern cliffside walkway. Evade their attacks, bunch them up into a nice long train, and then activate a trap or turn and start blasting.
General Strategies
Shi No Numa can get hectic, considering its confined huts and swampy terrain. Here’s how to improve your squad’s survival chances:
First, in addition to spending your Sacrificial Hearts at the Altar of Covenants and Tome of Rituals, make sure to spend Salvage at Crafting Tables. Upgrading and repairing Armor is invaluable to survival, not to mention all the Lethal, Tactical, and Support items that you can forge as well. Watch that Salvage count and spend it on crafting as often as possible.
In later rounds, you’ll also start running up against special enemies like the dreaded Boom Schreier and other surprises not yet known... For the Boom Schreiers, remember that these screaming monstrosities will run straight at Operators and detonate, causing damage. Listen for their yell and eliminate them before they get into range.
At Round 10, the option to Exfil via Runegate will be available in the Main Hut Dormitory. You’ll have the chance to Exfil again every five rounds afterward. Activate the event to initiate one final battle before making an escape.
Top 10 Tips for Shi No Numa
10. Traverse Solid Ground. Wading through the swamp slows Operators down, so try to move on solid ground as much as possible. Minimize traversing waterlogged paths, like those found in the small areas of Shi No Numa, as speed wins.
9. Writing on the Wall. Confused in the Main Hut? Look at the destination written over each of the four gates leading out. These direct you toward various sites like the Storage Hut, Comm Room, Doctor’s Quarters, and Fishing Hut. Also check out the downstairs War Room map in the Main Hut.
8. A Two-Way Toll. When first spending Essence to open a gate for one of the outer huts, remember that you’ll still need to pay the cost of entering that hut.
7. A Heart for You and You. Throughout the match, you’ll earn a Sacrificial Heart every three rounds. Don’t let them sit unused! Spend them liberally at the Tome of Rituals on the way to the Fishing Hut and the Altar of Covenants near the Comm Room.
6. Time to Cool Off. As tempting as it is to zap and flog every undead life in sight, know that the Flogger and the various electric traps require a cooldown period before you can use them again. Zombies taken out by these traps also provide a much smaller Essence reward, so save the traps for when you really need them.
5. Watch Those Wall Buys. Throughout the match, various Wall Buy weapons will upgrade to their Tier 1 Pack-A-Punch variant. You’ll notice this right away, as the Wall Buy outline changes from white to blue and the cost increases to 4,000 Essence. Pricey, sure, but you get what you pay for with heavy hitters .
4. Covenant Combos. Another reason to check back at the Altar of Covenants throughout the match is to try and set up Covenant combos. For example, try pairing Cull the Weak, which deals more damage to slowed or stunned enemies, with Cryofreeze and/or Dead Wire. With this combo, you’ll slow enemies and deal more damage to them for doing so. Experiment and find what works for you.
3. Tune In for More Intel. Check all the huts and the Dig Site for radios — activate them to take a deeper dive into the mystery behind Shi No Numa and the coveted relic both Krafft and Von List so desperately desire.
2. Strange Things. There are certainly some things amiss in these swamps, like the empty Perk Fountain in the Flogger Courtyard and the rune-covered monolith outside the Doctor’s Quarters. And just what is it that you hope to find in that Dig Site, anyway?
1. A Little More This Time. Since this is the first classic round-based Zombies experience to come to Vanguard, it’s important to keep this in mind: With each run, you’ll get more familiar with the map and its many intricacies, allowing you to push further and further into the questline and later rounds.
Invite your friends and ready up for the Swamp of Death — Von List and Kortifex would appreciate having more soldiers for their undead army…
Rise on every front.
For more information on Call of Duty: Vanguard, check out www.callofduty.com and www.youtube.com/callofduty and follow @SHGames, @Treyarch, @RavenSoftware, and @CallofDuty on Twitter, Instagram, and Facebook.
© 2022 Activision Publishing, Inc. ACTIVISION, CALL OF DUTY, , CALL OF DUTY VANGUARD, CALL OF DUTY WARZONE, and WARZONE are trademarks of Activision Publishing, Inc.
For more information on Activision games, follow @Activision on Twitter, Facebook, and Instagram.