Call of Duty: Vanguard Zombies—20 tips for fighting off the Horde
The dead are rising and there’s no way out: Welcome to “Der Anfang,” the first Zombies experience in Call of Duty: Vanguard.
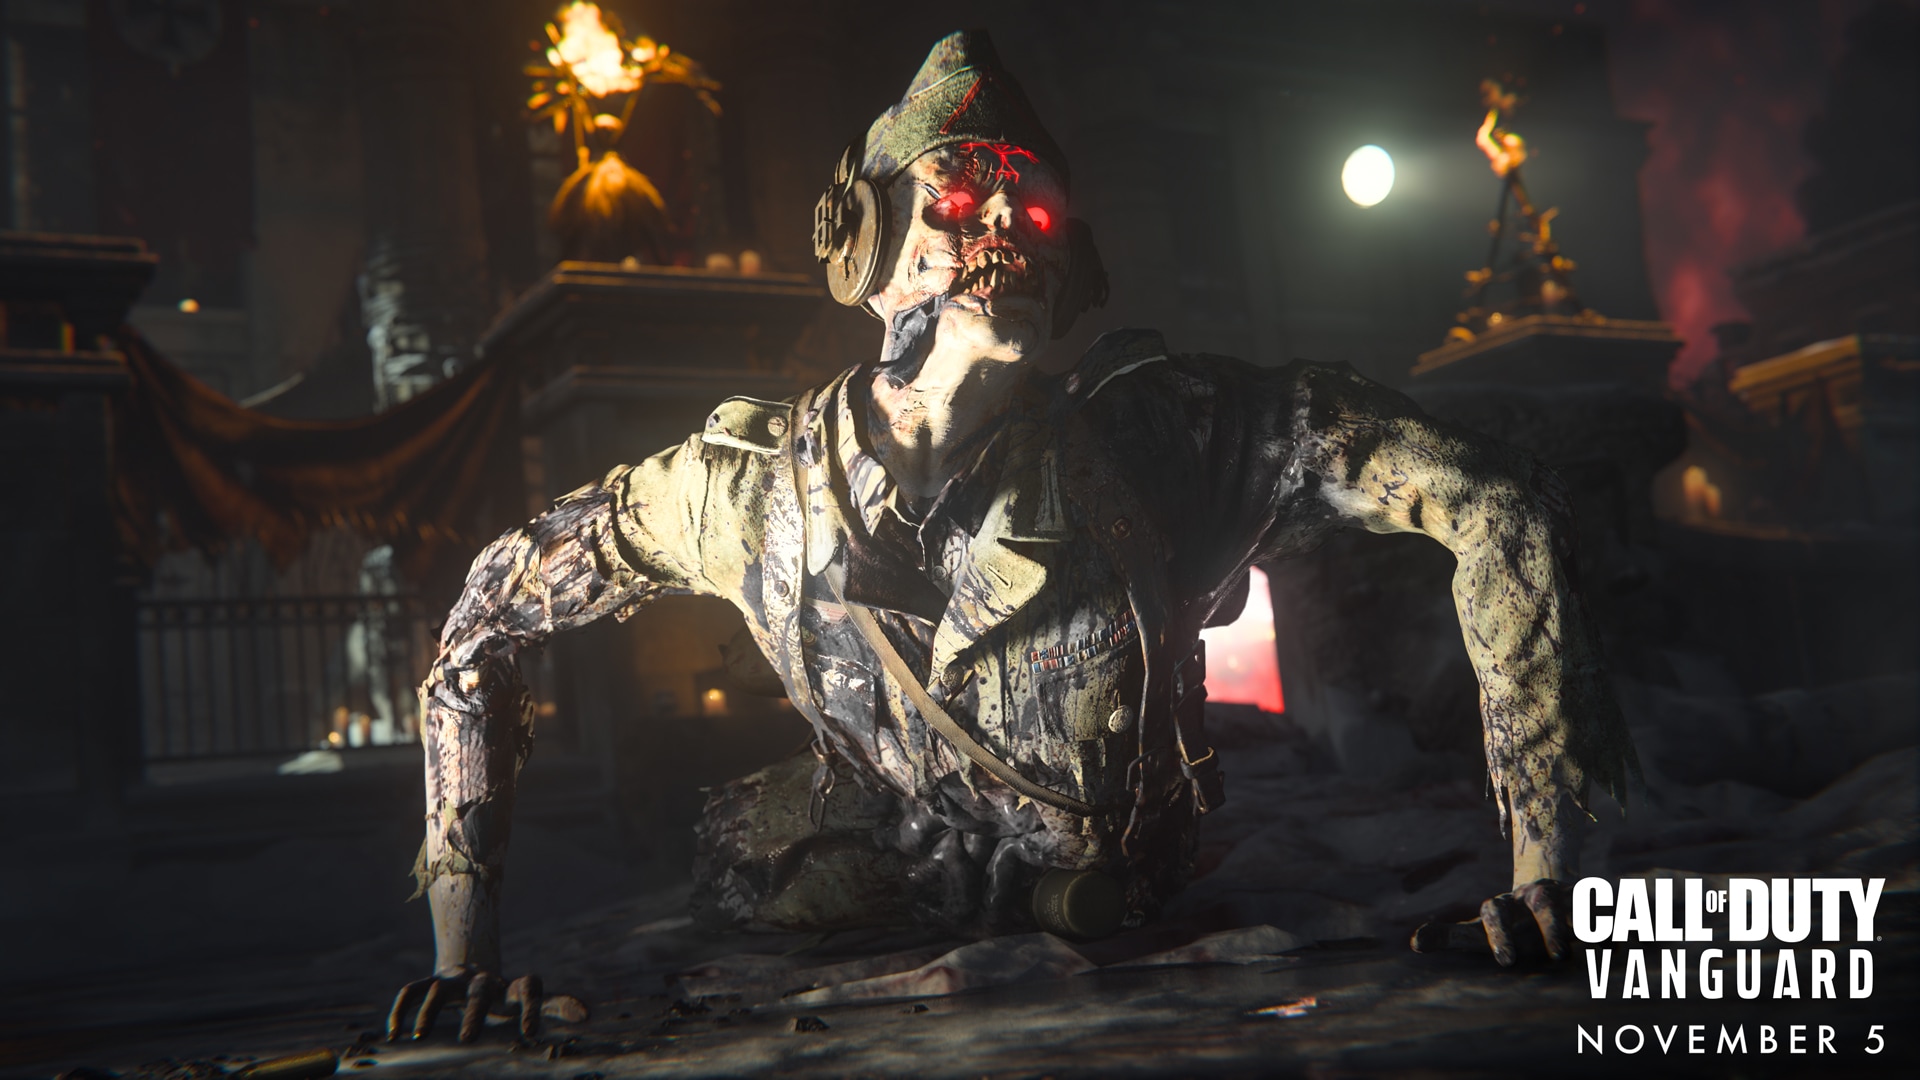
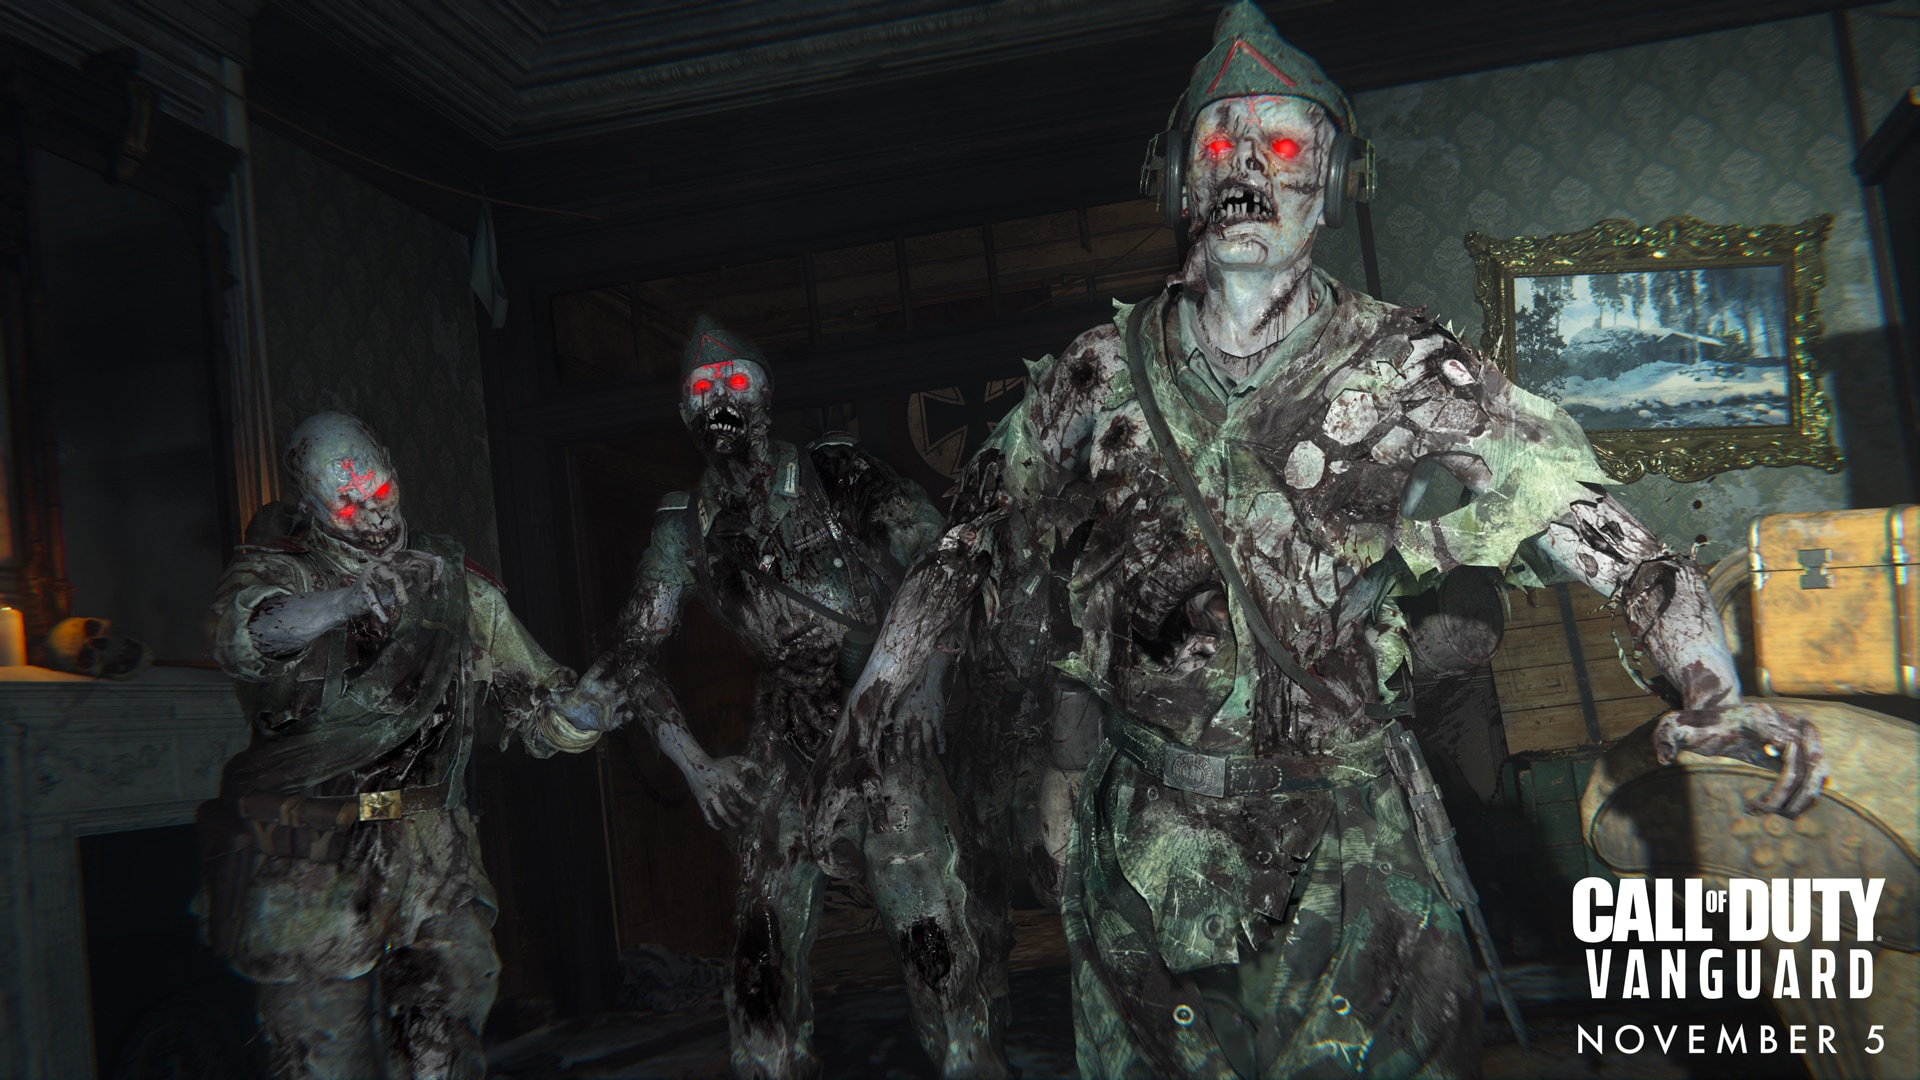
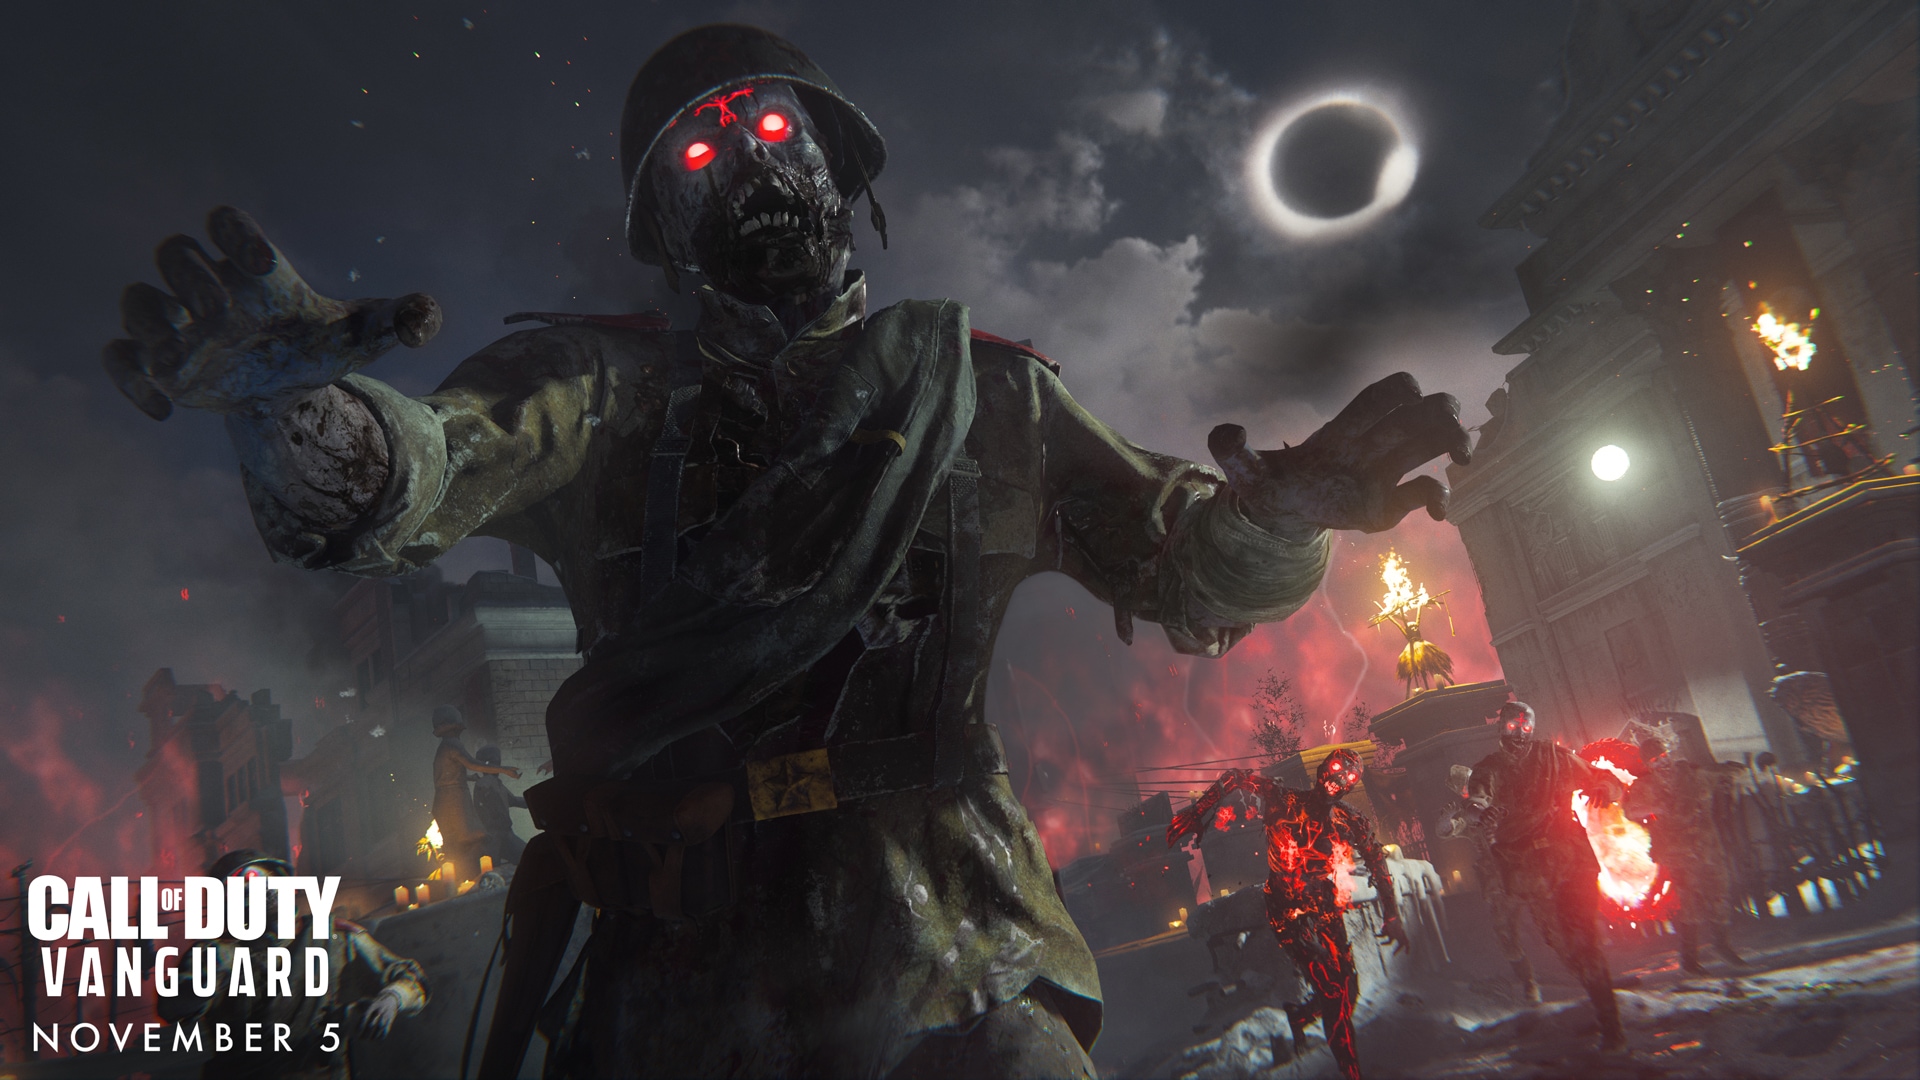
Our Special Forces soldiers have managed to form a base of operations in Fountain Square amid the ruins of Stalingrad. One Professor Krafft, a demonologist who has defected from his Nazi oppressors, is providing aid in the fight against the undead menace. You are confined here by the magic of Dark Aether entity Kortifex the Deathless, and there’s no choice but to accept Krafft’s help.
Perhaps you and your squad will be the ones to make it out alive. Take these words of wisdom to heart, and then get back to the fight:
1. Explore Your Base of Operations.
When you first deploy to “Der Anfang,” you’ll begin in Fountain Square, where our operatives have managed to set up a base of operations to act as a bulwark against the endless undead. At first, you’ll only have access to the Crafting Table, Mystery Box, Ammo Cache, Pack-a-Punch, and the new Altar of Covenants.
Look around and get your bearings. You won’t have the resources yet to purchase any upgrades, but don’t worry — you’ll run into some zombies to take out with your starting weapon. Every bit of Essence counts, so get hunting and take them out.
2. Know Your Objectives.
At first, you’re presented with three different portals, each offering its own objective type. The initial objectives are as follows: Harvest, Transmit, and Blitz.
In Harvest, you’ll collect runestones from fallen zombies and deposit them into the Sin Eater obelisk. After depositing a sufficient number of runestones, the Sin Eater will change location, marked by the star icon on the mini-map and your HUD. Fill it three times to complete the objective. When playing with a team, it’s best to designate one player to deposit the runestones while the others defend against the rush of undead.
In Transmit, follow a floating zombie head as it finds weak spots between dimensions. Stay close to keep it moving around the map and filling the travel bar on your HUD. Move outside its designated area of effect, and you’ll start taking damage over time. Once the bar is full, the zombies will collapse and you’ll teleport back to Fountain Square.
Blitz is pure survival. Stay alive within the allotted time as zombies rush your position from every angle. Keep your eyes on the mini-map to note their location and avoid getting taken by surprise.
3. Kortifex Determines Your Boundaries.
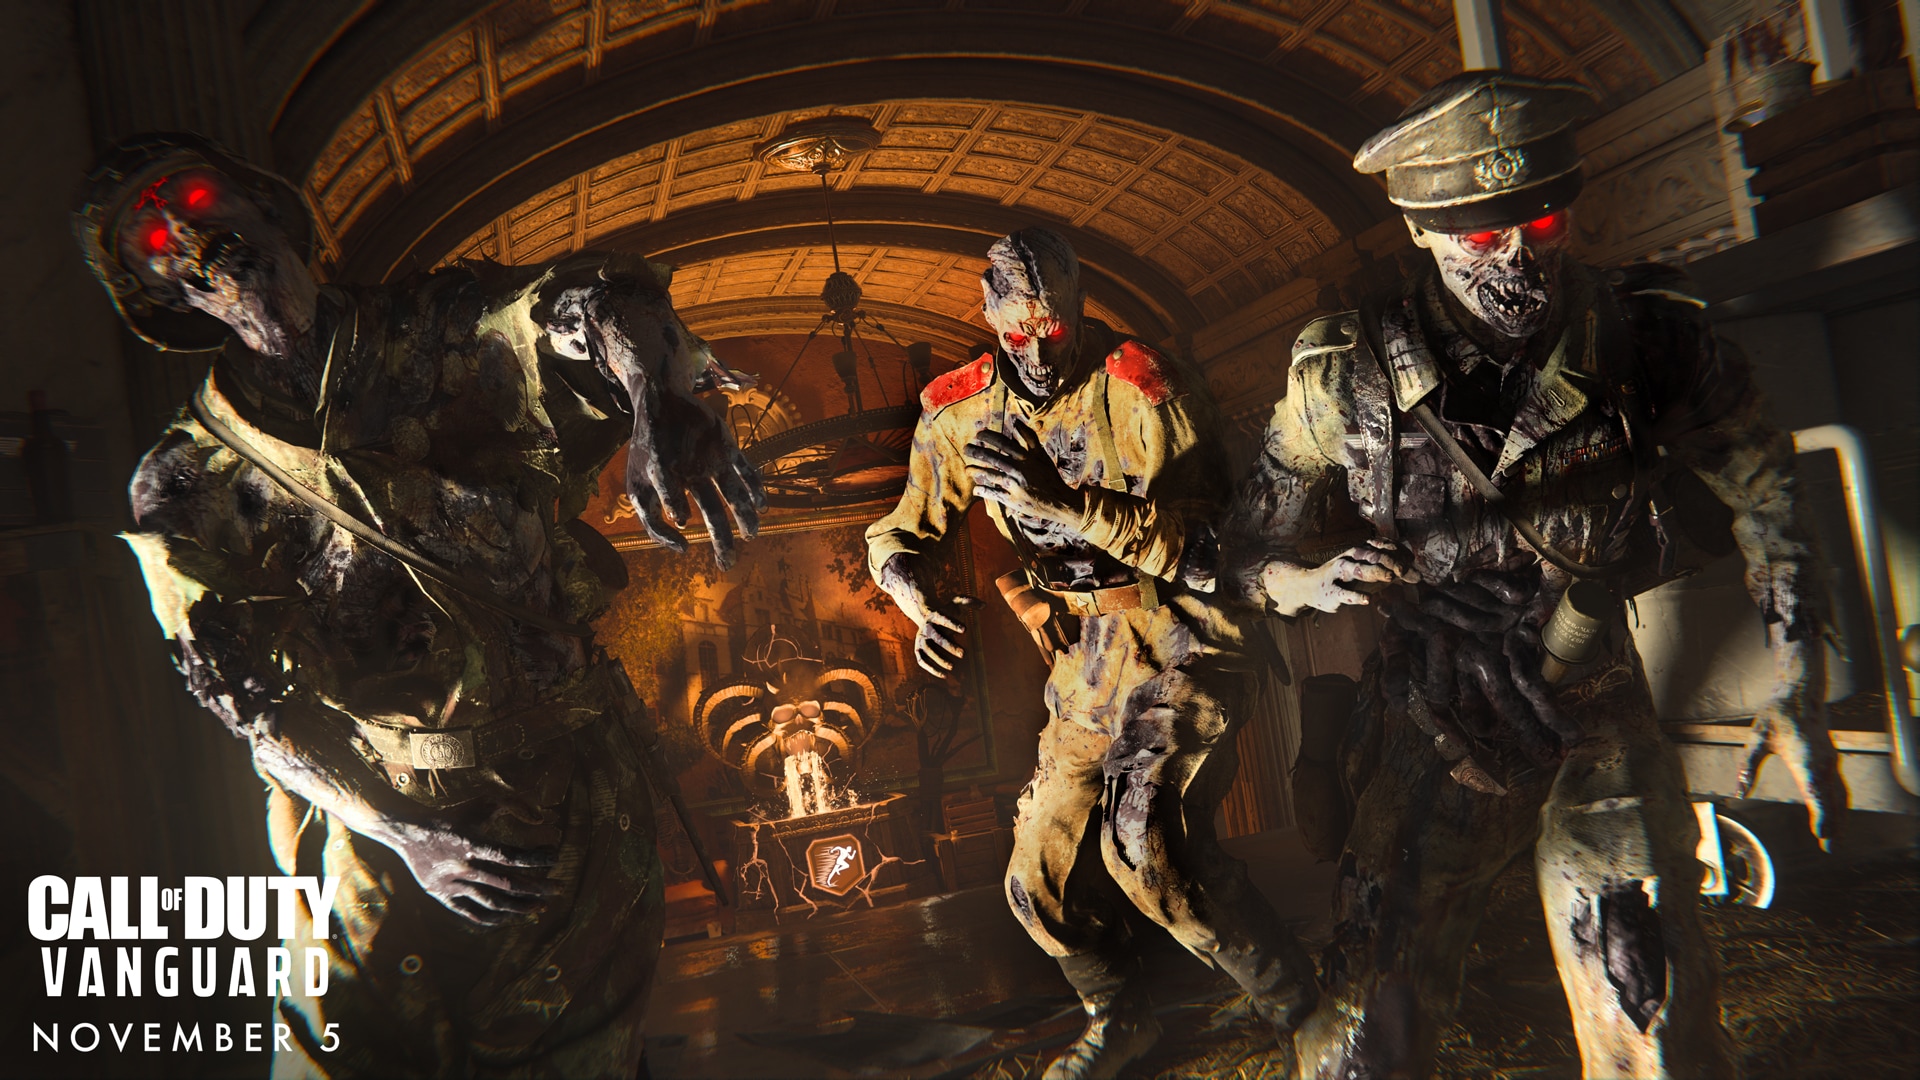
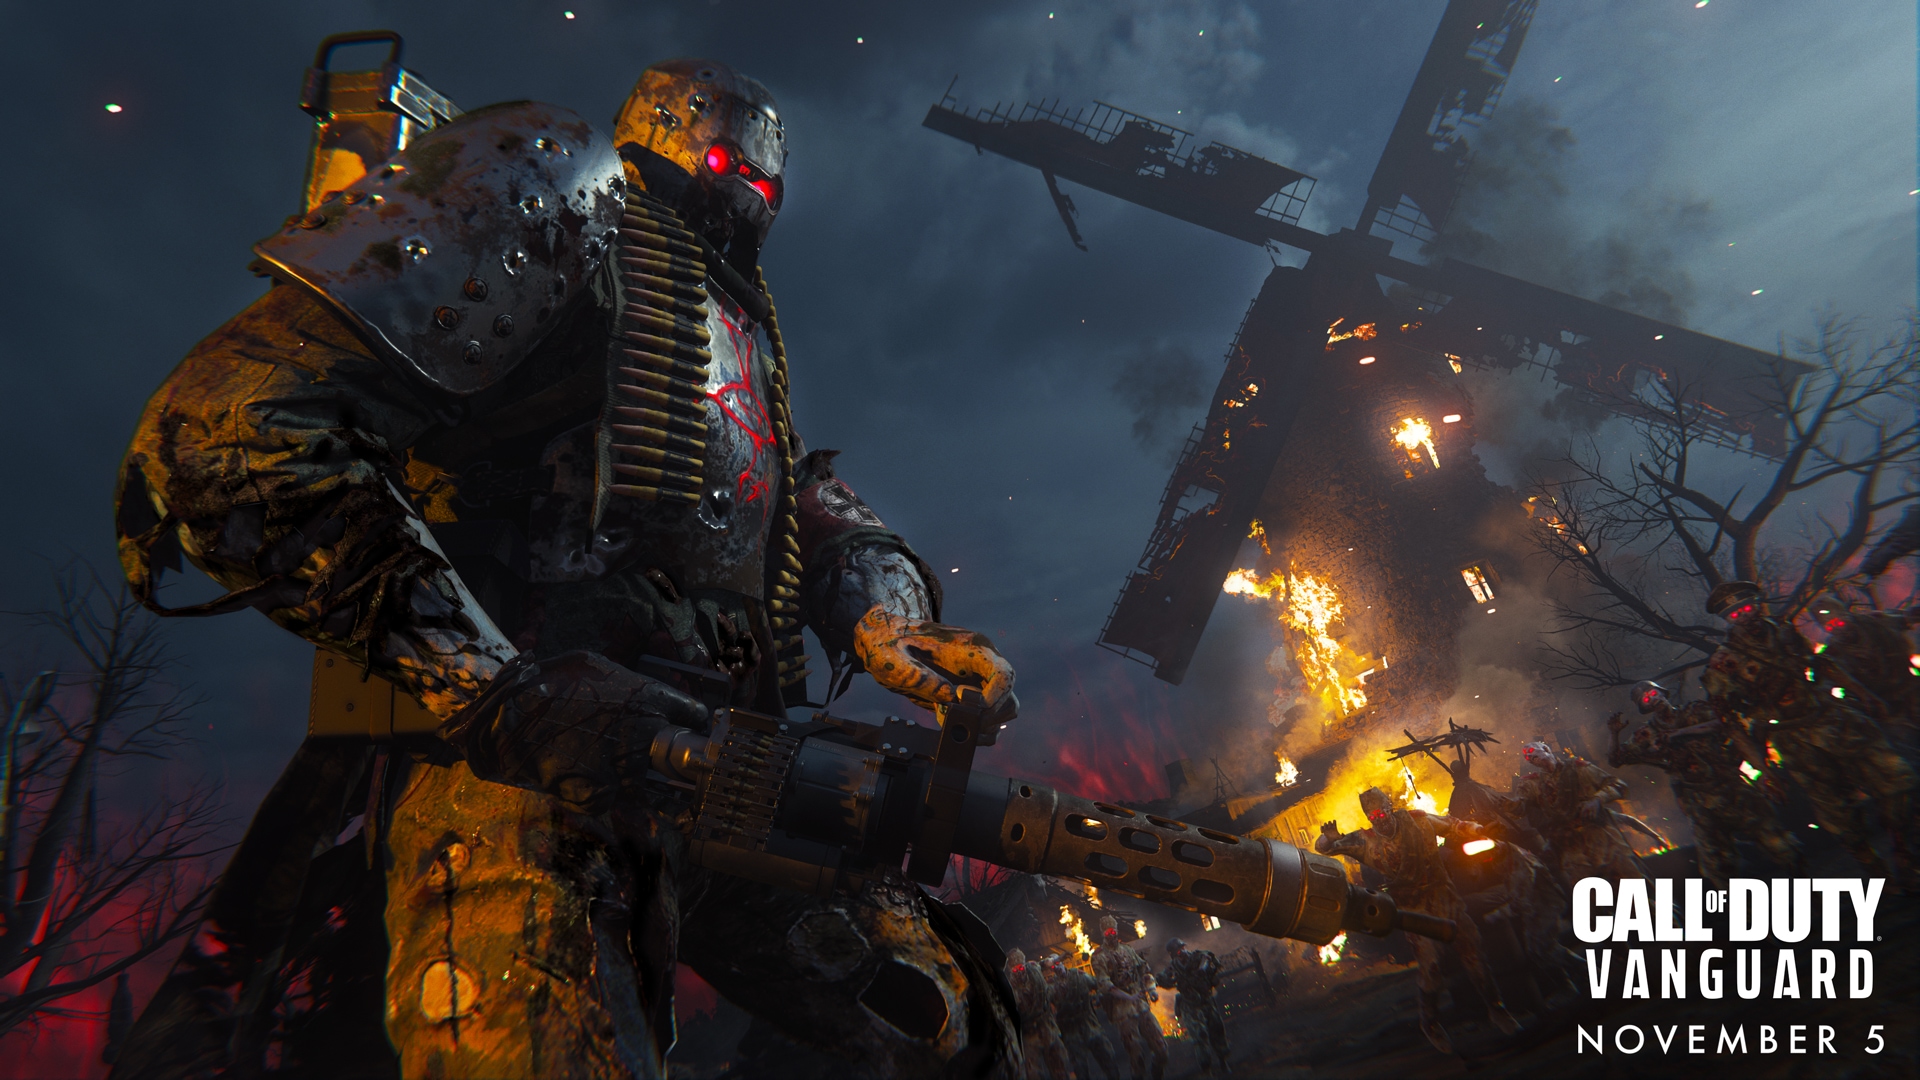
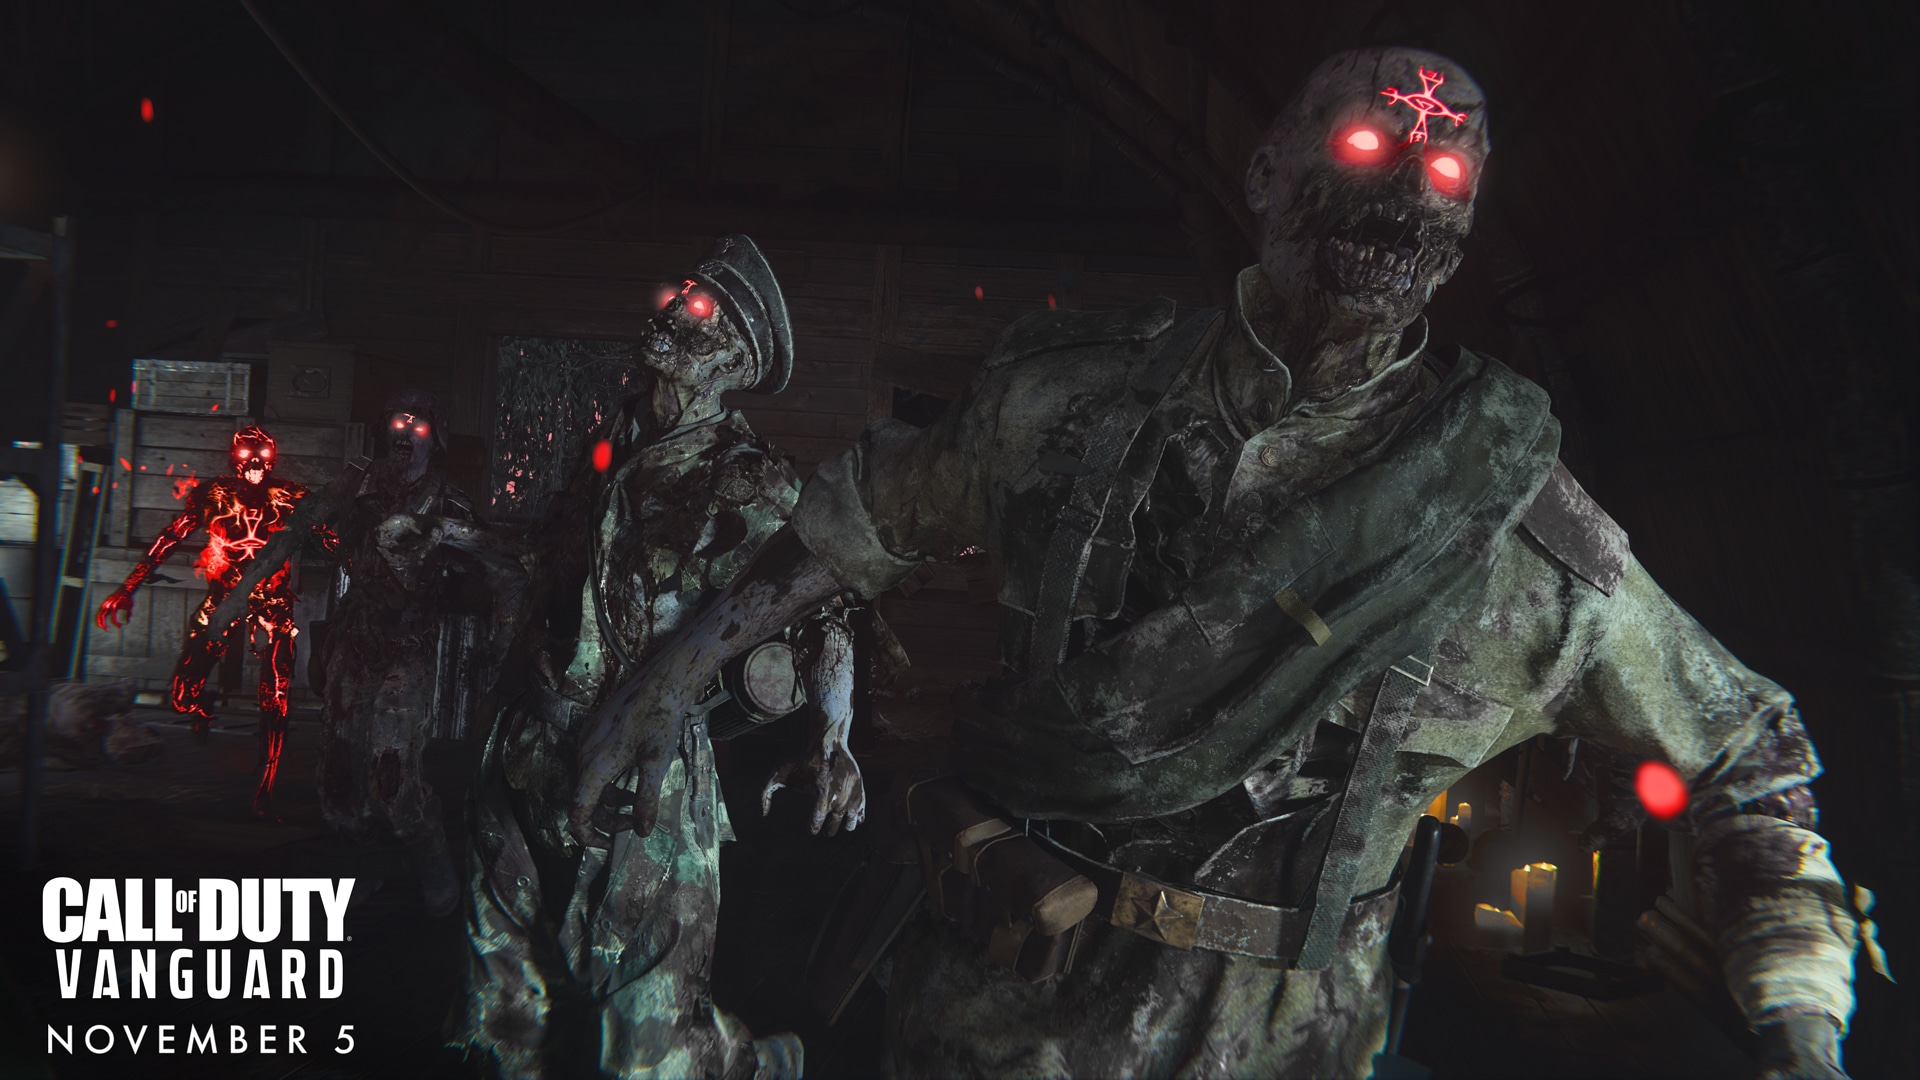
Each objective is tied to a different location. Get close to a portal for a hint at what lies ahead. Fight in the apartments of Stalingrad, the rooftops of Hotel Royal in Paris, and the muddy fields underneath a flaming windmill in Merville. Veteran players are also sure to recognize the classic swamps and barracks from Shi No Numa in Japan.
The boundaries for each location are determined by Kortifex’s magical barrier, which changes from objective to objective. You may be confined to a single area in Shi No Numa, or within a single level of the apartments, or you might have the run of the place. Watch for the barrier markers to determine the gameplay space within each portal.
4. Fight Back with Dark Aether Abilities.
The Artifact you choose for your Loadout determines the Dark Aether entity your operative is bonded with, and hence the ability they are granted through that synergy.
Energy Mine: The Dragon of Saraxis spawns an Aethereal explosive, dealing massive damage to enemies who set it off. Use this to blast the undead in heated choke points, or as a last ditch means to escape their grasping claws.
Aether Shroud: The Mask of Bellekar cloaks you in Dark Aether, masking your presence from enemies for 5 seconds. Activate this to escape impending doom or just to give you the chance to get into a better slaying position.
Ring of Fire: The Sword of Inviktor sparks a ring of Aethereal flame to boost damage for anyone within its radius. Lasts 15 seconds. When you’re facing off against a large horde or an angry Sturmkrieger — we’ll get to him soon — this ability will give you and your team the extra damage boost needed to mow down enemies fast.
Frost Blast: The Horn of Norticus summons a frigid vortex, damaging enemies with the initial blast and slowing those that enter. Send a shiver down their rotting spines and slow enemies to a crawl, then unload on them as they move at a snail’s pace for a short time.
5. Perk Fountains — The First Swig Is Free.
Perks work a little differently in Vanguard Zombies compared to previous titles. When you first activate a Perk Fountain after gaining access to it, you’ll gain the first Tier of the Perk for free. After that, you’ll have to pay Essence to upgrade it further in-game: 2,500 Essence for Tier 2, 5,000 Essence for Tier 3, and 7,500 Essence for Tier 4.
The five Perks in “Der Anfang” include Fiendish Fortitude, Demonic Frenzy, Diabolical Damage, Venomous Vigor, and Aethereal Haste. Find them in Stalingrad after unlocking new areas of your forward operating base, as well as in the various objective areas you’ll encounter.
6. Consider Completing the Southwest Objective First.
Initially, completing an objective will open up a new section of Stalingrad until the whole area is available to explore. When learning the ropes of Vanguard Zombies, we suggest heading through the southwest-facing portal first. Complete this objective to gain access to the Fiendish Fortitude Perk Fountain. You can’t go wrong with a boost to your health.
7. Break Crystals, Open Chests.
Within Stalingrad, red crystals and chests will appear between objectives near packs of zombies. Shoot the crystals and loot the chests for the chance to earn Equipment, items, and Salvage. The more stocked up you are, the more tools you’ll have at your disposal when the going gets tough. Crystals and chests are marked on the mini-map, so make the rounds and reap the benefits.
8. Visit the Altar of Covenants Between Objectives.
Using the Altar of Covenants, you can carry up to three abilities at a time that drastically affect your playstyle, from Unholy Ground providing a damage boost when firing while stationary to Brain Rot, which has a chance of turning enemies into allies.
Check the Altar after every completed objective, as the Covenants on offer cycle each time and may increase in rarity as well. Consider your Dark Aether power when choosing: pair Unholy Ground with Ring of Fire for a major damage boost, or pair Cryofreeze with Frost Blast to constantly thwart zombies’ attempt to reach your position.
9. Stay Awhile and Slay.
Zombies will increase in number and aggression in Stalingrad after every completed objective. A great way to earn more Essence and other resources is by clearing them out each time. Your power will improve at a faster rate as you’re able to Pack-a-Punch your weapon early in the match and hit up the Mystery Box for new guns.
10. Spend Your First 750 Salvage on Armor.
Spend Salvage at the Crafting Table to acquire a wide range of offensive and defensive tools, including the super-effective Monkey Bomb and Self-Revive items. Once you hit 750 Salvage, we recommend buying Level 1 Armor if it hasn’t dropped as an item first. Armor not only beefs up your damage resistance, but it allows you to use armor shard drops and the new Max Armor power-up.
11. New Enemies Emerge as the World Grows Harder.
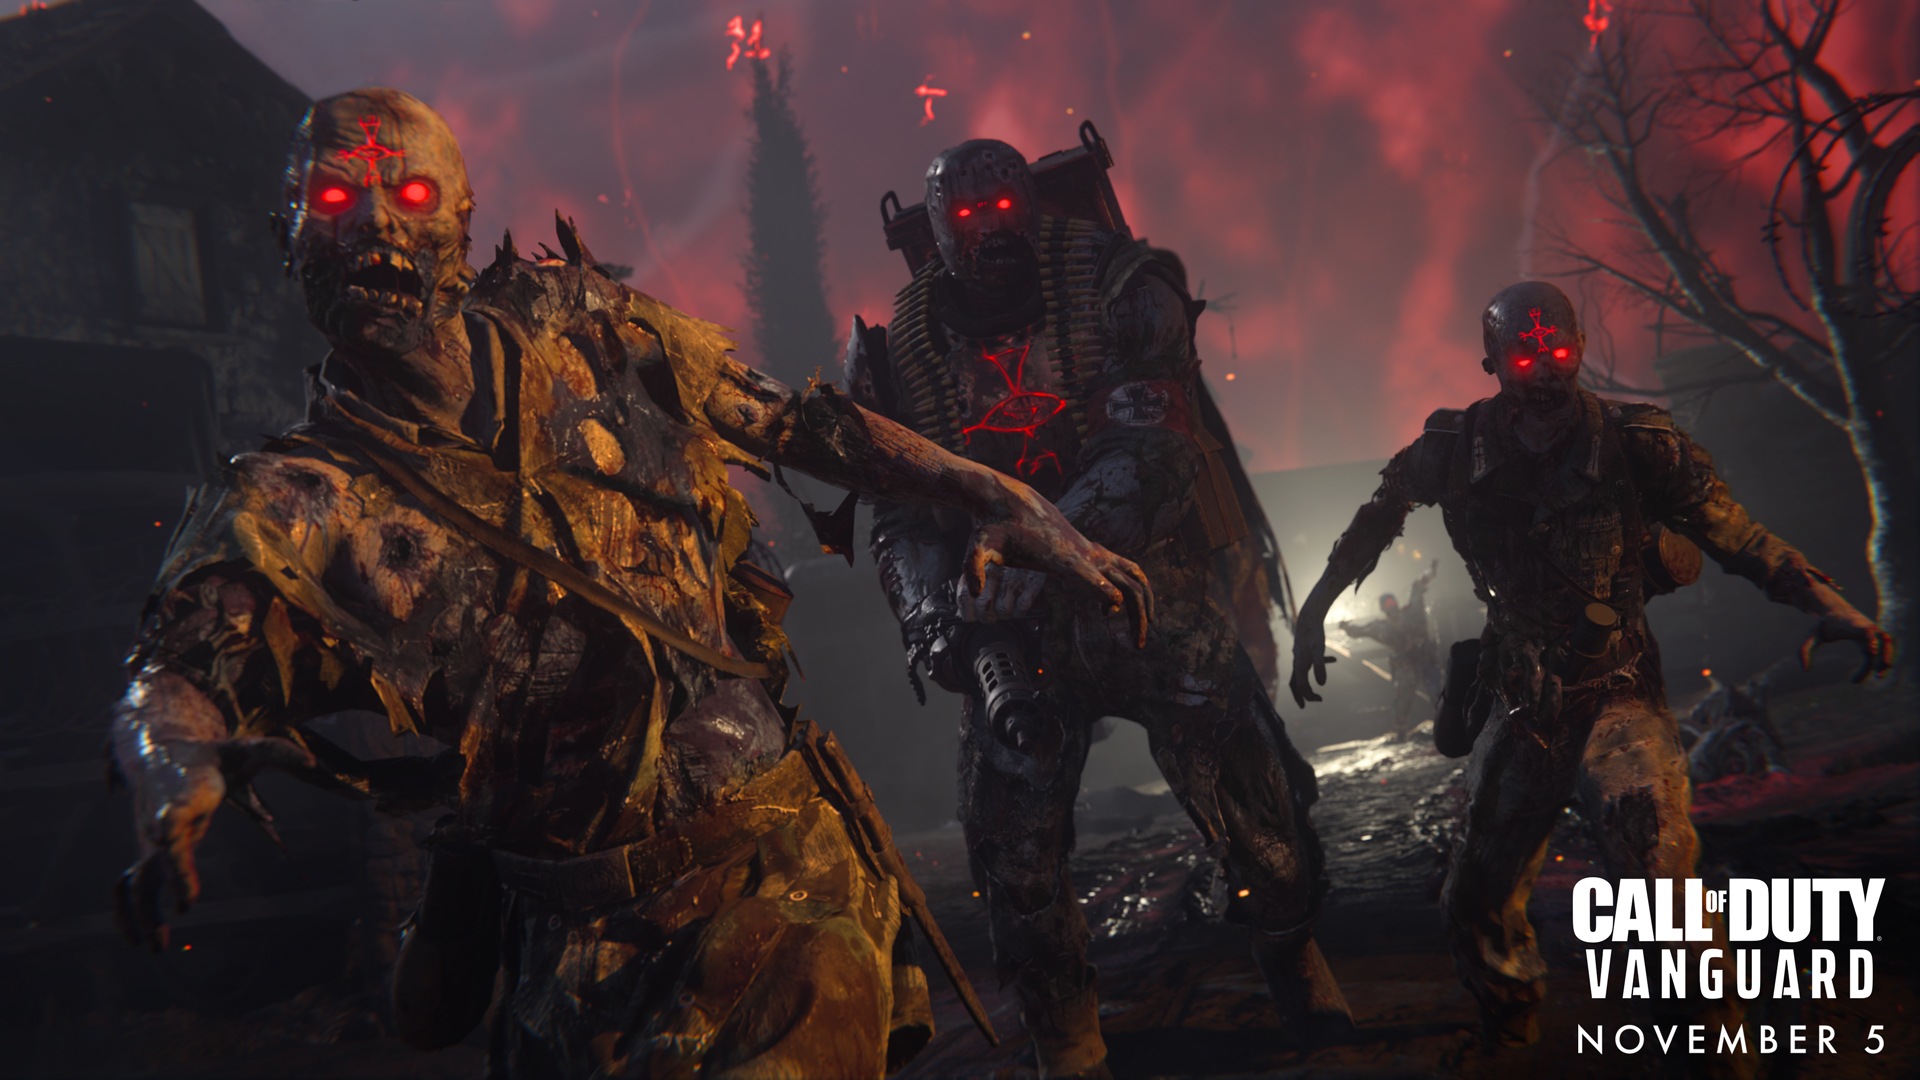
Following every completed objective, the undead you encounter become greater in number and more resilient to your damage. At round three, Boom Schreiers begin to appear, rushing your position and exploding at close range. Listen for their telltale scream and eliminate them near a pack of zombies to turn them from a threat into an explosive asset.
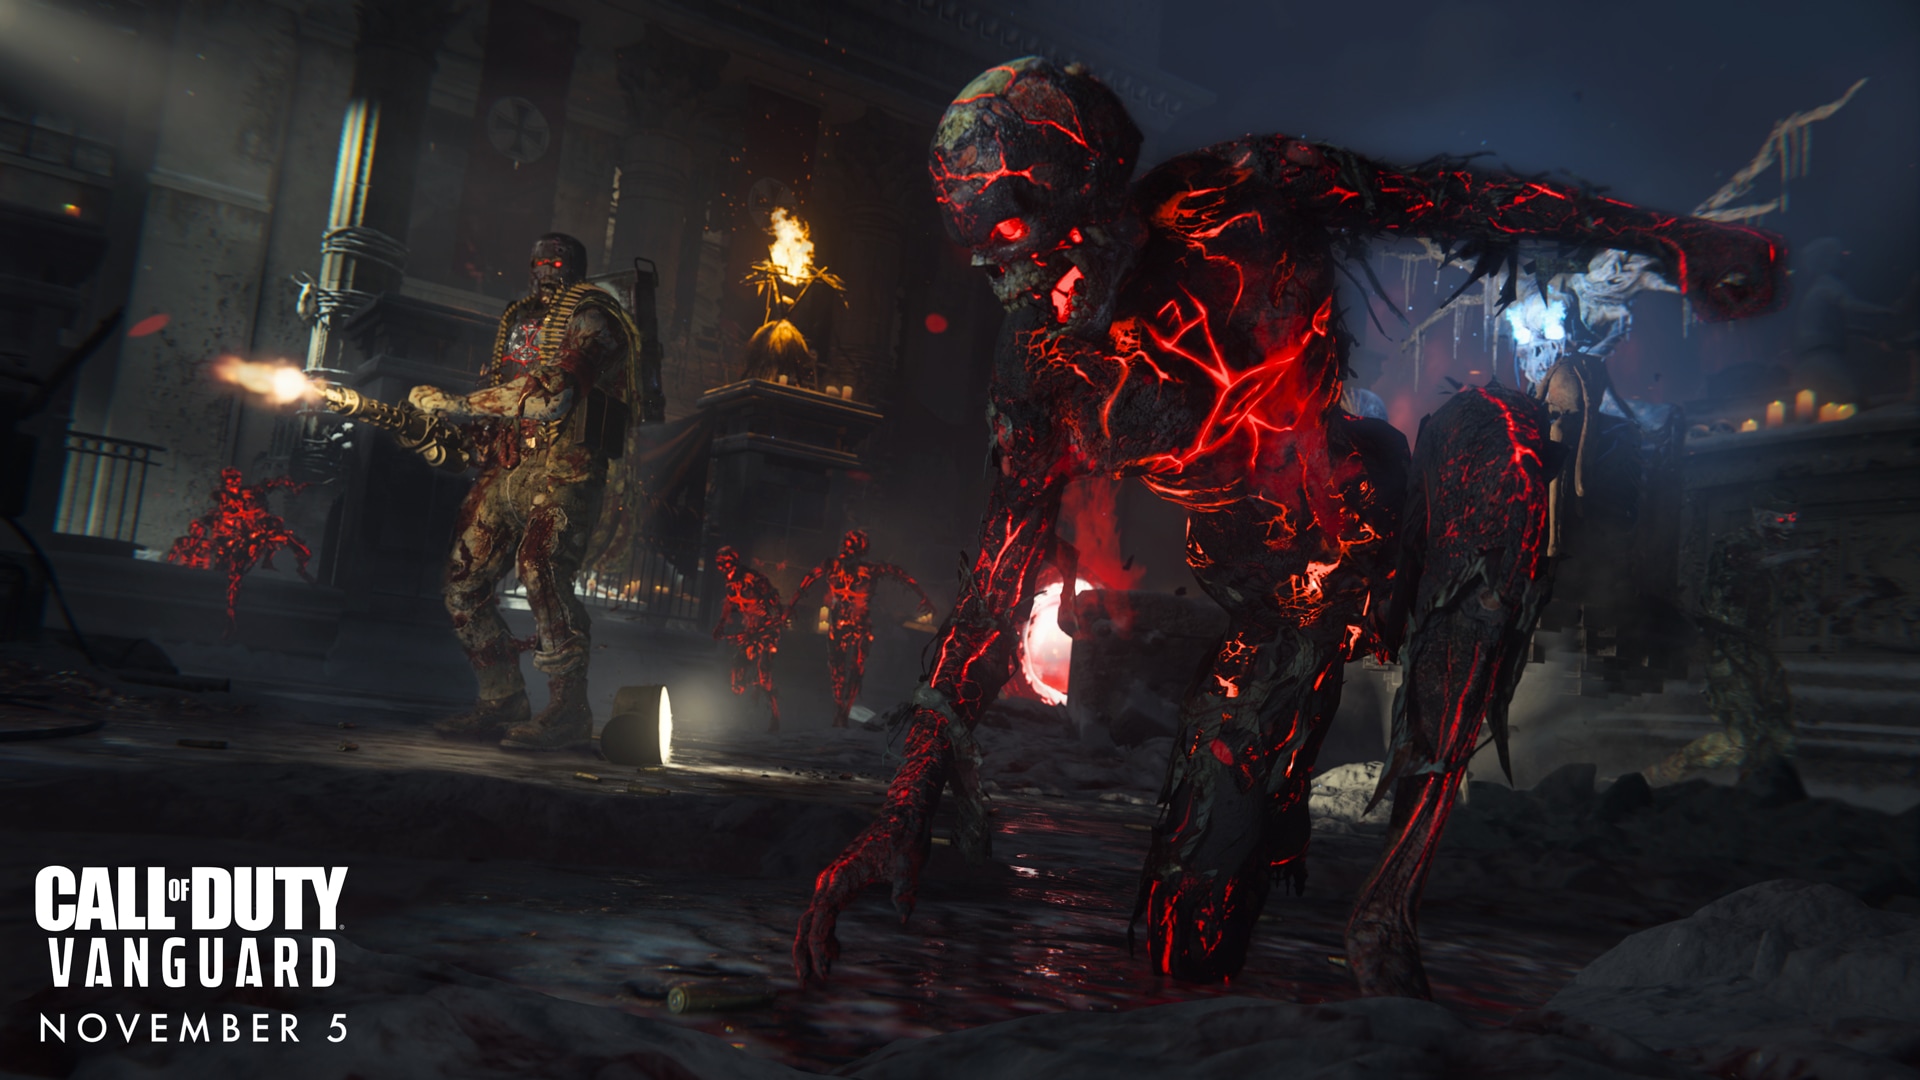
Starting at round five, the minigun-wielding Sturmkrieger enters the field. These behemoths take a lot of punishment and deal it out in kind. Always call out their position so your team can focus fire and dispose of them ASAP.
12. Go for Headshots.
Critical hits inflict far more damage compared to body shots, and even more when paired with the Diabolical Damage Perk. It can’t be repeated enough: shoot ’em where it hurts. In the confined areas you’ll often encounter, the faster you dispose of the undead, the better.
13. Dig Deeper with Radio Intel.
Throughout the map, you’ll find various locations with radio equipment that plays messages from characters like Professor Krafft and Wolfram Von List. Search these out to deepen your understanding of the story in “Der Anfang,” and consider turning on subtitles so you don’t miss any valuable information amid the ongoing battle with the undead.
14. Pack-a-Punch, Ready to Go.
It’s vital to boost your weapon damage as you progress through the match, and the Pack-a-Punch is your best means of doing so. Each Tier costs progressively more Essence, from 7,500 for Tier 1 to 15,000 for Tier 2, and 30,000 for Tier 3. Consider hitting up the Mystery Box instead, as higher-rarity weapons can come with one or more Pack-a-Punch Tiers already installed for huge savings.
15. Bombs Away with Splatterfest and Mother Lode.
One of the many incredible Covenant combinations you can work with is pairing up Splatterfest, in which enemies killed by explosives have a chance to explode for further area-of-effect damage, and Mother Lode, giving you the chance to keep your Equipment on use. Through this combination, you can clear hordes of undead with ease.
Even if you don’t pair these up, be aggressive with your Equipment use. There’s plenty to be found from fallen enemies, crystals, and chests, so don’t hesitate to go wild.
16. Goodbye, Wall Buys.
In “Der Anfang,” traditional Wall Buys have been replaced with chests and the Mystery Box as the primary means to find your next weapon. As the rounds get higher, Sturmkriegers can also drop weapons when defeated. This change makes the Mystery Box more valuable than ever, so save up your Essence and take a spin.
Your starting weapon takes on extra significance, too, as it’s the only weapon you can plan for ahead of time. Pair an SMG or Shotgun with Frost Blast to decimate hordes at close range, or pair an Assault Rifle with Ring of Fire to use the extra damage boost before your enemies get too close. If you’re a long-range fighter using an LMG or Marksman Rifle, Aether Shroud may be your best bet to create the distance you need for long shots. Experiment and find what works for you.
17. Go Down, Keep Your Perks (But Not Your Tiers!)
You’ll need all the help you can get against Kortifex and Von List. As another new feature in “Der Anfang,” if you’re revived after going down, you’ll keep any and all base-level Perks you’ve acquired up to that point, since the first Perk Tier is always free. You can thank your allied Dark Aether entity for keeping you in fighting shape.
However, you’ll lose 1 Perk Tier from each Perk when downed, which can cost you quite a bit in the late game. Because losing a Tier 4 Perk costs much more than losing a Tier 2 Perk, there’s far more risk in investing heavily on a single Perk. Choose wisely and watch your back.
18. Not All Is as It Seems.
When clearing the undead in Stalingrad, the zombies you see aren’t the only ones that pose a threat. Using his power to raise the dead, Von List can summon more zombies from the Dark Aether, pulling them up from the ground to bolster the horde’s numbers. Approach enemies cautiously and be aware that more are likely to appear once the battle commences.
19. Exfil for Bonus XP.
Starting at round four, you have the option to initiate an Exfil sequence that will get you safely out of Stalingrad with a boost of bonus XP to reward you for your efforts. On initiation, zombies will swarm your position until you’ve eliminated the required number. Once complete, a Rift Portal will appear somewhere in the level. Get to it in time or die trying.
20. Invite Your Friends.
With the mass graves of Stalingrad at Von List’s disposal, there’s no telling the number of undead eager to foil your mission. Show Von List and Kortifex what you’re made of by inviting your friends and taking on the undead as a team. More players means more firepower, and a whole hell of a lot more fun. Now get out there and put the dead back in the grave where they belong.
Check the Activision Games Blog regularly for more updates and information on Call of Duty: Vanguard.
Rise on every front.