Five Tips and a Tour of the Radar Array — Warzone Wednesday, June 2
 It’s #WarzoneWednesday — Let’s Drop In
Welcome to the Warzone.
Every Wednesday is #WarzoneWednesday here on the Call of Duty® blog. This weekly column — and, by extension, the Official Warzone Strategy Guide — will help you become one of the most elite Operators in the world.
The strategy guide is fully updated for Verdansk ’84, and to help you digest its 230,000+ words of wisdom, we’re breaking down a fresh Point of Interest and providing five tips straight from the guide. We’ll keep you informed of future Warzone updates, too.
Let’s get to it. Here’s #WarzoneWednesday Week 6:
Point of Interest of the Week: Radar Array
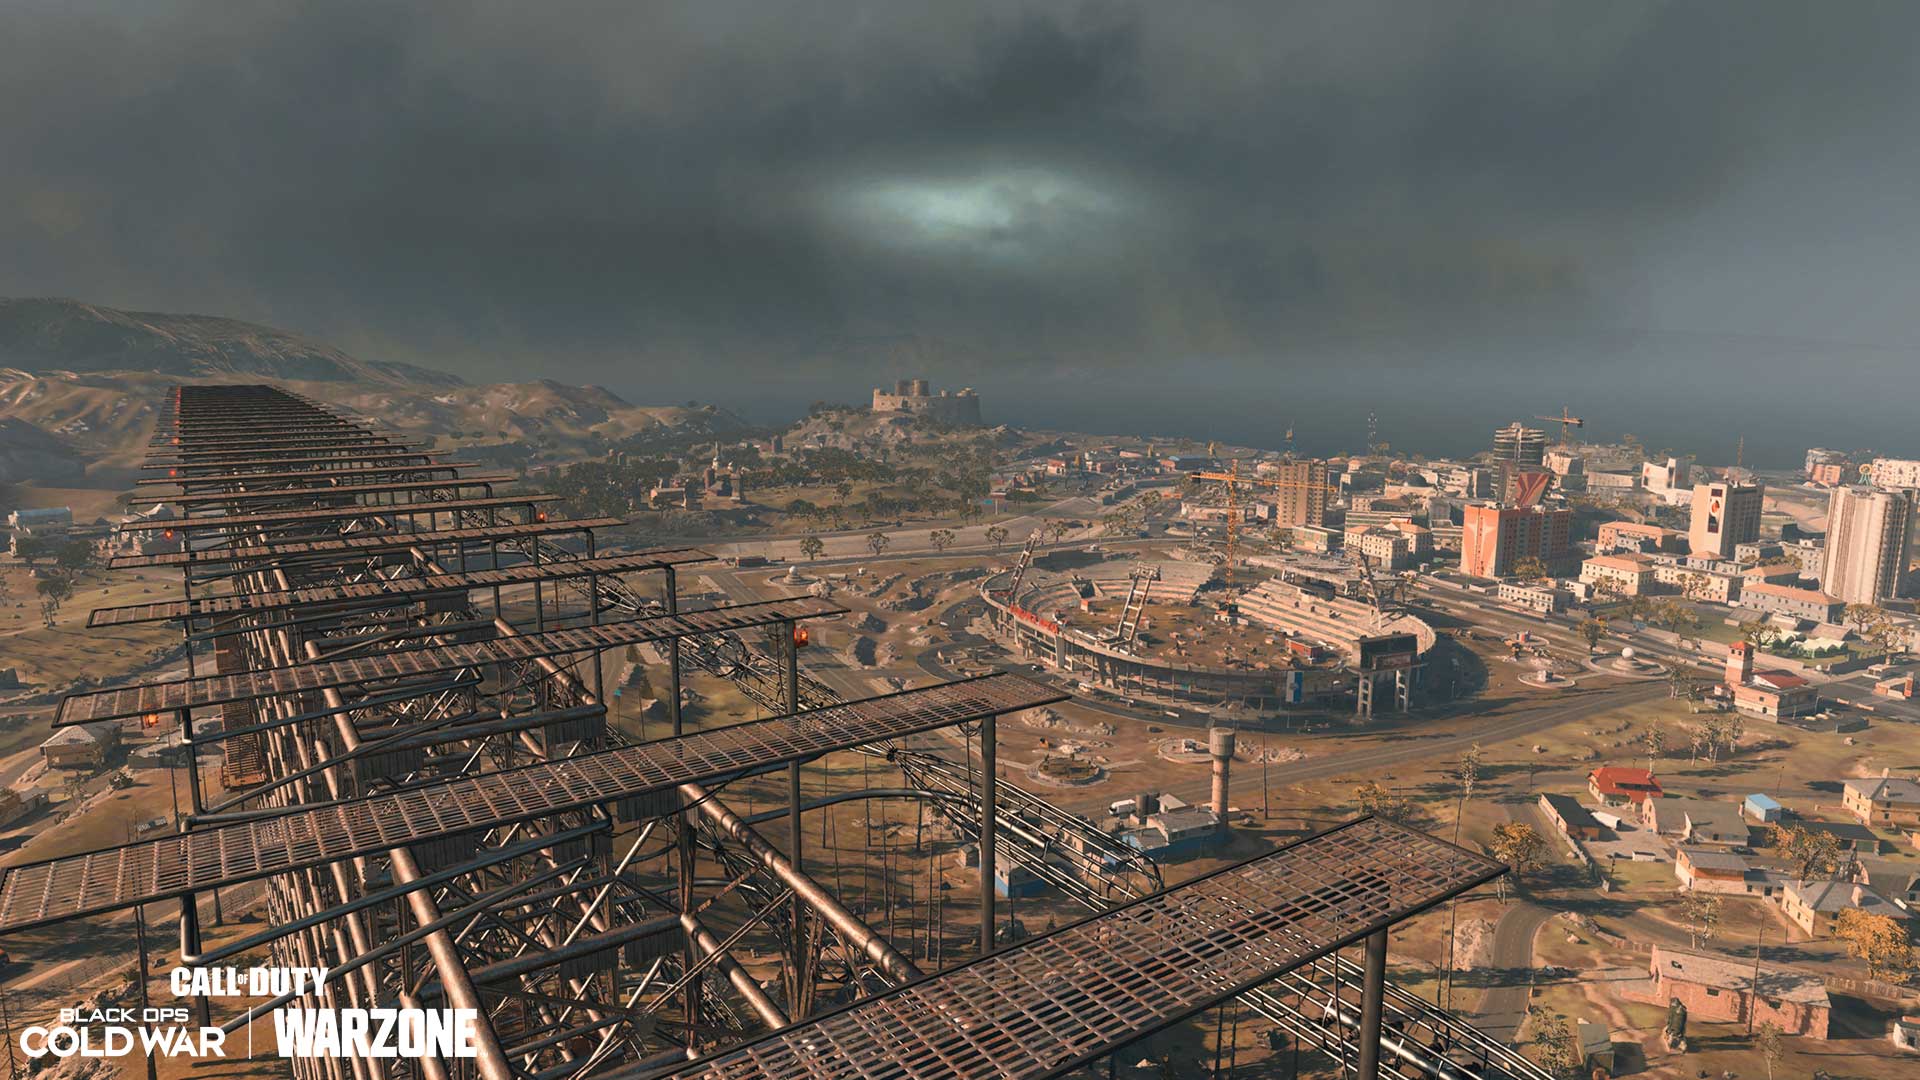
North of Stadium, this behemoth of a landmark is impossible to miss, and for those who learn the ins and outs of its access points, a brilliant view over Central Verdansk awaits. Read on for tips on scaling the massive structure and getting the most out of it to pummel distant enemies.
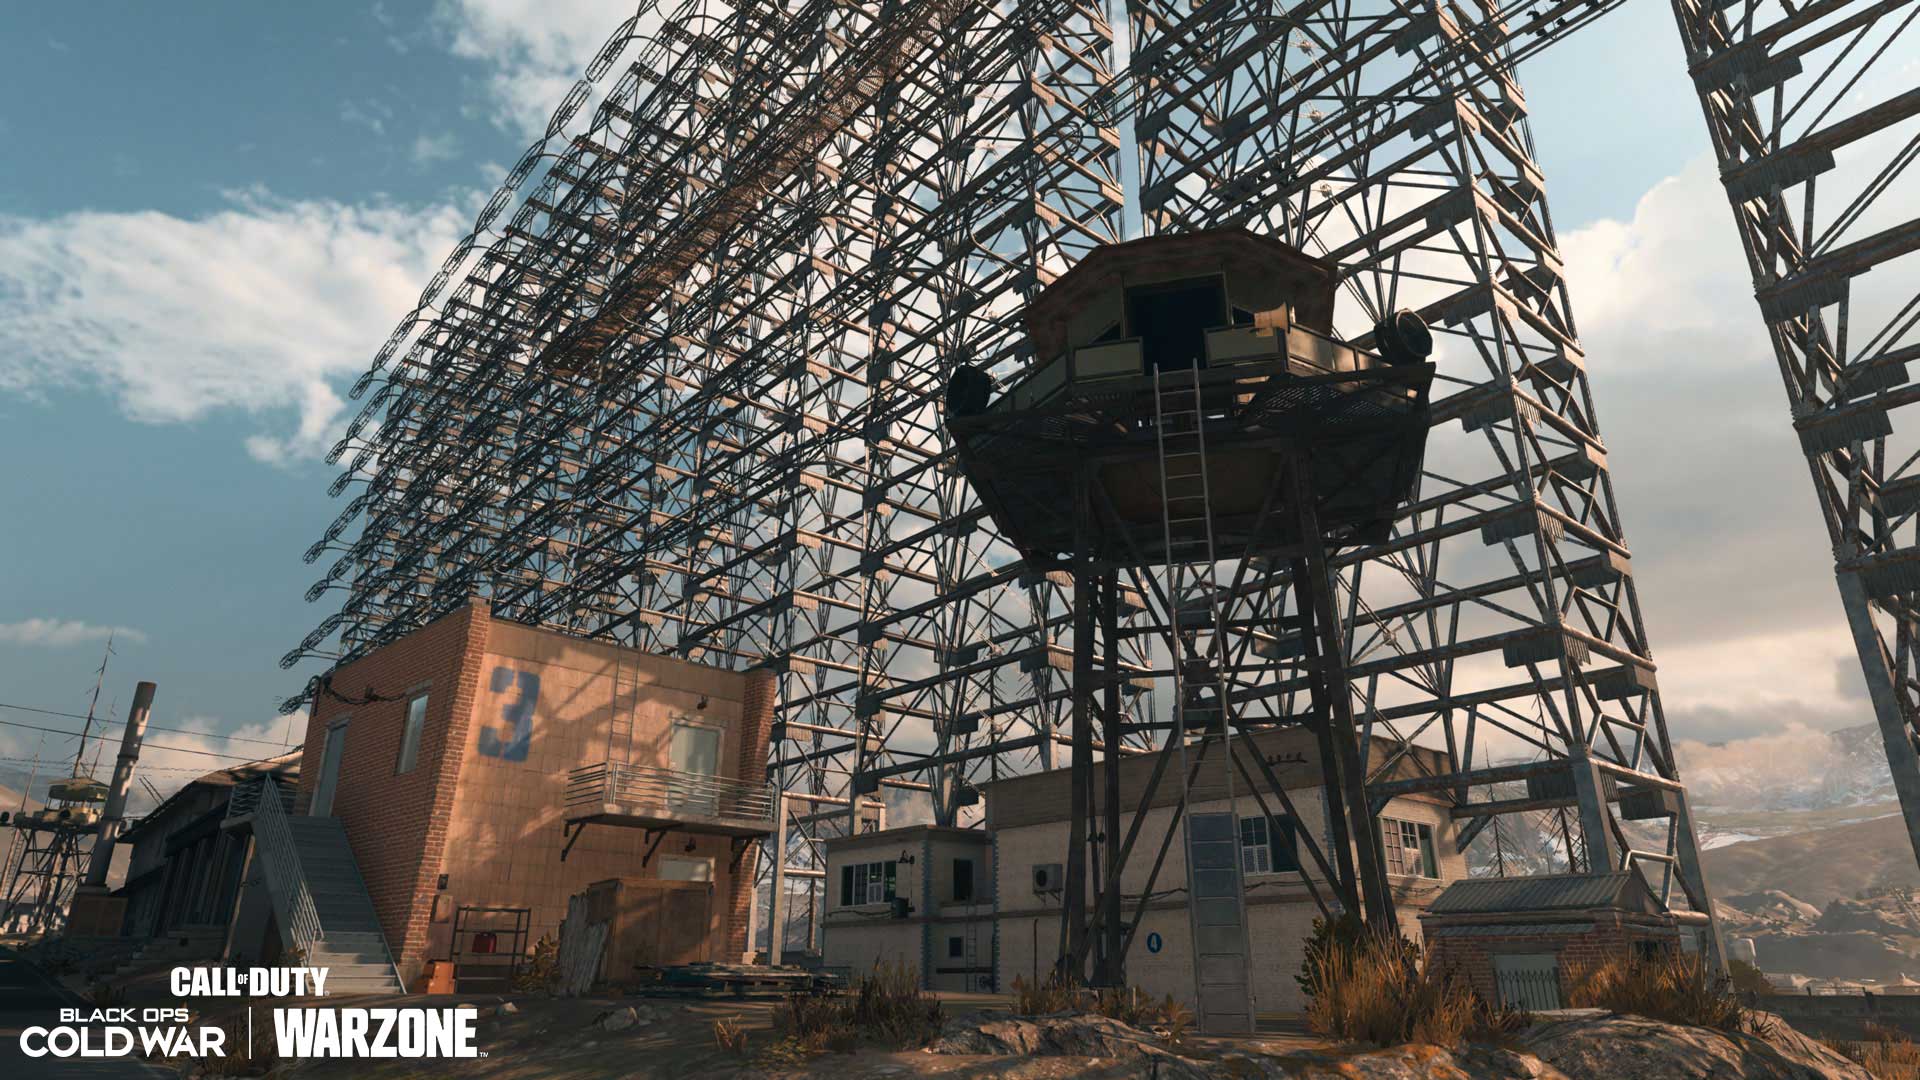
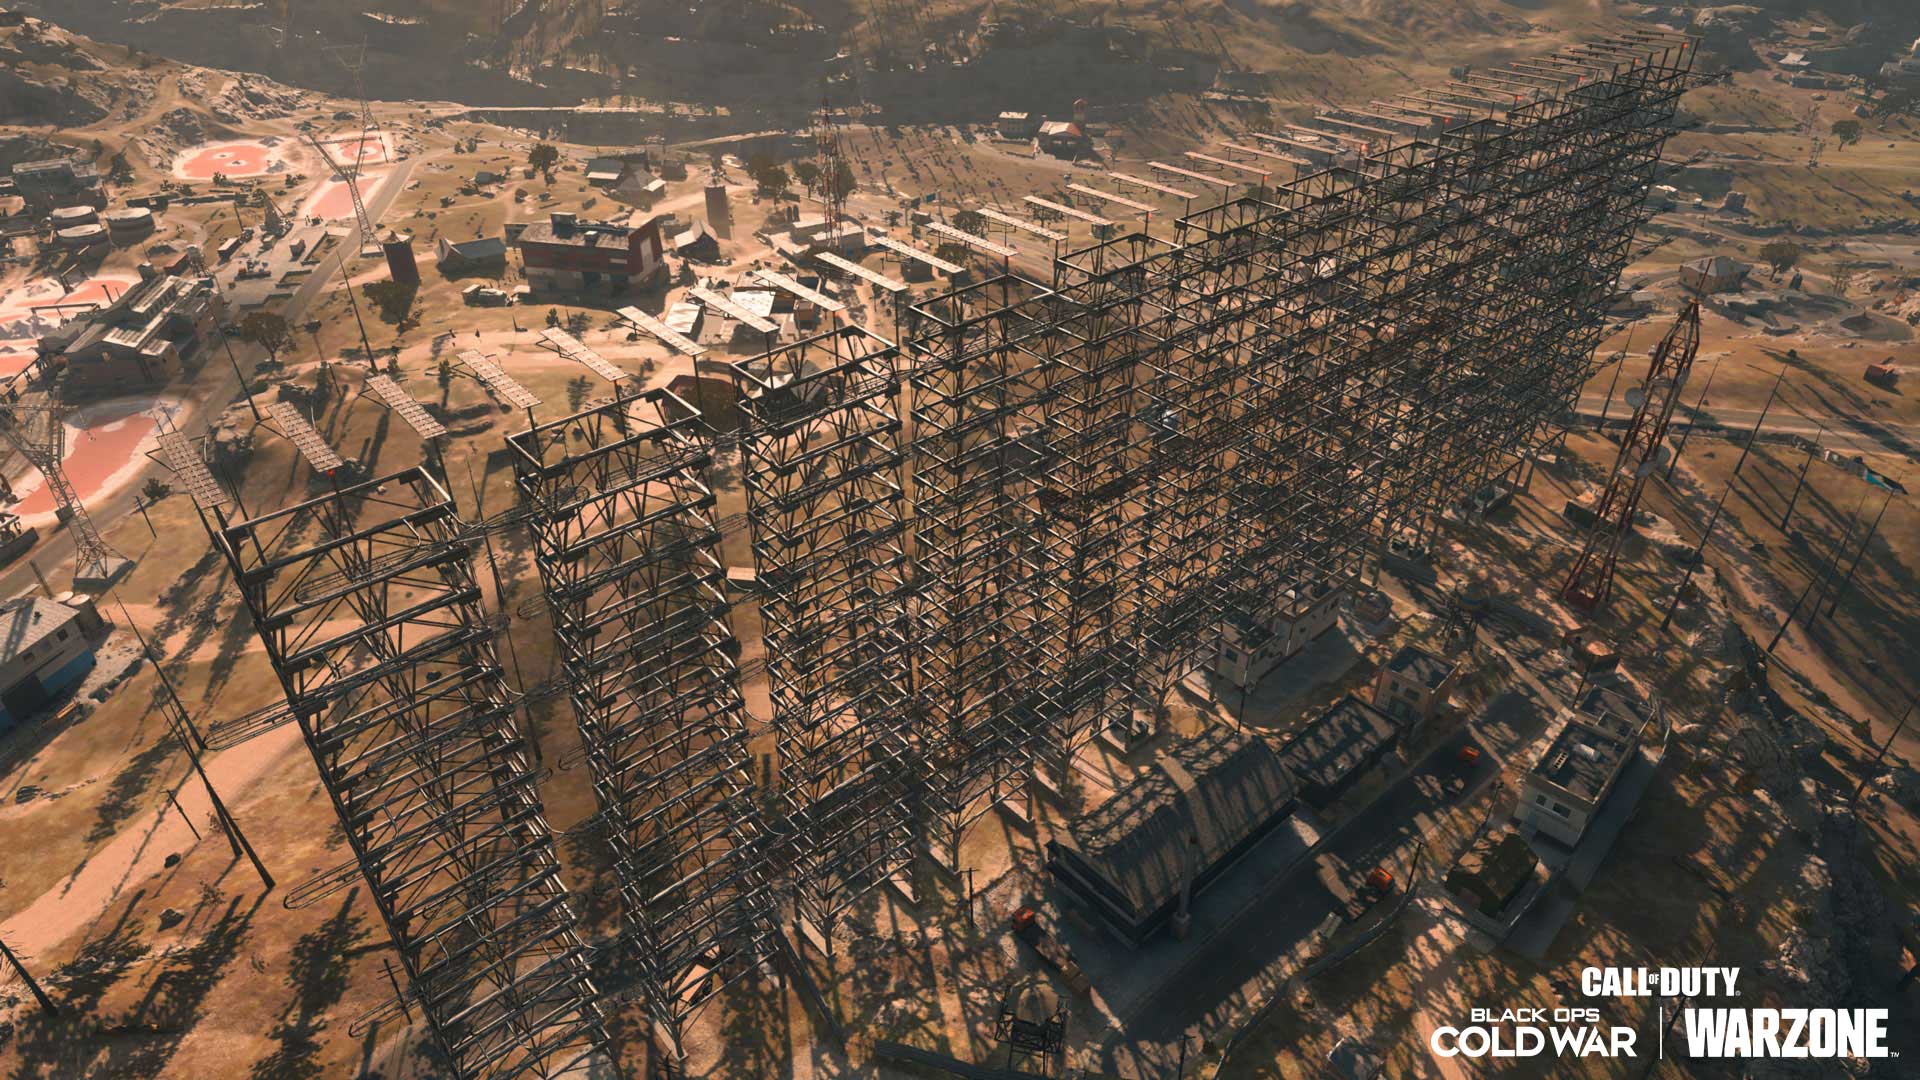
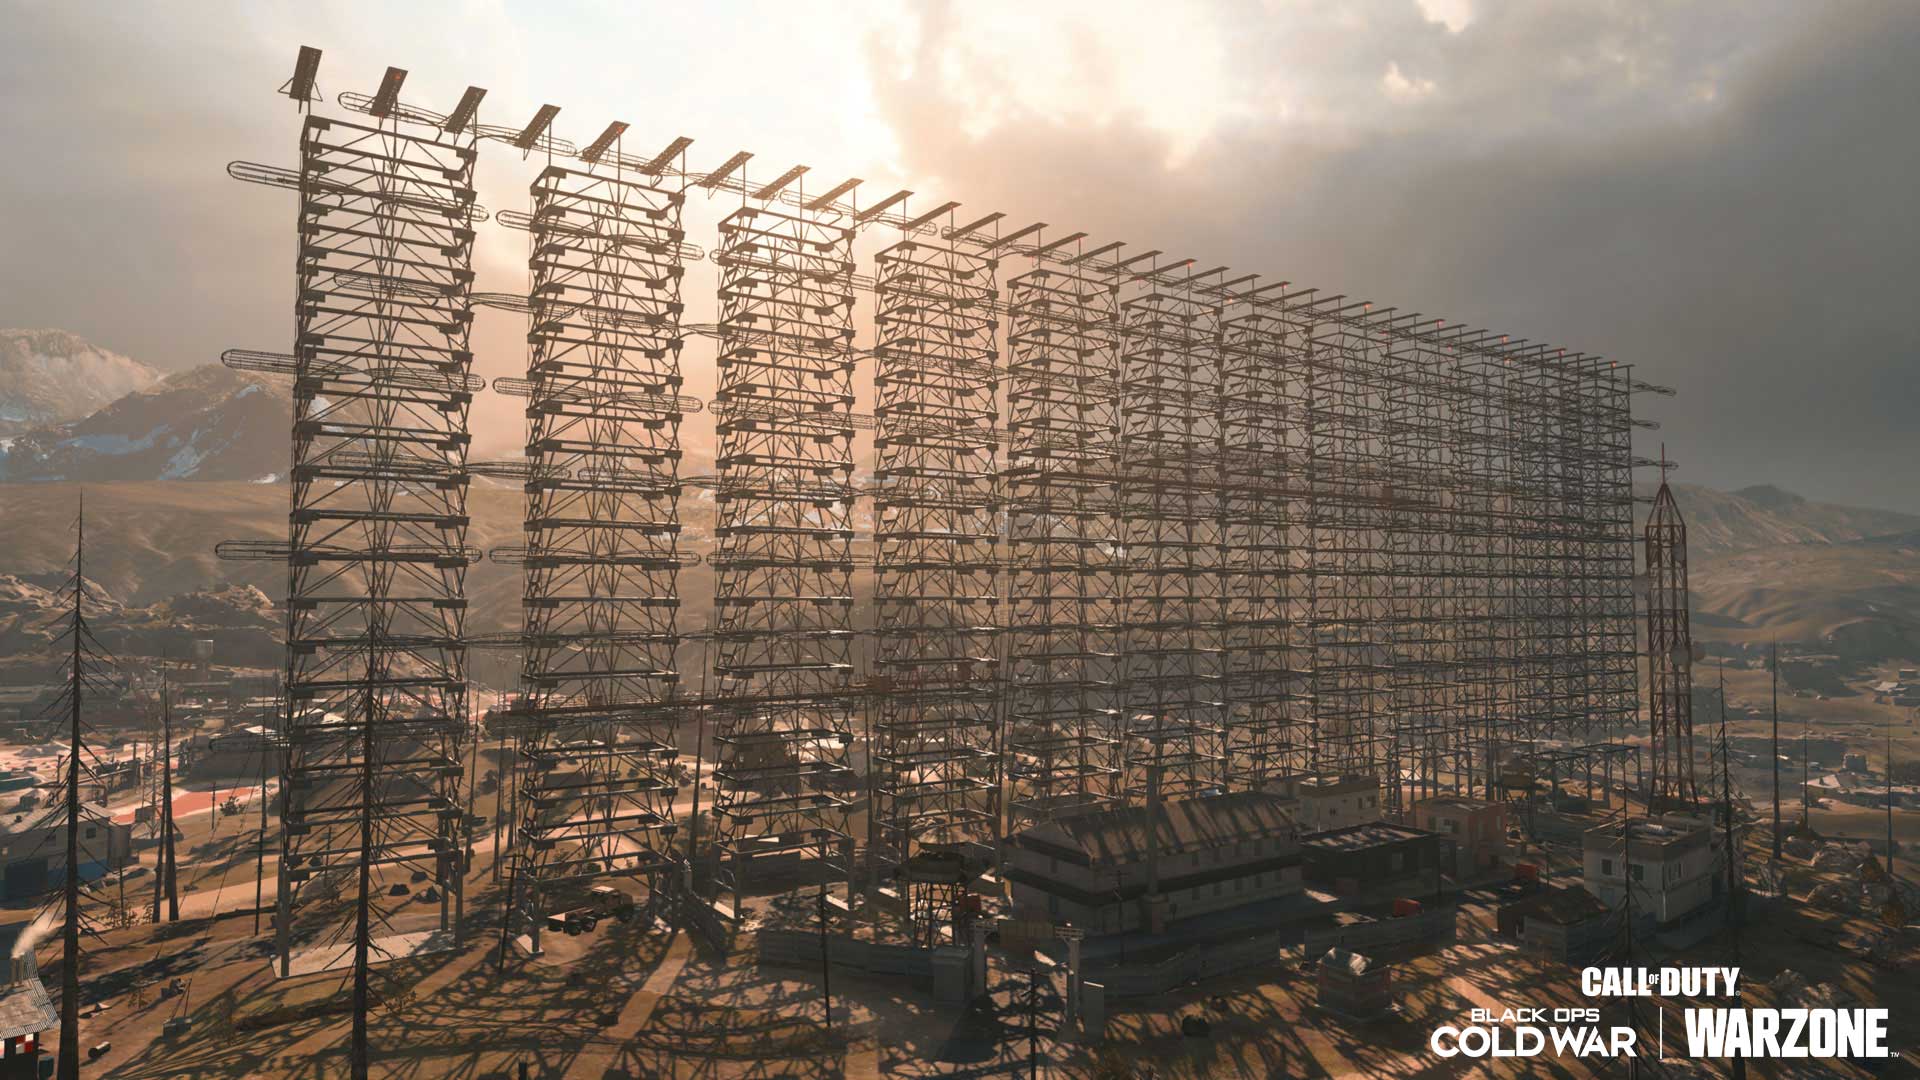 Kastovia Radar Array Overview — Φ/Λ: G/4 (West): At the top of the wooded hill is a gigantic Radar Array system, installed by Soviet forces and arguably the most recognizable single structure in the whole of Verdansk. Dominating the skyline, this over-the-horizon radar defense system was designed to act as an early warning to any antiballistic missile launches from as far away as the Pacific Ocean.
Naturally, the interference caused by this array has infuriated the local population, but they are powerless to protest. Below the 12 linked cage towers comprising the array are various electrical and maintenance structures, guard towers, and a rough perimeter wall.
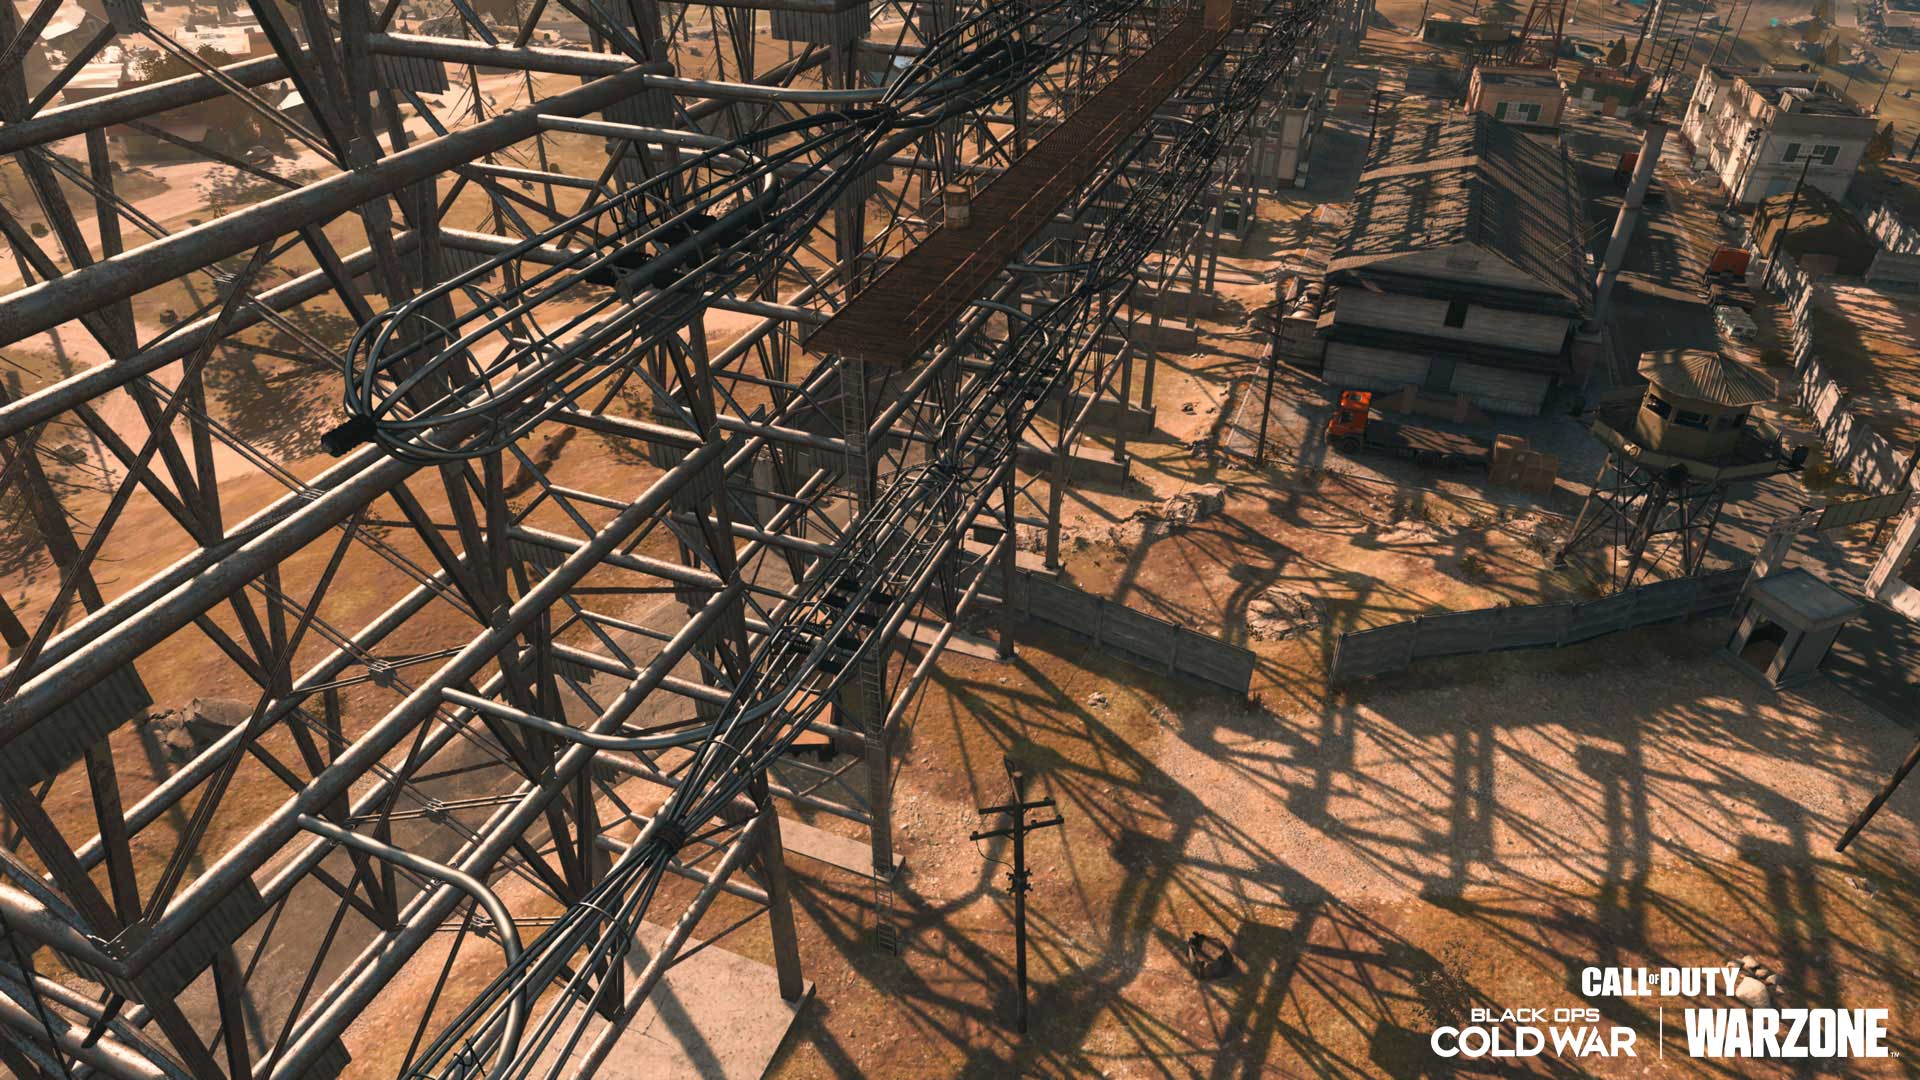
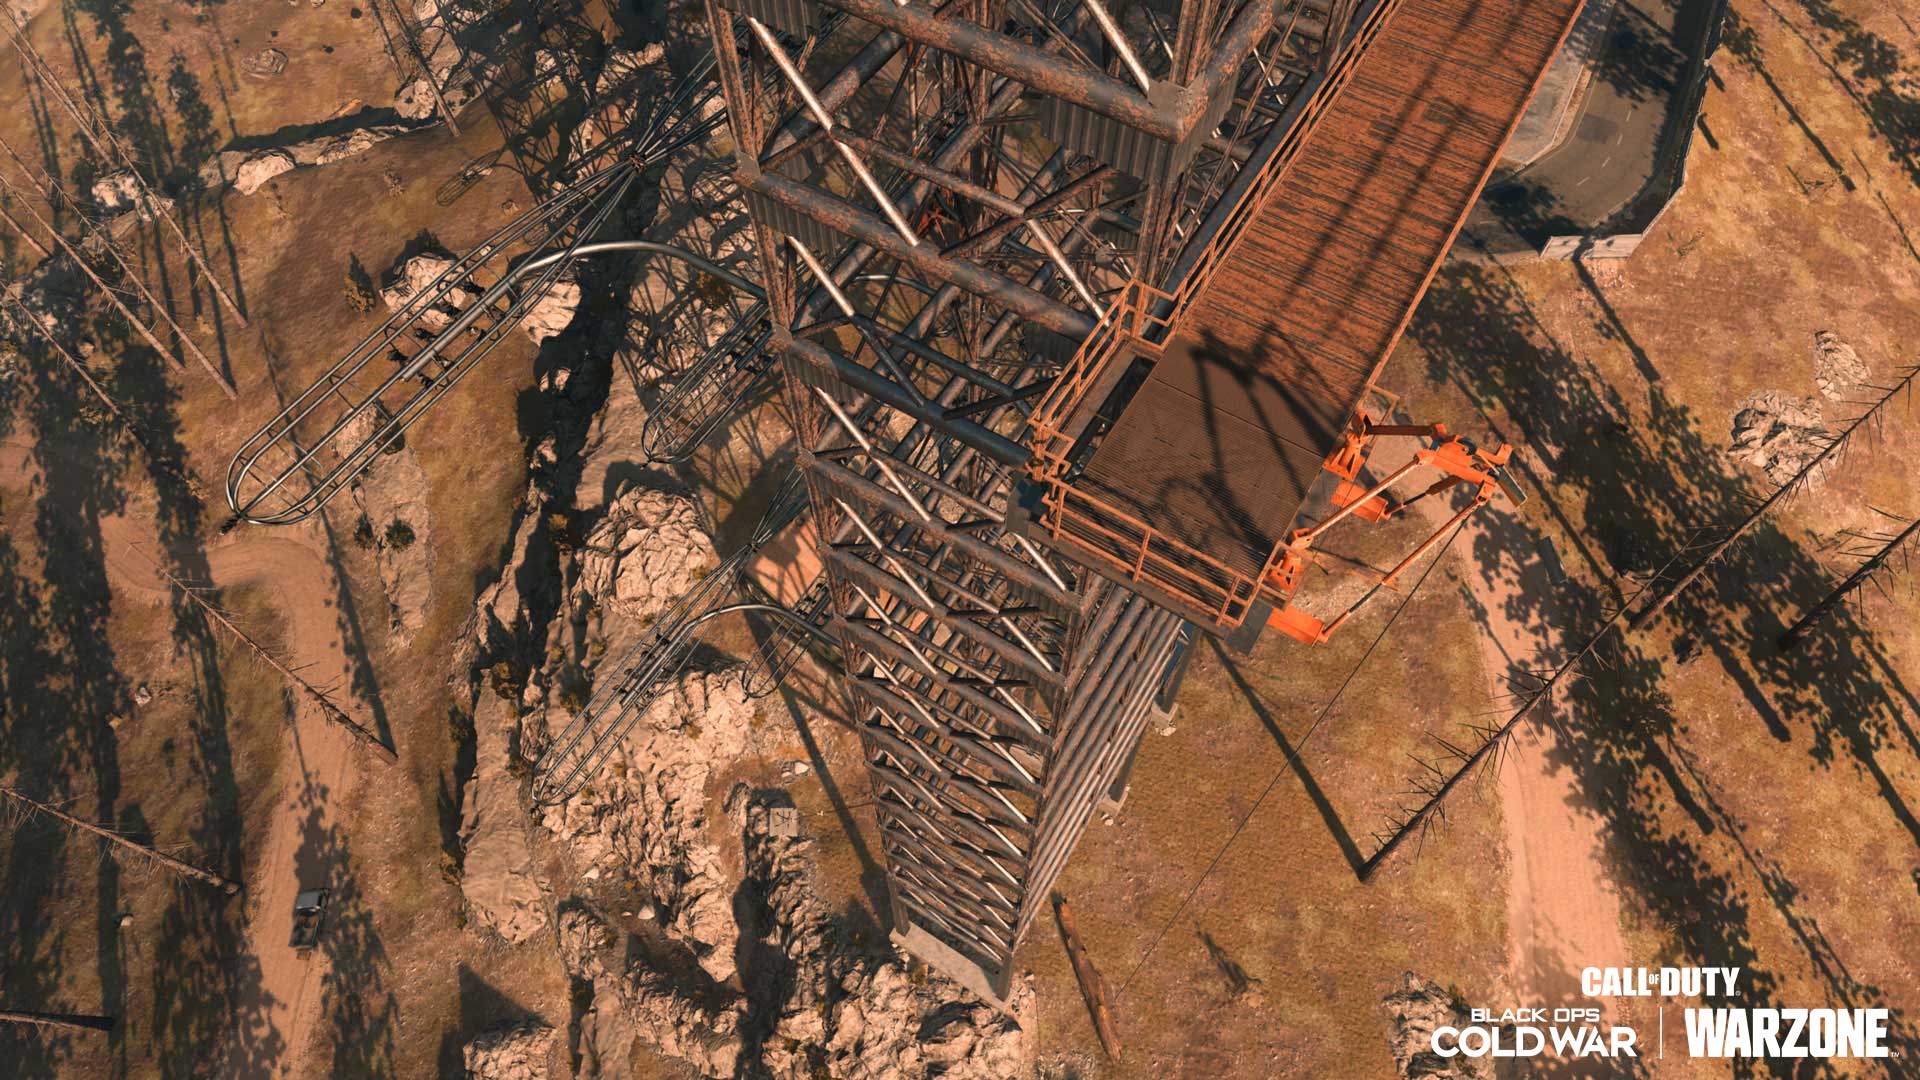 Kastovia Radar Array: Superstructure Exterior (Ascender, Gantry 1F-6F): Access the gantry platform via the ascender; the cable is in the far northeast corner of the compound, by the cliff edge and a small camping ground. The sixth-floor gantry runs southeast to northwest, weaving between the fourth and fifth array tower.
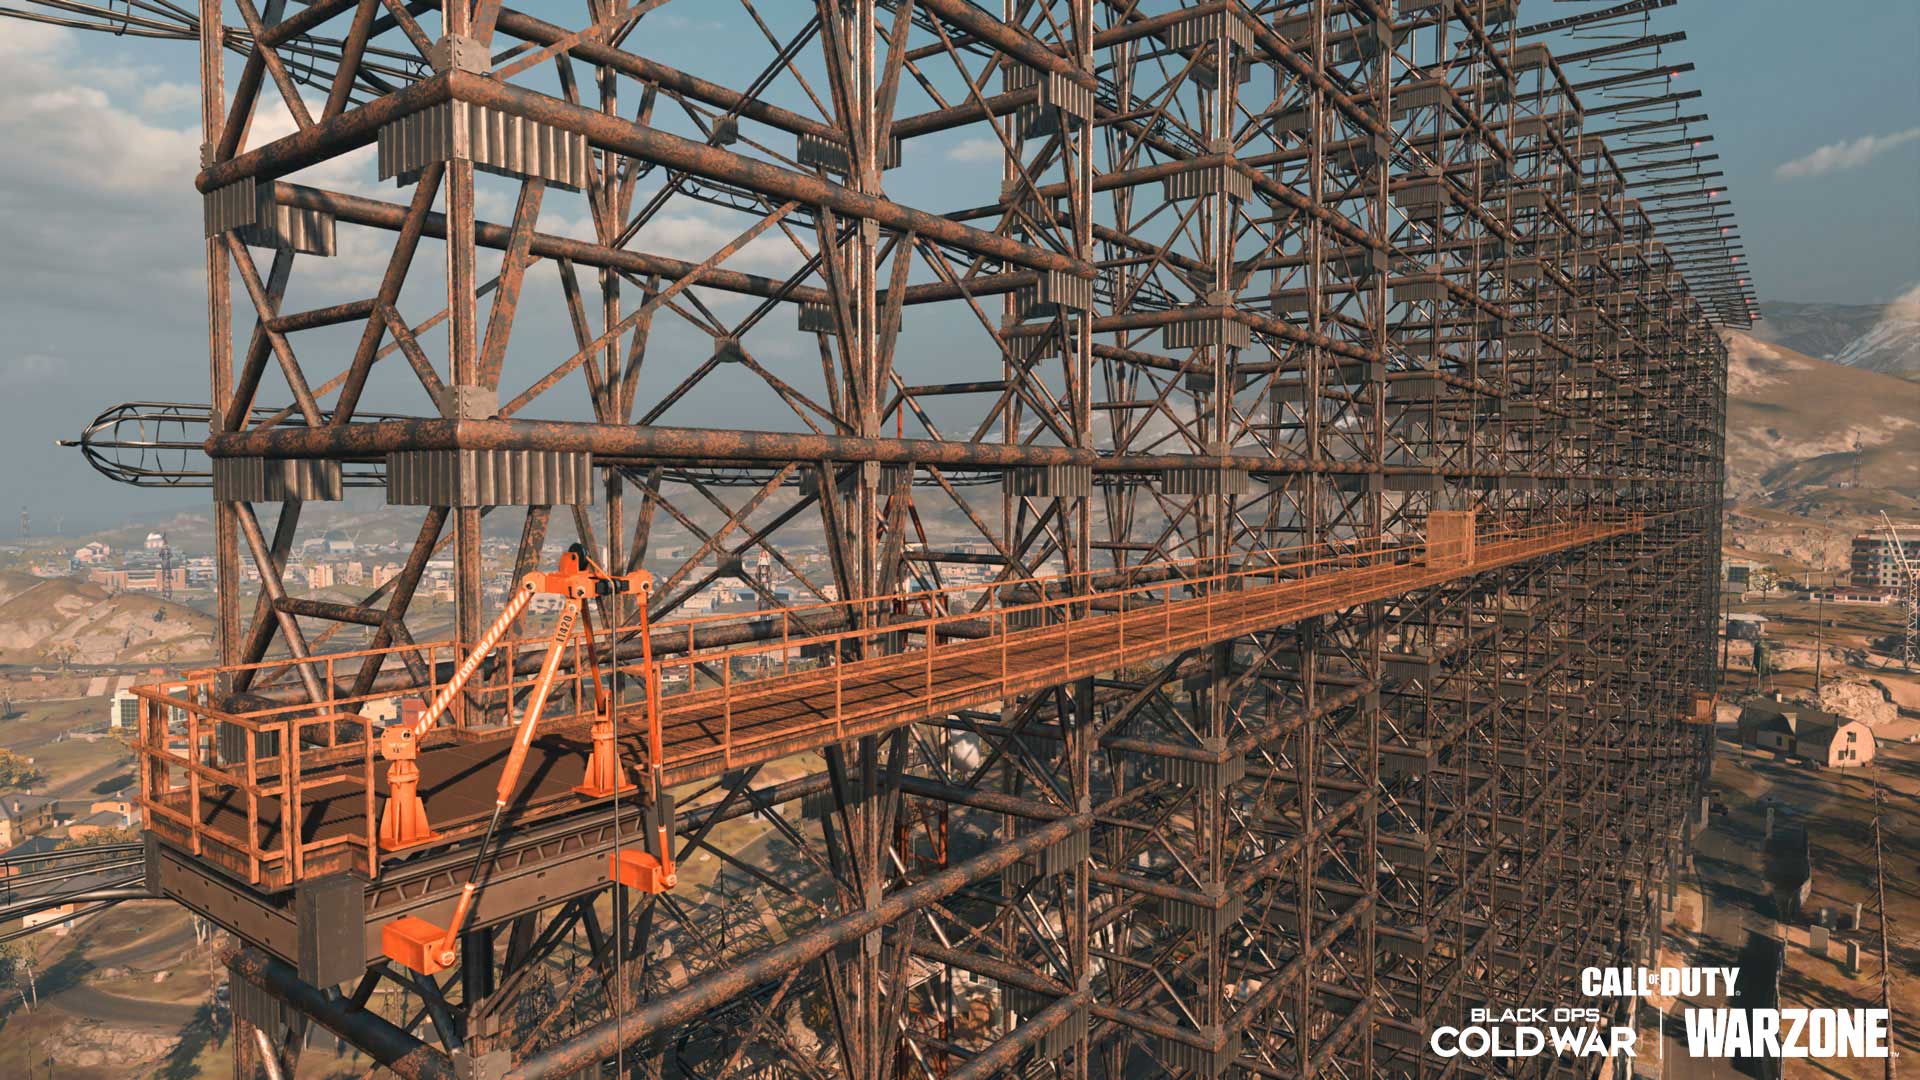 Kastovia Radar Array: Superstructure Exterior (Gantry Ladder and Platforms 6F-3F): The array gantry on the sixth level (halfway up the superstructure) continues to the eighth and ninth cage tower and ends in a platform and a frighteningly long ladder down to a lower platform (3F). The lower gantry continues to wind around the ninth tower.
 Kastovia Radar Array: Superstructure Exterior (Ground Ladder, Gantry 3F-1F): The lower gantry ends at the eleventh cage tower, with another long ladder all the way to and from ground level, just outside the compound walls near the north entrance.
 Kastovia Radar Array: Superstructure Exterior (Upper Cage Towers): For an even more precarious exploration, parachute or helicopter onto the very top of the structure (11F), where you can stand on the thin flat metal sections (three platforms are on each cage tower). You can also fall or land on any of the horizontal transmitter cages (that look like linked ovals) that are attached to the south side of the superstructure from 3F to 10F.
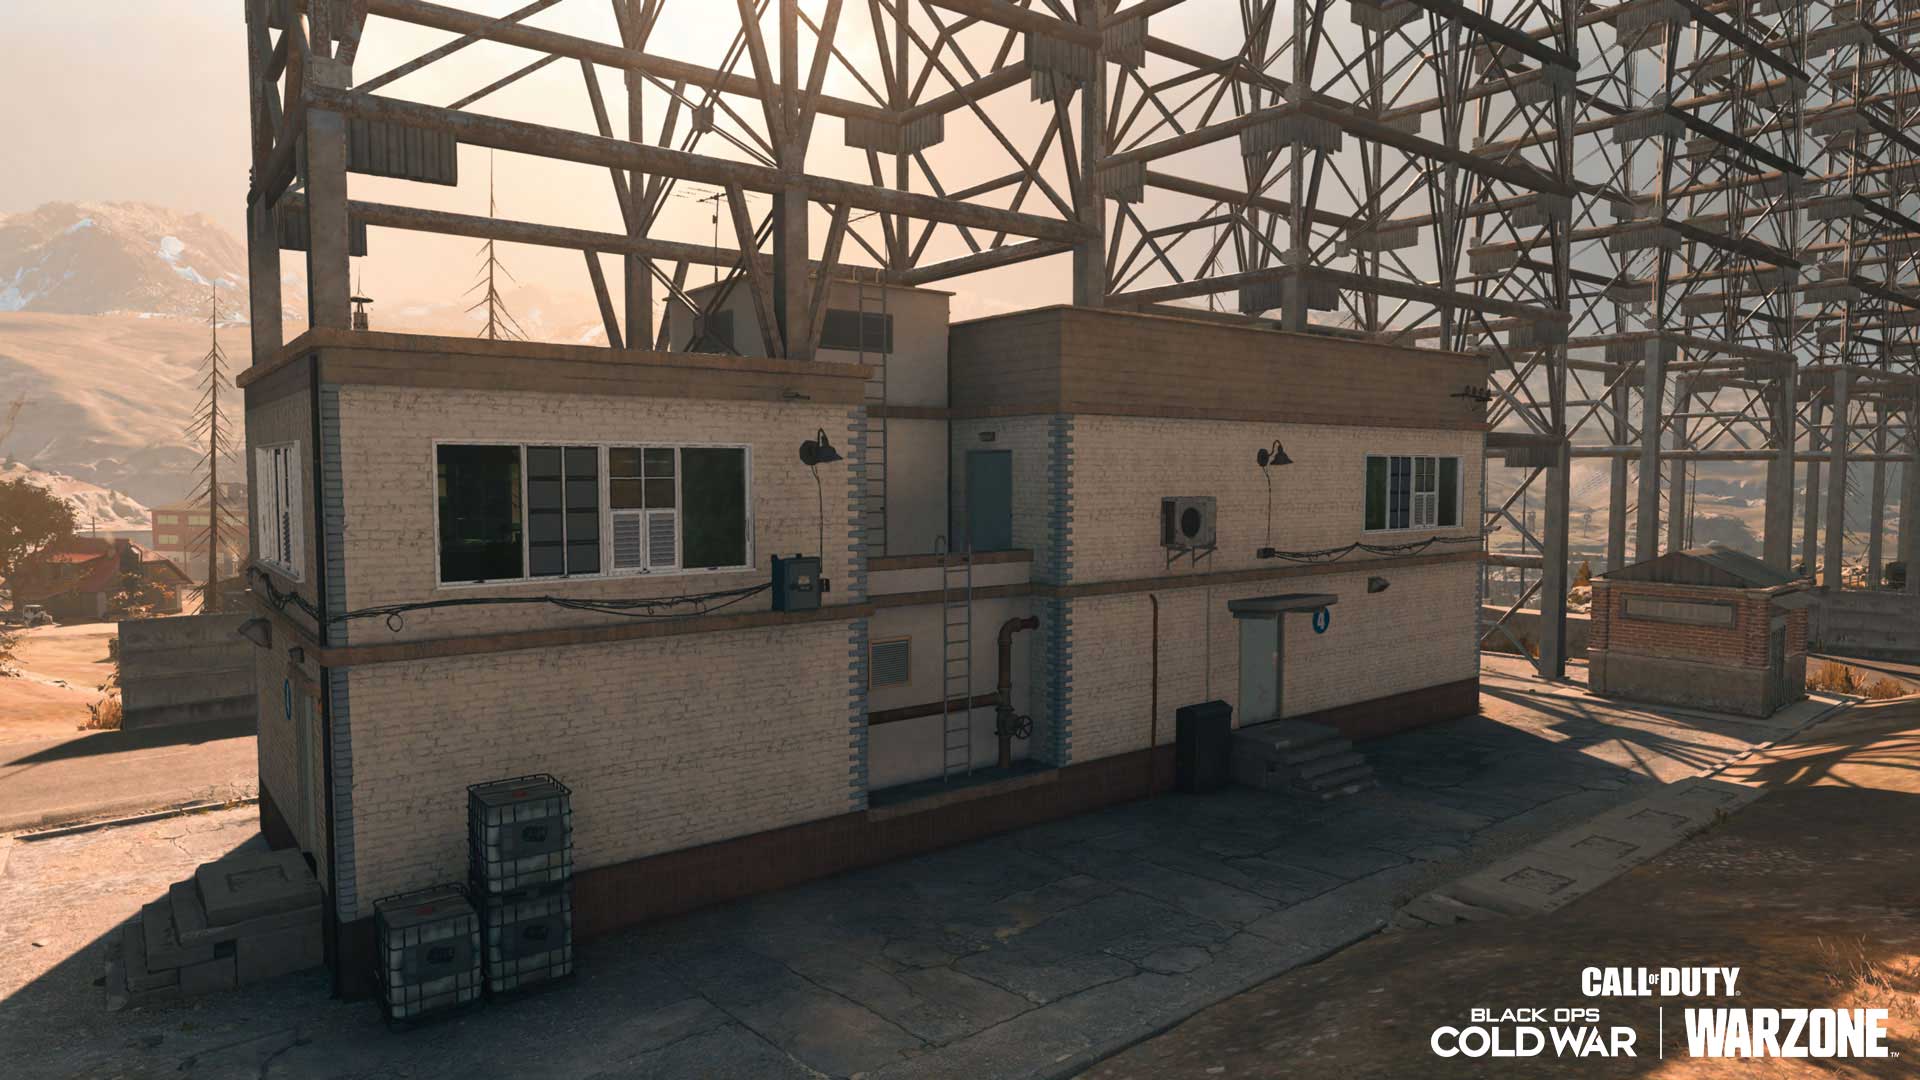 Kastovia Radar Array: Ground Offices (North): The radar control room is built into the foundation of the array itself and features a two-level office. Access the roof via the ladders on the southwest wall, and access the interior via any of the three ground-level doors or the stacked mesh boxes in the west corner. Inside is a tile-floored office, with stairs up to a second, carpeted office with some particularly choice wallpaper and two doors to a small outside balcony, where the roof ladders are located. The numerous upper-floor windows and roof access make this a notable building to hold down and shoot from.
Whatever you do while scaling this massive array, don’t look down… unless, of course, you’re scoping in on enemy targets. For even more info on this Point of Interest, including a more detailed look at the surrounding structures, head over to the Official Warzone Strategy Guide.
 Top Five Tips of the Week:
In this week’s #WarzoneWednesday, we’re discussing a grab bag of tricks: planning your loadouts across the squad, Finishing Moves that kill instantly, bank heists, and more.
 Tip #088 — Plan Your Perks
Pre-Game Preparation / Perks
When your squad is preparing their loadouts, it may be wise to have a diverse set of Perks across each Operator. For example: one Operator takes a loadout with Pointman to boost everyone’s contract payouts, another takes Hardline and becomes the designated Buy Station shopper, and the third takes High Alert and focuses on reconnaissance.
 Tip #092 — Absolutely Devastating
Pre-Game Preparation / Operators
Finishing Moves are always lethal and will eliminate an enemy without having to down them… so long as they’re completed in their entirety. If you’re behind an opponent and the coast is clear, go for a move that will not only devastate them, but also embarrass them in front of their squadmates.
 Tip #121 — Put the Money in the Bag
Infil: Tactics in the Warzone / Tac Map General Locations
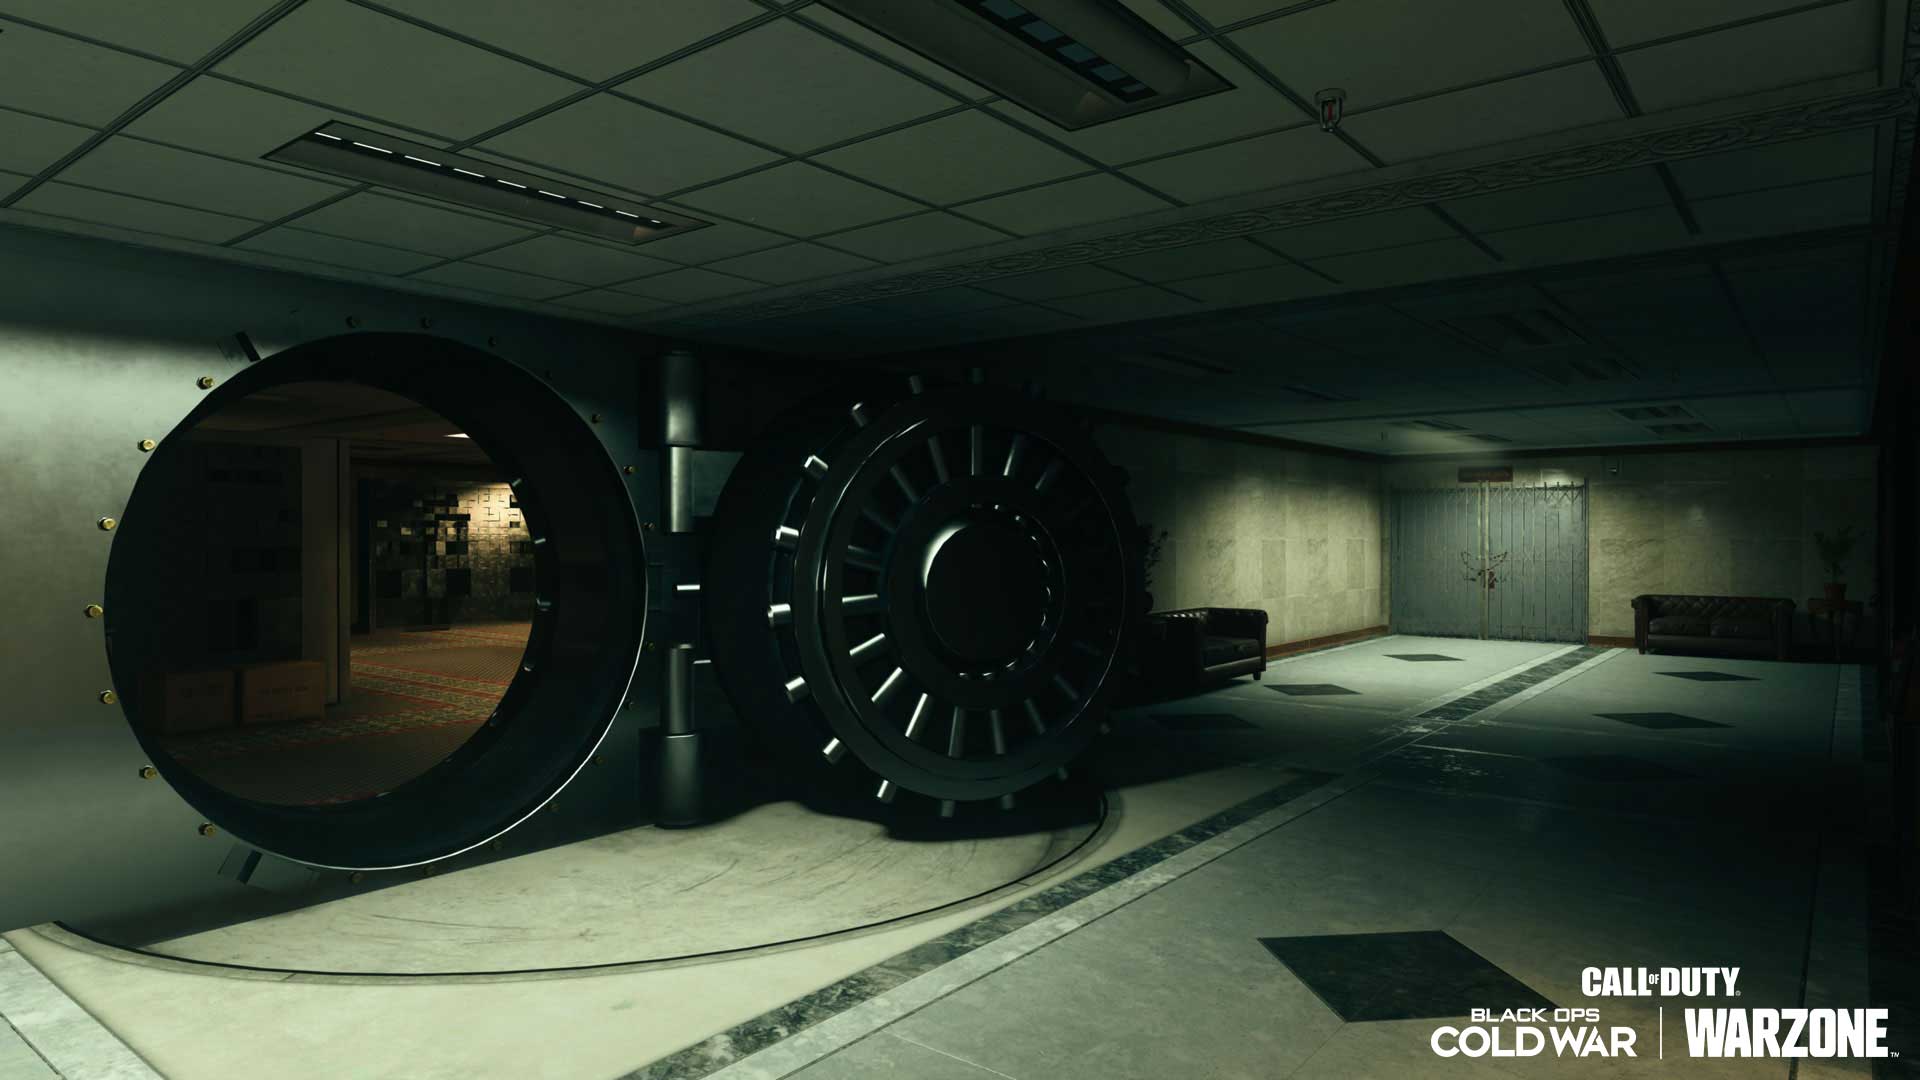
Bank branches around Verdansk — along with the one in the Downtown Financial District — have a higher chance of spawning Cash drops. If you want some dough, then you may have to consider a quick heist…
 Tip #193 — Pulling Them Off the Air
Tac Map: Atlas / Verdansk: North / Lozoff Pass
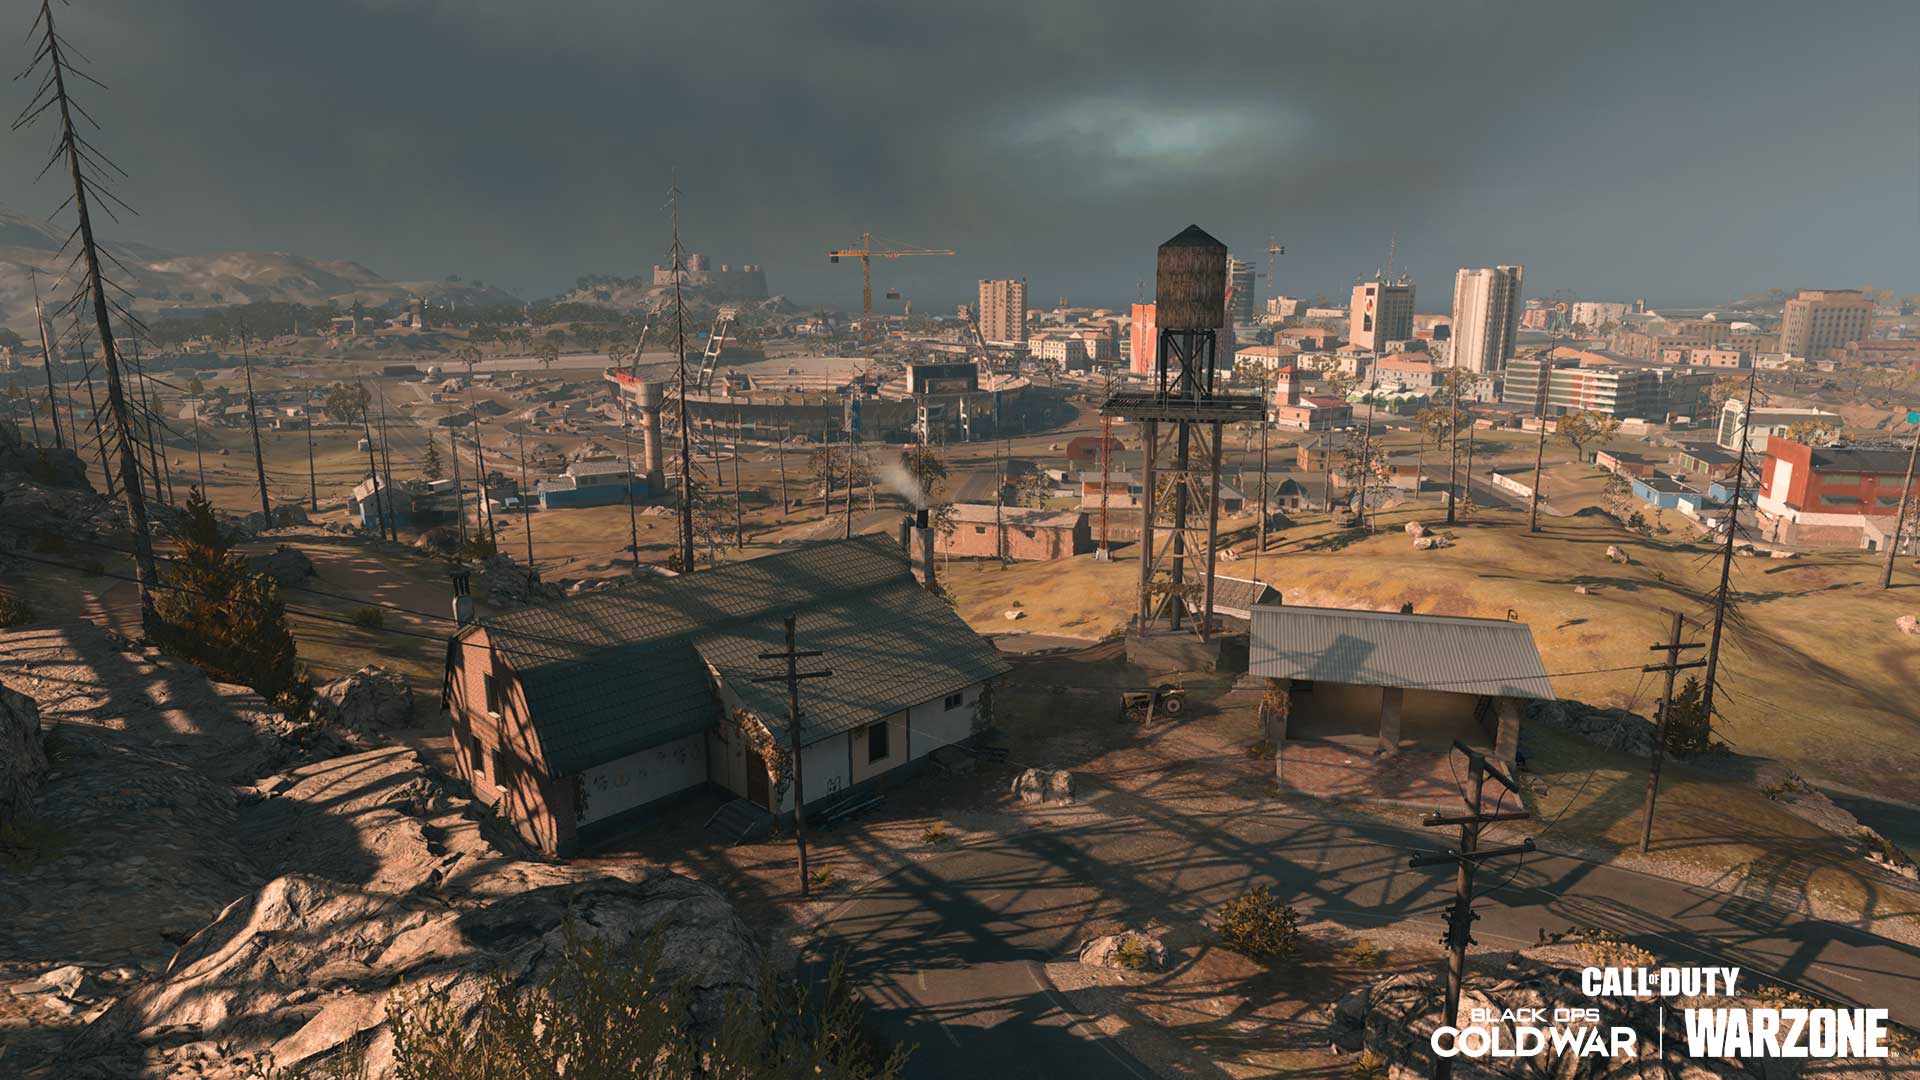
The Switchbacks and Grid Radar Array locations both have incredible sight lines over to the TV Station and Stadium, two main stops before hitting downtown. Given their obscurity, consider scouting here prior to your assault on either locale.
 Tip #194 — Views Over Verdansk
Tac Map: Atlas / Verdansk: North / Lozoff Pass
The Grid Radar Array has phenomenal views overseeing Downtown and provides a commanding view over the surrounding area and the Salt Mine. Be careful when ascending and getting up to the higher catwalks, as these prime views come with plenty of exposure.
We’ll see you online.
For more information on Call of Duty®: Warzone™, check out: www.callofduty.com and www.youtube.com/callofduty and follow @RavenSoftware and @CallofDuty on Twitter, Instagram, and Facebook.
© 2021 Activision Publishing, Inc. ACTIVISION, CALL OF DUTY, CALL OF DUTY BLACK OPS, CALL OF DUTY WARZONE, and WARZONE are trademarks of Activision Publishing, Inc.
For more information on Activision games, follow @Activision on Twitter, Facebook, and Instagram.