Call of Duty®: Black Ops Cold War Tactical Map Intel: Express
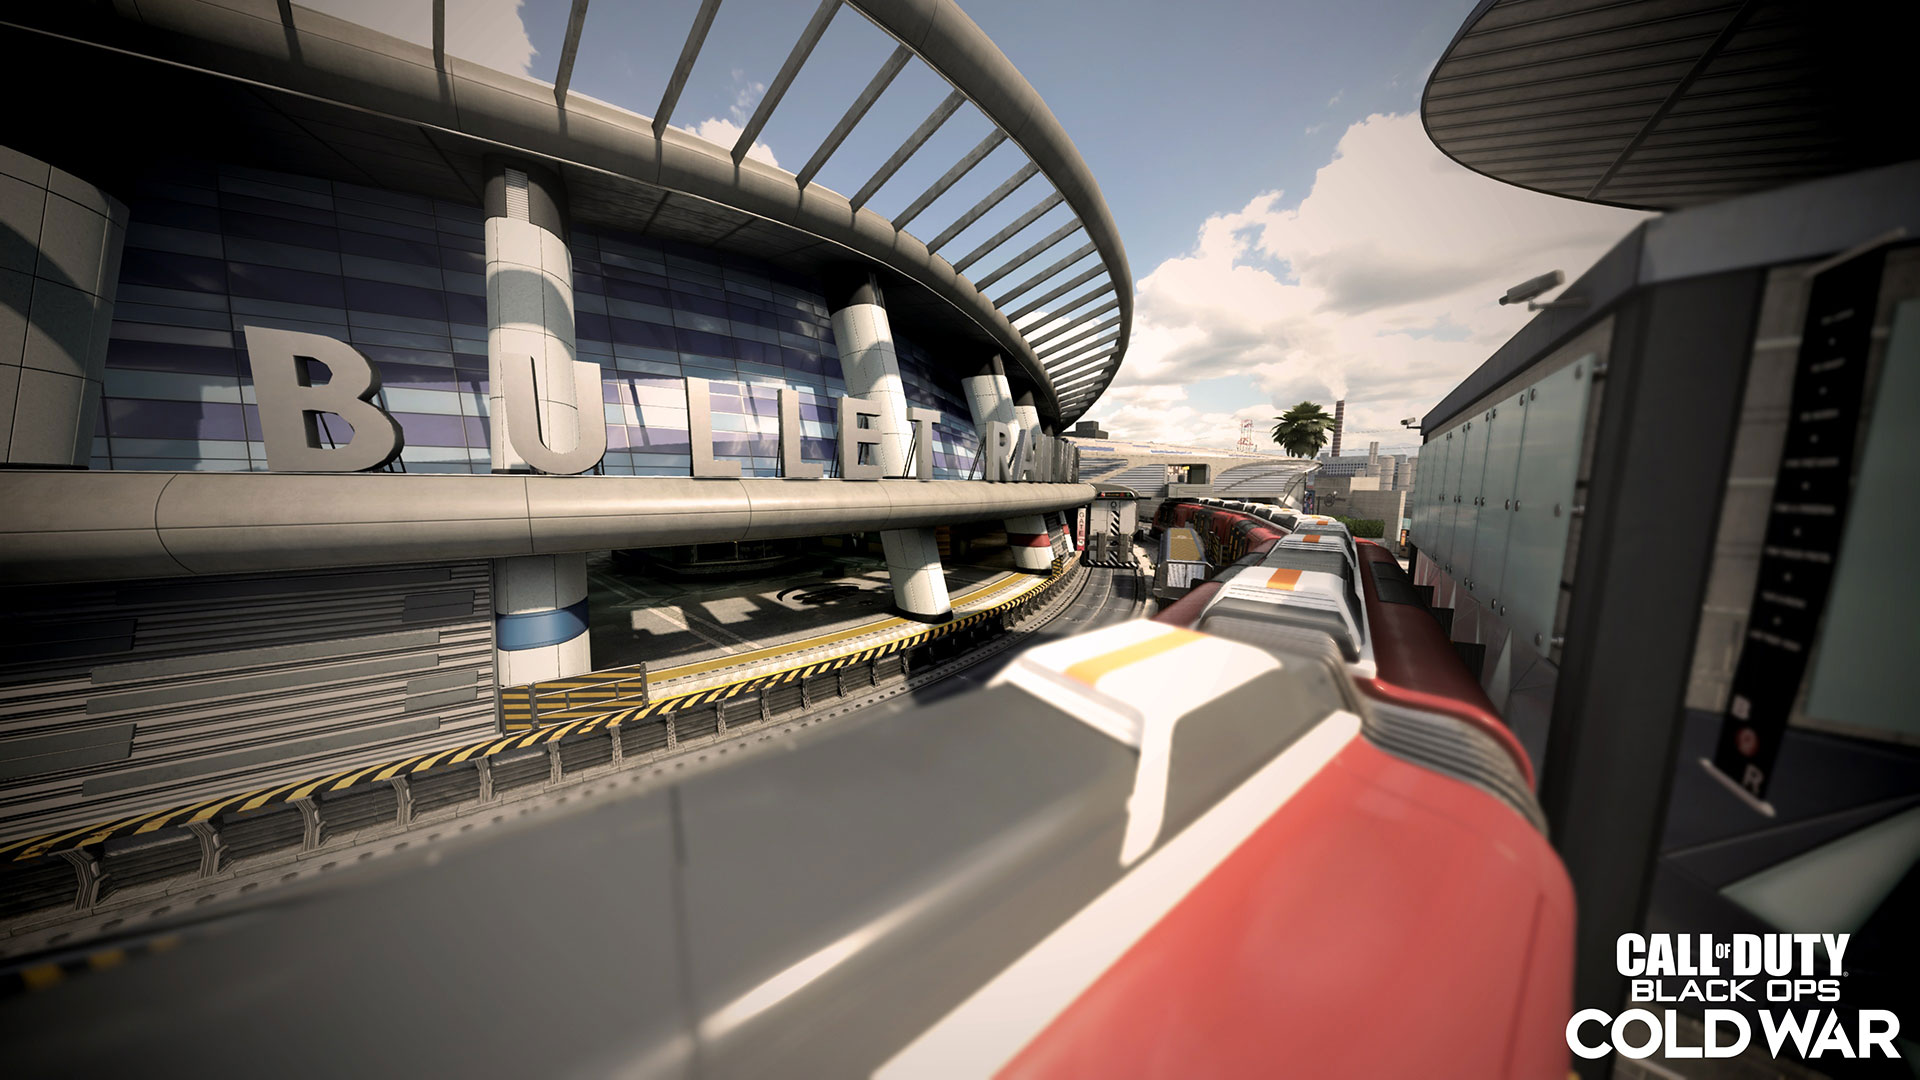
All aboard the bullet train. Express has officially arrived as the latest Season One content addition to Black Ops Cold War. A classic map since its inception in Black Ops II, Express takes place on a bullet train railway, with players fighting in the terminal, out on the station platform, and across the tracks themselves.
Express is available to all players for free, and it’s sure to be an instant favorite in the 6v6 map rotation. Whether you need a refresher or you’re deploying to Express for the first time, let’s go over the main elements of the map.
Lay of the Land
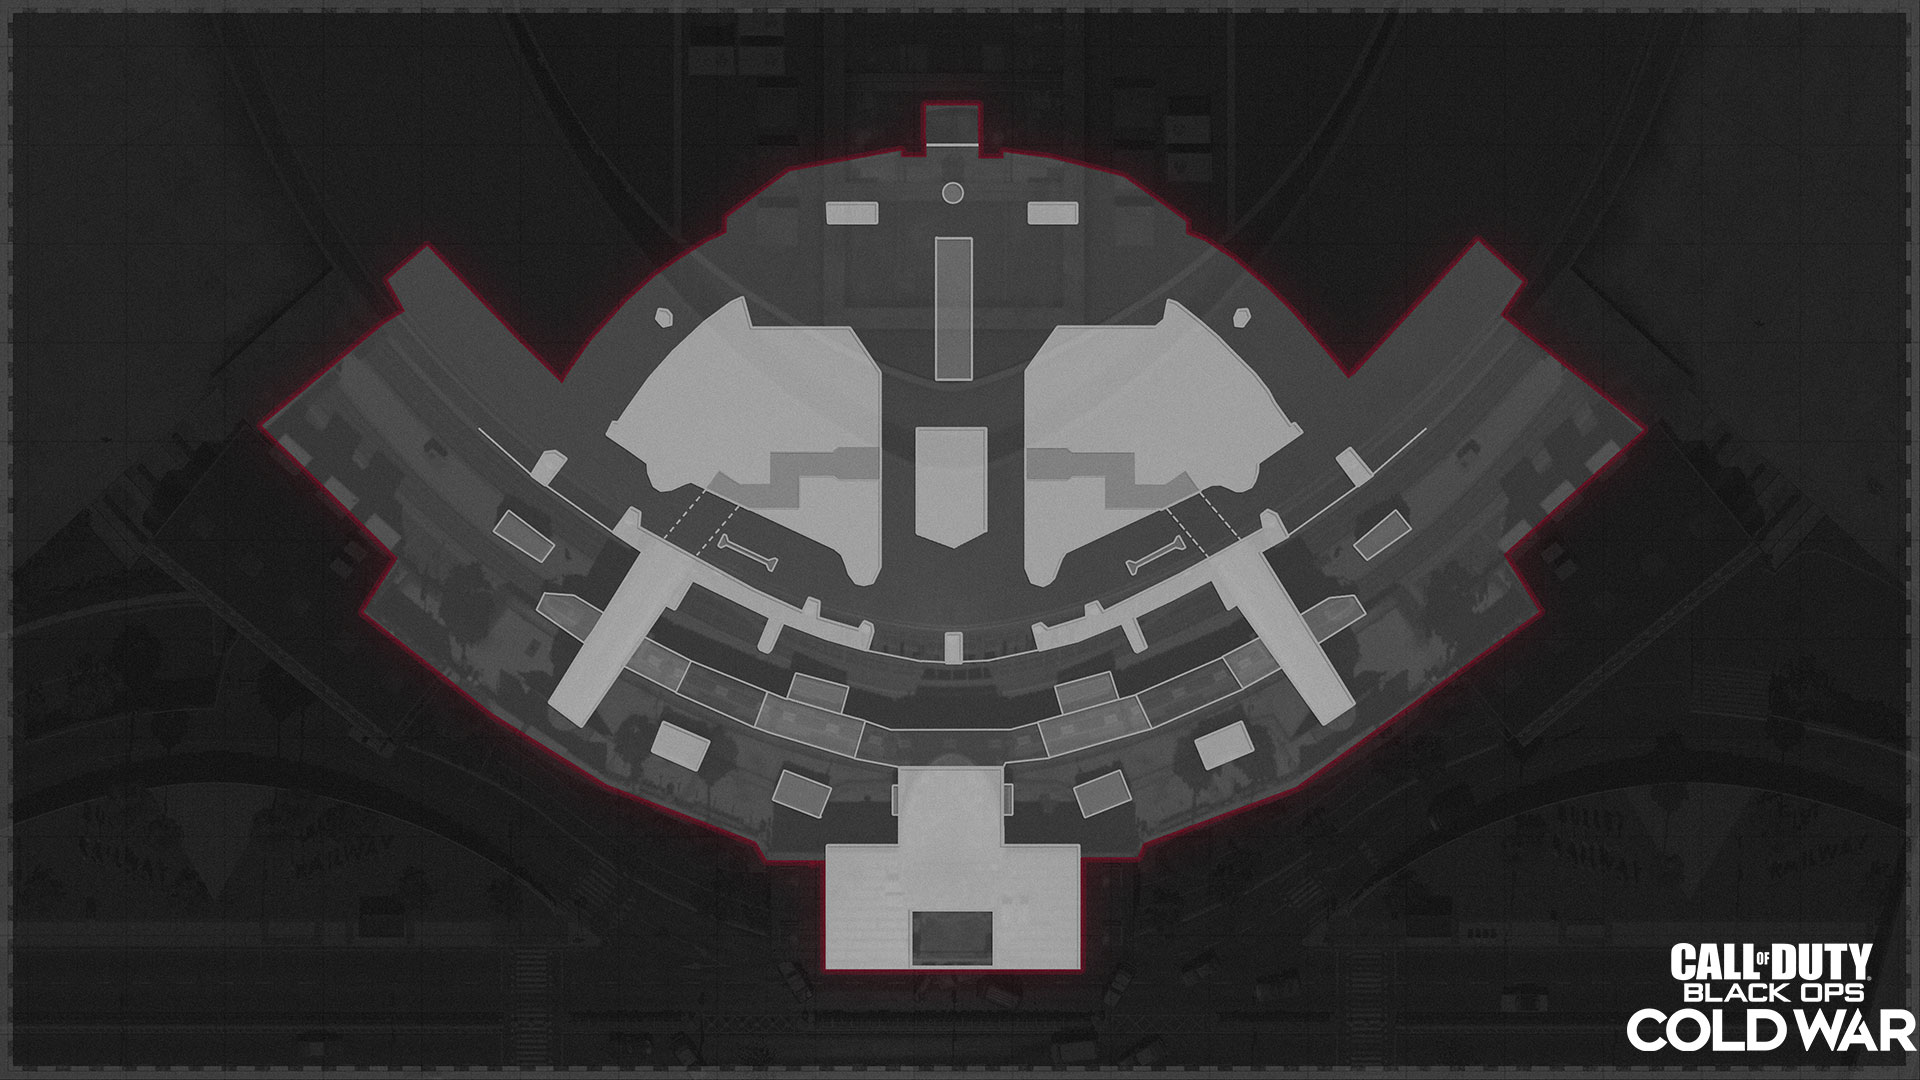
Express takes place in the high-tech transit future of Los Angeles, California. The map is medium-sized and symmetrical in a roughly U-shaped layout that’s split between the interior terminal and the exterior train platform.
A stationary train with three separate interior spaces occupies one track, the center train section providing a great view toward the middle platform and office. The inside track remains active, featuring barriers that retract when an oncoming train passes through. Don’t stand in its way.
At the bottom of the map are ground floor lockers and an elevated control room with commanding side views over the lower half of the map. Access the control room via a ladder behind the lockers or by vaulting up through either of its side windows. From here, scope out the bridges to either side. These walkways offer views over the platform and tracks, and are connected by the accessible rooftop of the stationary train here. The bridges lead to staircases that snake down to either side of the small central office.
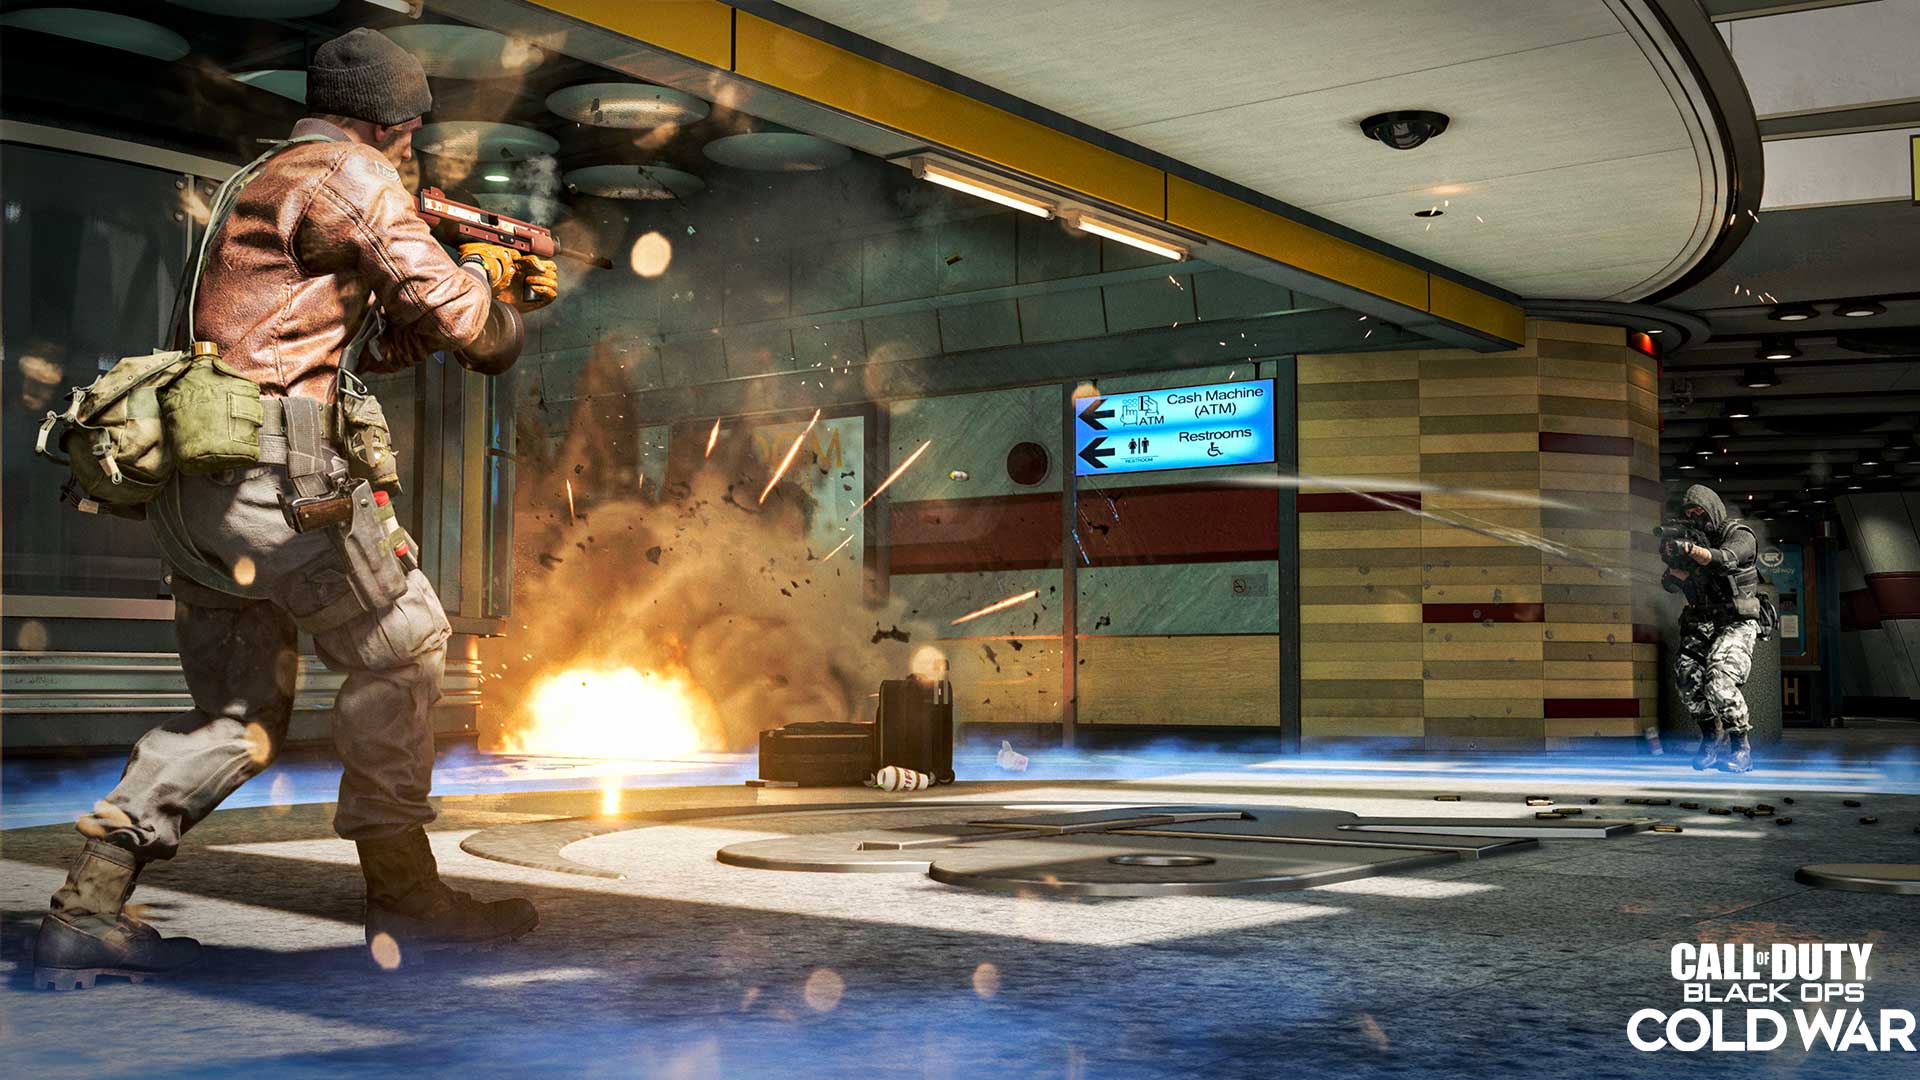
The terminal is large and more open than the train platform, though there are several major cover points for protection and ambush throughout. Notice the lift at the top of the map, a clever spot for attacking players rushing through the terminal.
Flanking the terminal are hallways running back out to the train platform: Departures to one side and Arrivals to the other. Each hallway features a central column for some cover and serves as a pathway across the map. Finally, note the center office, a popular strongpoint with views out to the middle as well as a rear exit that leads over the spine of the towering info sign.
Express Minimap
Basic Strategies
Mobility wins here. The symmetrical, circular flow of Express offers all sorts of different routes and approaches to your destination, whether you’re sticking low on the map to avoid the chaos of the center, or you’re racing over the top of train cars to attack everything in sight.
You can anchor by the center office, checking the nearby staircases for enemies approaching from the bridges. You can fall back to attack players in the terminal, and hunker down at the office windows to defend the middle platform. Or you can move around the terminal, covering the hallways and fighting off enemies looking for a respite from outside. Whatever your tactic, success comes in anticipating the enemy and using the surrounding environment more masterfully than the opposition to gain the upper hand.
Always watch the bridges and the control room when moving outside, and when you see an enemy, determine the possible pathways leading to their position. You can find a lot of success in dislodging enemies from the power positions here, looping between the bridges, tower, and center office.
Scoresteak Field Guide
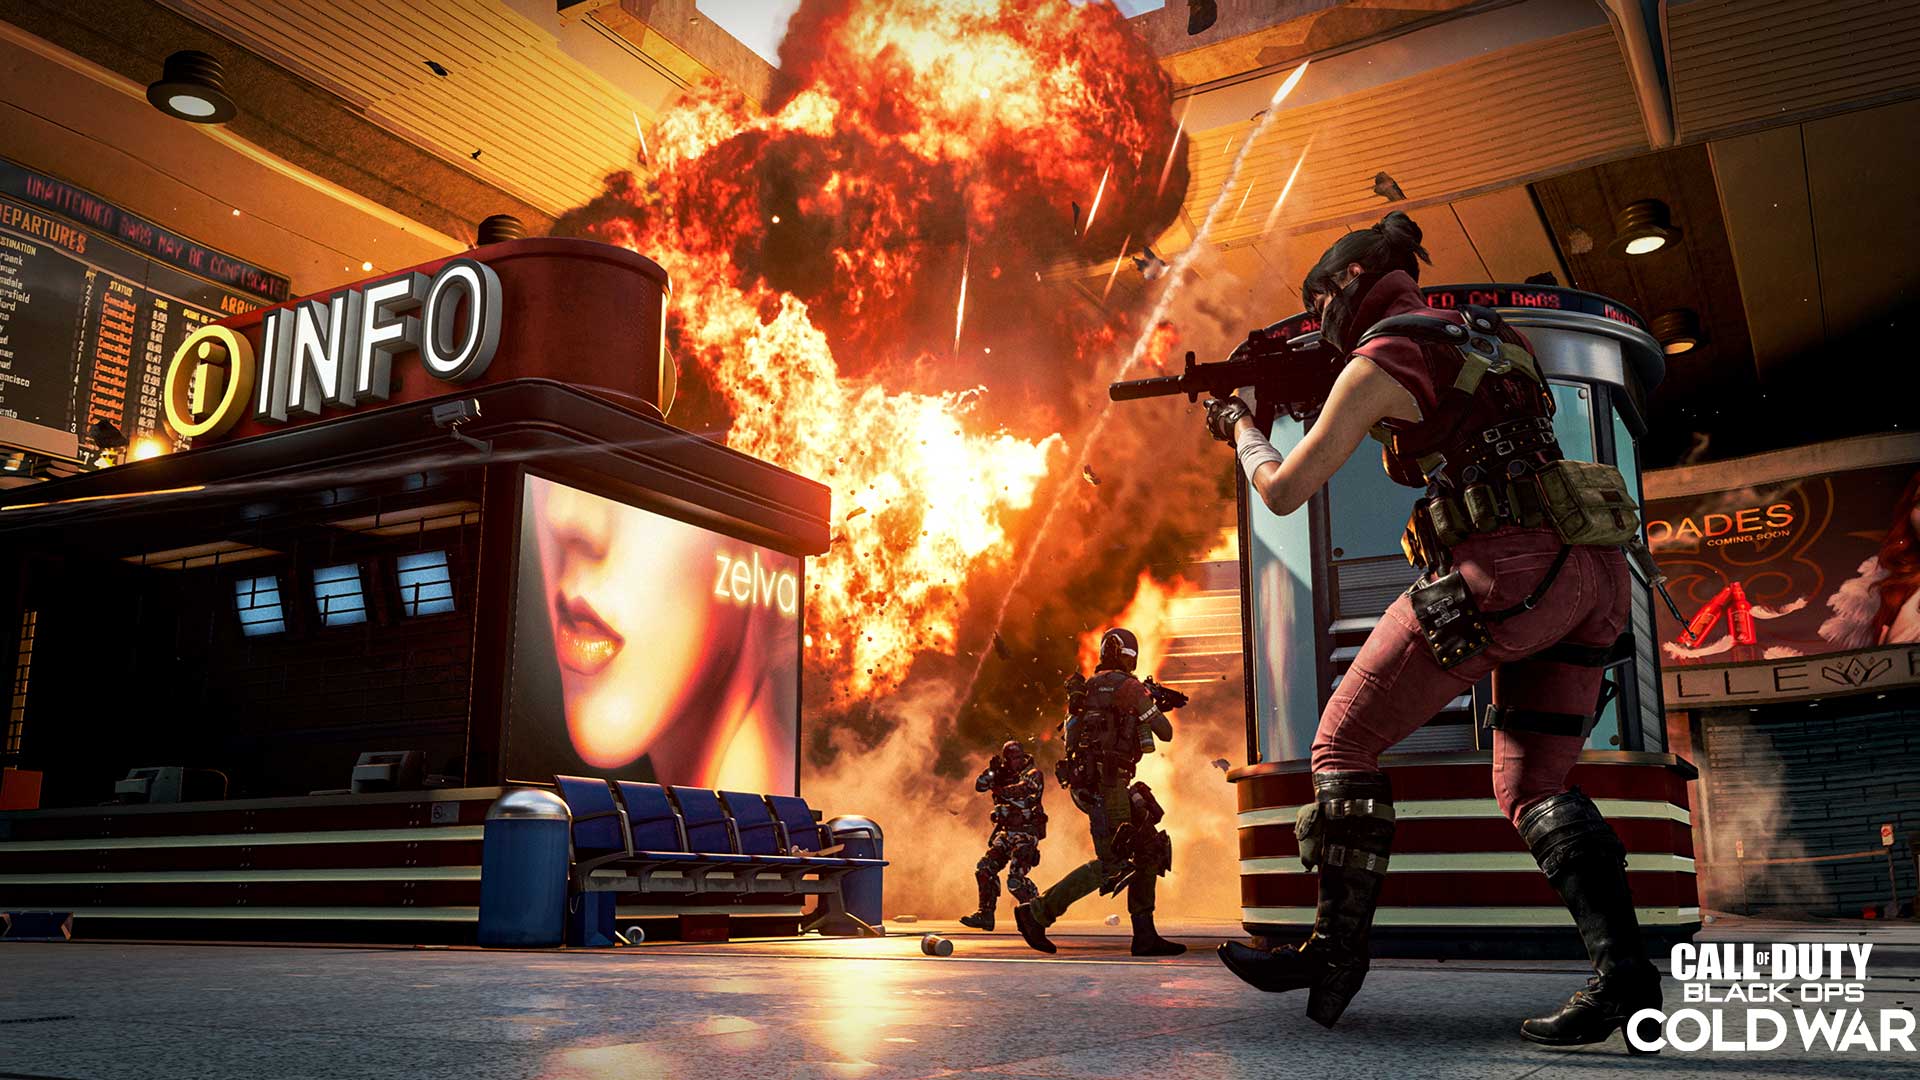
Considering the large interior terminal as well as the covered bridges and tower, there’s a lot of map space dedicated to avoiding aerial attacks. For that reason, we’re focusing on ground attacks and intel.
The Combat Bow and RC-XD make for easily accessible and effective weapons here, especially when you’ve learned how to move through the map using cover to minimize your exposure. Though a bit more expensive, Armor can make the difference in completing a vital play, while the heavy slayers can use the Sentry Turret to good effect or try for the devastating War Machine.
On the intel front, the H.A.R.P. is the darling of the bunch if you can earn it, giving your team a major advantage in countering enemy attacks. Even just another Spy Plane or Counter Spy Plane can be a huge help in giving your team the edge it needs, so pick the streaks that work best for you.
Objective Play
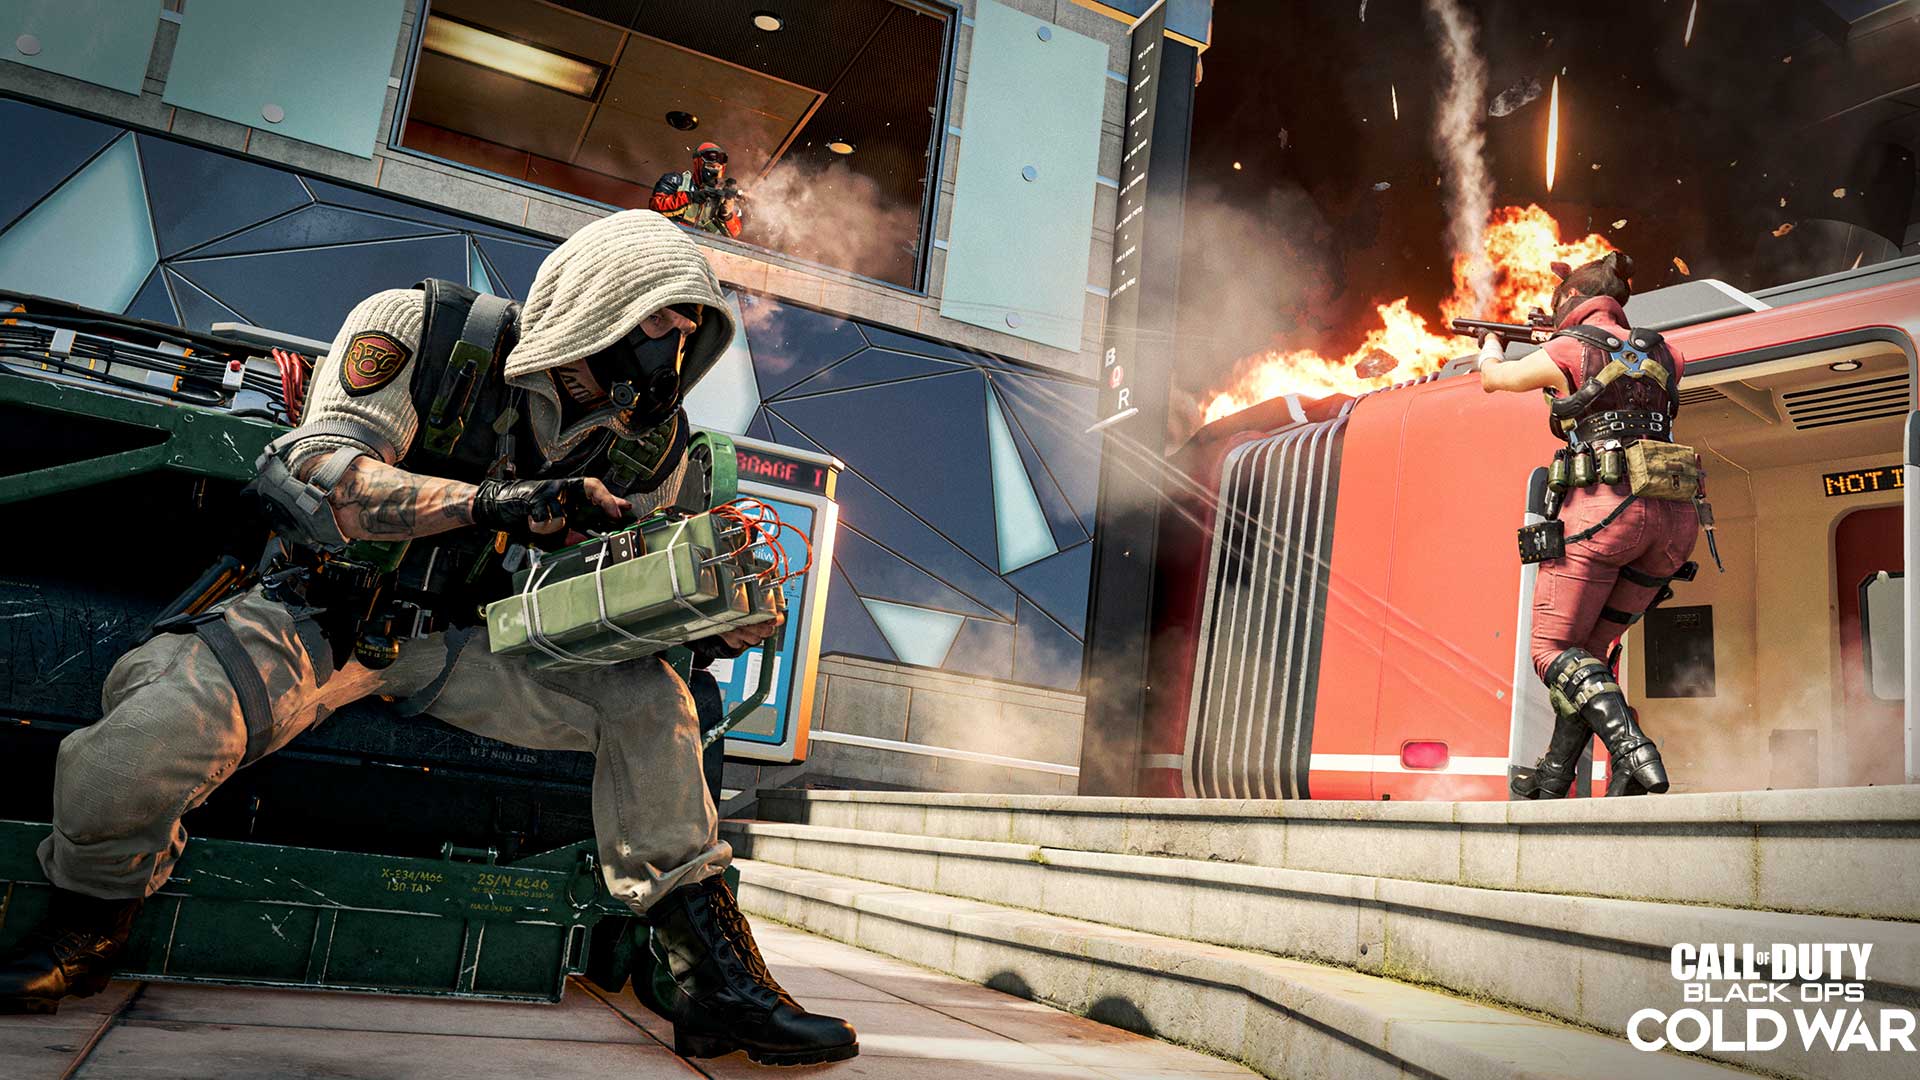
In Domination, the battle is most intense along the platform and tracks, as the three flags are all situated outside. In this setting, aerial Scorestreaks can be a lot more effective with the right placement and timing. The bridges and side platforms see a lot more action here as major defense points for the A and C flags, and the center office and platform can delve into downright chaos in the fight for B.
Don’t let the exterior focus fool you into neglecting the terminal. The interior path can be used as an escape to the other side of the map when the outside fighting gets too heated, or you can come up the middle from behind, taking out enemies occupying the coveted center office.
Search & Destroy really highlights the tactical nature of Express and rewards players who can best navigate the level. Communicating with your team is absolutely vital here, as there’s a big difference between pushing through the terminal and over the tracks. A coordinated team wins rounds.
Hardpoint is great for learning how to fight in different sections of the map. Equip Flak Jacket and an SMG to gun for the point, learning how to survive in the middle of the fight, or bring in a tactical rifle and search for the lesser-known lines of sight into each Hardpoint, concealing yourself while taking out incoming enemies.
10 Tips
10. Climb Everything. We’ve used this tip before and it applies equally to Express. Climb up into the side windows of the elevated control room. Climb out the bridge windows to the top of the train cars. Learn every climbable surface so that you can achieve maximum awareness when assessing your enemies’ locations.
9. Engineers Welcome. It’s not difficult to find a good hiding place for equipment and Scorestreaks amongst the map’s many large cover pieces and along the narrow bridges, staircases, and hallways. Use Engineer to spot the enemy’s tools through walls, helping you to avoid their effects or to seek out and destroy them.
8. Thanks, Battle Pass. The Mac-10 SMG (unlocked free at Tier 15) and the Groza assault rifle (unlocked free at Tier 31) of the Season One Battle Pass are both strong options to consider here. Fight amongst the train cars and middle stairways using the Mac-10, or equip the Groza and fight from the bridges or across the terminal.
7. Sweep the Tracks. If you’ve acquired the Streetsweeper shotgun in Season One, try taking it for a spin here. The weapon’s rapid fire and high-capacity magazines make for strong attacks in objectives modes like Domination and Hardpoint. See our Streetsweeper challenge guide if you haven’t already unlocked this new weapon.
6. Clear the Skies. The SAM Turret Field Upgrade can be very useful on Express. These can generally be safely placed at either corner of the train tracks away from the main focus of the battle, where they play a valuable role in shooting down enemy Spy Planes and other aerial threats.
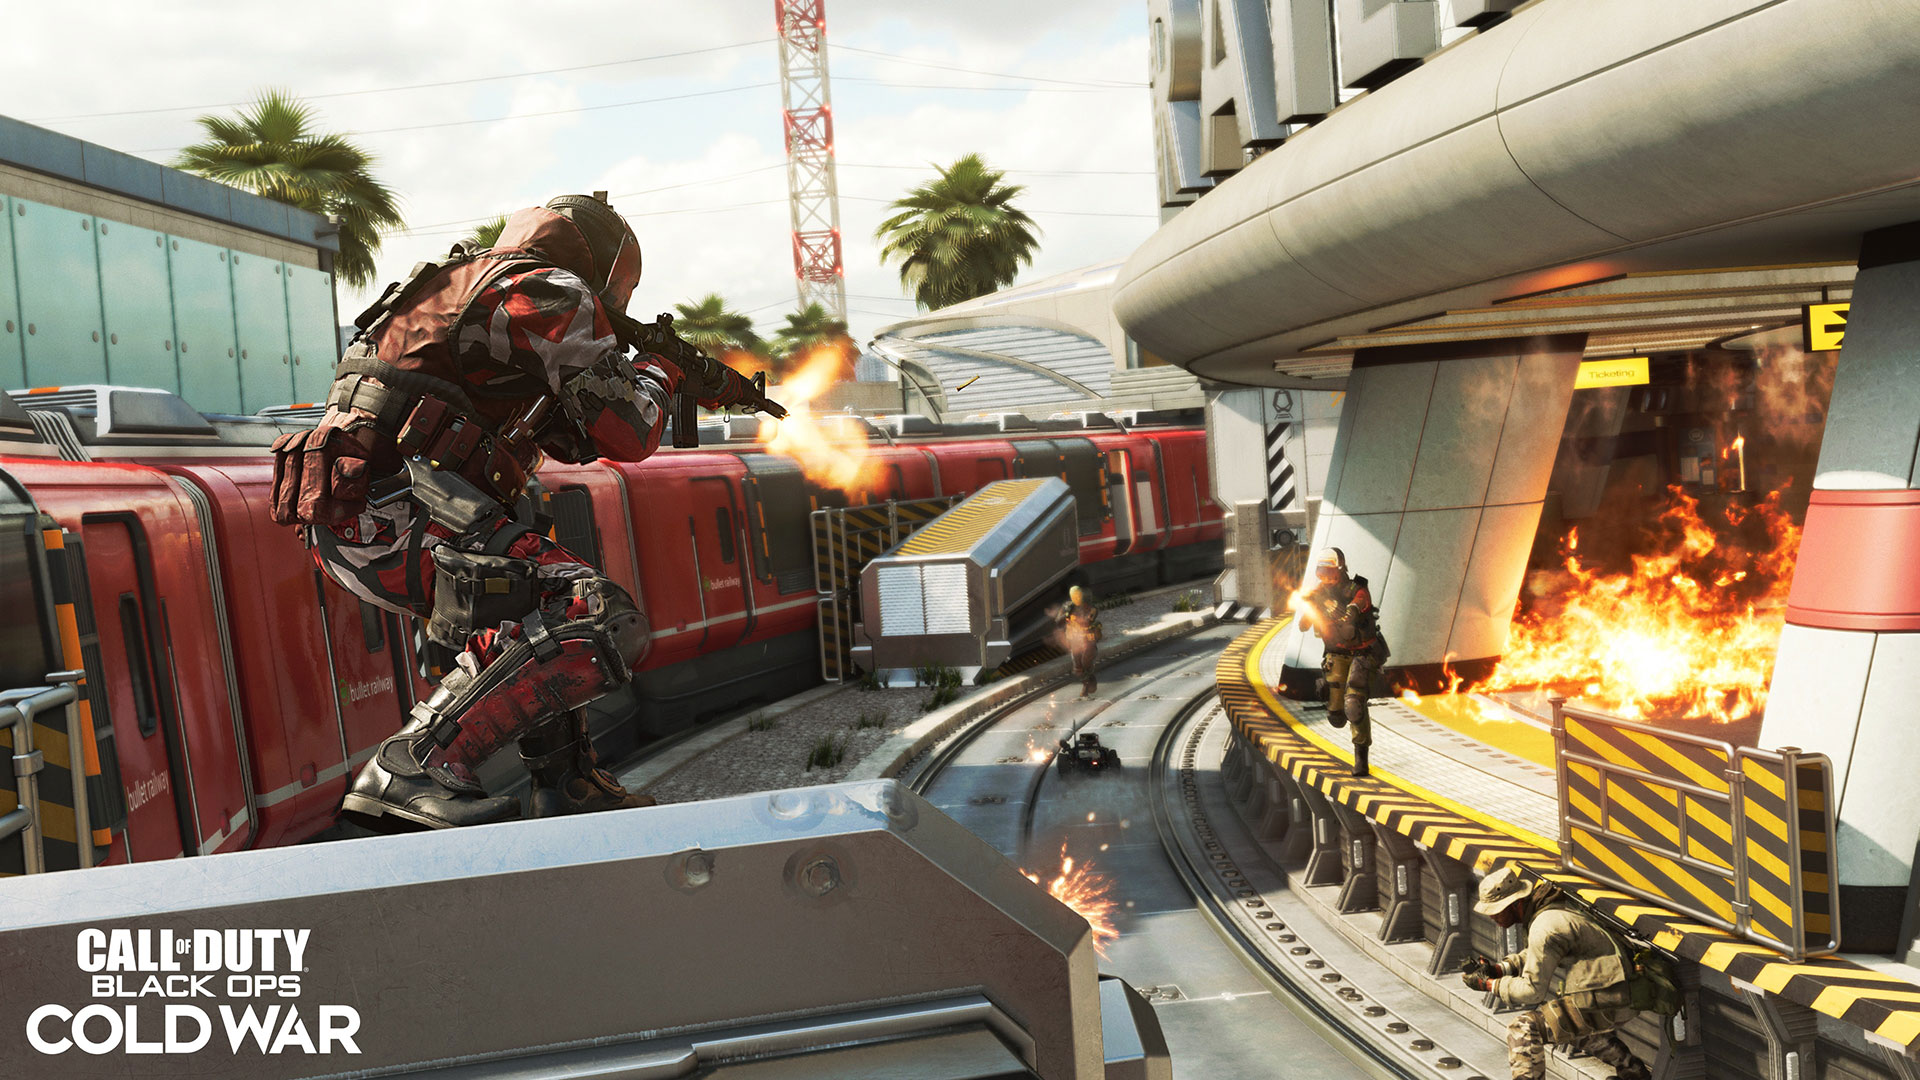
5. Take a Longshot. Snipers can do very well here with the right positioning. There are obvious vantage points on the bridges and from the elevated control room, but snipers can also inflict a lot of damage from the side tracks, all throughout the terminal, and even down the train platform.
4. Protect Yourself with Spycraft. As mentioned, there are plenty of hidden spaces for enemies to plant their Field Upgrades, so why not protect yourself against their effects? Combine Spycraft with Engineer to hunt and hack them, or just use Spycraft to become immune to the negative effects of the Counter Spy Plane, Jammer, Tracker, and Paranoia. You’ll avoid setting off Proximity Mines and Gas Mines, too.
3. Molotov Barricade. Use the Molotov to cut off access in the narrow hallways, bridges, and between the train cars and other tight obstacles. By restricting your opponent’s movement, you can better anticipate their next move.
2. Center Smoke. Sometimes you just have to cross the center as fast as possible, and tossing a Smoke Grenade before you do so can make your journey a whole lot safer. They are also highly valuable in obscuring your enemy’s view while taking the B flag in Domination or hiding your actions near the active Hardpoint.
1. Flex! Express was a staple map in competitive Call of Duty in Black Ops II, and it only takes one match to find out why it remains an absolute favorite. Load it up, learn the map, and flex your competitive might.
Execute the mission.
For more information on Call of Duty®: Black Ops Cold War, check out: www.callofduty.com, www.youtube.com/callofduty and follow @Treyarch, @RavenSoftware, and @CallofDuty on Twitter, Instagram, and Facebook.
© 2021 Activision Publishing, Inc. ACTIVISION, CALL OF DUTY, and CALL OF DUTY BLACK OPS are trademarks of Activision Publishing, Inc.
For more information on Activision games, follow @Activision on Twitter, Facebook, and Instagram.