Midgame Moves: Camp Timings and Map Pressure

It’s Midgame Moves Week for Heroes of the Storm—and we’re continuing the educational content published last week on July 26th featuring some of the smartest personalities in the scene. Midgame Moves will be focusing on the meaty middle portion of a competitive game! Today we will focus on Map Pressure and Mercenary camp timings.
What is Map Pressure?
Every game of Heroes of the Storm is a race between two teams. The team winning the race is the team with more map pressure at any given time, demanding a response from their opponents. That team is in the driver’s seat. That is the team with the freedom to make decisions.
The team that doesn’t have map pressure is that team responding to it, trying to defuse it. That team is on the back foot—defending their structures against minion waves, Impalers, Punishers, Hellbats, Armored Gnolls, Grave Golems, Immortals, Cavalry... you get the picture.
“Map pressure is probably one of the most important aspects of Heroes of the Storm,” said Wade “Dreadnaught” Penfold, former professional player for Tempo Storm and current HGC caster. “When you apply pressure at multiple points of the map at once you are buying yourself more time to rotate and more time to make decisions before your opponent. Map pressure is the tool used to increase the chance of obtaining and maintaining an experience advantage.”
When Should I Be Doing Camps?
You should never take any camp without having a reason for doing so. Obviously, it’s less risky to take camps on your side of the map (safe camps) than it is on your opponent’s side (not-safe camps). Sneaking enemy camps almost always ends in tragedy, so it’s in your best interest to refrain unless your team is on the same page.
Ask yourself this series of questions every time you consider taking a camp:
- Does my team need me elsewhere?
- Are we going to be able to push with this camp?
- If I start this camp, am I in danger of being invaded by the enemy?
- Do I need help to do this camp quickly?
- Which enemy Hero am I anticipating will come to clear this camp?
“Before level 10 you should not be doing camps if you do not have a member of the team soaking in every lane,” Dreadnaught adds. “I am not saying that you must have a person in each lane for every waking moment of the laning phase, but it is very important to capture as much experience as possible on the battleground as fast as possible.”
Know Your Mercenary Camp
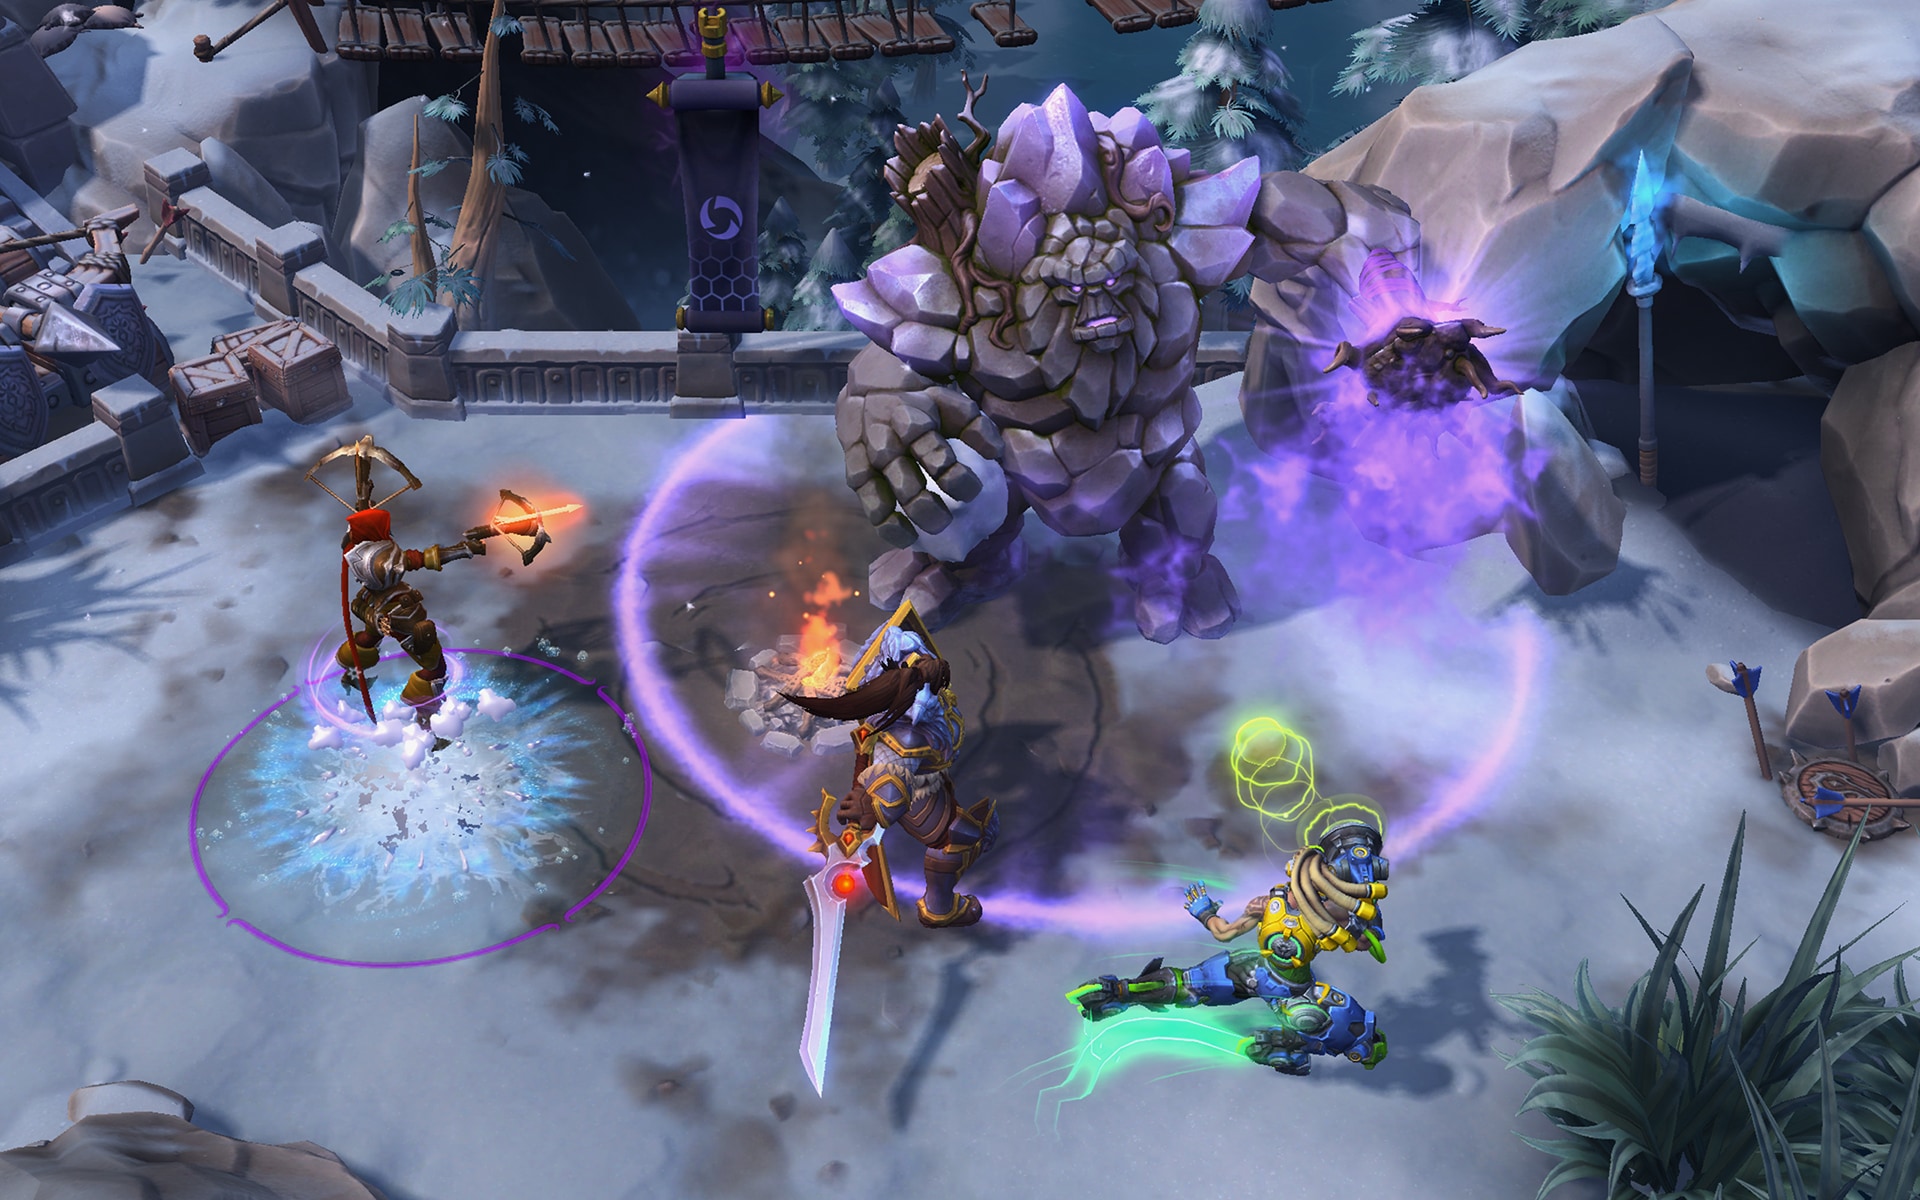
- Siege Giants – “Siege Giants have a long-range, high-damage auto attack. Try to focus on keeping them alive by zoning out your opponents. Late game pressure is where the Siege giants are a step above the rest of the mercenaries—but no matter the point of the game, if they are left unchecked, you are going to regret not clearing them.” Found on: Dragon Shire, Cursed Hollow, Garden of Terror, Haunted Mines, Blackheart’s Bay, Sky Temple, and Tomb of the Spider Queen.
- Sappers – “The Sappers do a large amount of damage and they are one of the more reliable camps to get structural damage from, but they need to reach a certain range from the Towers before they cast their charge. You will need to escort them into Tower range.” Found on Towers of Doom and Haunted Mines.
- Impalers – “Impalers act much like Siege Giants, in that they auto attack from outside of Tower range, but their overall effectiveness is a notch down. They can be stacked on certain maps like Infernal Shrines, and that can make them more threatening.” Found on Battlefield of Eternity and Infernal Shrines.
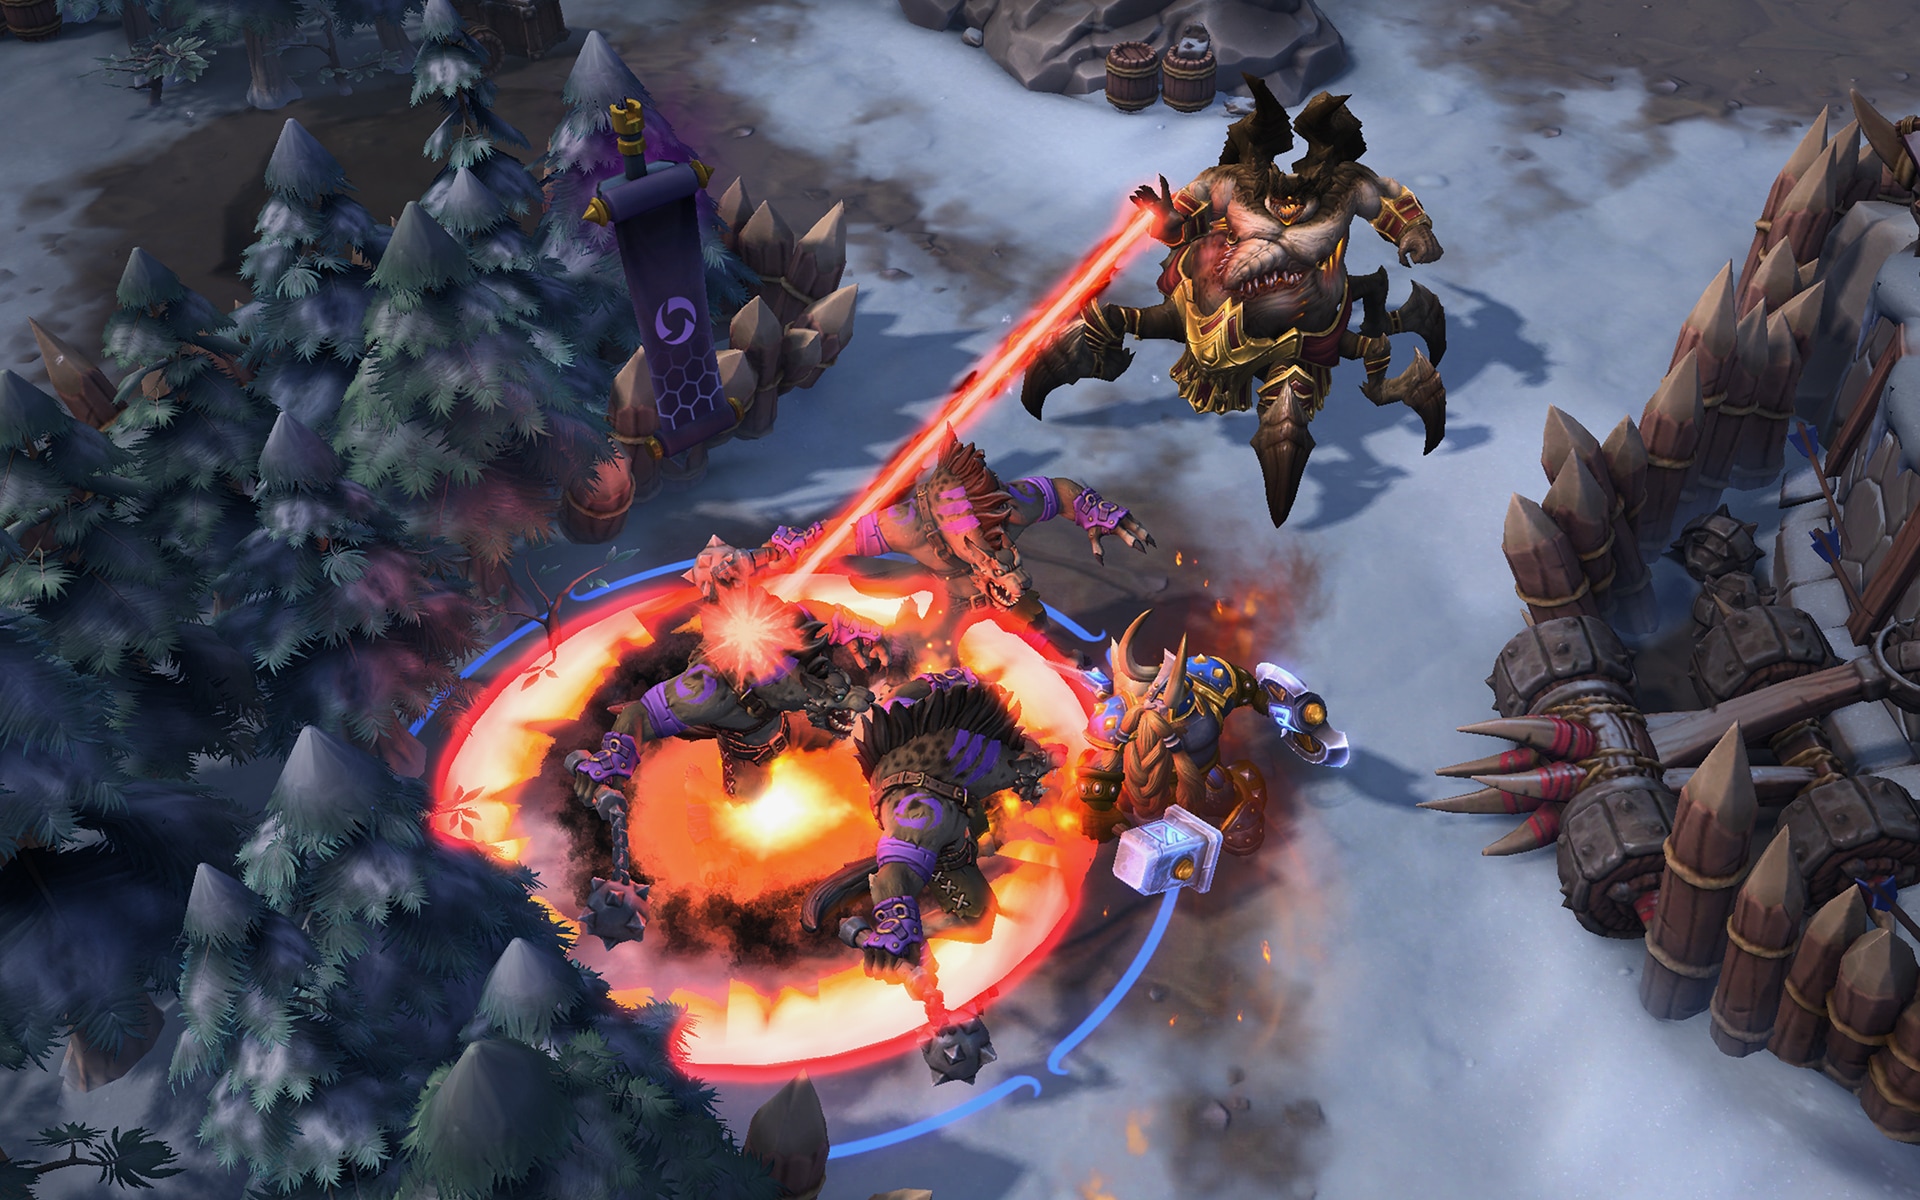
- Hellbats – “Hellbats are tougher in terms of health than the other siege camps, but their limited range makes them less impactful in sieging. Their splash damage helps to clear, and their large health pools allow them to tank Tower shots. Their auto attacks reduce Armor on Heroes, which makes them a pain to clear on your own.” Found on Braxis Holdout and Warhead Junction.
- Assault Troopers – “Assault troopers can out-range enemy towers and will help push a wave, but this camp struggles to pack the same punch compared to Siege Giants or Sappers.” Found on Volskaya Foundry.
- Armored Gnolls – “Alterac Pass is brand new and we are still learning how to play the map in the most effective way possible, but [Armored Gnolls] function much like the Hellbats. I think it’s safe to say that the Armored Gnolls should be treated as Hellbats both in effectiveness and how to approach them.” Found on Alterac Pass.
- Knights – “Knights are the best camp in the game to push with because the Wizard minion provides a Spell Armor aura. This aura helps increase everyone’s ability to push and makes your minion wave difficult to clear. When the Wizard falls, the camp is far less impactful, so try to protect that little guy at all costs.” Found on Dragon Shire, Cursed Hollow, Garden of Terror, Blackheart’s Bay, Sky Temple, and Tomb of the Spider Queen.
- Fallen Shaman – “The Fallen Shaman spawns dogs that will fight on his behalf and when they die he will bring in a new set of puppers. The Shaman will stay out of range of Towers and Forts the entire time, so unless you respond to him and kill him, you are relying on the minions to clear him and his dogs. This takes a very long time to make happen and because of this, the camp is the best at split pushing.” Found on Battlefield of Eternity and Infernal Shrines.
- Goliaths and Raven – “Goliaths can’t out-range the Towers which makes the camp not ideal for sieging. It does provide a solid amount of threat to heroes because the Raven has a long-range seeker missile that can do a decent amount of damage. You can out-range the ability and avoid the damage, but it will force you away from the camp a significant distance. The Raven also has AoE damage to try to help the Goliaths push and the Goliaths are pretty tanky.” Found on Braxis Holdout and Warhead Junction.
Why Wait to Capture the Camp?
So, you’ve done the camp and it’s time to stand on the circle to capture it and get those Mercs pushing. WAIT! You could get so much more out of this if you put a little thought into what you’re doing!
“You should be stalling the cap whenever you know that there is going to be an objective spawning on the map and that there is no way that anyone on the opponent’s team can contest you," Dreadnaught said. "There are hundreds of different situations where stalling will help your team out, but in all of these cases you are stalling to ensure that you are capping your camp with a purpose and timing it in order to give your team the greatest advantage possible.”
Stalling the cap of a camp is small change you can make to your game that can have a potentially major impact. “A good example of this would be on the first Shrine Phase of Sky temple," Dreadnaught said. "Your opponents are likely going to start their Knight camp at some point during this time frame and if they do, you may consider stalling the cap of yours to ensure that the Knights meet up under the cover of your top Fort Towers. This gives you the easiest defense position to clear and will allow your Knights to push without interruption while your team fights on the Temple.”
Common Camp Capture Timings
Battlefield of Eternity:
- “Capture Impalers before first Immortal.”
- “Capture Shaman camp as the Immortal spawns.”
Braxis Holdout:
- “Capture any available camp during the beacon phase to create pressure and help enable the control.”
Cursed Hollow:
- “Capture Giants as the first tribute spawns.”
- “Capture Knights in between the first and second tribute spawns.”
Dragonshire:
- “Roughly 45 seconds after a Dragonknight dies, capture any camp available. This better sets up the map for the next shrine phase.”
Garden of Terror:
- “Whenever you have one of the two Garden Terrors cleared, pick up a close camp to demand a response and then get free seeds from the opposite terror. “
- “Capture Giants as you are channeling to pilot your own Garden Terror and then pressure mid and bottom with the terror.”
Haunted Mines:
- “Capture Sappers and Giants during mine phase to get free damage while everyone is getting skulls.”
- “Capture Giants when the Grave Golem is sieging to help defend and get counter pressure.”
Infernal Shrines:
- “Capture Impalers during the laning phase between rotations of middle and bot lane.”
- “Capture bottom Impalers once you have control over mid with first Impaler set.”
- “Capture the Shaman Camp anytime the Shrine spawns middle or bottom, especially bottom.”
Sky Temple:
- “Capture Giants and Knights before first Temple phase.”
Tomb of the Spider Queen:
- “Capture Knights before or during first turn-in phase.”
Towers of Doom:
- “Capture Sappers as soon as they spawn and as often as you can on bottom half of the map.”
Volskaya Foundry:
- “Capture bottom Turret Camp as soon as it spawns and as often as possible”
- “Capture the Support Camp as soon as the Turret camp is picked up, try to take this camp as frequently as possible.”
With a little practice and patience, split-pushing and pressuring your opponents can become second nature. Be sure to check back in with us tomorrow for more of Midgame Moves week when we cover everything you need to know about Boss control with HeroesHearth Esports’s Coach Rori "CauthonLuck" Bryant-Raible.