Call of Duty: Modern Warfare II Multiplayer Overview
Prepare for the Next Era of Multiplayer
Infinity Ward developed a finely tuned, innovative Multiplayer experience for Call of Duty®: Modern Warfare® II.
Continuing the legacy of the Call of Duty®: Modern Warfare® series, Modern Warfare® II will have a robust Multiplayer offering at launch, from classic 6v6 modes and new favorites to the addition of Battle Maps featuring large player counts and vehicular combat.
Everything within this guide is what you can expect on day one. This includes the modes and Playlists you will see, the regions you will be deployed to across Core and Battle Maps, and overviews of three Multiplayer-exclusive concepts: the ability to choose a Perk Package, Field Upgrade, and Killstreaks.
All of that is built around the Modern Warfare II engine, which makes Multiplayer a great place to learn some new tactics.
Here is what you can do in Multiplayer at launch, starting with the Playlists you might see in the main menu:
Game Modes
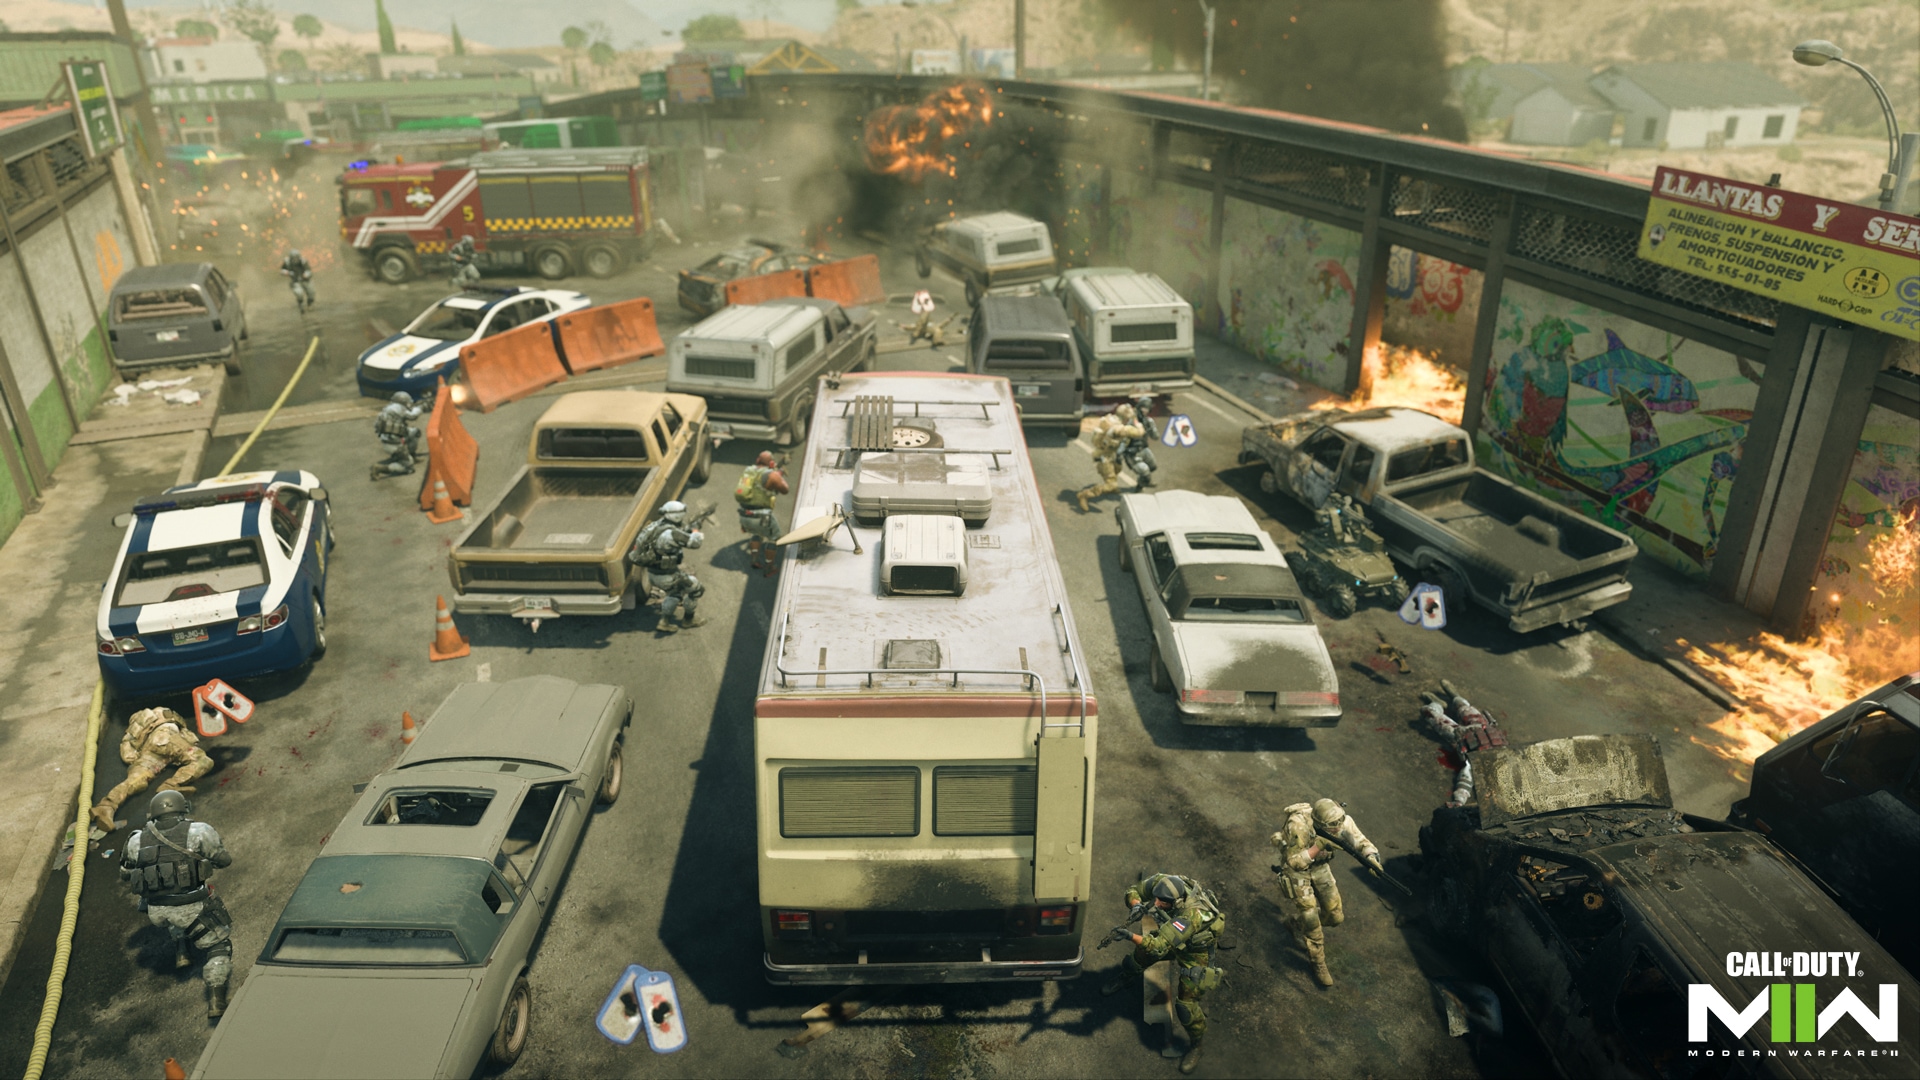
Modern Warfare II Multiplayer offers two distinct mode categories at launch, based on the type of map they are played on: Core Map modes and Battle Map modes.
Core Map Modes (6v6)
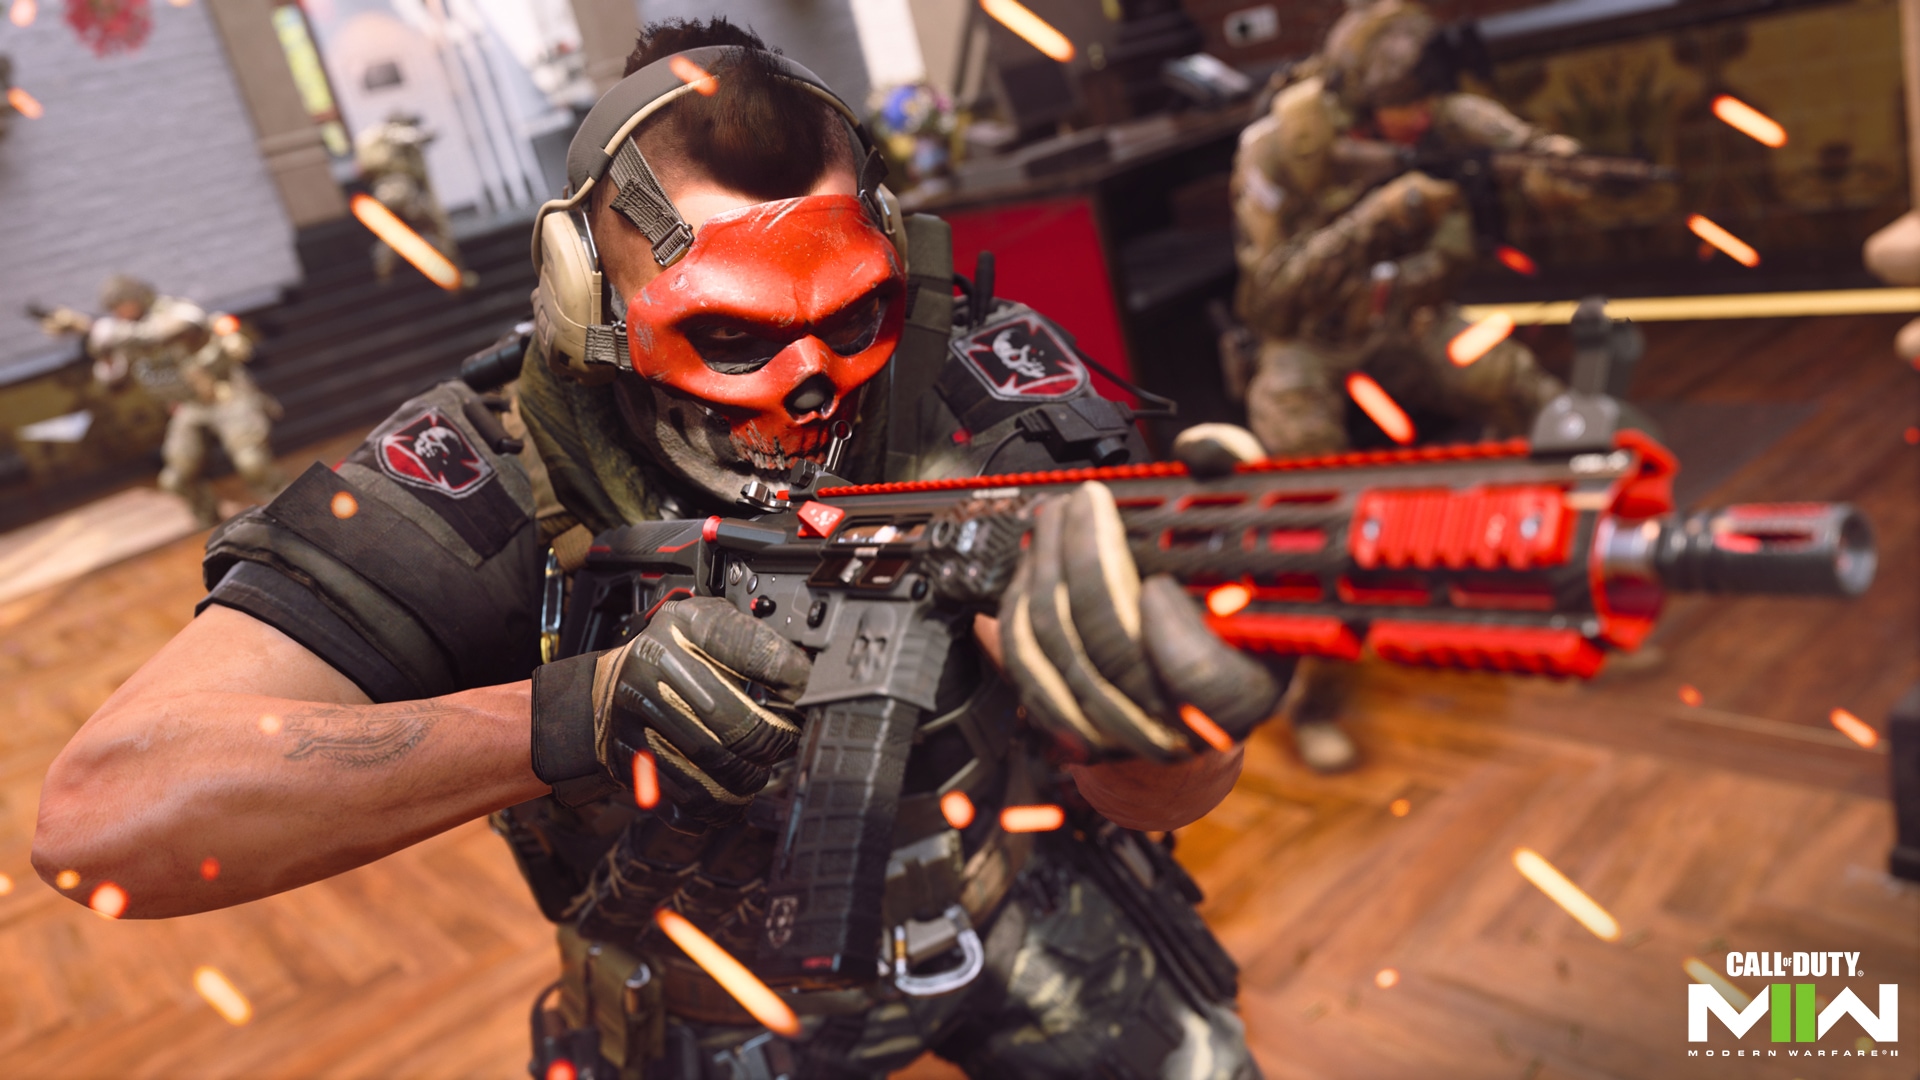
Free-for-All: Eliminate everyone. The first player to reach 30 eliminations ends the match, with the top three performers claiming victory.
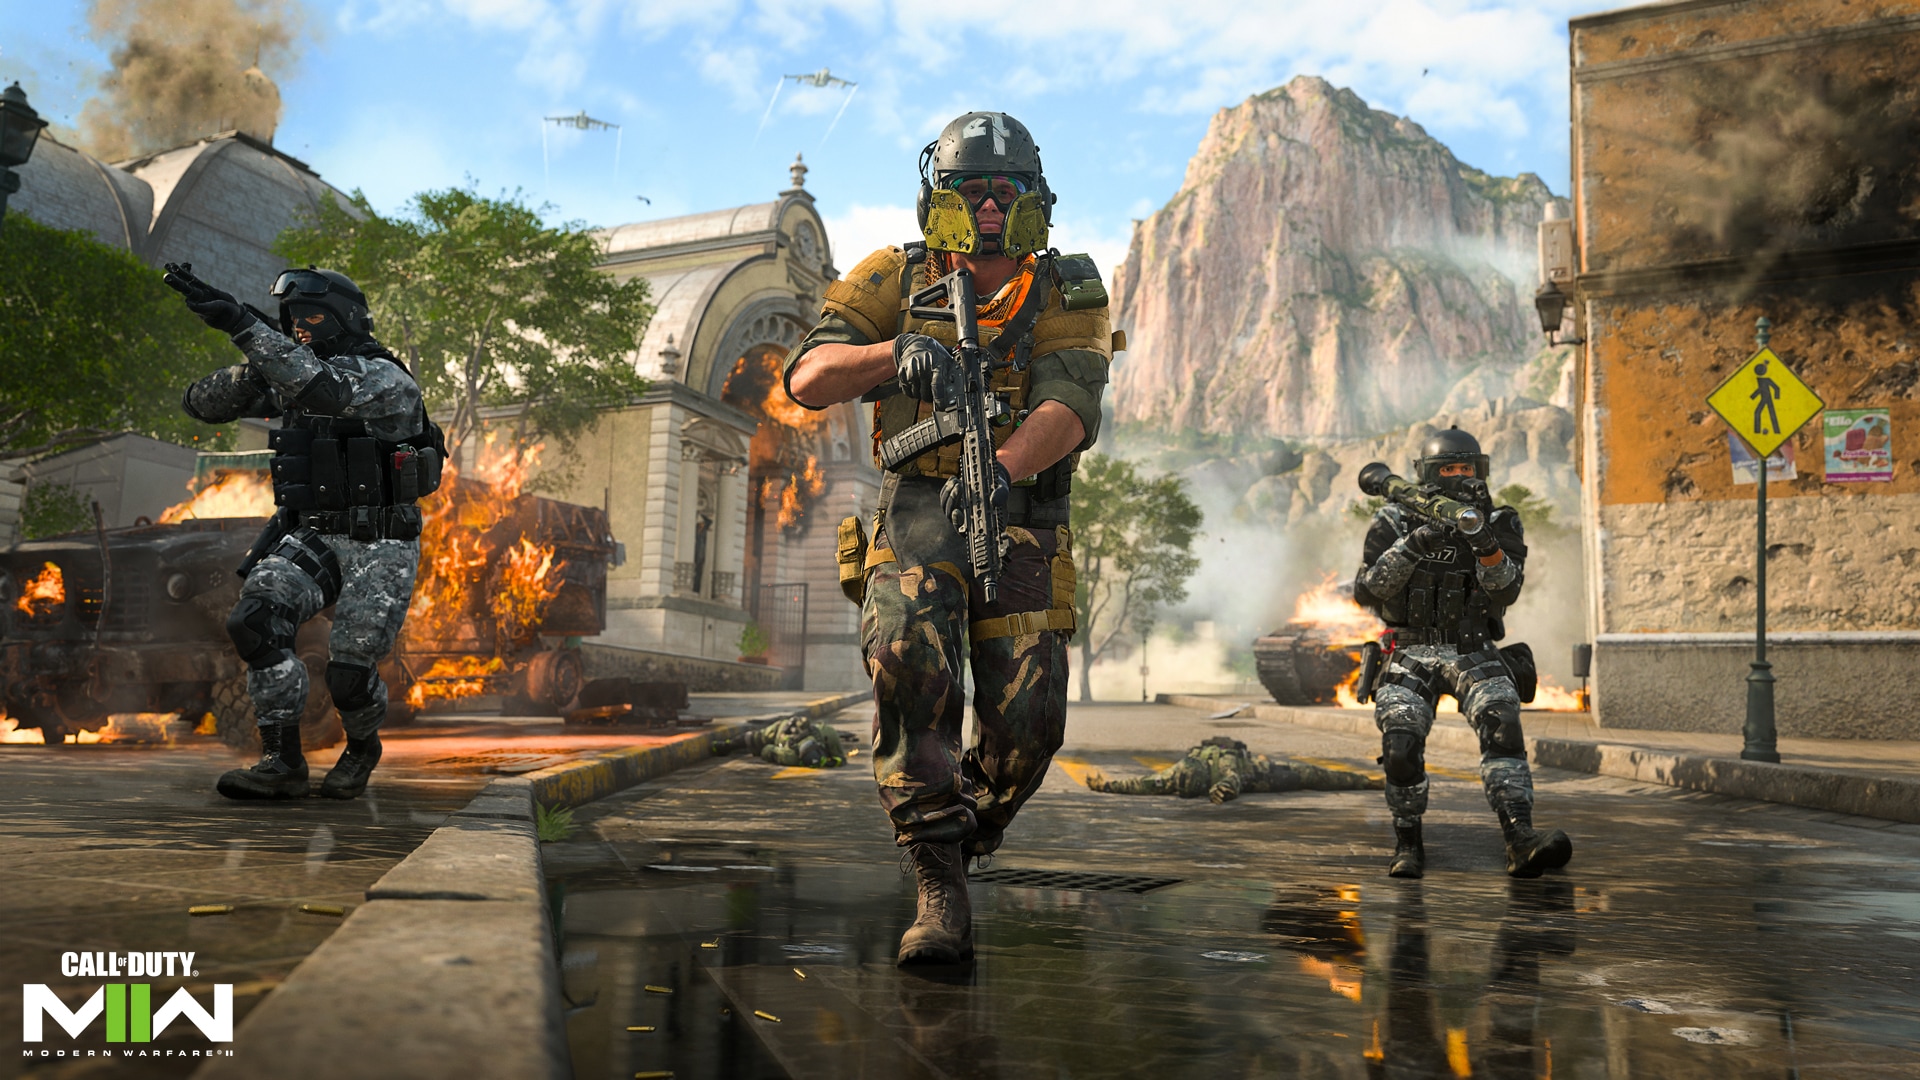
Team Deathmatch: Call of Duty® in its purest form. Use teamwork to eliminate enemy players and reach the score limit. The first team to obtain 75 eliminations wins the match.
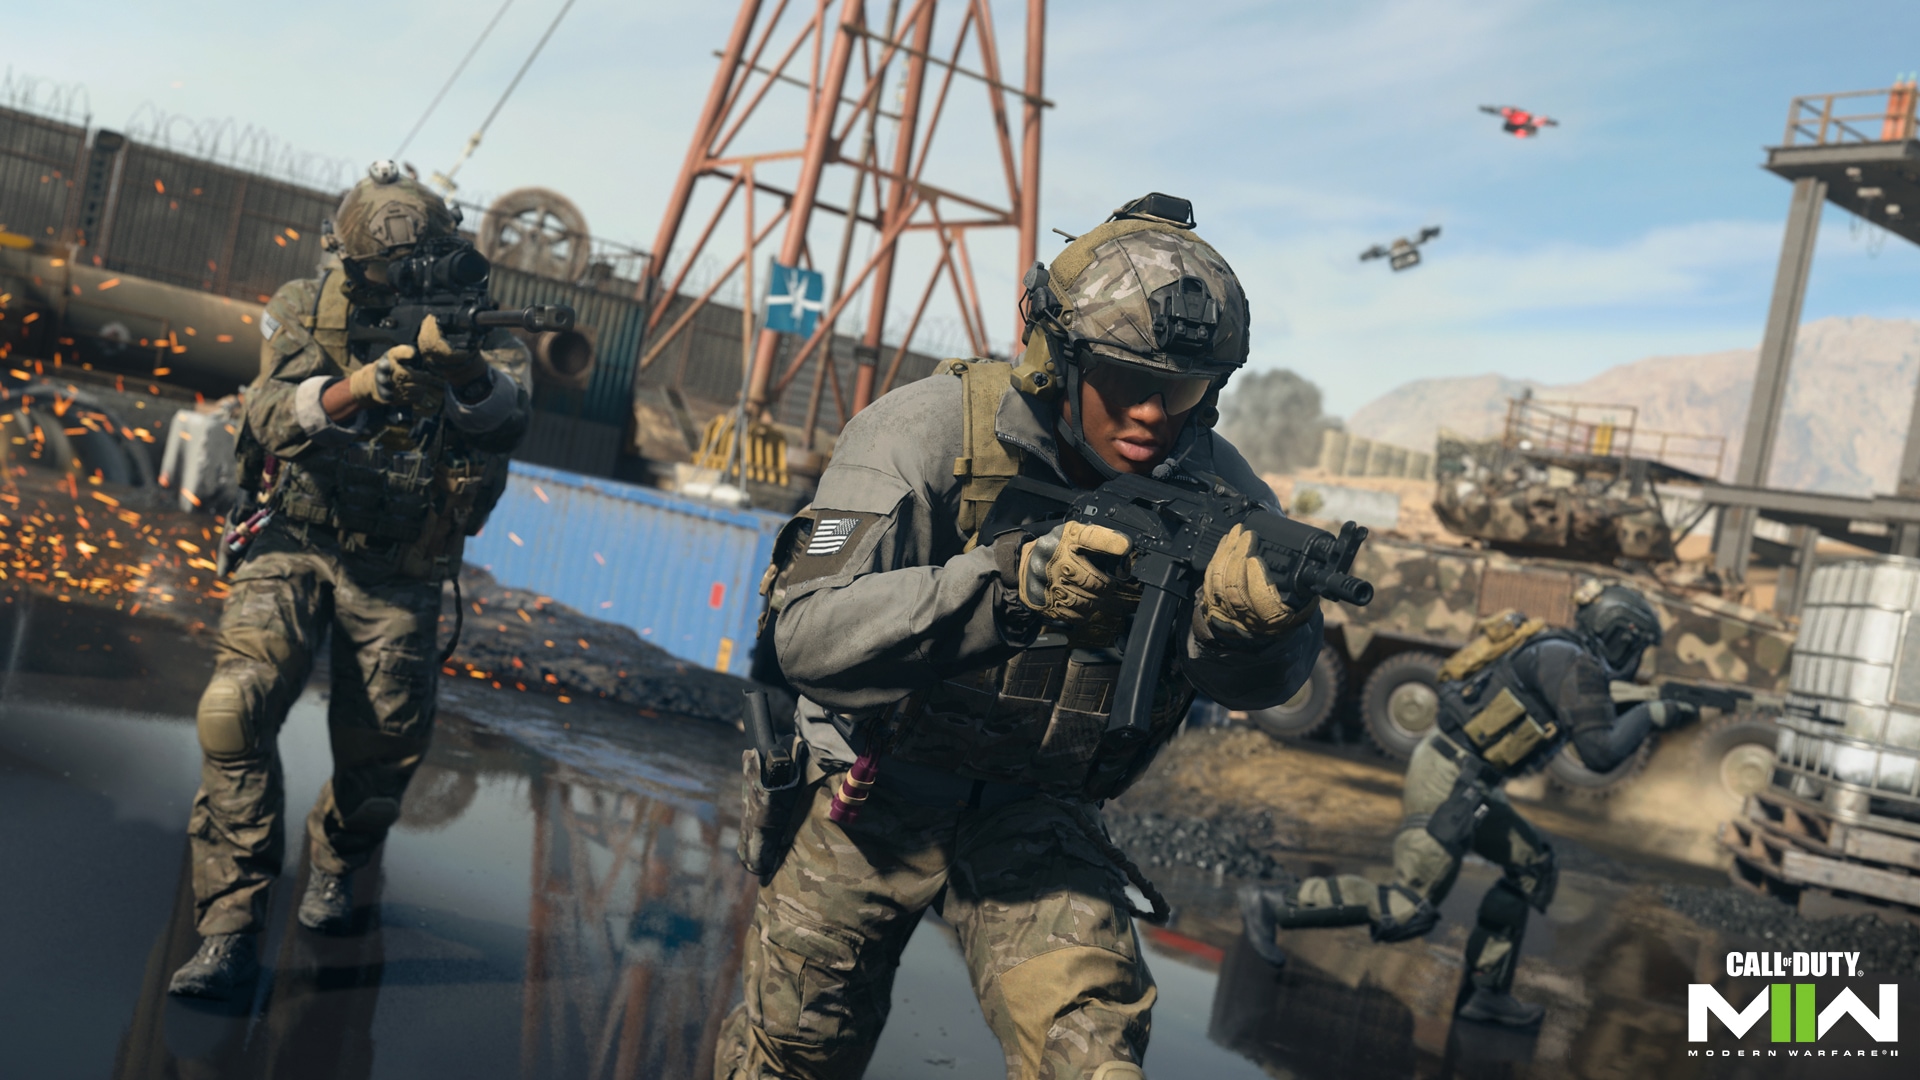
Domination: Compete for control of three zones marked by flags — A, B, and C. Captured zones accrue points over the course of one round. The first team to reach 200 points wins the match.
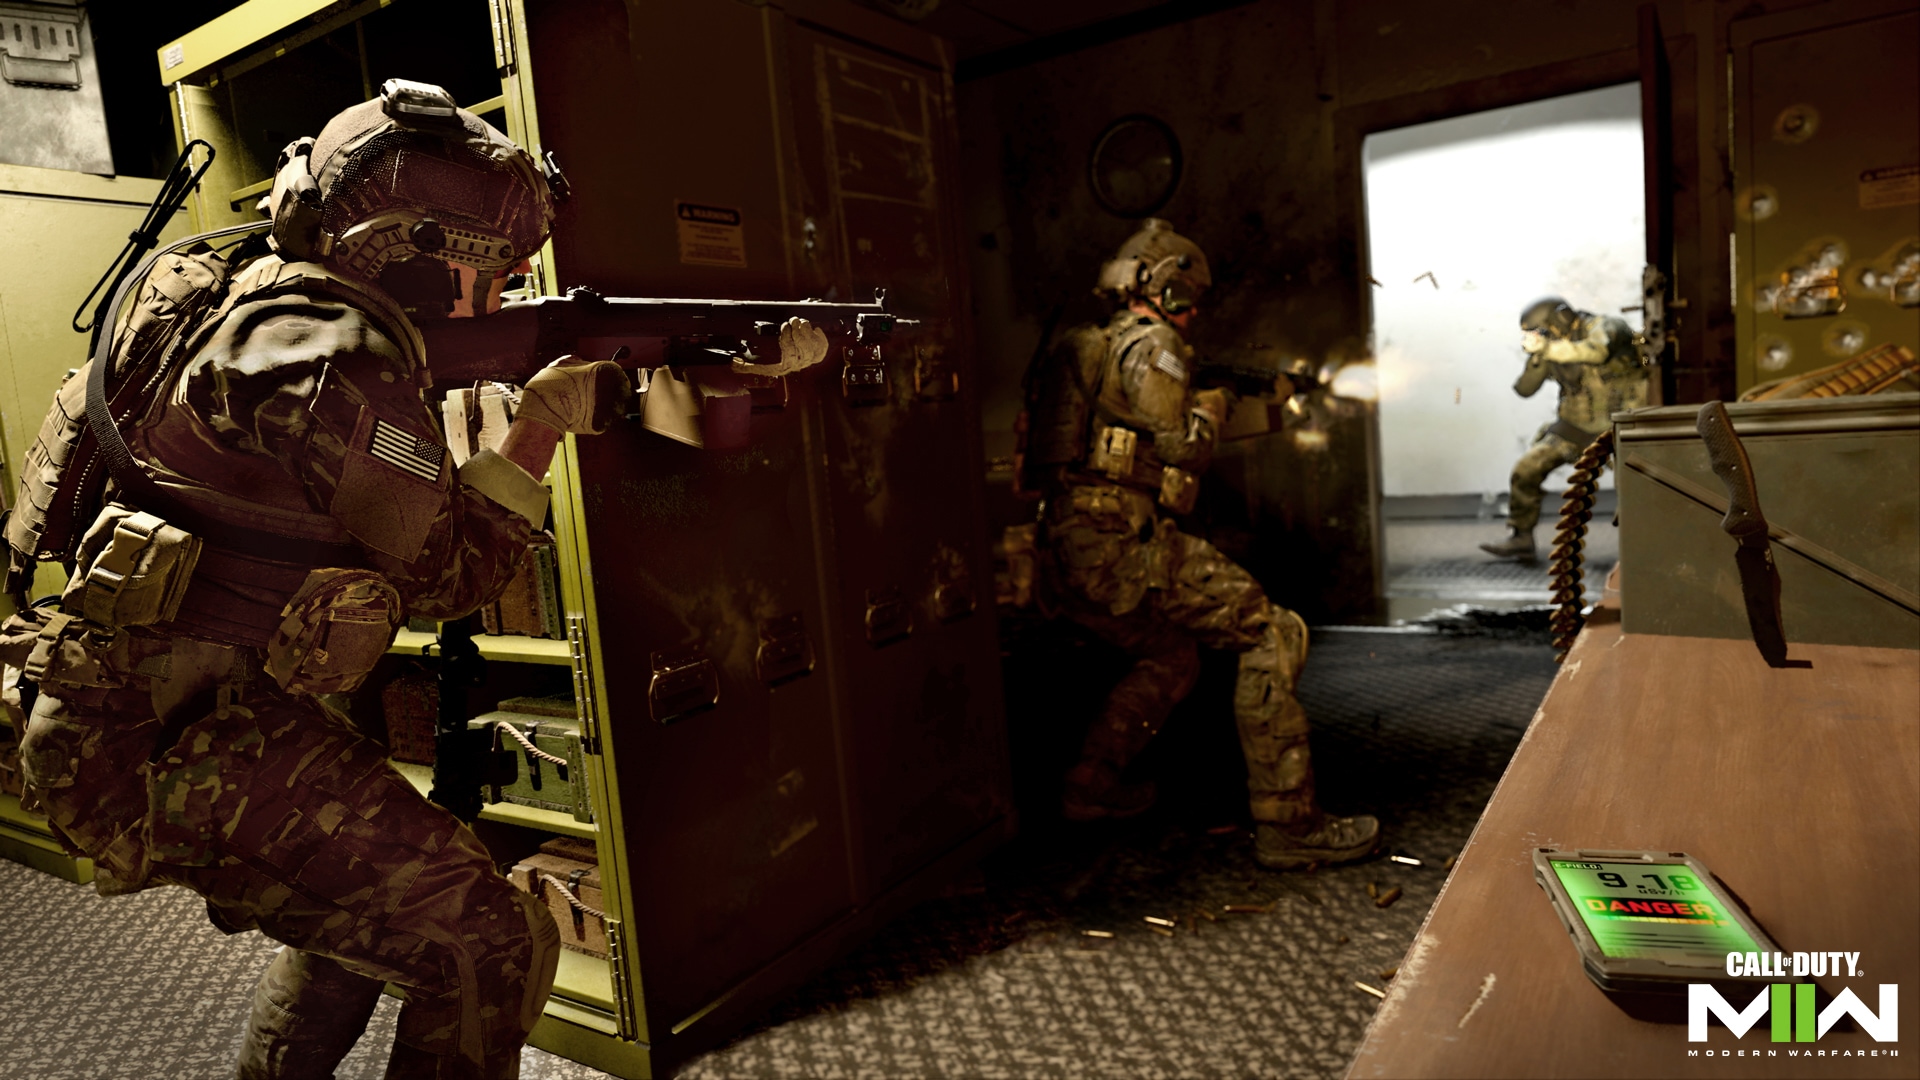
Hardpoint: Capture the Hardpoint and hold it against attack. The Hardpoint location rotates every minute, with the position of the next Hardpoint being indicated in the last 10 seconds of the previous zone. The first team to earn 250 points wins the match.
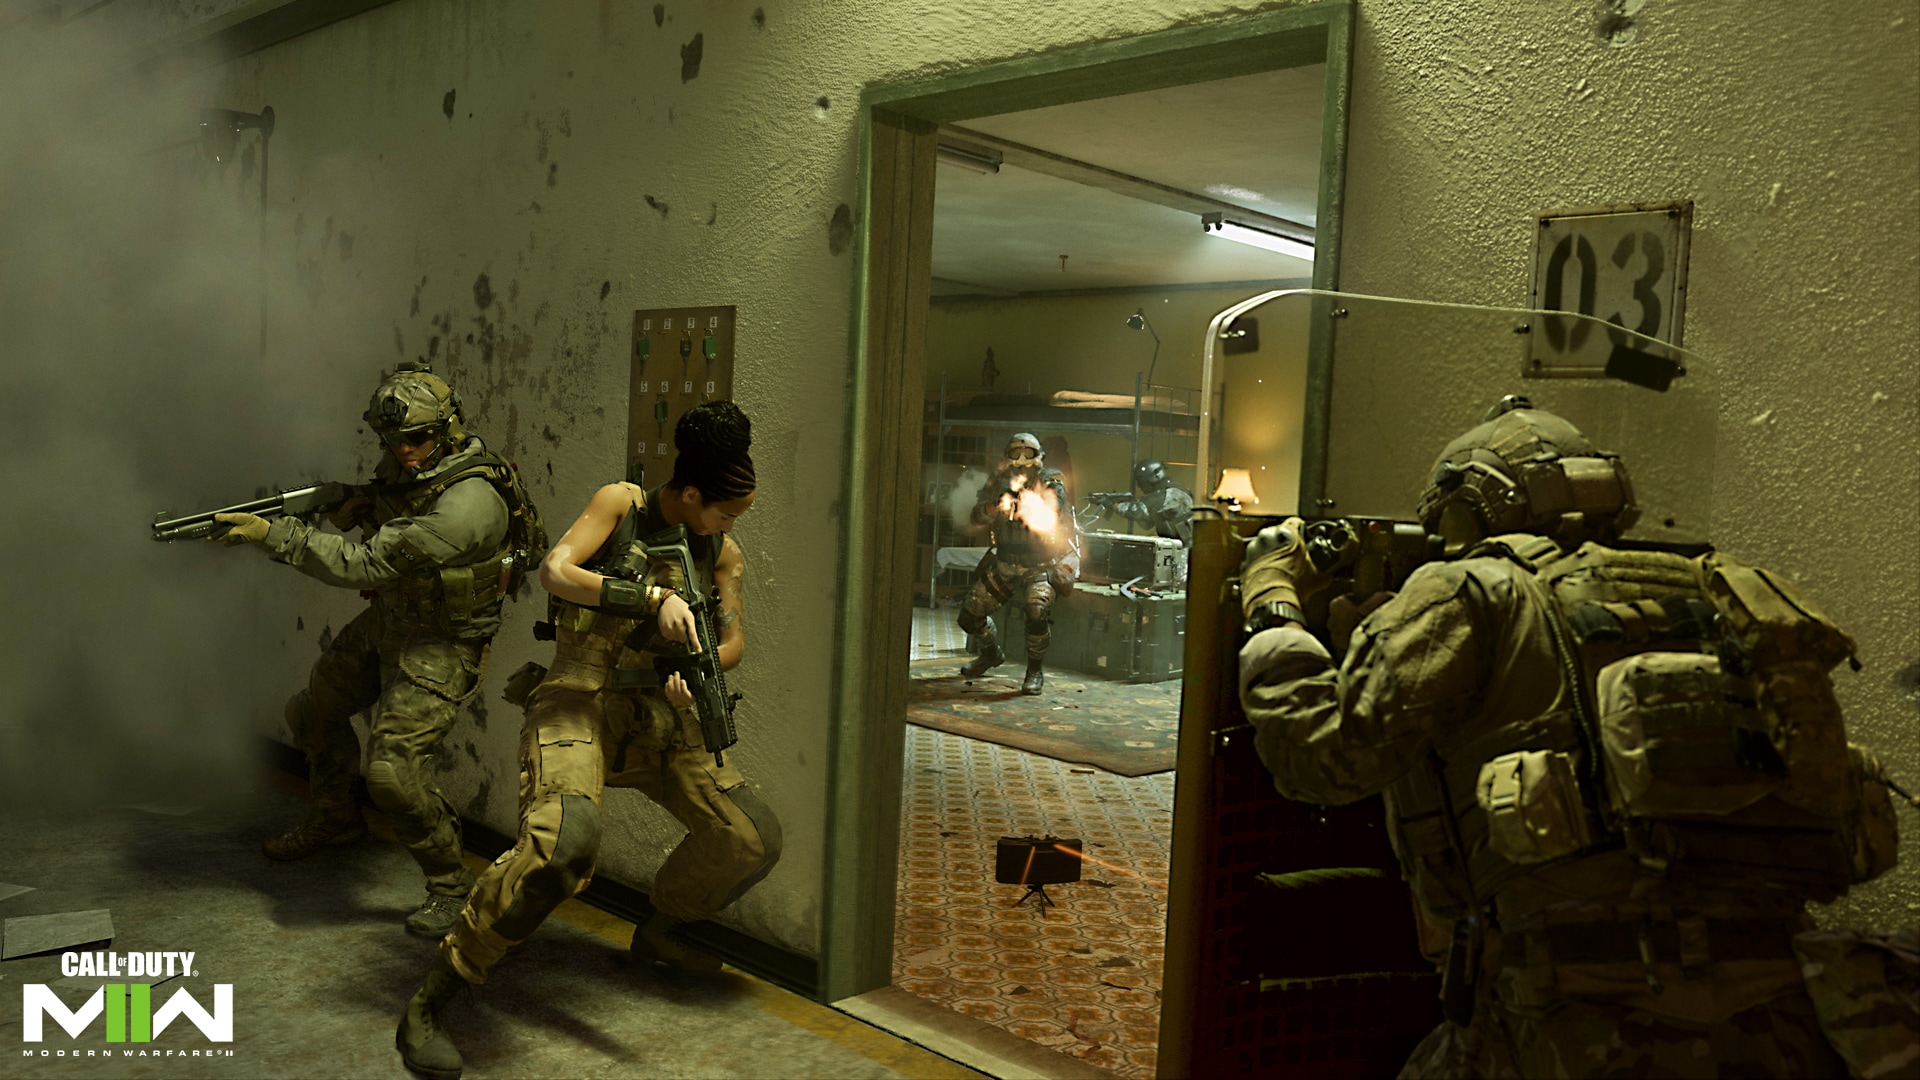
Headquarters: Work to capture the Headquarters, then dig in and defend. Respawns are disabled for the team that holds the HQ. Once the HQ is taken offline, a new zone is designated for the next one. The first team to earn 200 points wins the match.
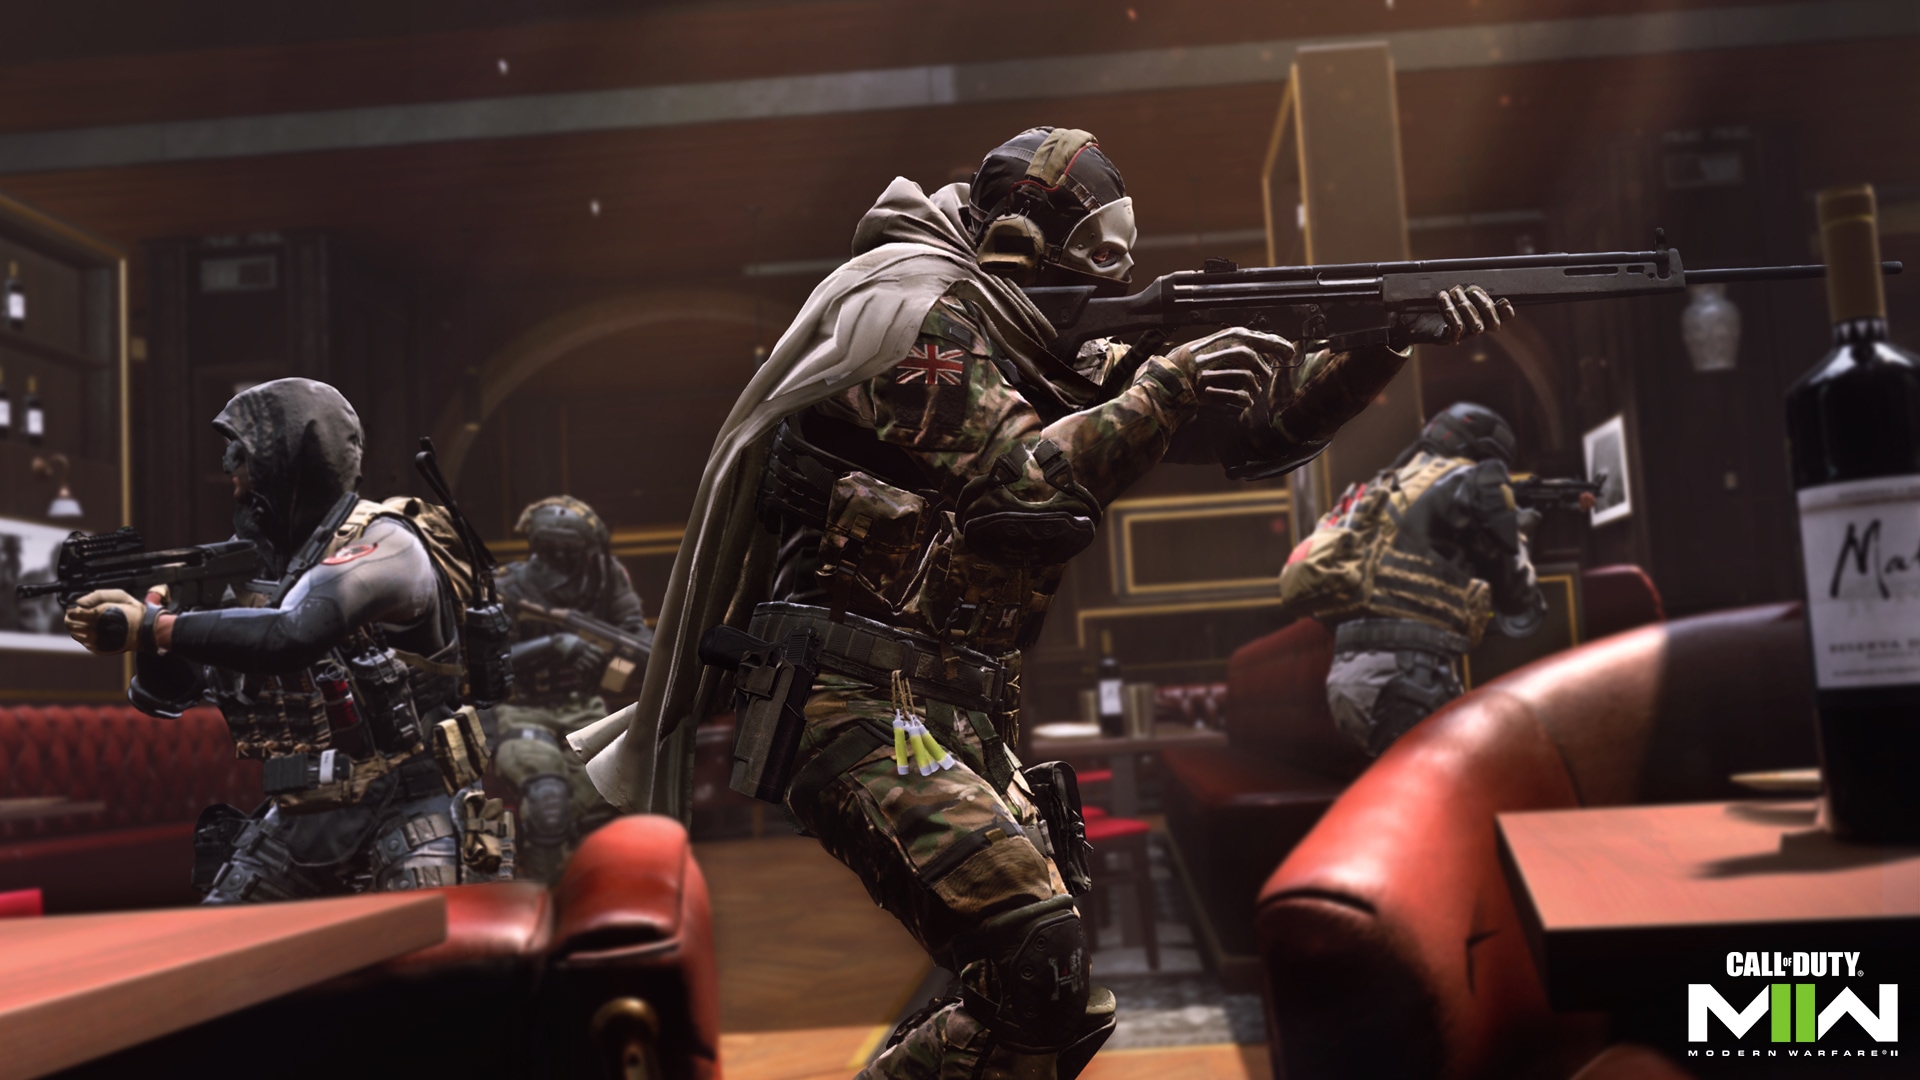
Control: Take turns attacking and defending two objectives. Each team shares a pool of 30 lives. If the attacking team successfully takes out one objective, they will gain more time to complete the second. The defending team can win the round by letting the time run out before the objectives are taken. Either team can additionally win by eliminating all 30 lives of the other team. The first team to win three rounds wins the match.
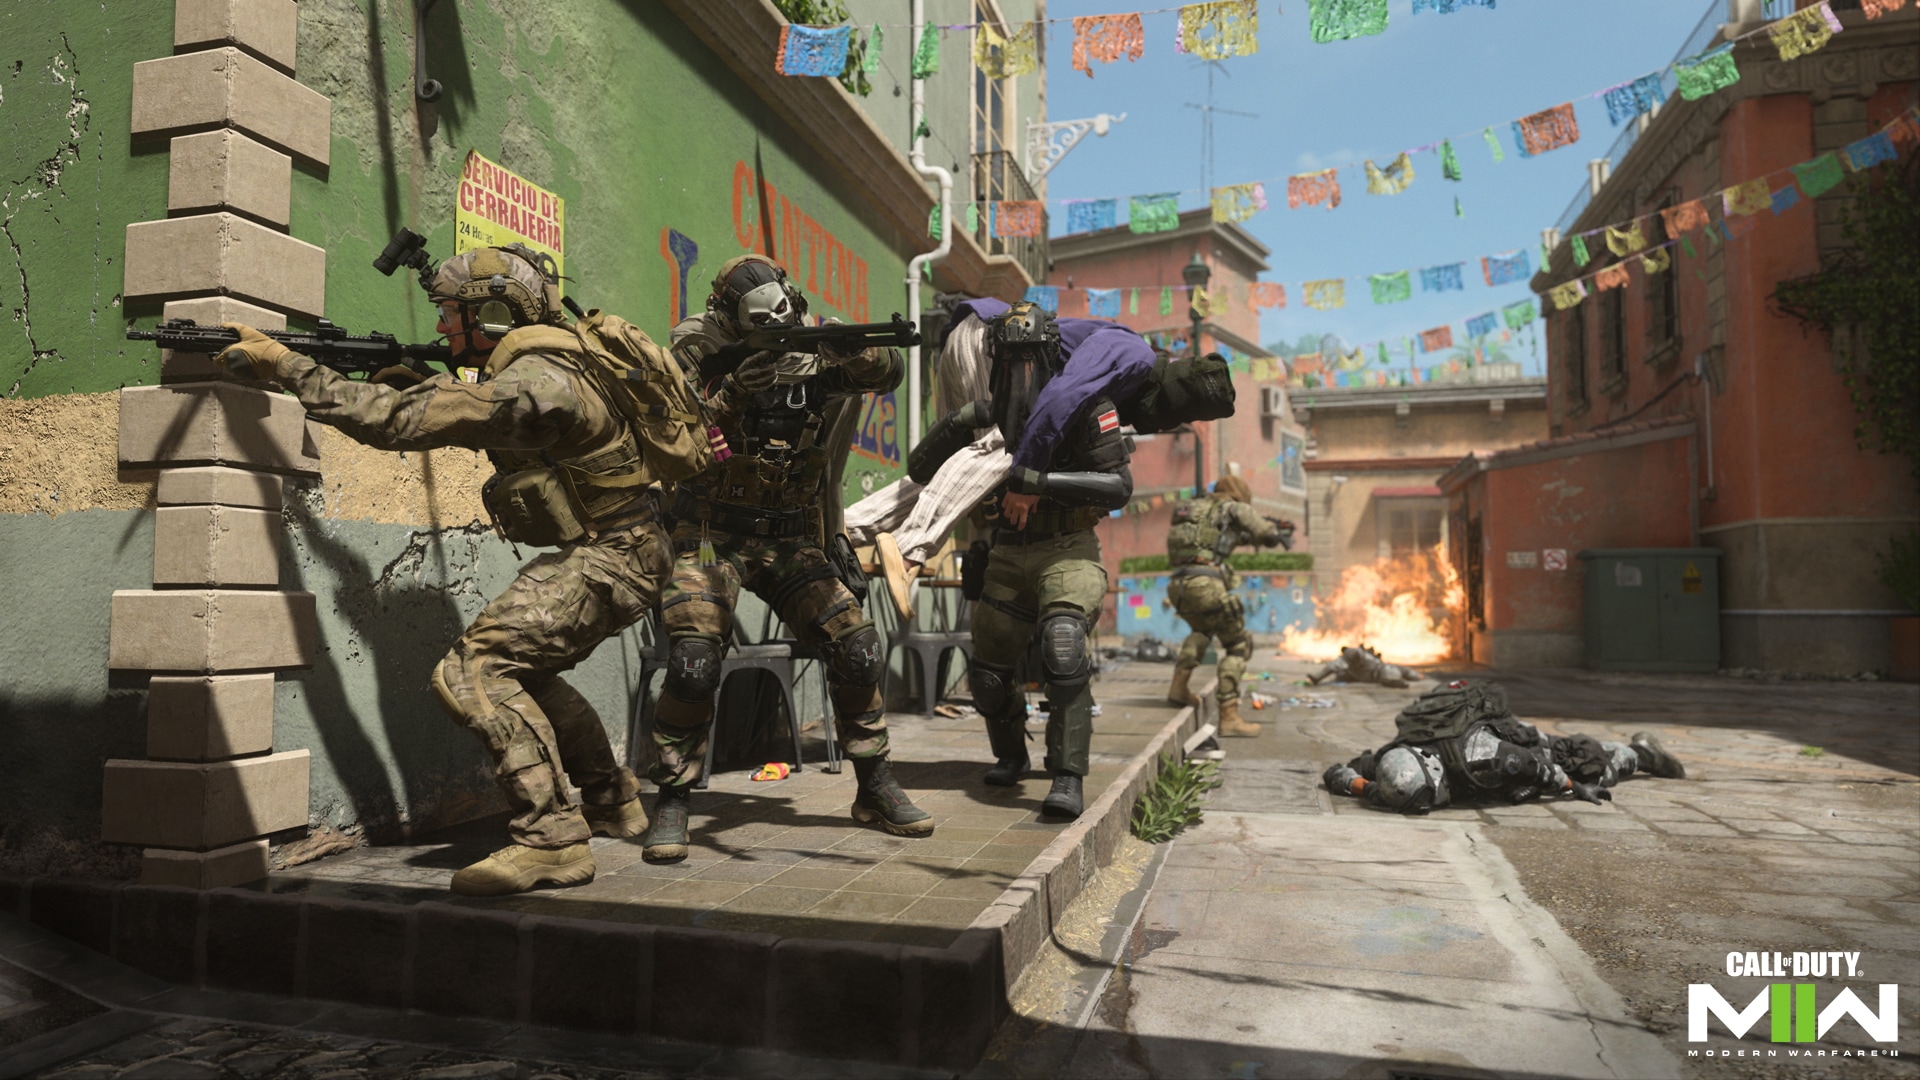
Prisoner Rescue: Locate the hostages and get them out alive or prevent their extraction at all costs. No respawns. Team revives are enabled. The Attackers must find two hostages and carry them either out or protect at the extraction point – each hostage is worth 100 points. Defenders must prevent their extraction at all costs and hold them together in their spawn area until the round’s timer expires – each hostage not carried nor captured by the attackers are worth 50 points. The first team to earn 500 points wins the match.
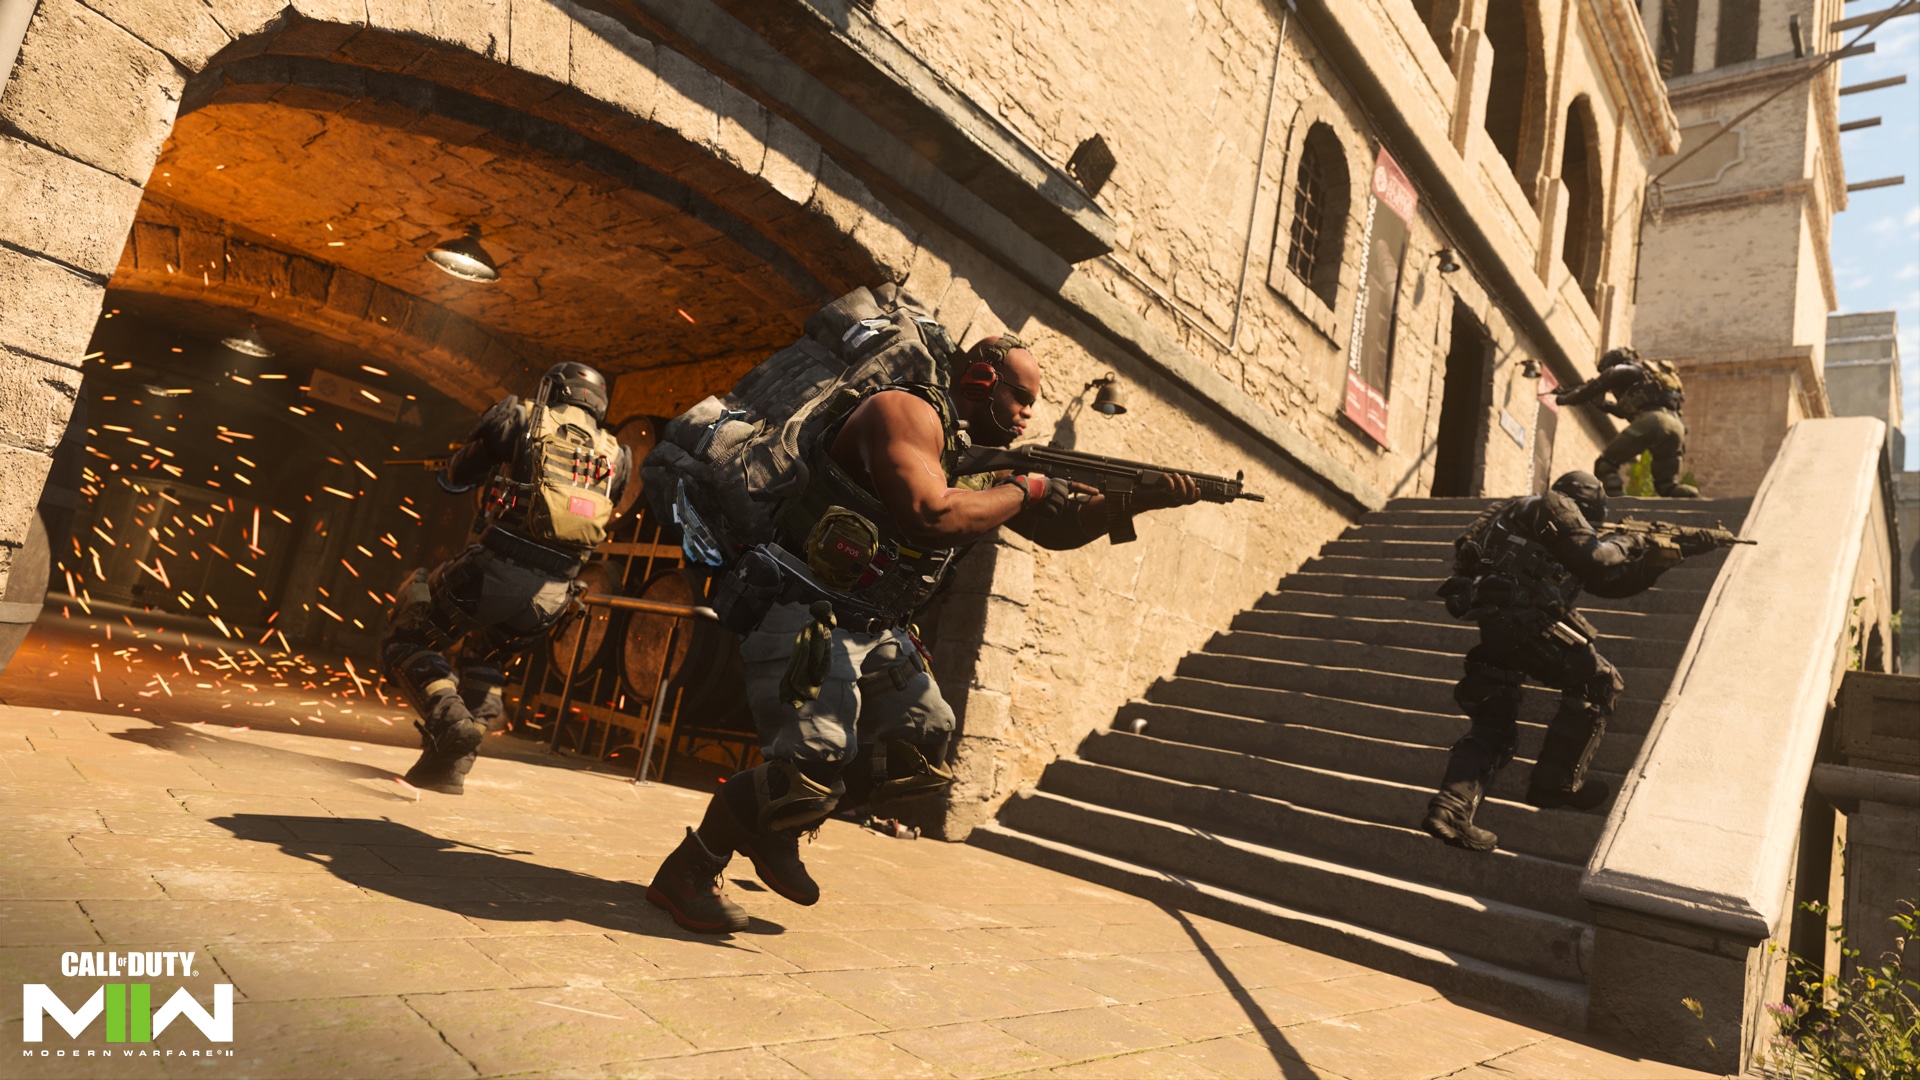
Knock Out: Both teams fight over a bag of Cash located in the middle of the map. No respawns. Team revives are enabled. Run over the Cash to grab it. The team that holds the bag at the end of the round or that eliminates the entire enemy team wins the round. The first team to take five rounds wins the match.
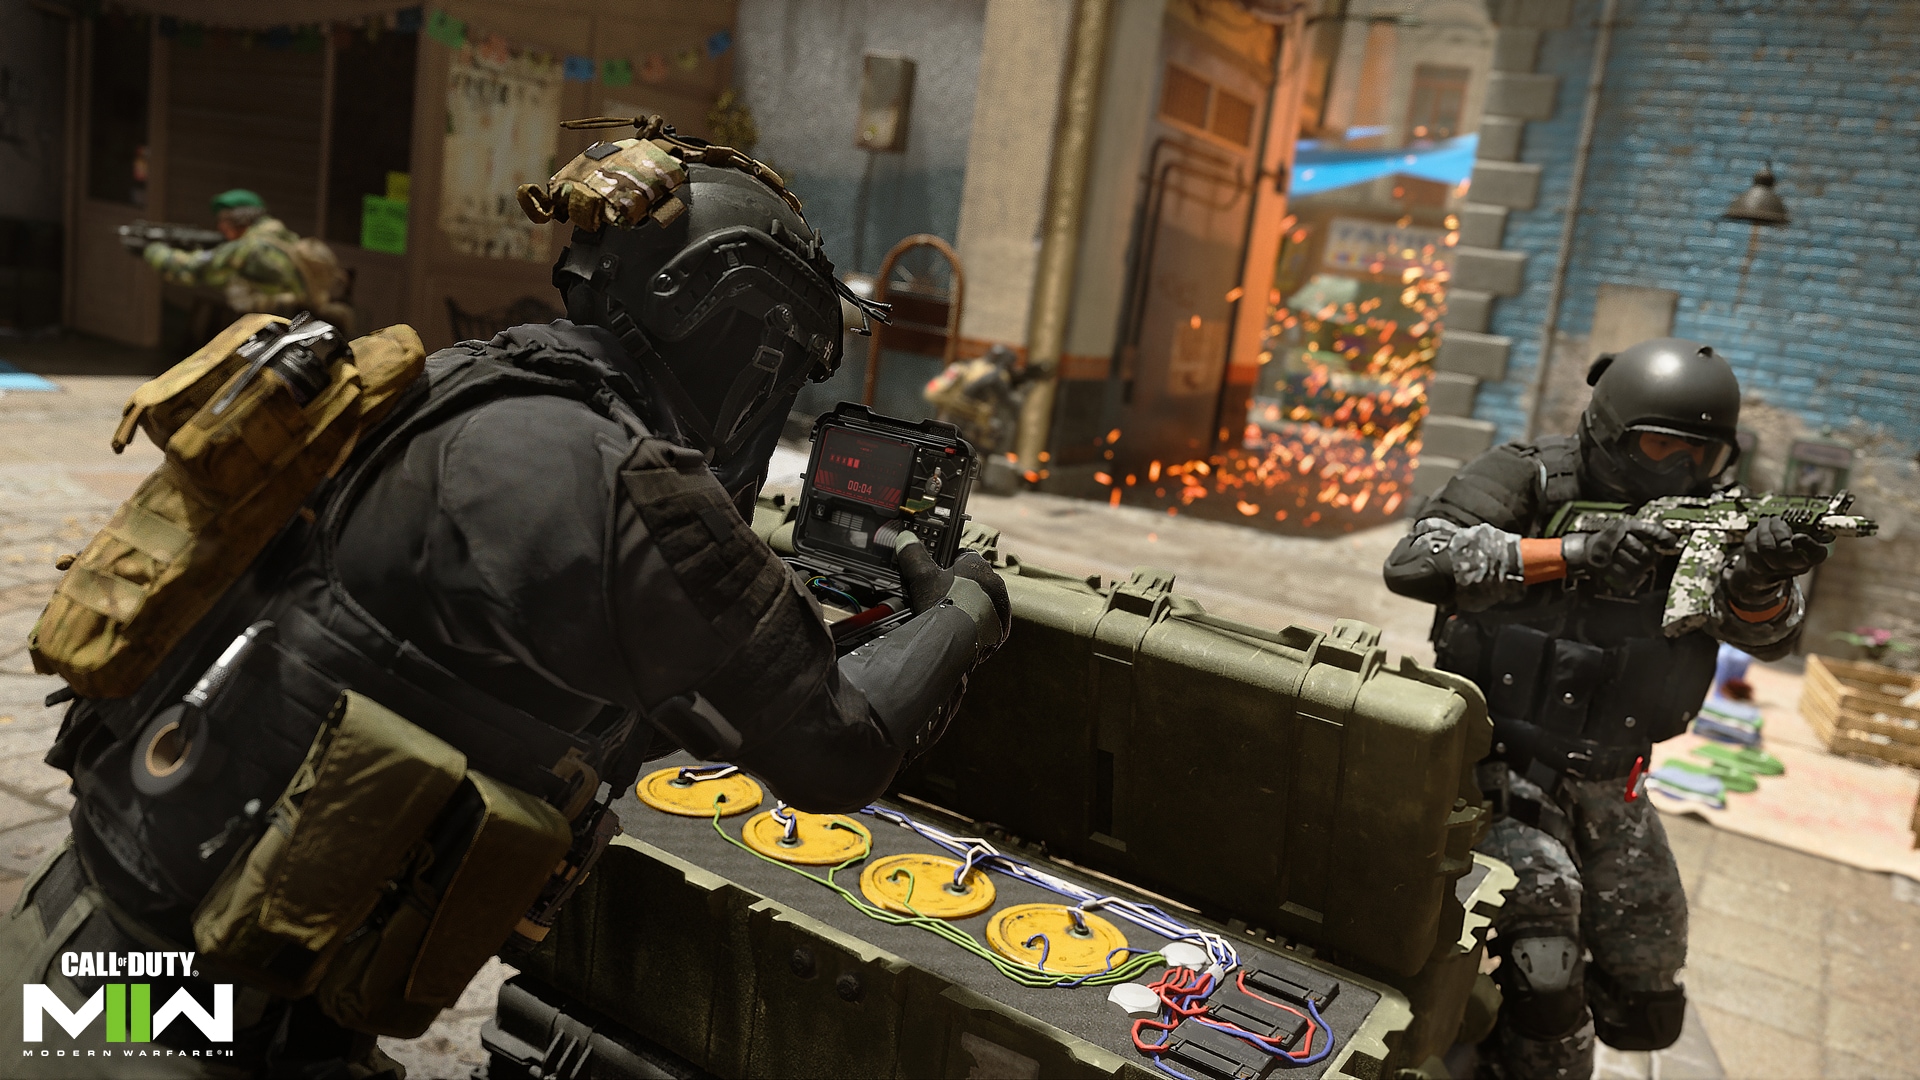
Search & Destroy: Teams take turns defending and destroying an objective. No respawning. Attackers win a round by eliminating all defenders before or after the bomb is planted, or successfully planting a bomb and having it explode. Defenders win a round by eliminating all attackers before the bomb is planted, by not allowing the bomb to be planted within the round’s time limit, or by defusing the bomb once it is planted. The first team to take six rounds wins the match.
Battle Map Modes (Up to 32v32)
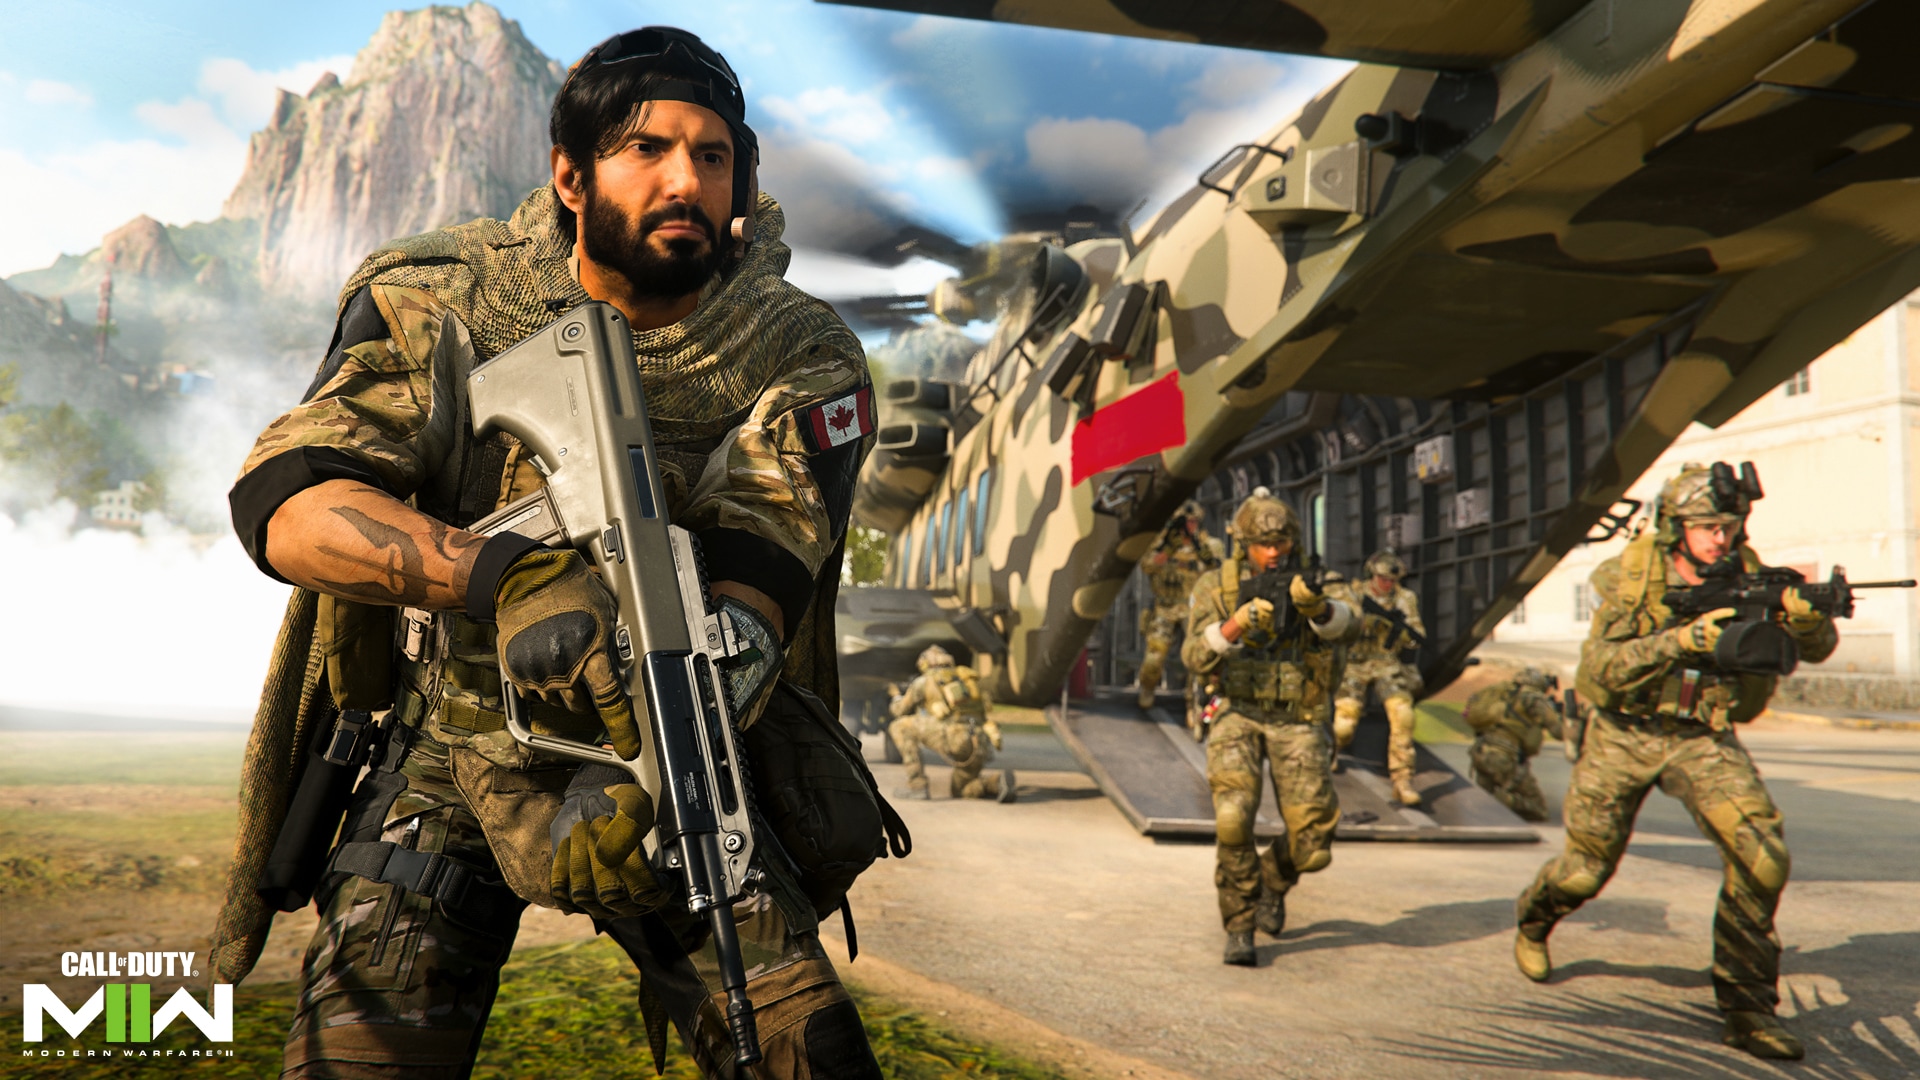
Ground War: Two teams, each composed of 32 players, square off to capture an odd number of objectives on a large map. This is a supersized version of Domination, including vehicles for epic brawls. The first team to earn 250 points wins the match.
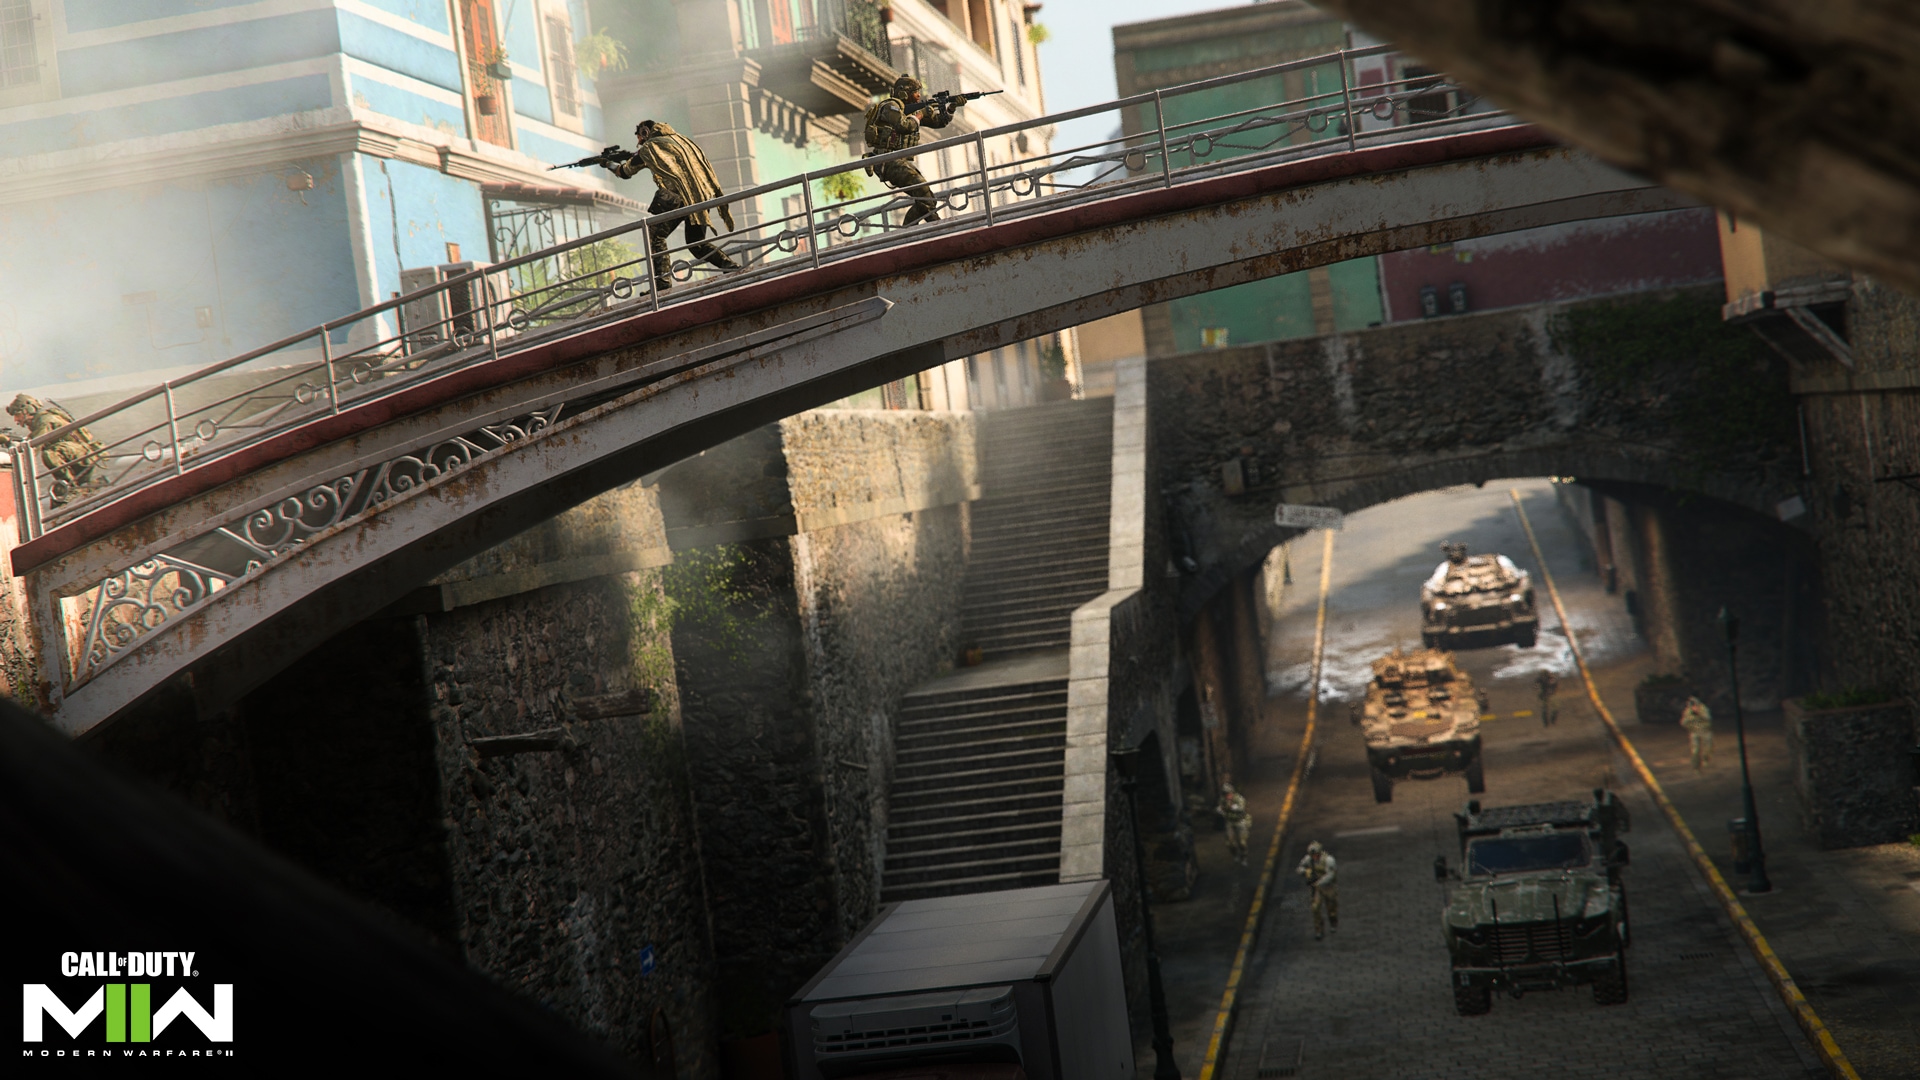
Ground War Invasion: A massive chaotic battle with a mix of players and AI fighting alongside each other. Utilize vehicles, Killstreak crates, and armored agents to gain the advantage over your opponent. The first team to reach 2,000 points wins the match.
General Mode and Playlist Notes
Some modes end on a score limit, while others end when the match timer runs out. In those cases, the team with the higher score wins the match. Other game mode considerations include the following:
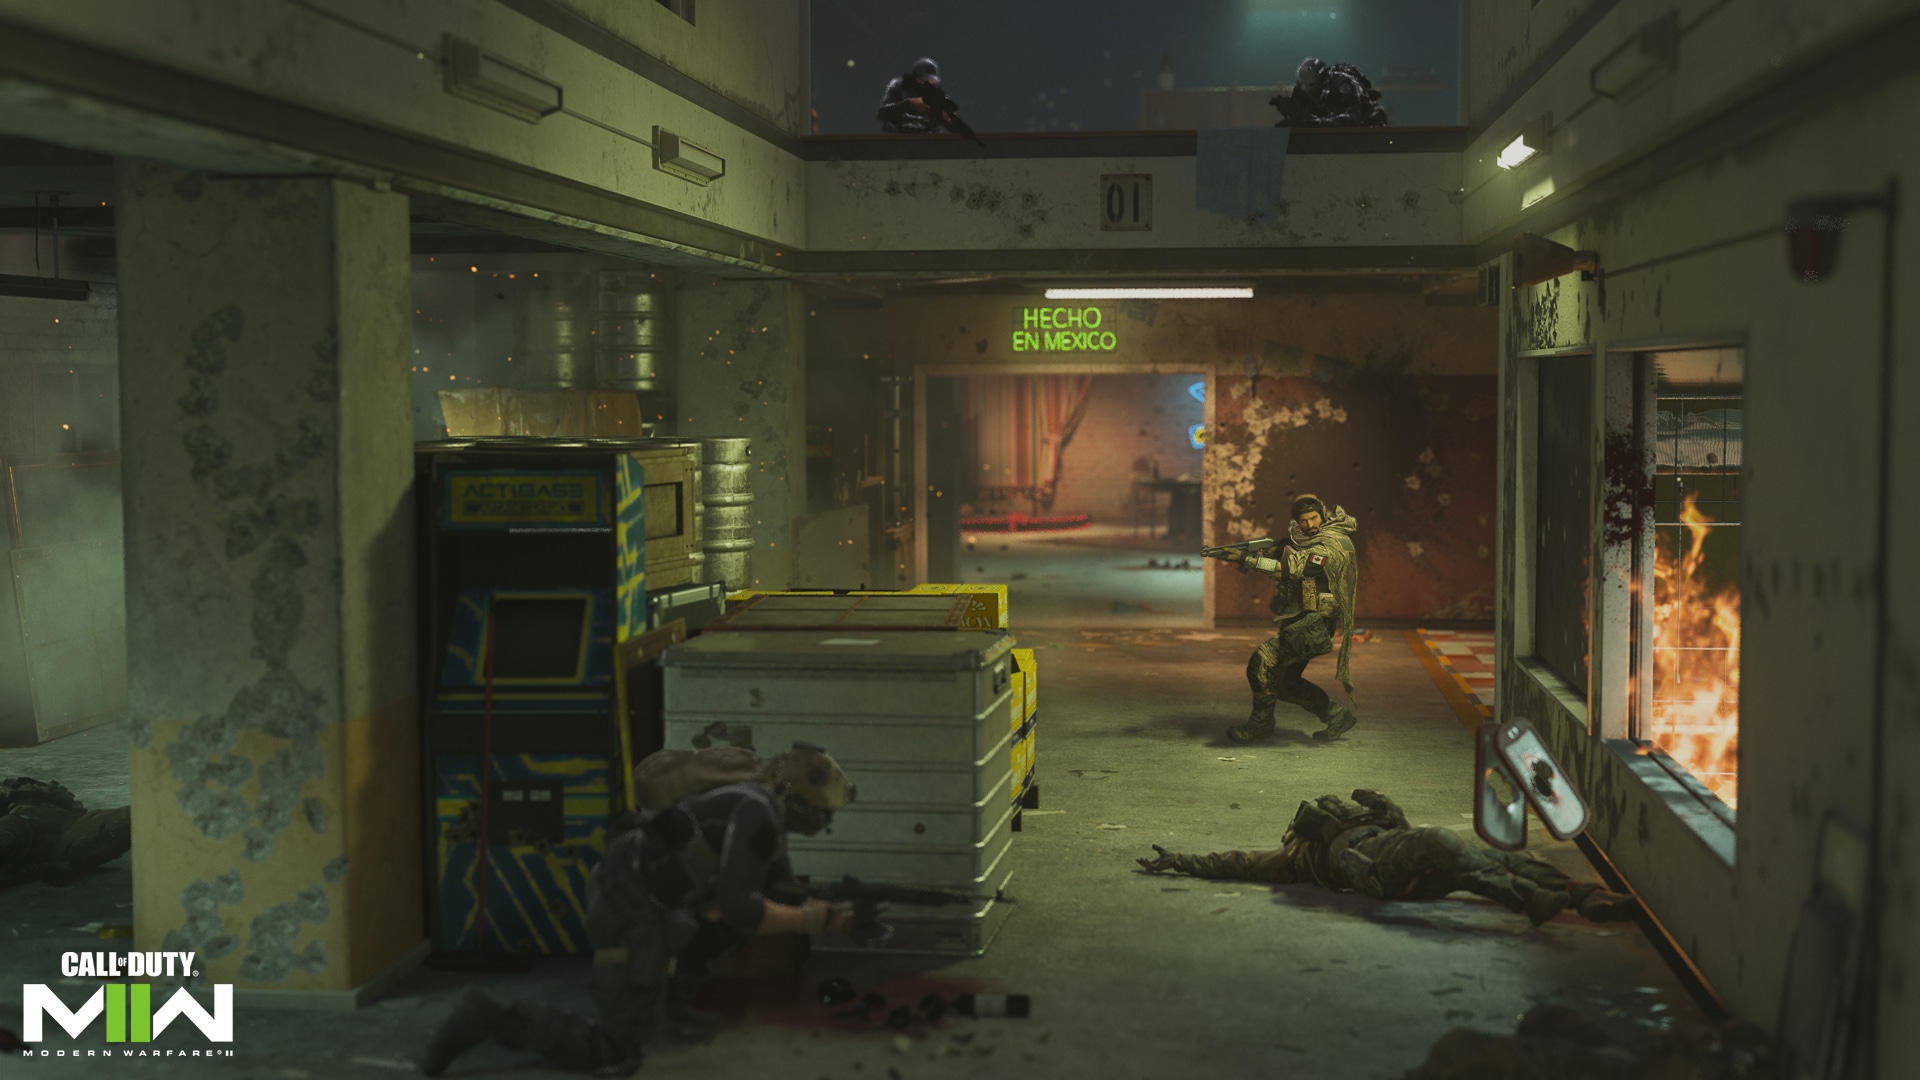
Featured: Featured game modes change regularly, with Playlists often focused on new maps and modes. Variations of standard maps and modes may also apply here.
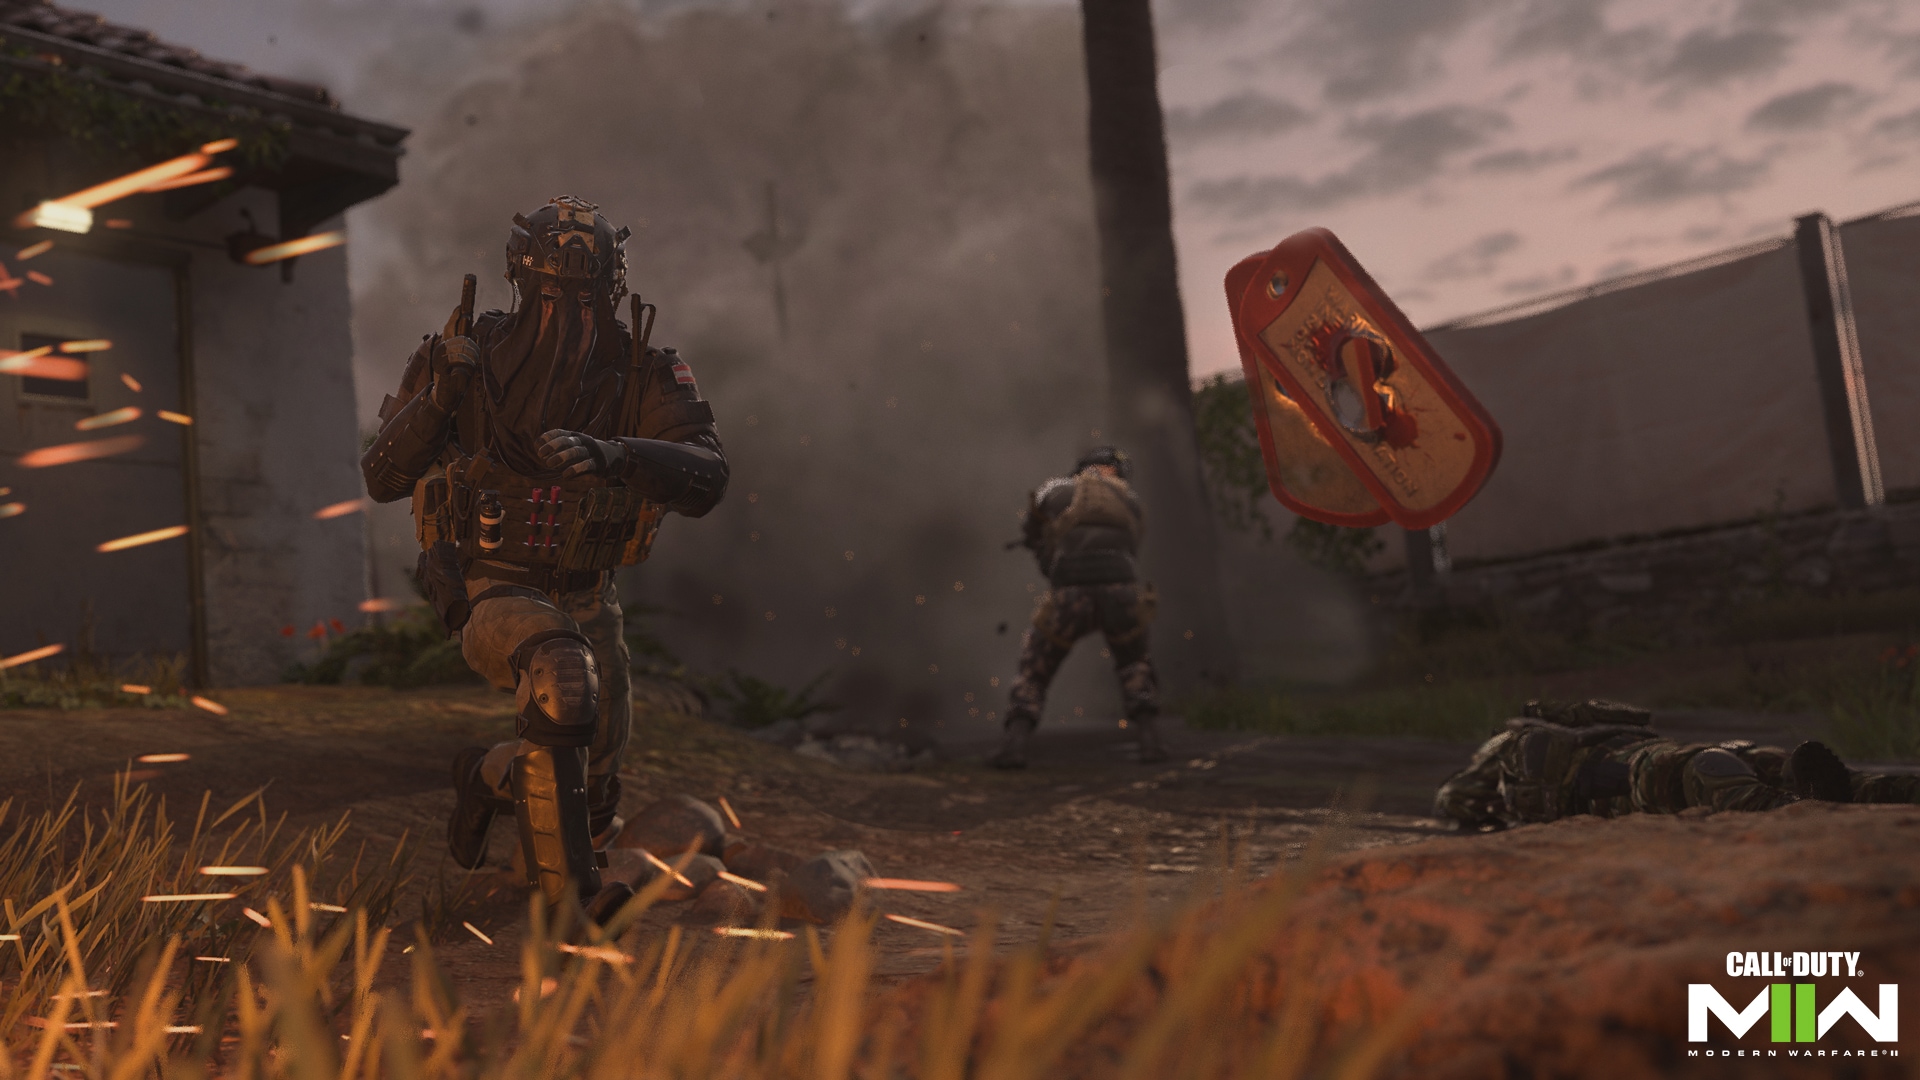
Quick Play: Get into a match fast with your own personalized Playlist. Use the Quick Play filter to select your favorite game modes. From then on, Quick Play will search for all available matches in those modes. Change your settings at any time to add or remove modes from the search.
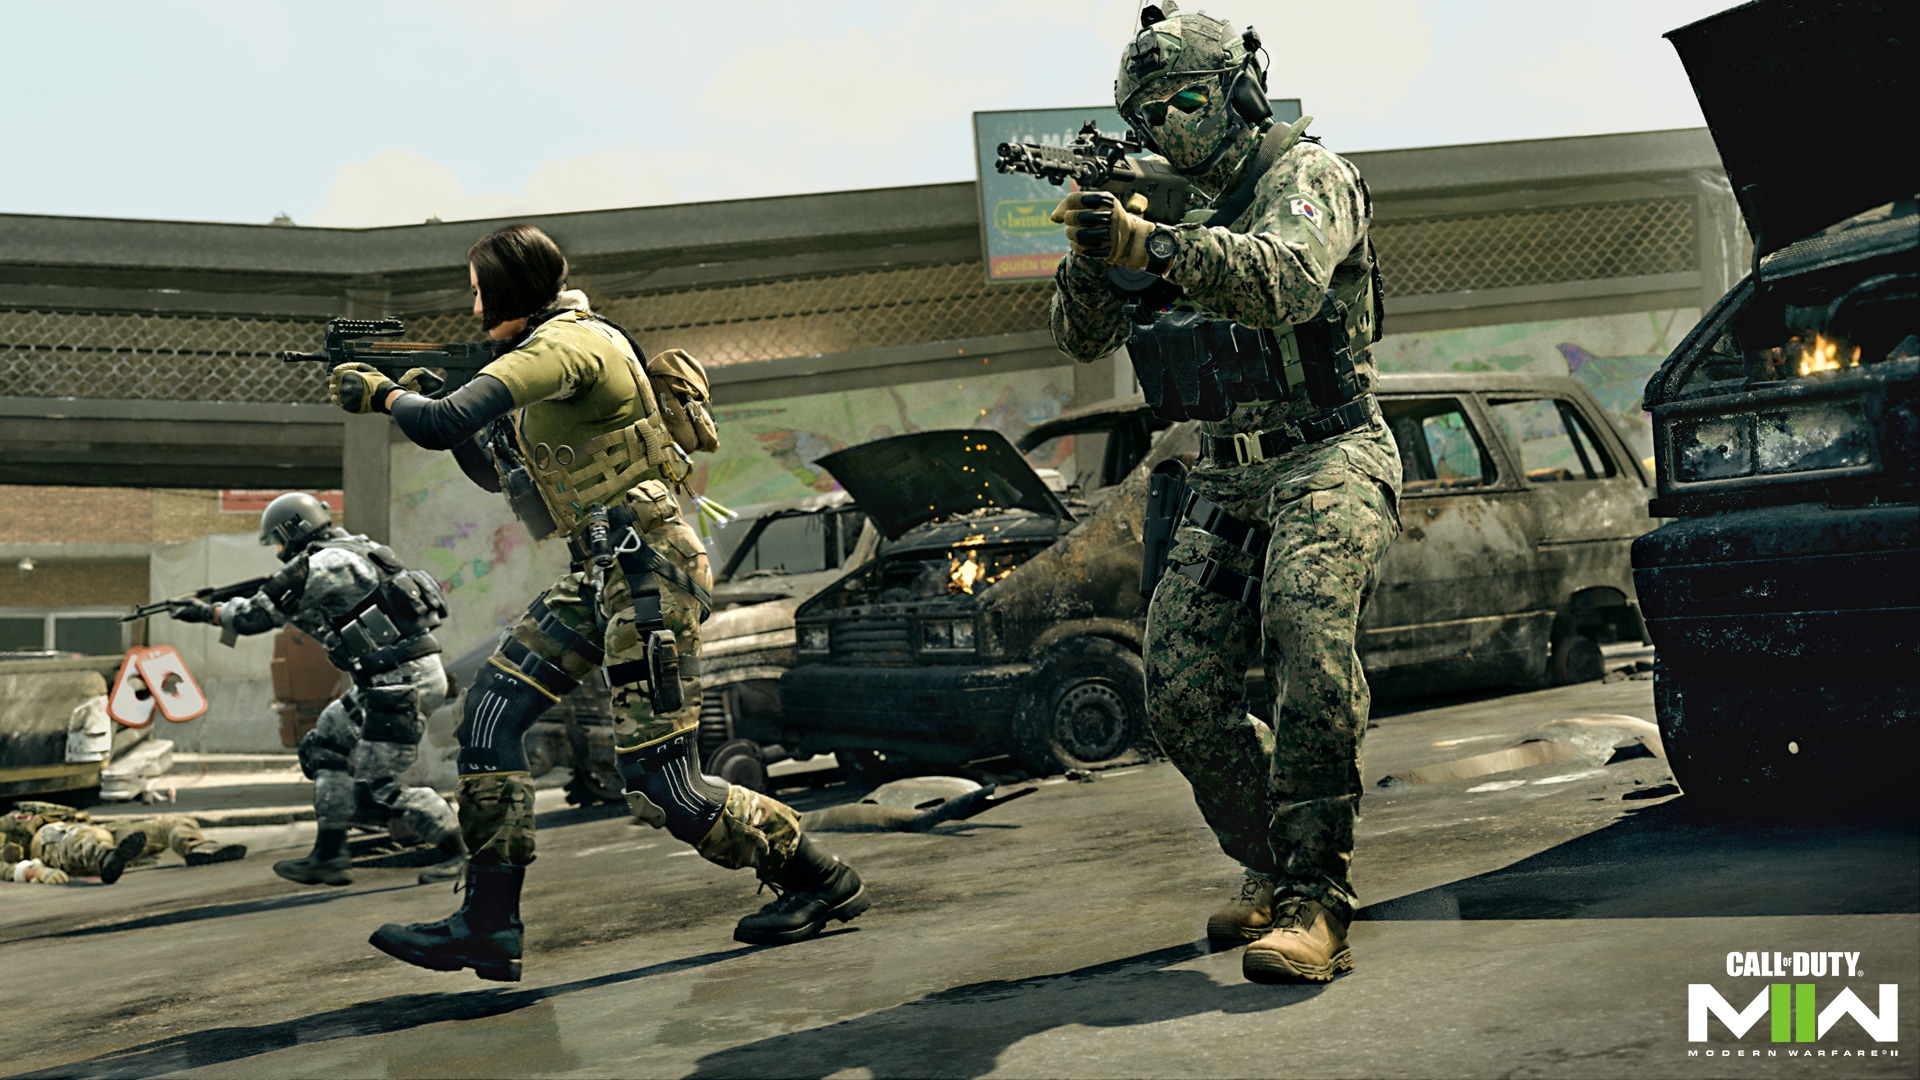
Tier 1: A Tier 1 Playlist is designated within a Playlist’s name and offers a more challenging experience compared to traditional Multiplayer. Operators have less health and limited HUD elements, and friendly fire is on. These elements are consistent in all game modes that support the Tier 1 variant.
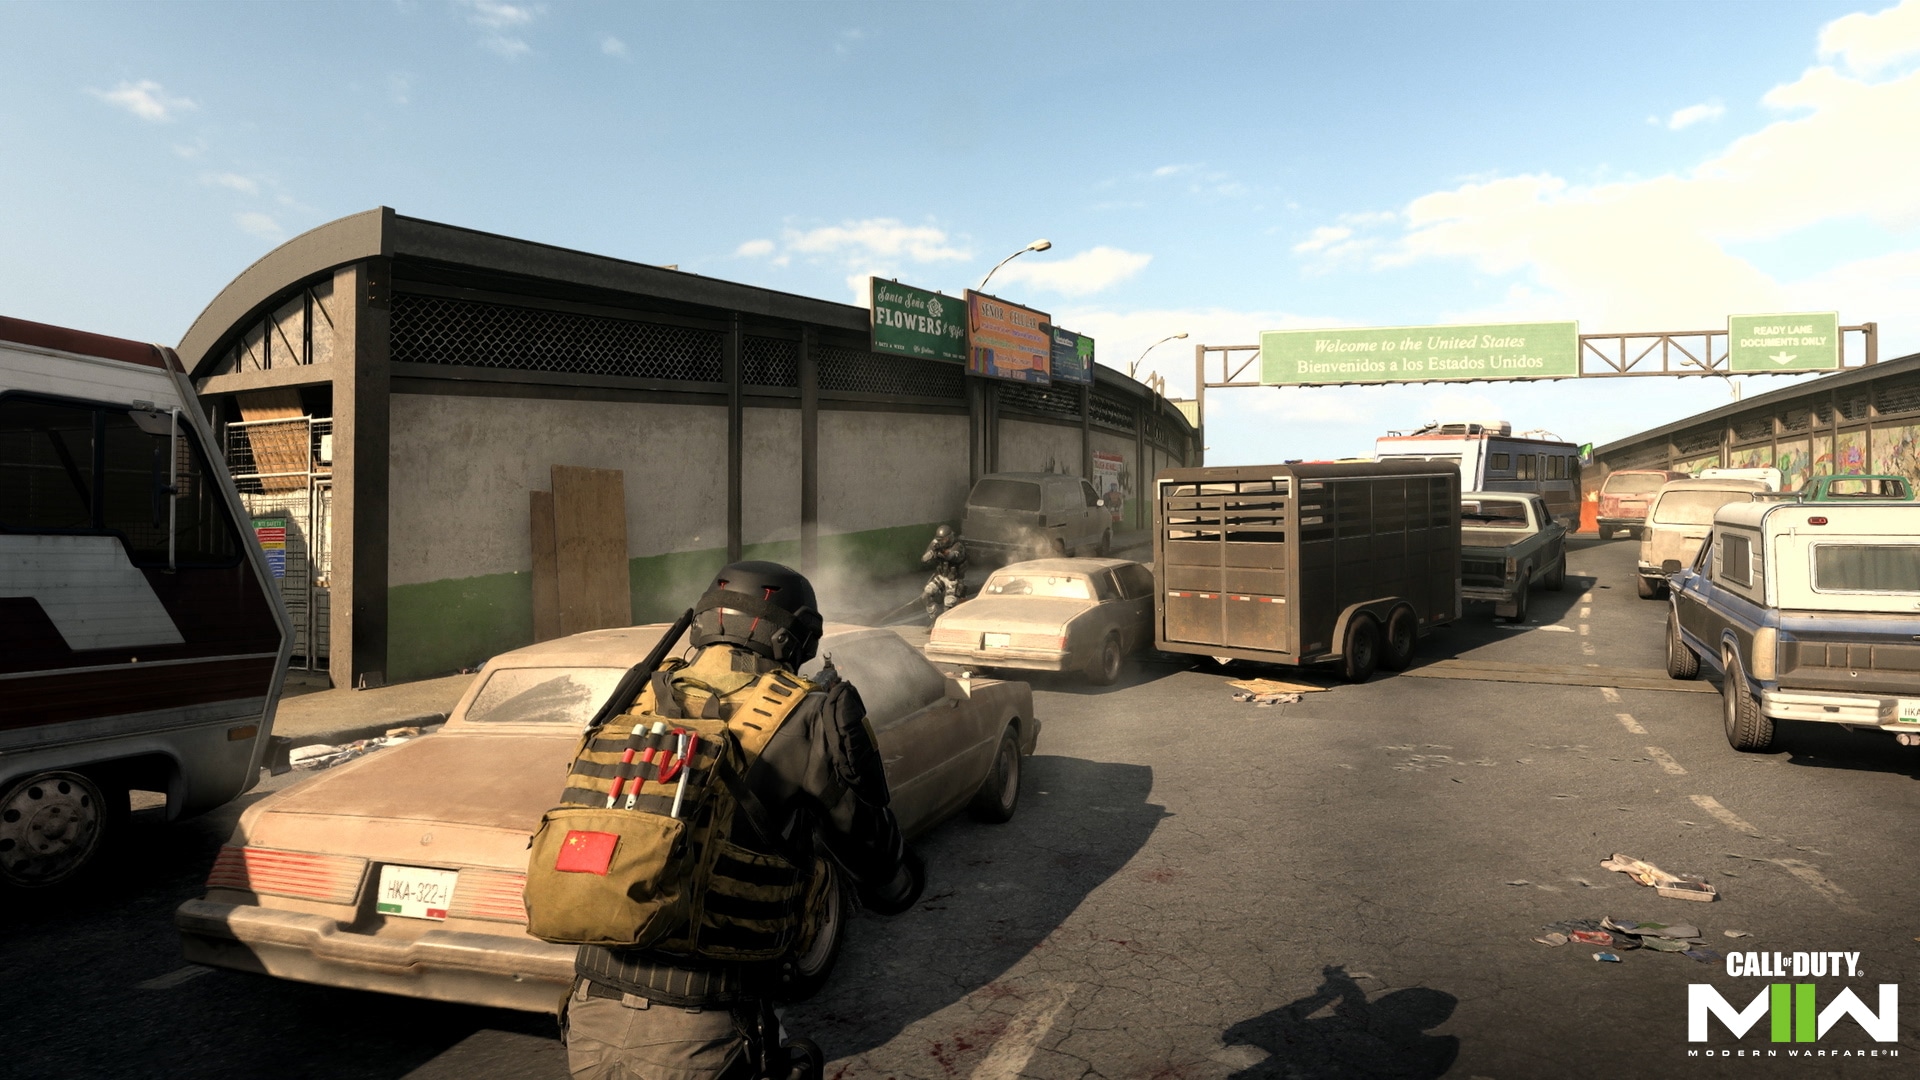
Third-Person Mode: Get a new perspective in Modern Warfare II’s Third-Person Playlists. In this mode, the camera is set back over the shoulder of your Operator. This gives more perspective on your overall surroundings in exchange for less depth of field in front of you. It’s great for seeing your Operator in action and giving a different feel to the standard first-person view.
Core Maps and Battle Maps
Modern Warfare II features two map types: Core Maps and Battle Maps. These maps are grouped into one of three categories: Al Mazrah, Las Almas, and the Rest of the World.
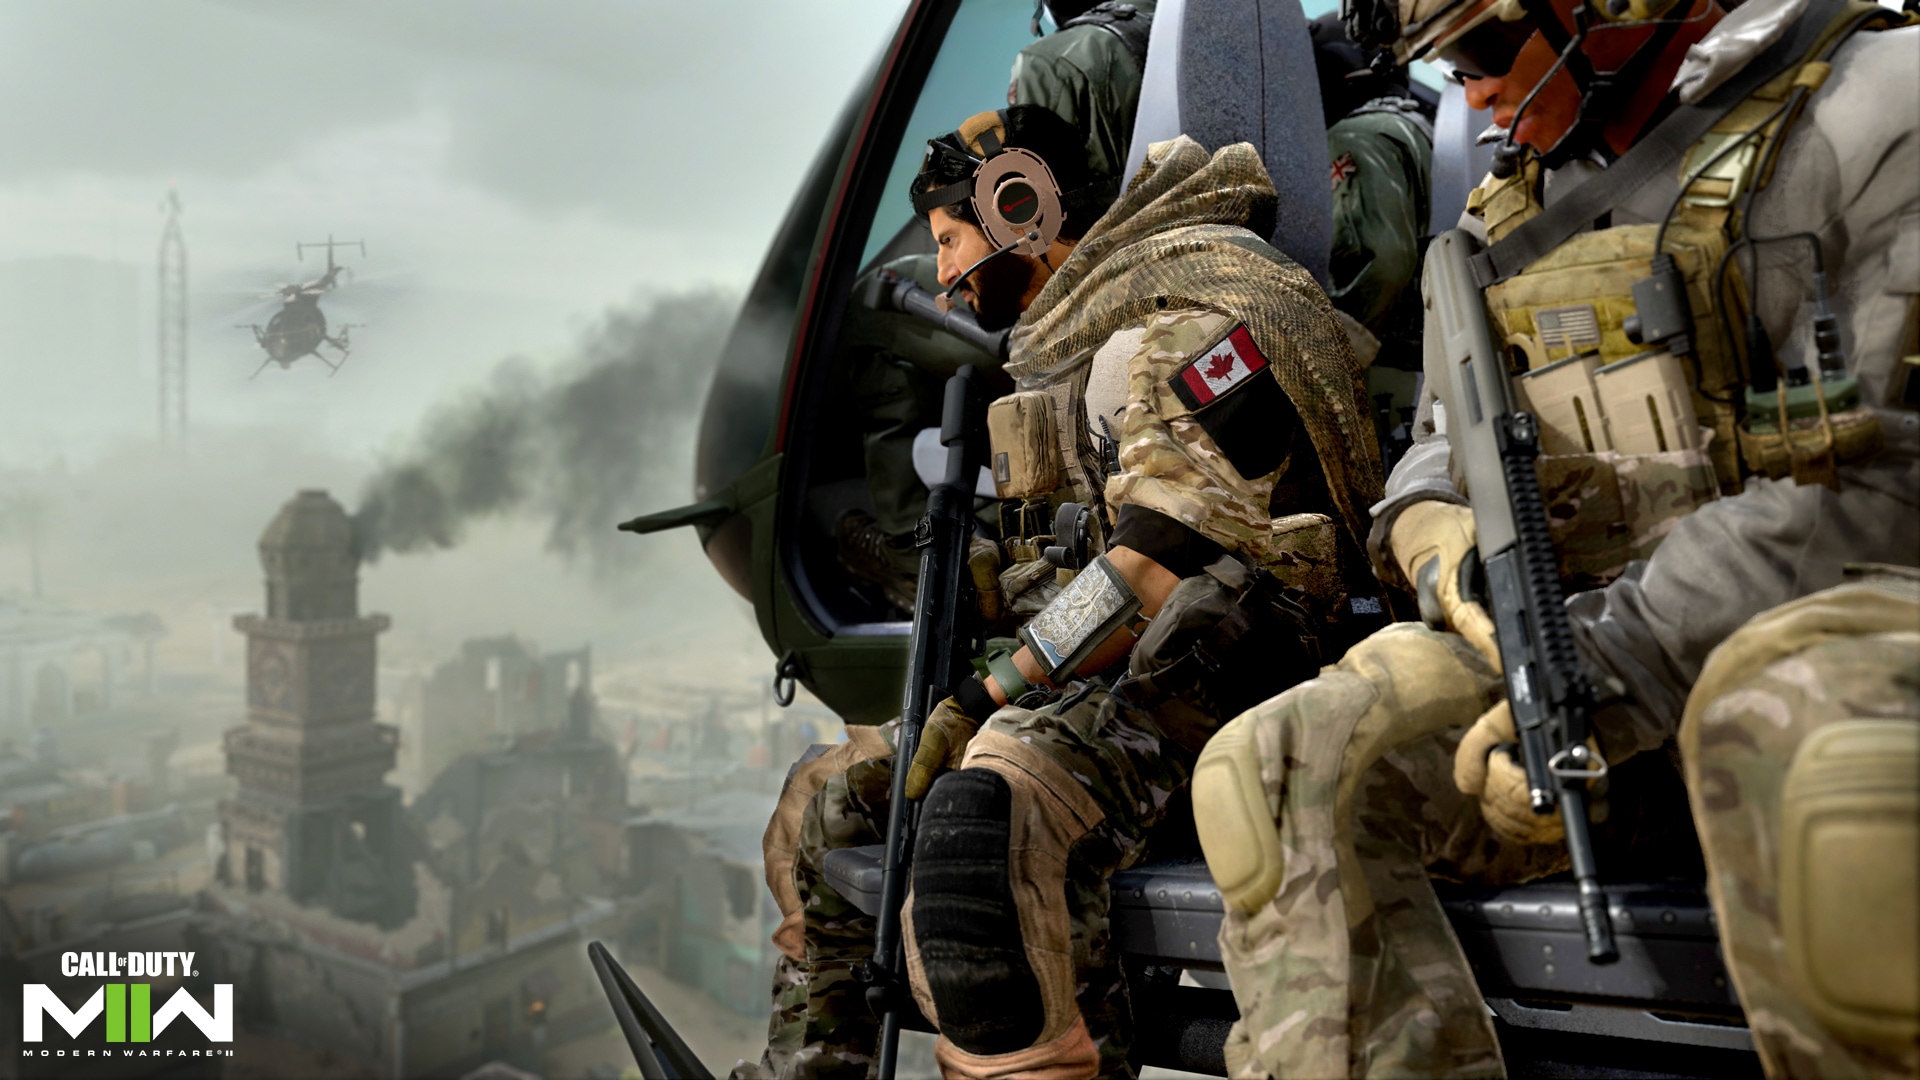
Al Mazrah: Maps in this category are based on locations in Al Mazrah, a metropolitan area and its outskirts within the Republic of Adal serving as the main region for Call of Duty®: Warzone™ 2.0. Several Core and Battle Maps will be based on locales from this region, making Multiplayer a great mode to get familiar with their points of interest and power positions.
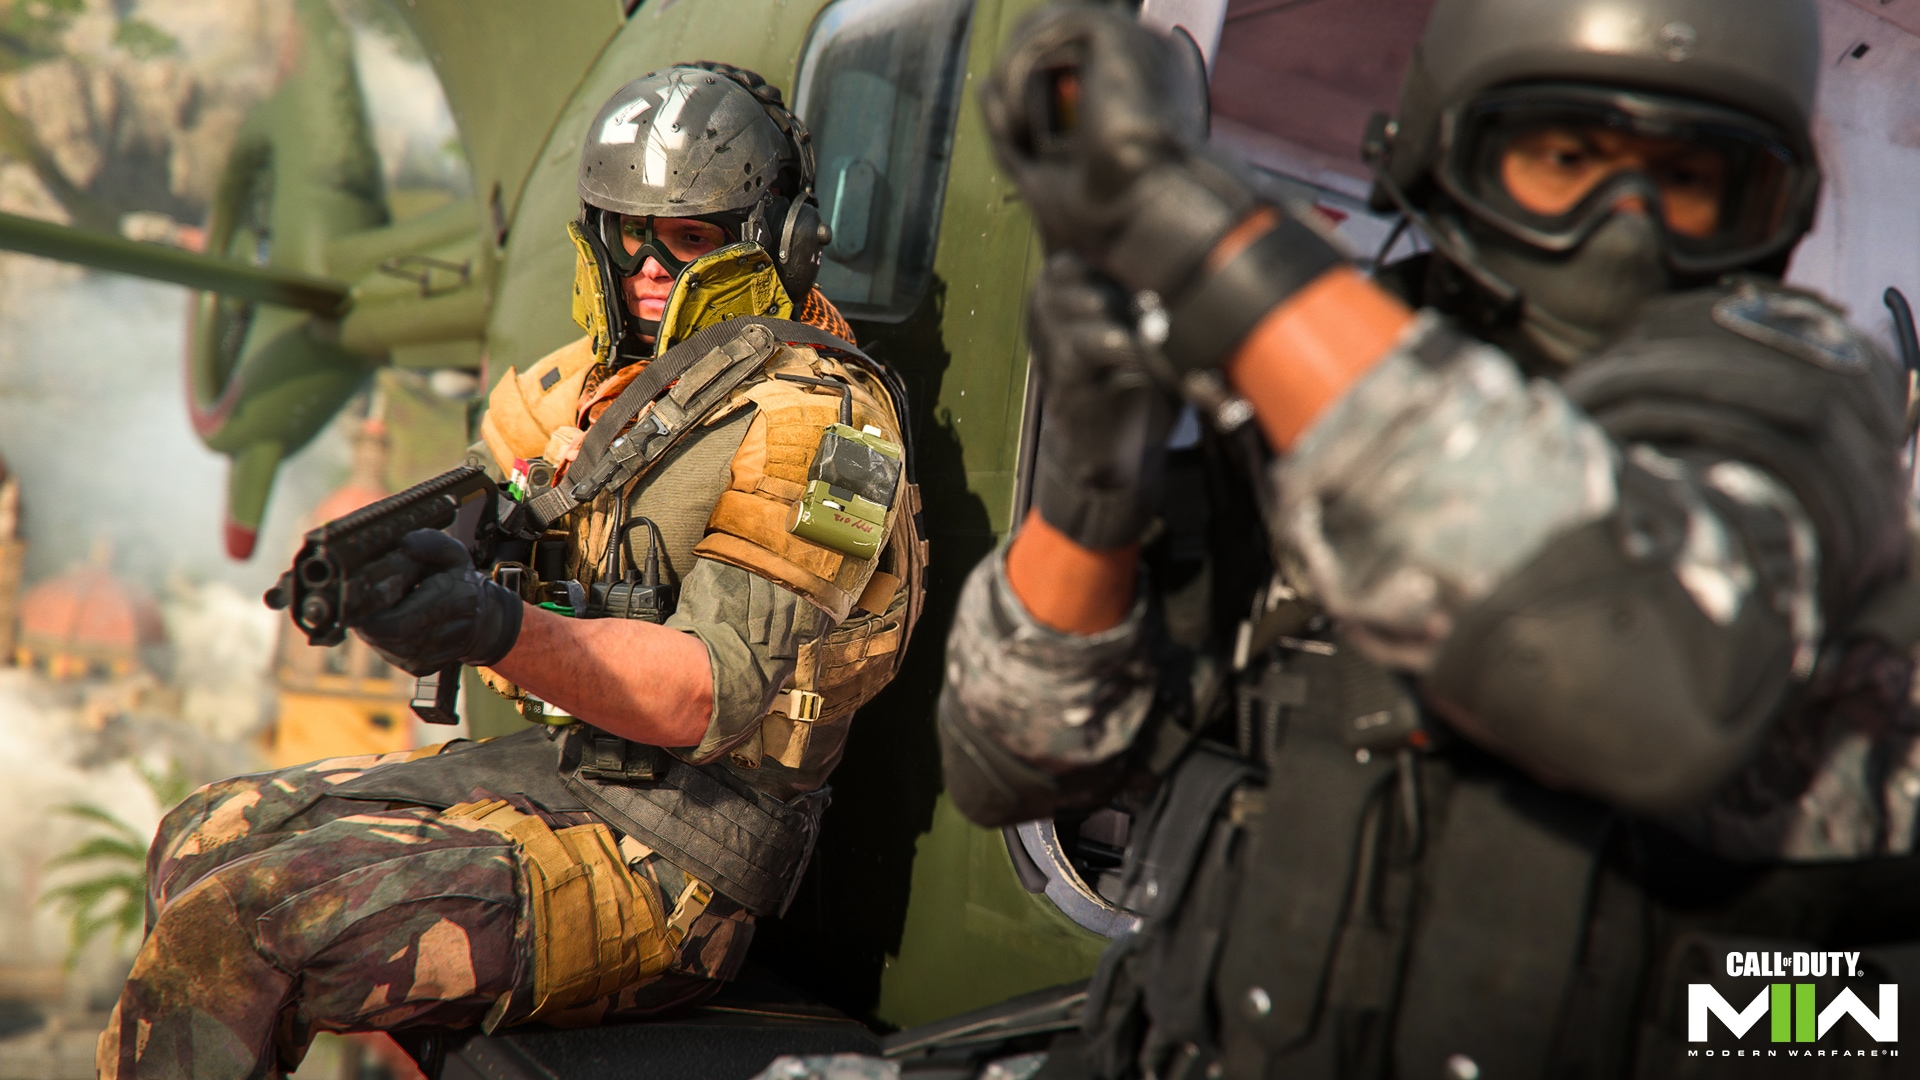
Las Almas: A major area of interest in the Modern Warfare II Campaign, Las Almas is a Central American region that will host a variety of Core and Battle Maps.
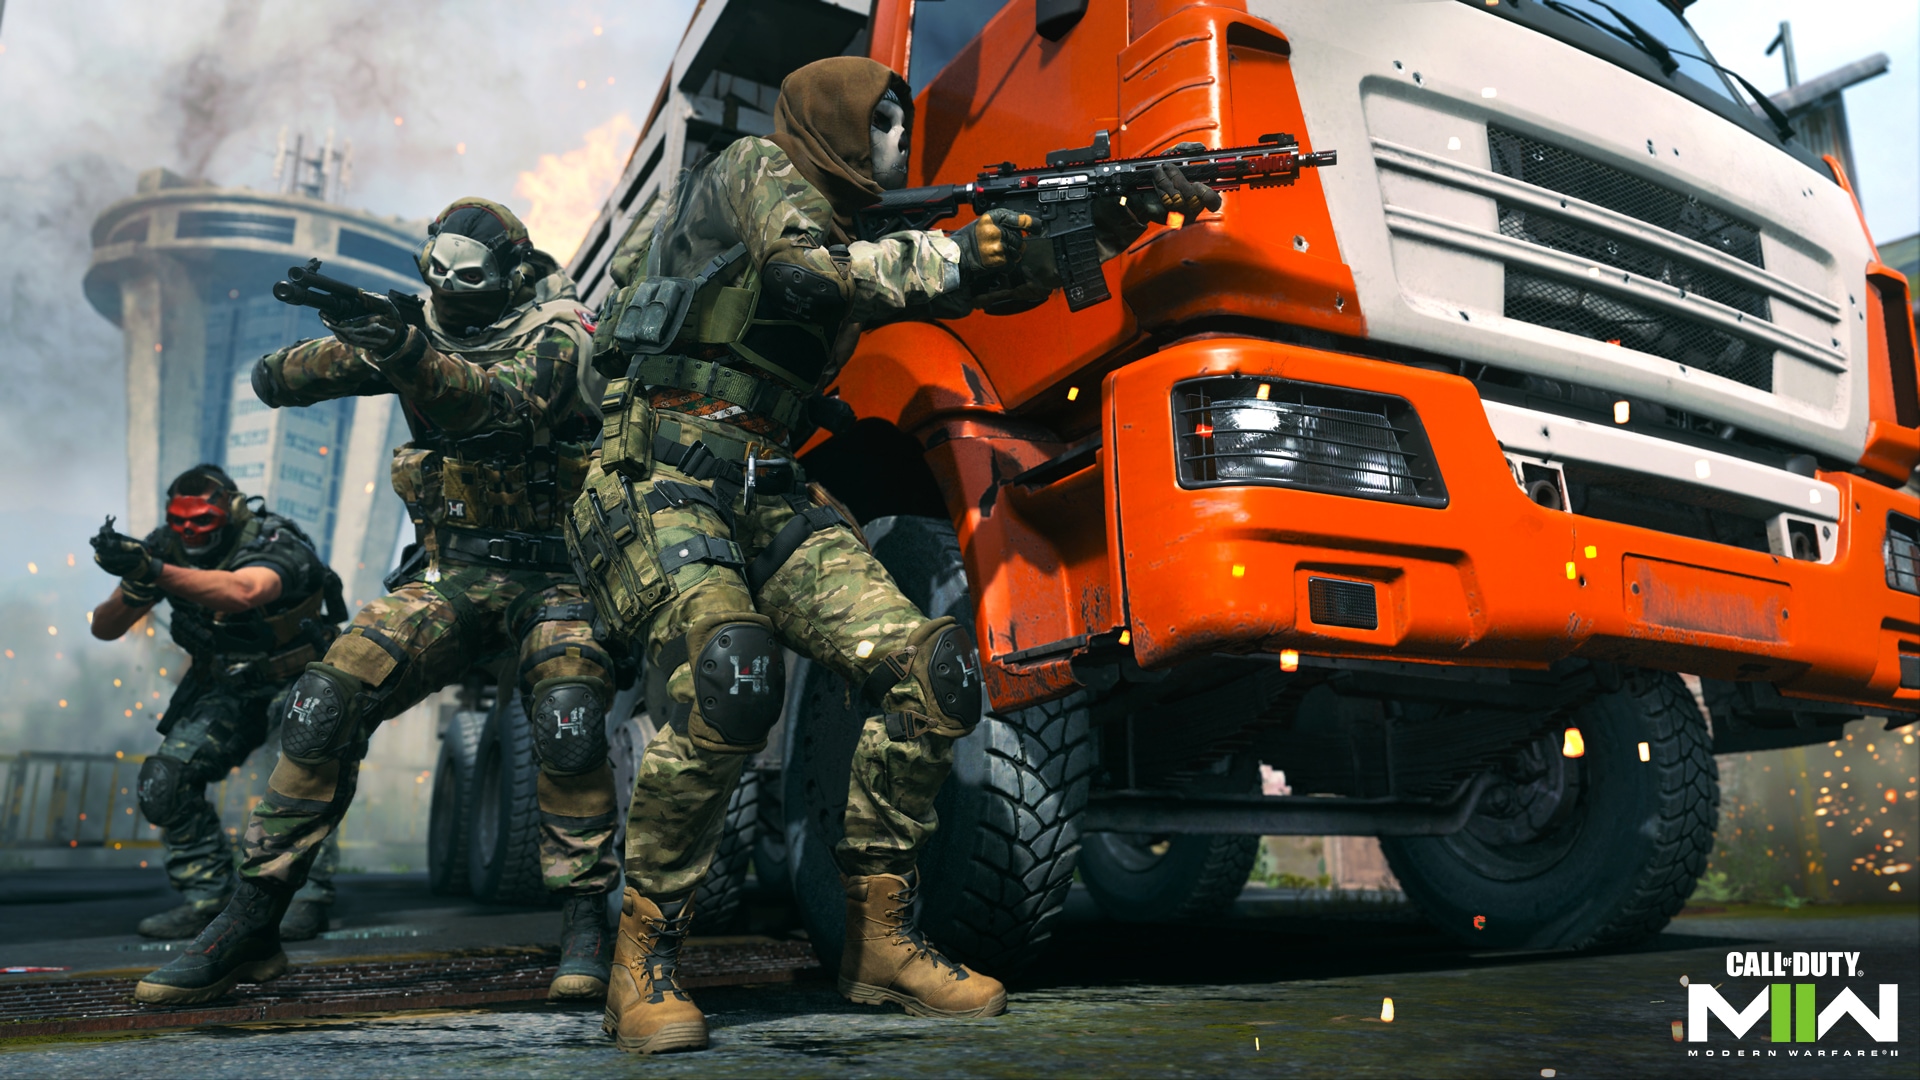
Rest of the World: The final category of maps takes place in areas outside of Al Mazrah and Las Almas for a glimpse at what’s happening in other regions of the world.
Core Maps support traditional 6v6 play while Battle Maps support up to 32v32.
Perk Packages
Innovating on the Perk system, Modern Warfare II introduces Perk Packages, which are equipped as part of a Multiplayer Loadout.
Each Package consists of four Perks: Two Base Perks plus one Bonus Perk and one Ultimate Perk. Operators begin each match with their two Base Perks, unlocking the Bonus and Ultimate Perks over time, with eliminations and assists, plus objective and tactical plays that help to unlock them more quickly. The more active you are in a match, the sooner you’ll have your full stack of four Perks.
The Perks you’ll see at launch with their original effects (which are subject to change post-launch) are as follows:
Base Perks
Overkill: Carry two primary weapons.
Double Time: Double the duration of Tactical Sprint. Increase crouch movement speed by 30%.
Battle Hardened: Reduce the effect of enemy Flash, Stun, EMP, Gas Grenades, and Shock Sticks. Immune to Snapshot Grenades.
Scavenger: Resupply ammo and throwing knives from dead players.
Bomb Squad.: Take reduced damage from non-Killstreak explosives. Reset fuse timers when picking up live grenades.
Tracker: Enemies leave behind a footprint trail, and enemy death markers are visible. Kill markers are hidden from the enemy team.
Strong Arm: Throw equipment farther and see a preview of the trajectory.
Extra Tactical: Spawn with an additional Tactical.
Bonus Perks
Resupply: Spawn with an additional Lethal. Equipment recharges over 25 seconds.
Spotter: Spot enemy equipment, Field Upgrades, and Killstreaks through walls. Aiming down sights highlights them for the team. Hack enemy Claymores, Proximity Mines, C4s, and Trophy Systems.
Cold-Blooded: Undetectable by AI targeting systems and thermal optics. Does not trigger High Alert warning. Does not highlight in enemy Tactical Cameras, Recon Drones, and Spotter Scopes.
Fast Hands: Reload, use equipment, and swap weapons faster.
Hardline: Reduce Killstreak cost by one elimination. Reduce Scorestreak cost by 125.
Focus: Reduce flinch when aiming down sights and extend Hold Breath duration.
Ultimate Perks
High Alert: Vision pulses when spotted by an enemy player outside of view.
Ghost: Undetectable by UAVs, Portable Radars, and Heartbeat Sensors.
Quick Fix: Eliminating players immediately triggers health regeneration. Capturing and holding objectives increases health regeneration rate.
Overclock: Store an additional Field Upgrade charge and increase Field Upgrade charge rate by 40%. ON-EARN: Get a Field Upgrade Charge.
Survivor: On death, enter Last Stand with the ability to self-revive once per life. Teammates can revive downed players faster.
Bird’s Eye: The minimap is zoomed out. UAV and Radar pings reveal the enemy’s direction. ON-EARN: Activates one local UAV sweep.
Try out some of the game’s premade Perk Packages to get a taste of different Perk combinations or create your own after leveling up to Rank 4 for a more personalized selection.
Field Upgrades
Field Upgrades are invaluable tools that offer an array of strategic advantages. They charge over time throughout the match, with some charging faster or slower depending on their utility and power.
At Rank 45, you’ll get the option to equip two Field Upgrades at the cost of a slow recharge rate on each.
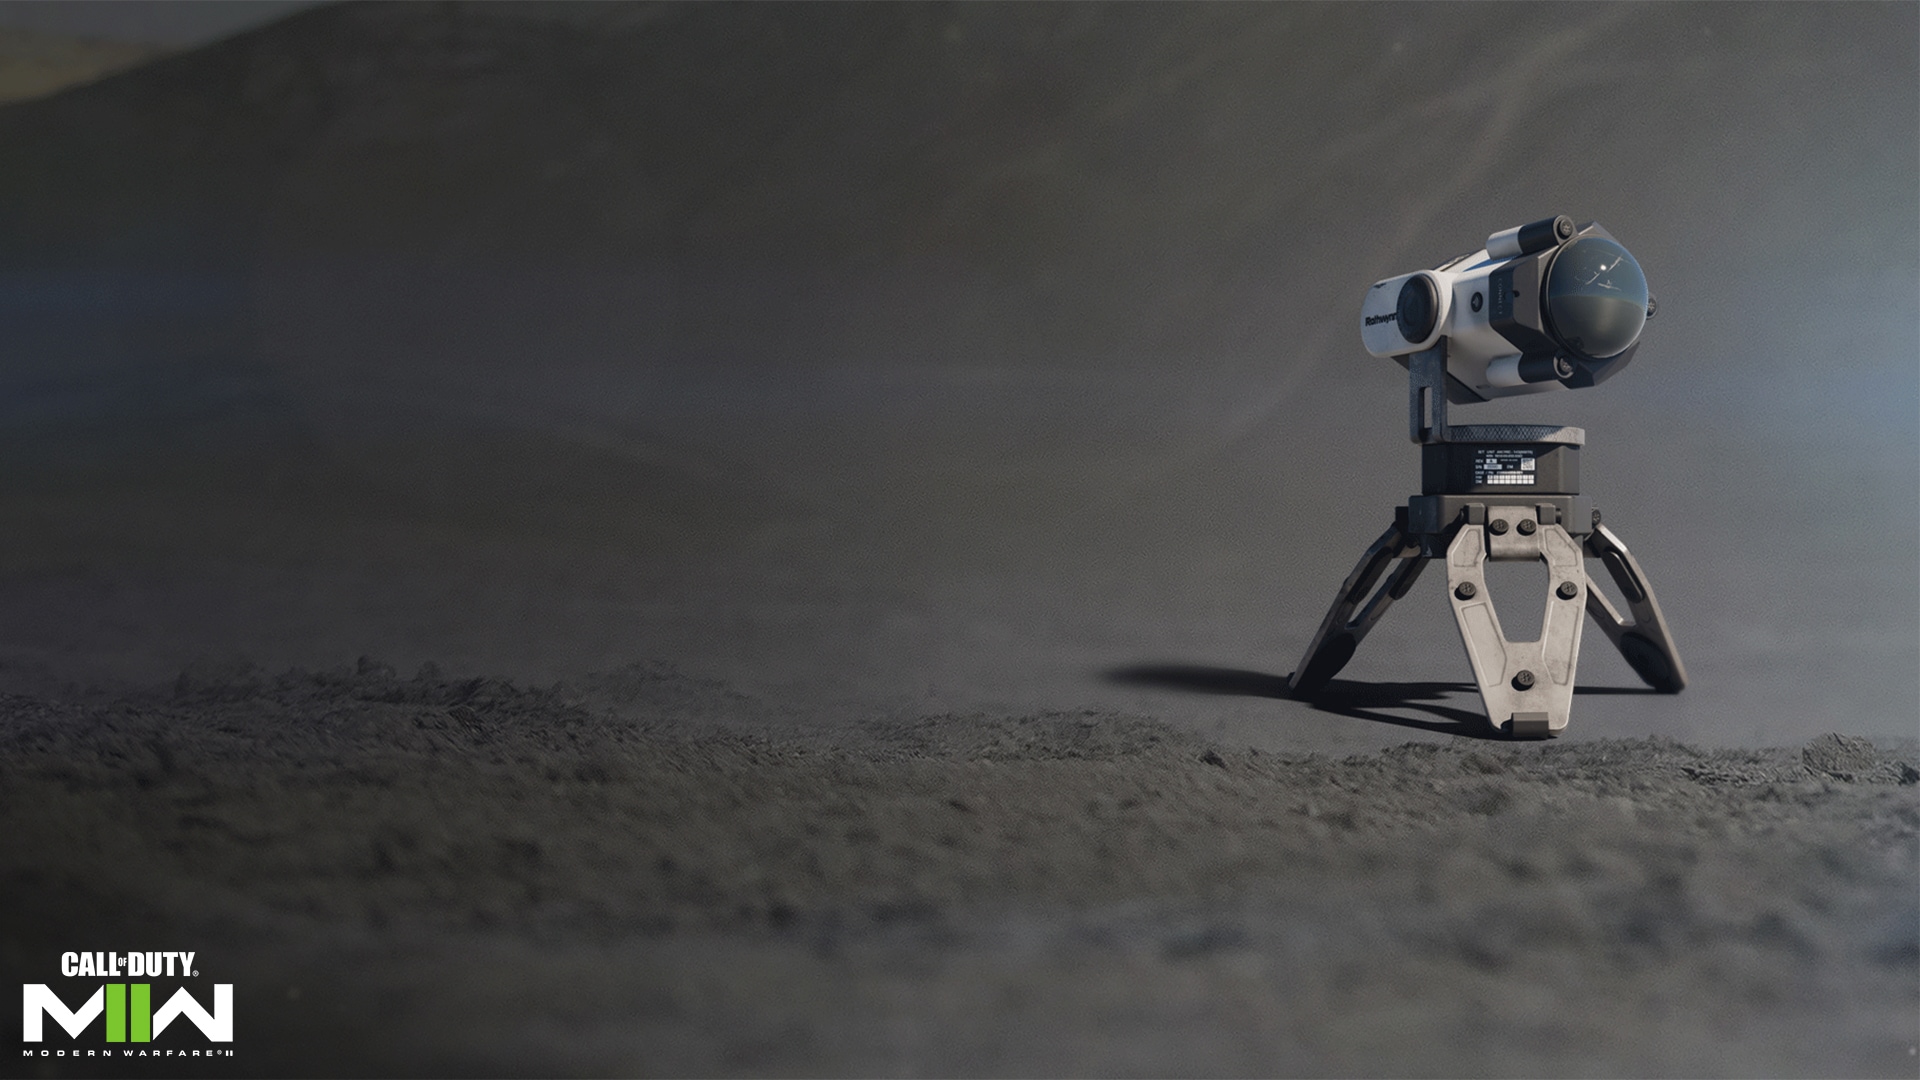
Tactical Camera: Remote-controlled camera that marks enemies. Connect to it directly or set it on its own where it emits a warning sound upon detecting nearby enemies.
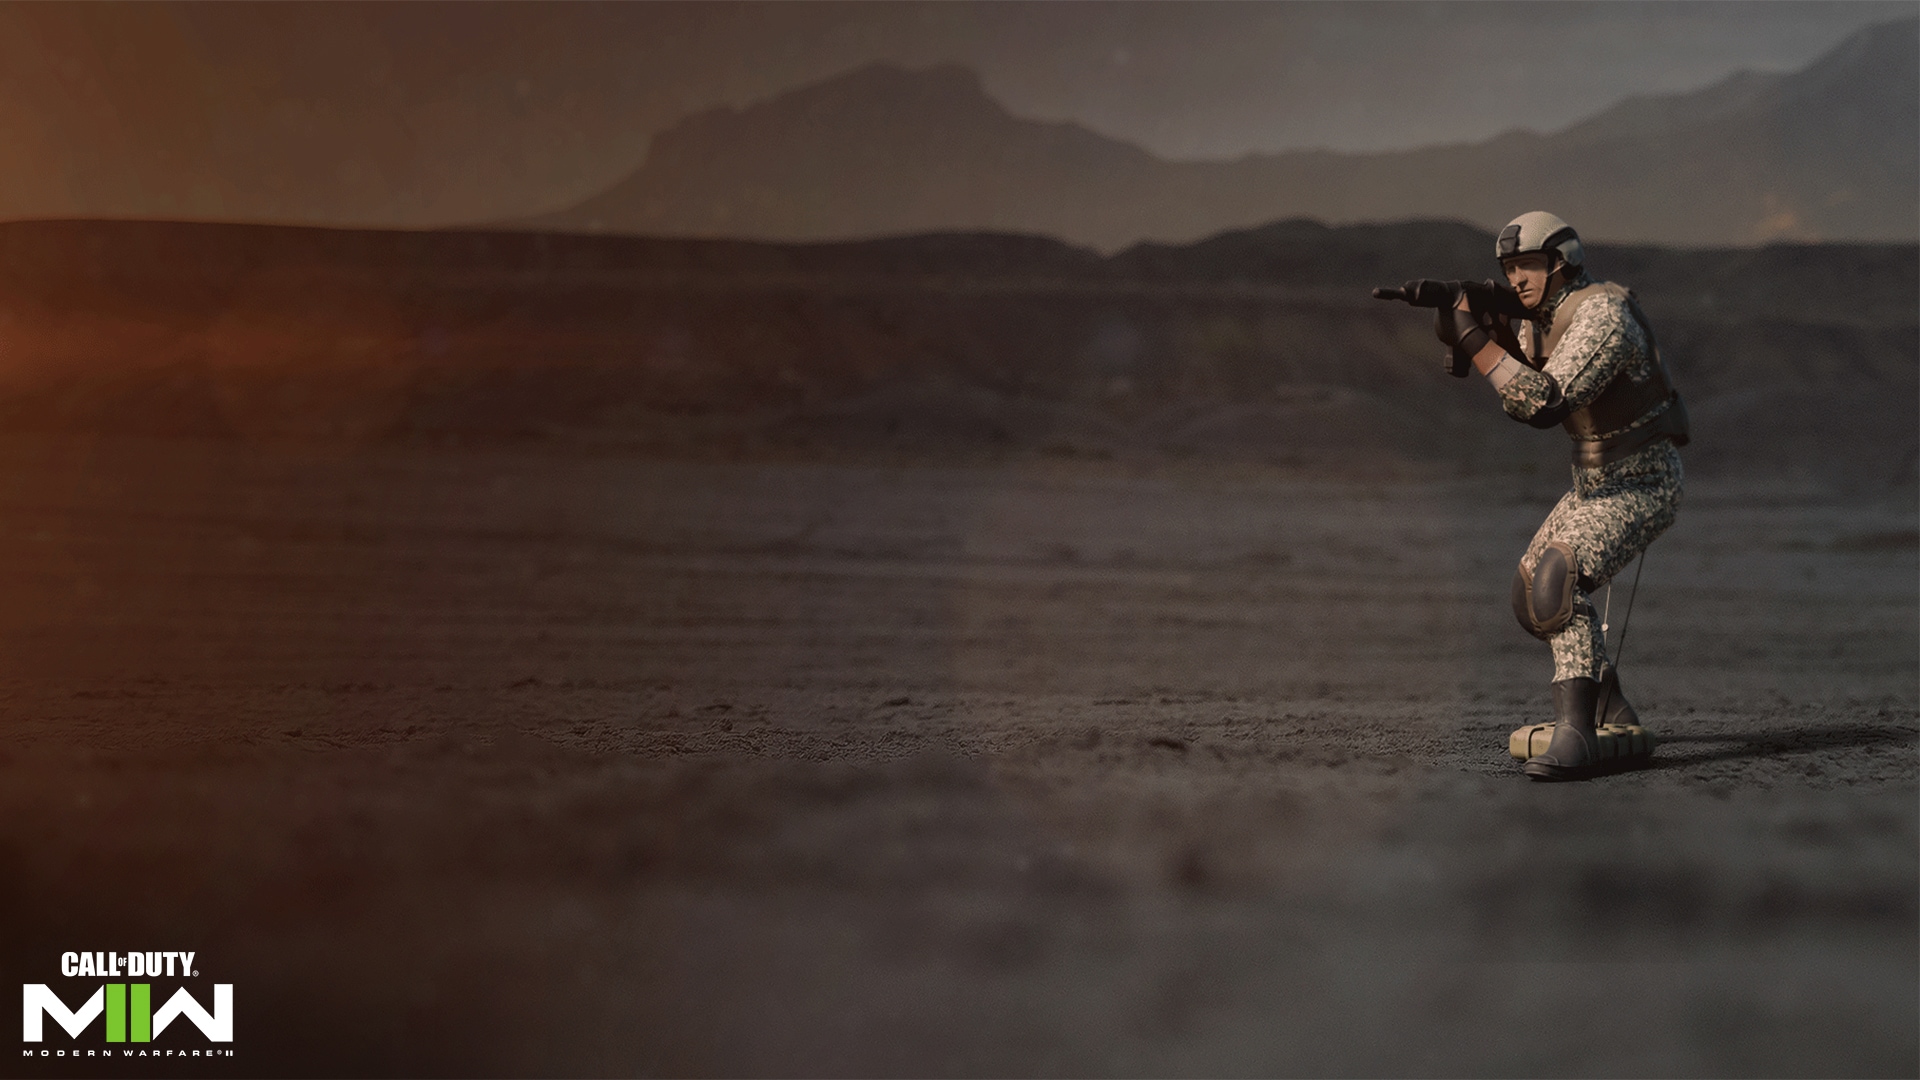
Inflatable Decoy: Proximity activated decoy mine. Upon activation, the decoy is rapidly deployed to confuse and distract enemy Operators. It can also be manually activated to fool enemies into attacking it on sight.
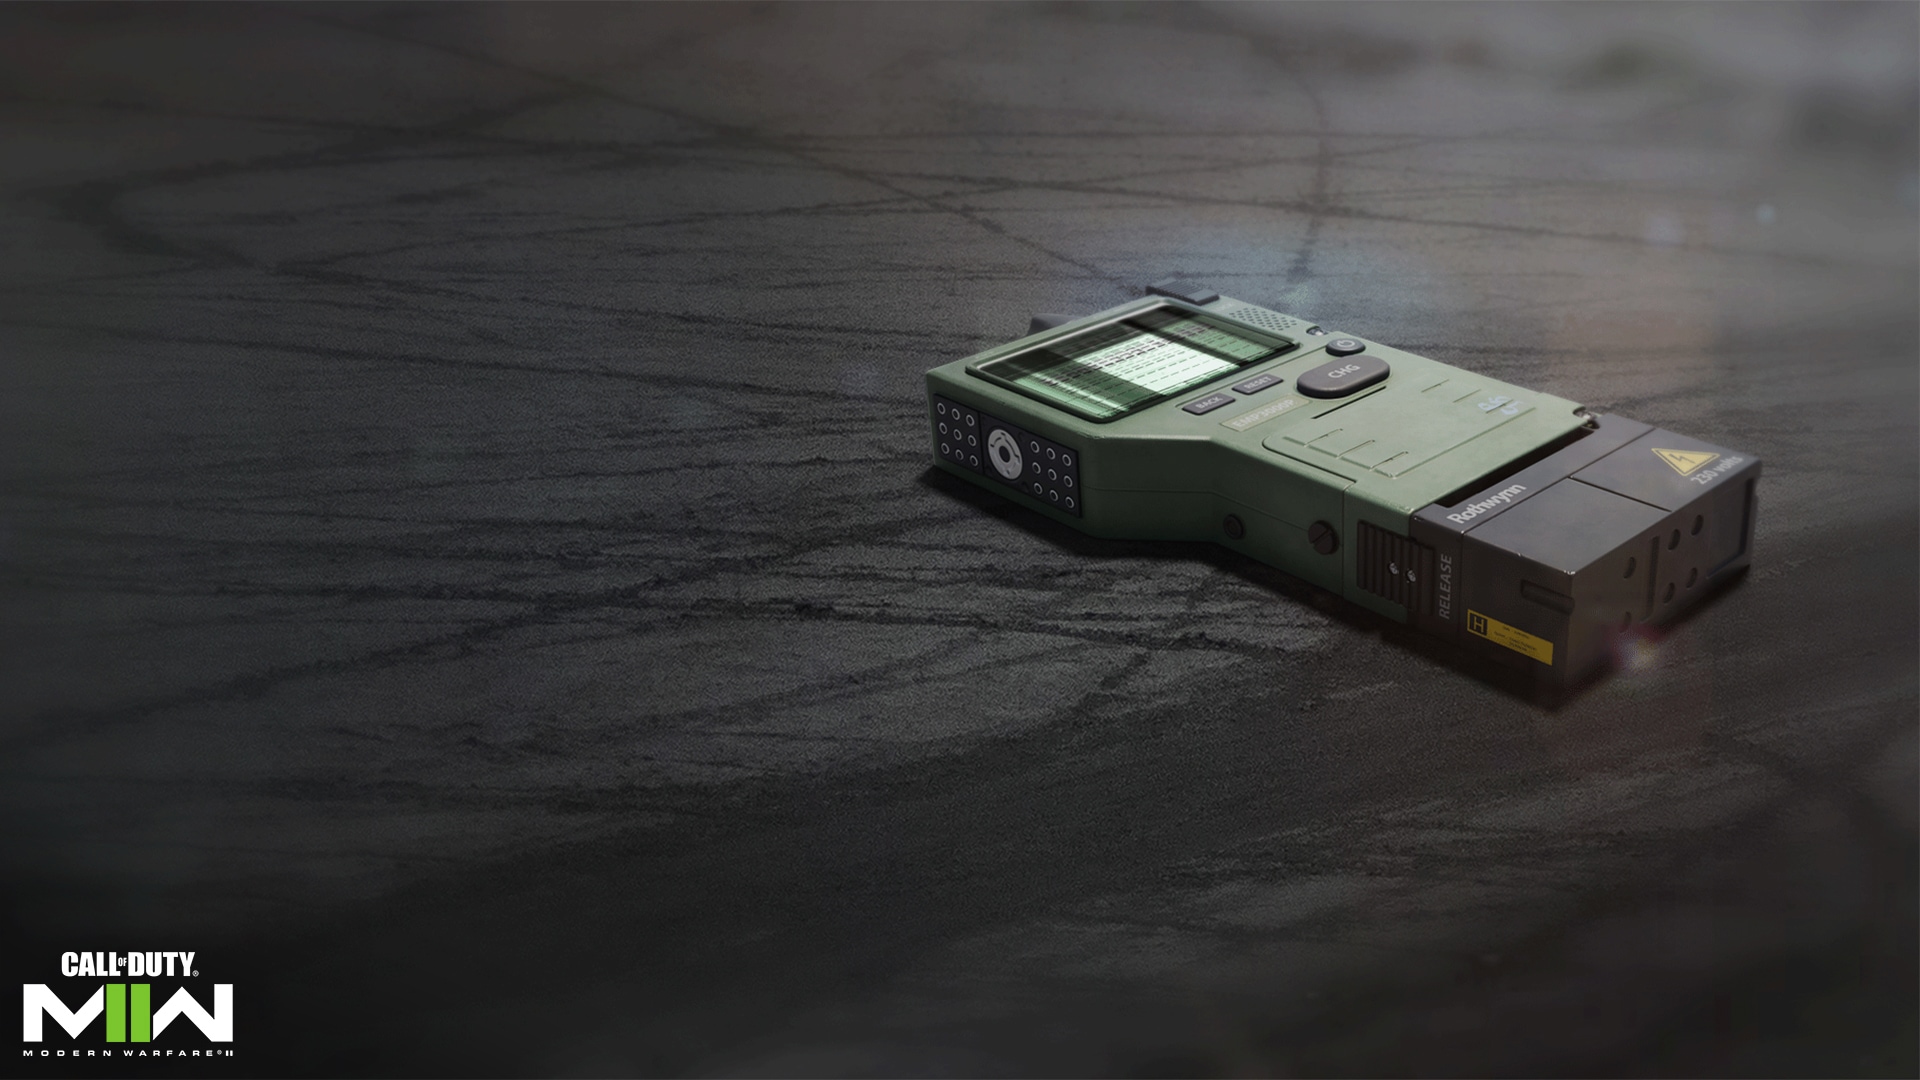
DDoS: A DDoS attack deactivates electronics and disrupts enemy sensors in the immediate area for a short time. Solid in objective modes where tons of Field Upgrades will be placed around key zones. Great synergy with the Spotter Bonus Perk.
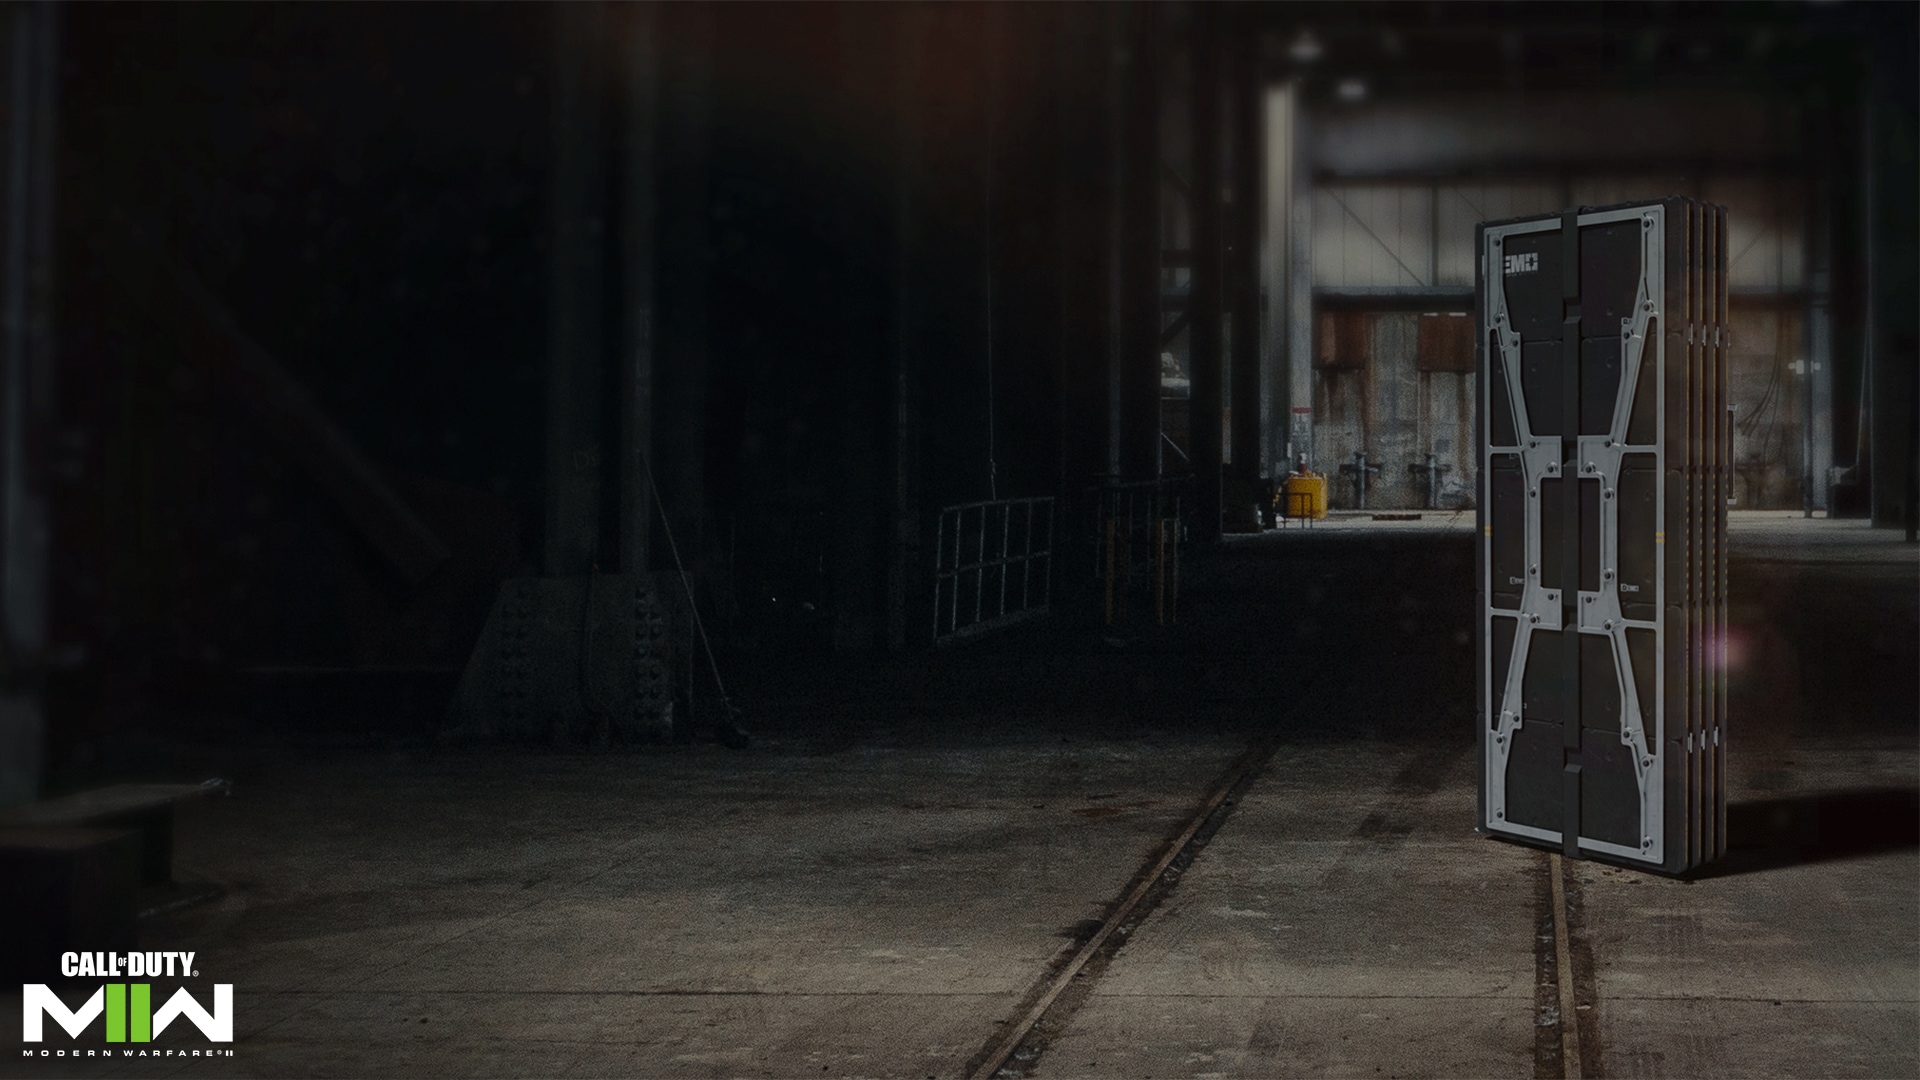
Deployable Cover: Portable, rapidly deployable ballistic cover. When stuck in the middle of nowhere with nothing to hide behind, this shield may save your life. Great on open objectives, or whenever a heavier weapon, such as an LMG, needs to be mounted for accurate fire.
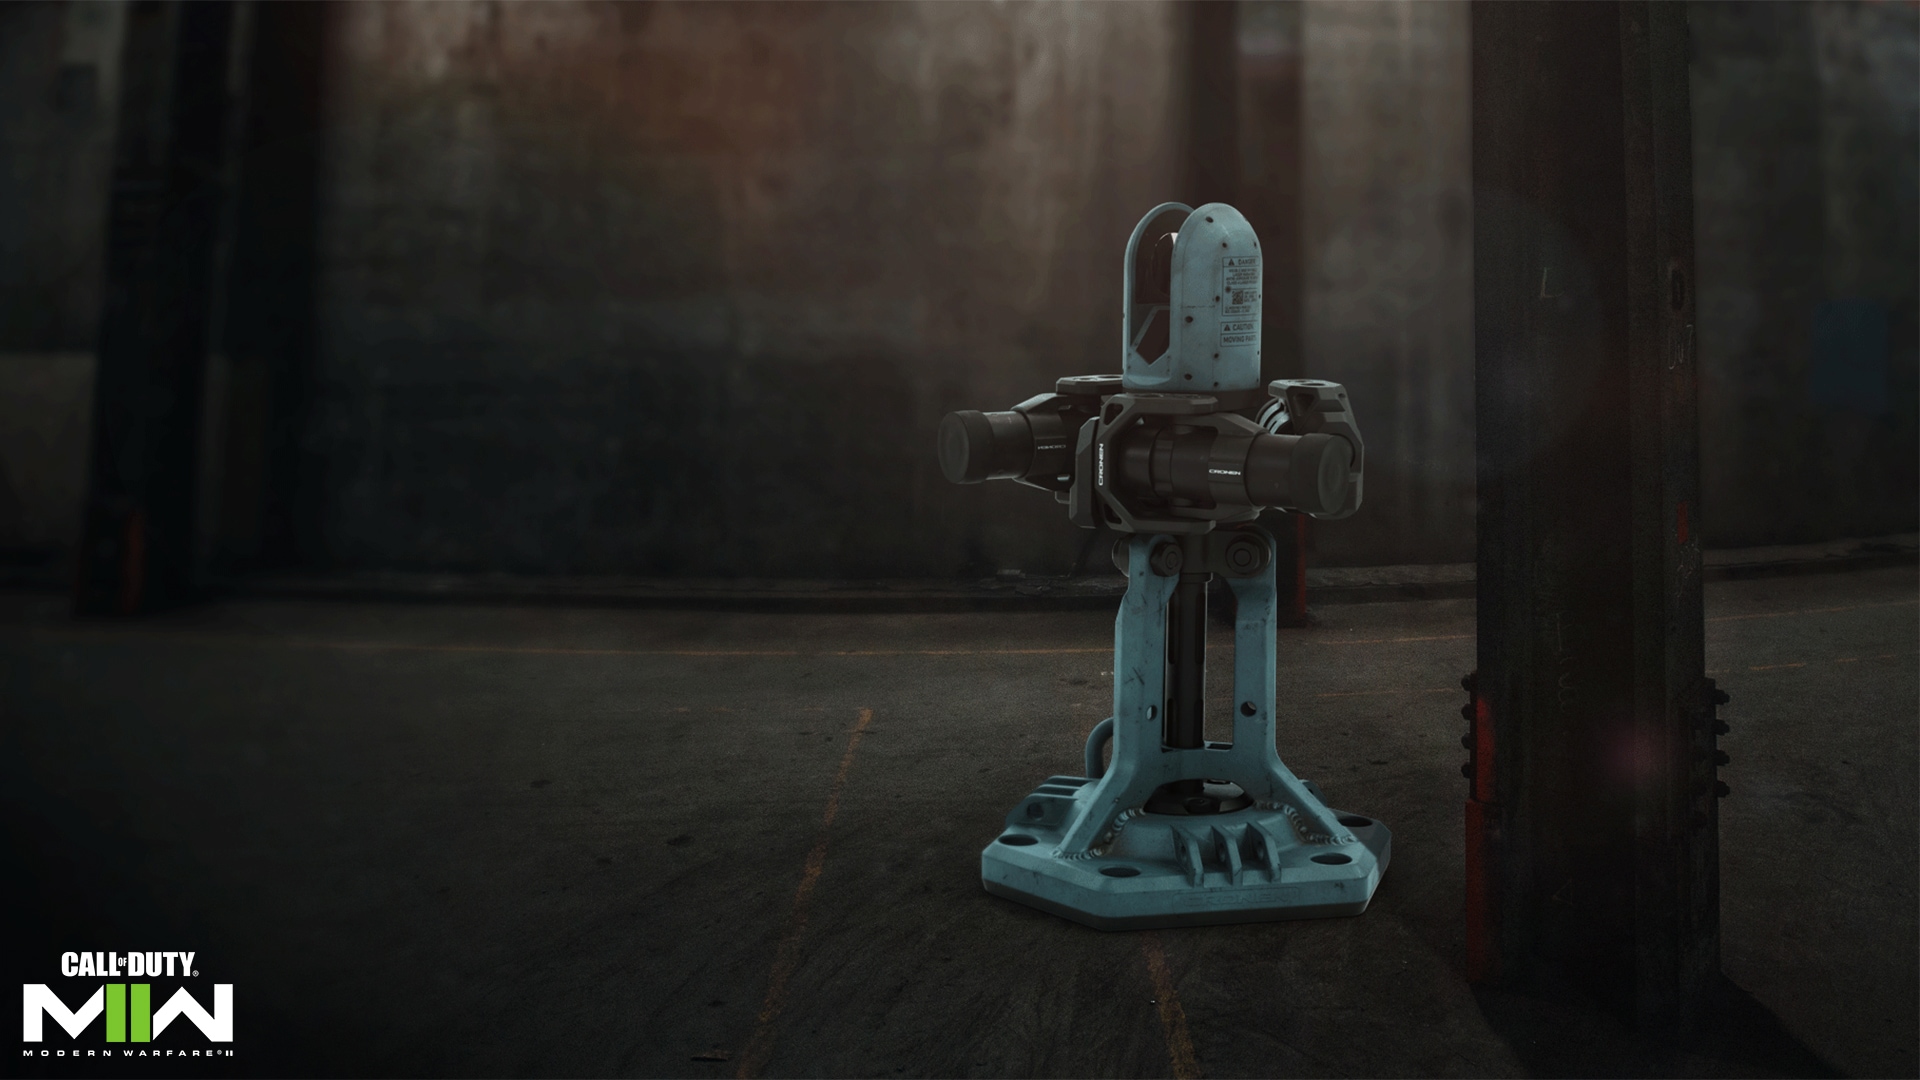
Trophy System: Deployable autonomous defense system that destroys up to three incoming pieces of equipment and projectiles. Some larger targets may take multiple shots. A lifesaver on objectives and in interior spaces where grenades can come flying through openings in droves. Can also be put on vehicles to have it act as a deterrent for rockets and other equipment pieces.
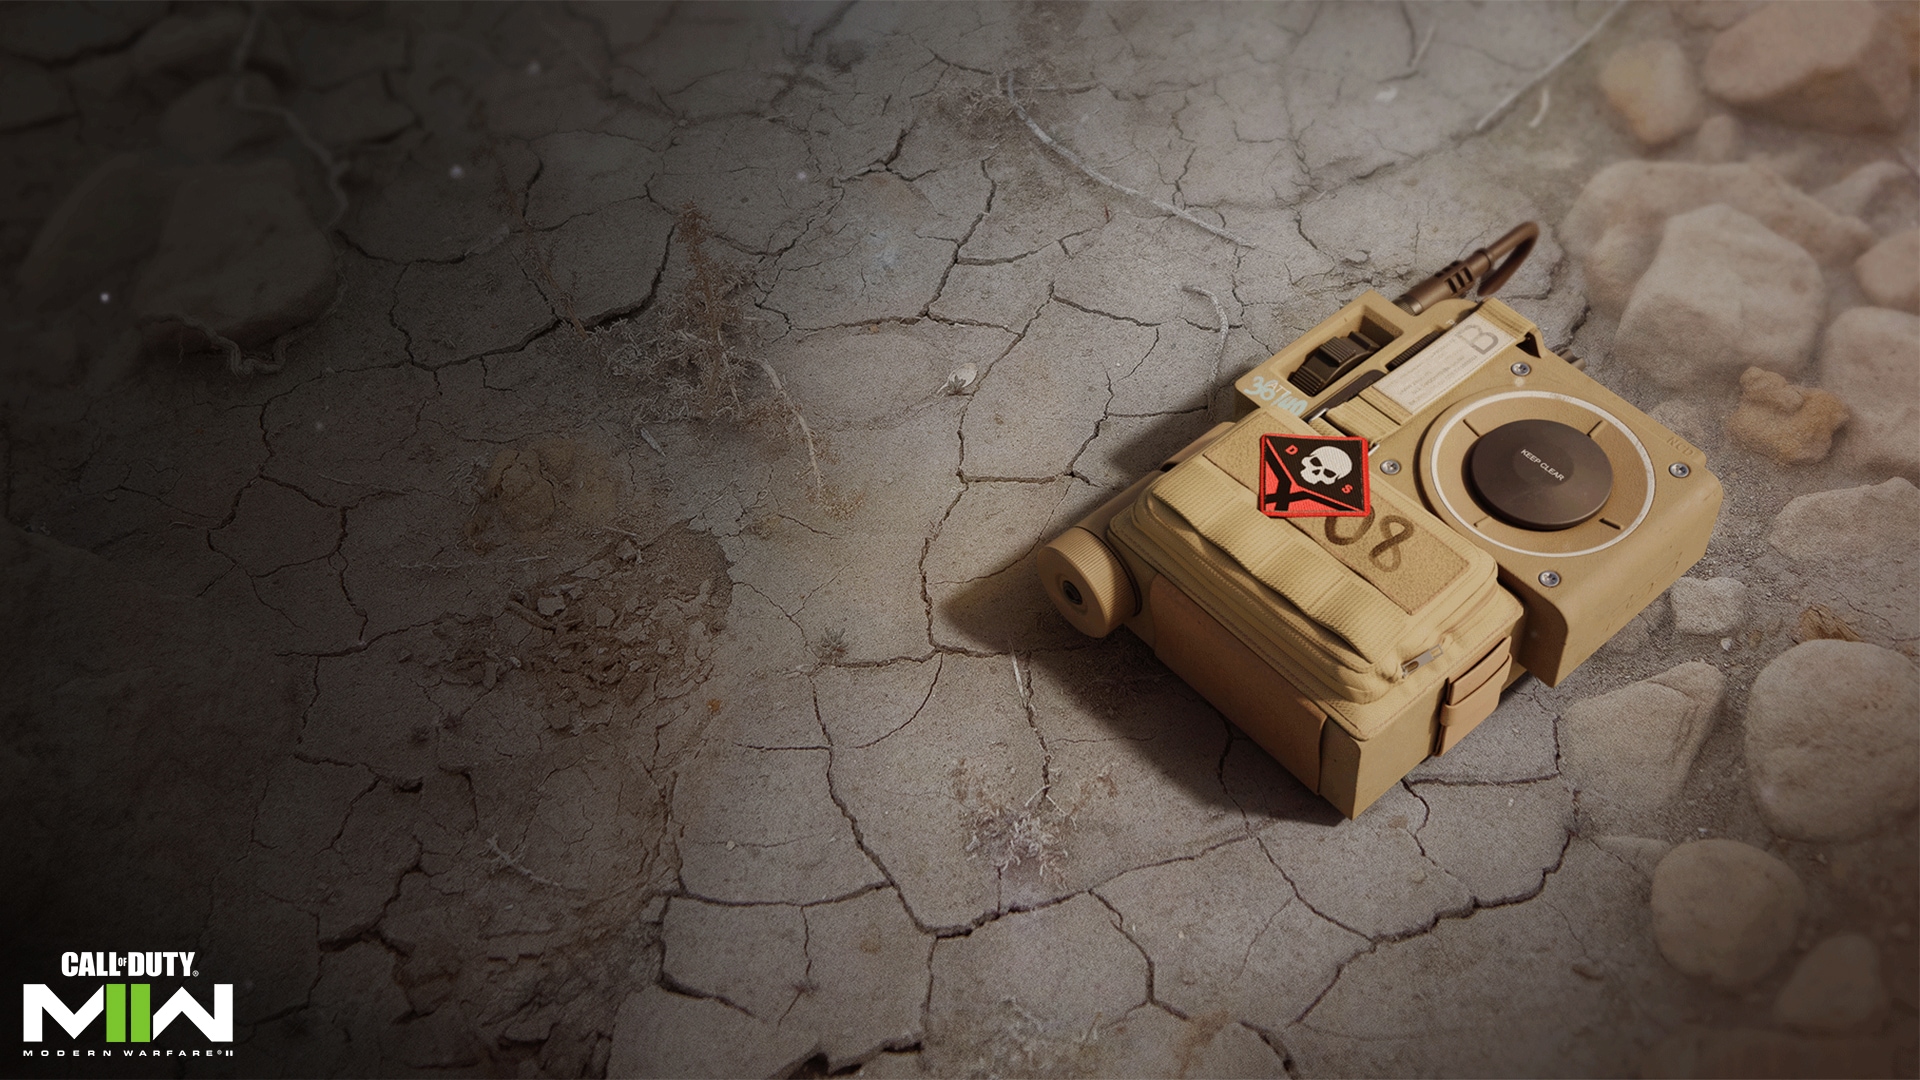
Dead Silence: Temporarily makes your footsteps silent. Gun, melee, and throwing knife kills refresh duration. A perfect fit for stealth Loadouts.
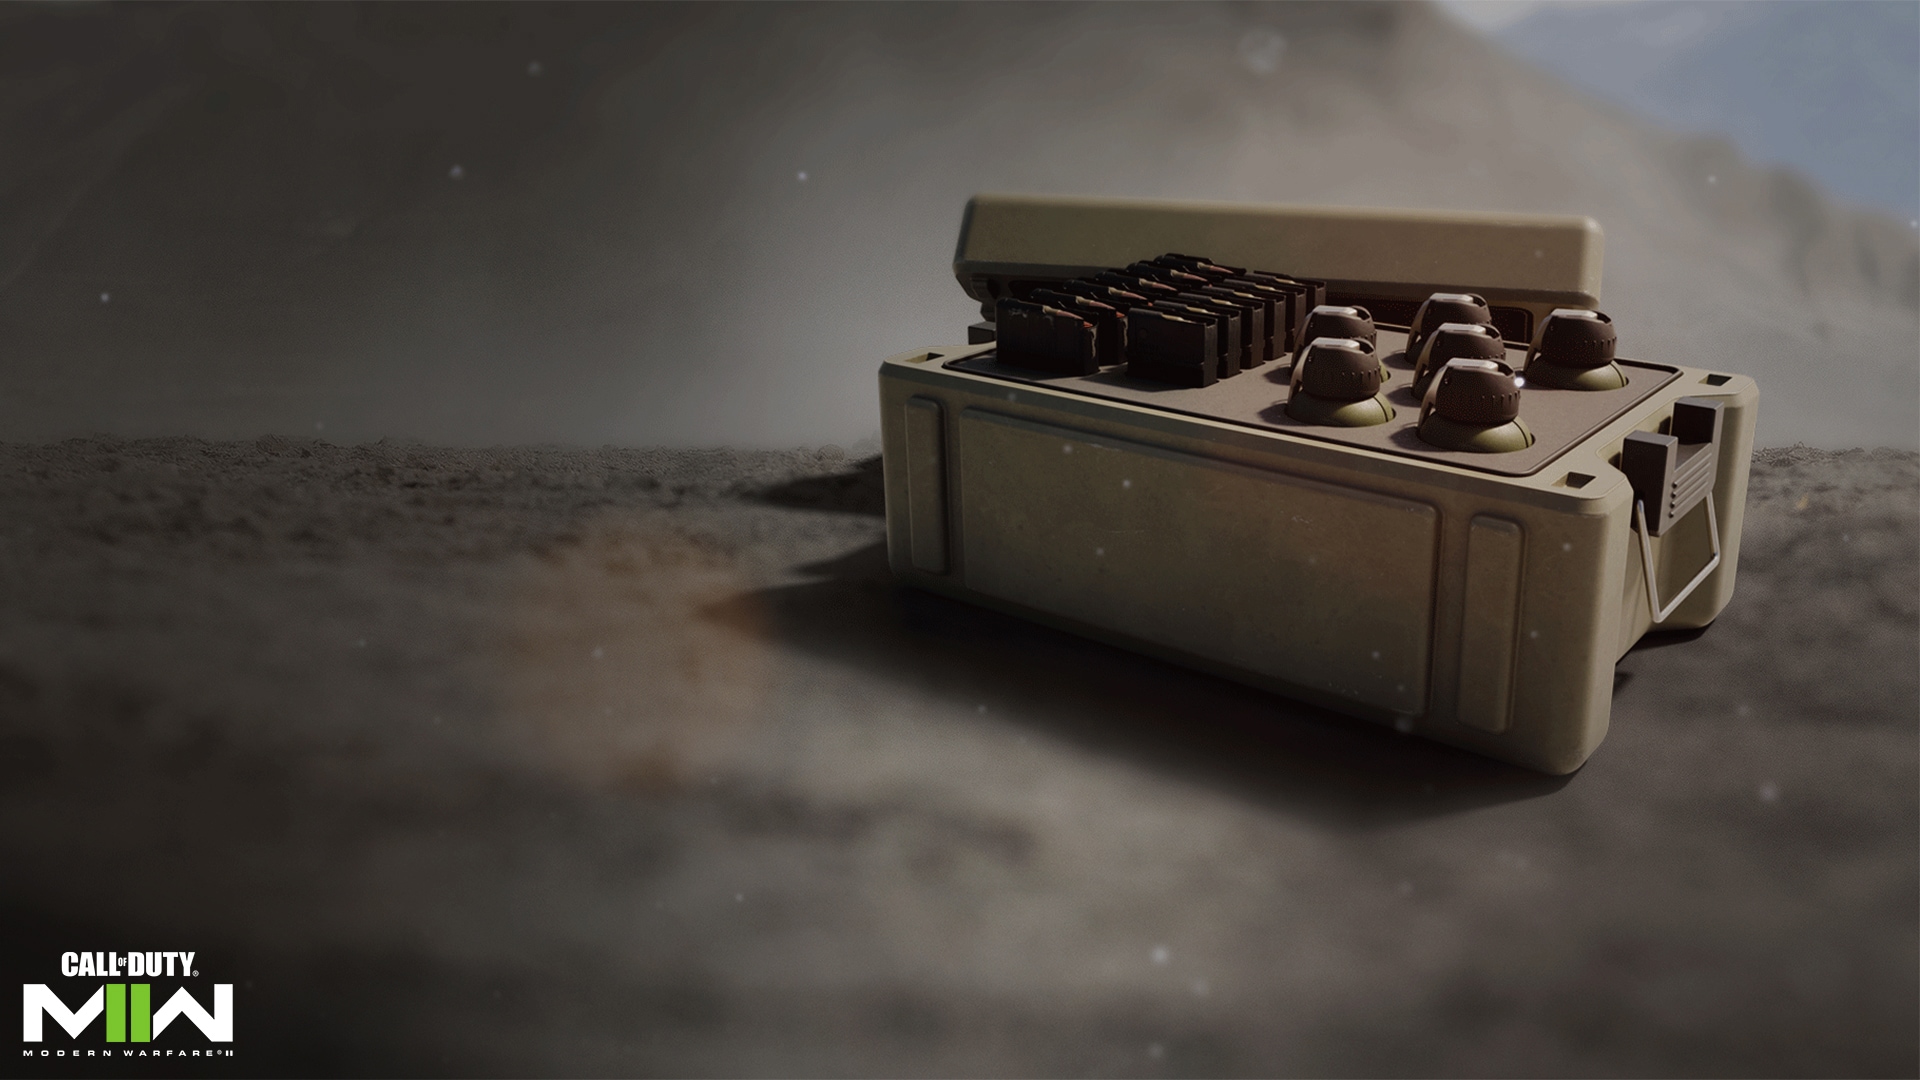
Munitions Box: Deploy a box of ammo and equipment for you and your teammates. Ideally used in safe territory for squadmates to resupply. However, in a pinch, it is invaluable in any scenario where you are out of bullets and equipment.
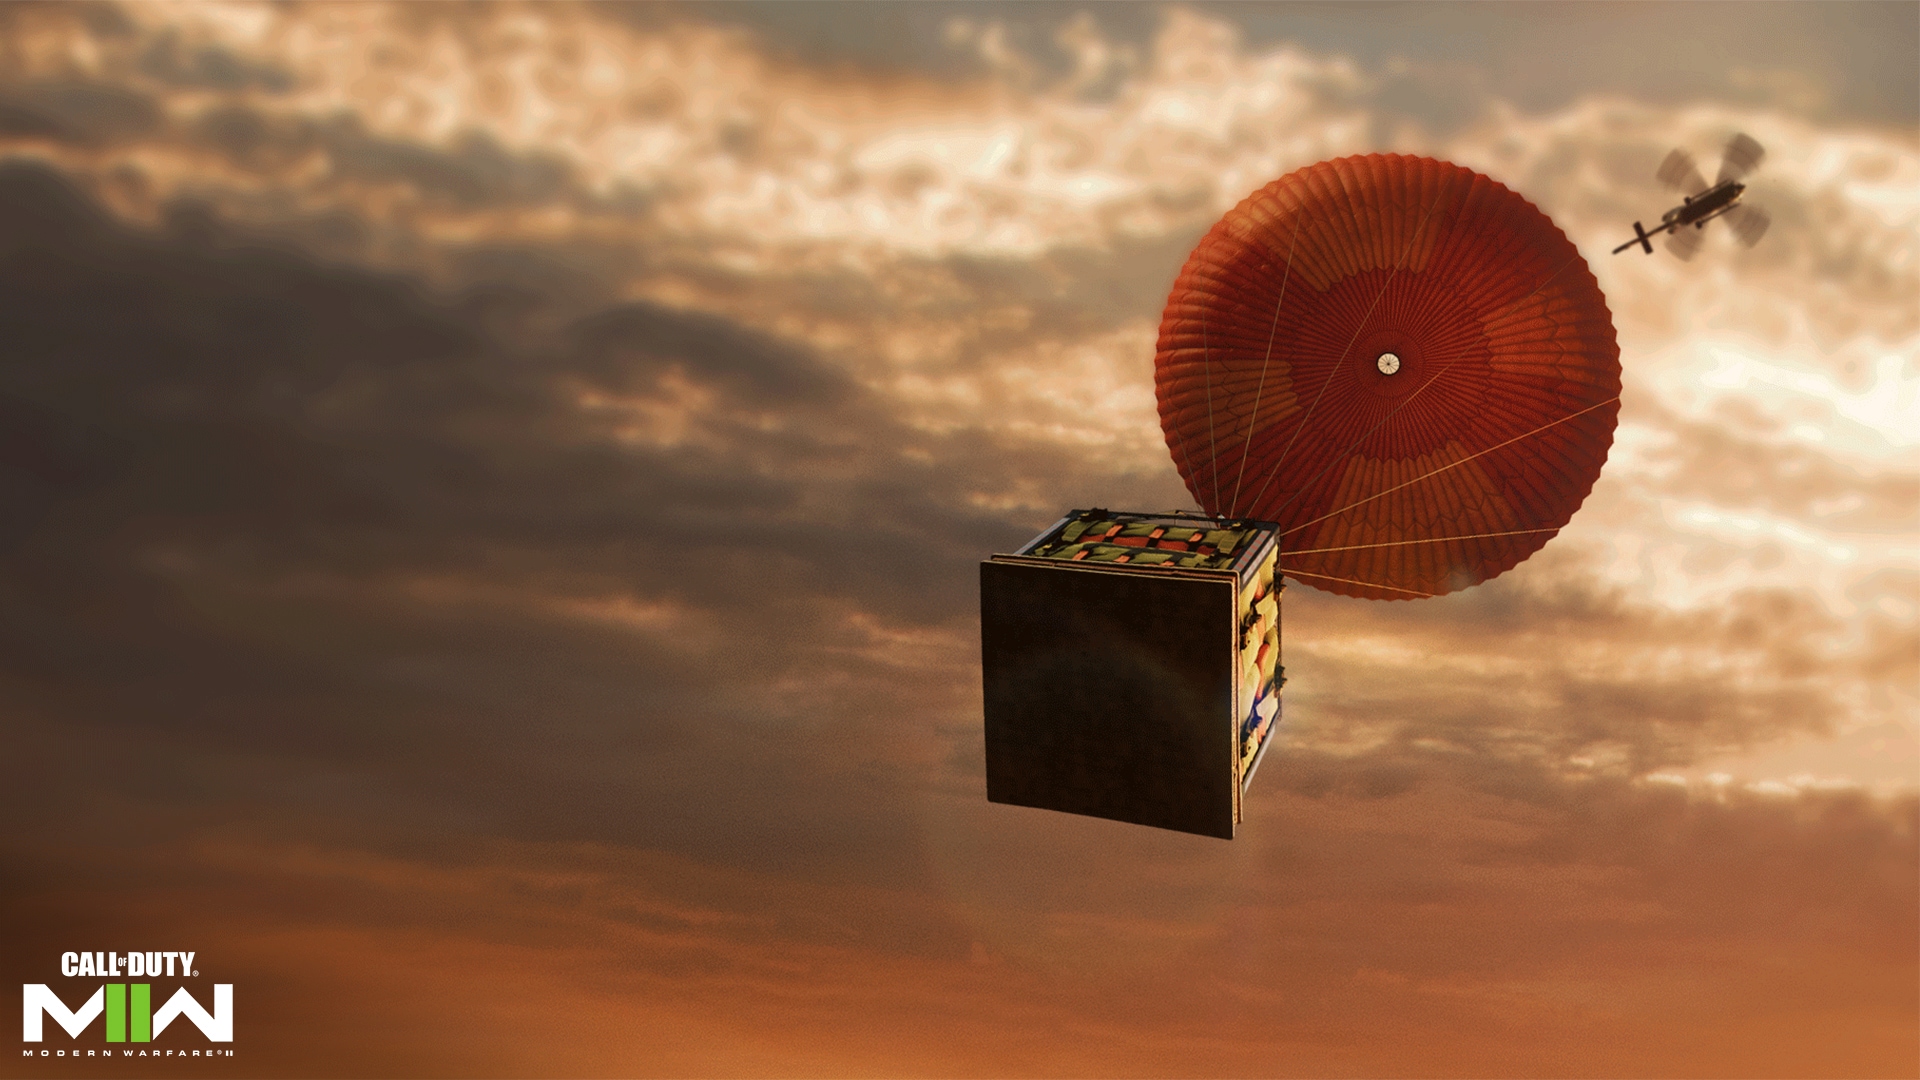
Loadout Drop: Call in a team-based Loadout crate with limited uses. Each player can use it only once. Ideal for swapping Loadouts midlife, getting an extra Primary Weapon without burning a Basic Perk for Overkill, or just being kind to Operators. Great in Ground War when Operators are expected to live longer lives and switch roles as the situation demands.

Portable Radar: Emits a periodic radar ping to detect nearby enemies. Increased utility on smaller maps or in objective game modes where the radar’s small coverage can track important zones. Synergizes well with the Bird’s Eye Ultimate Perk.
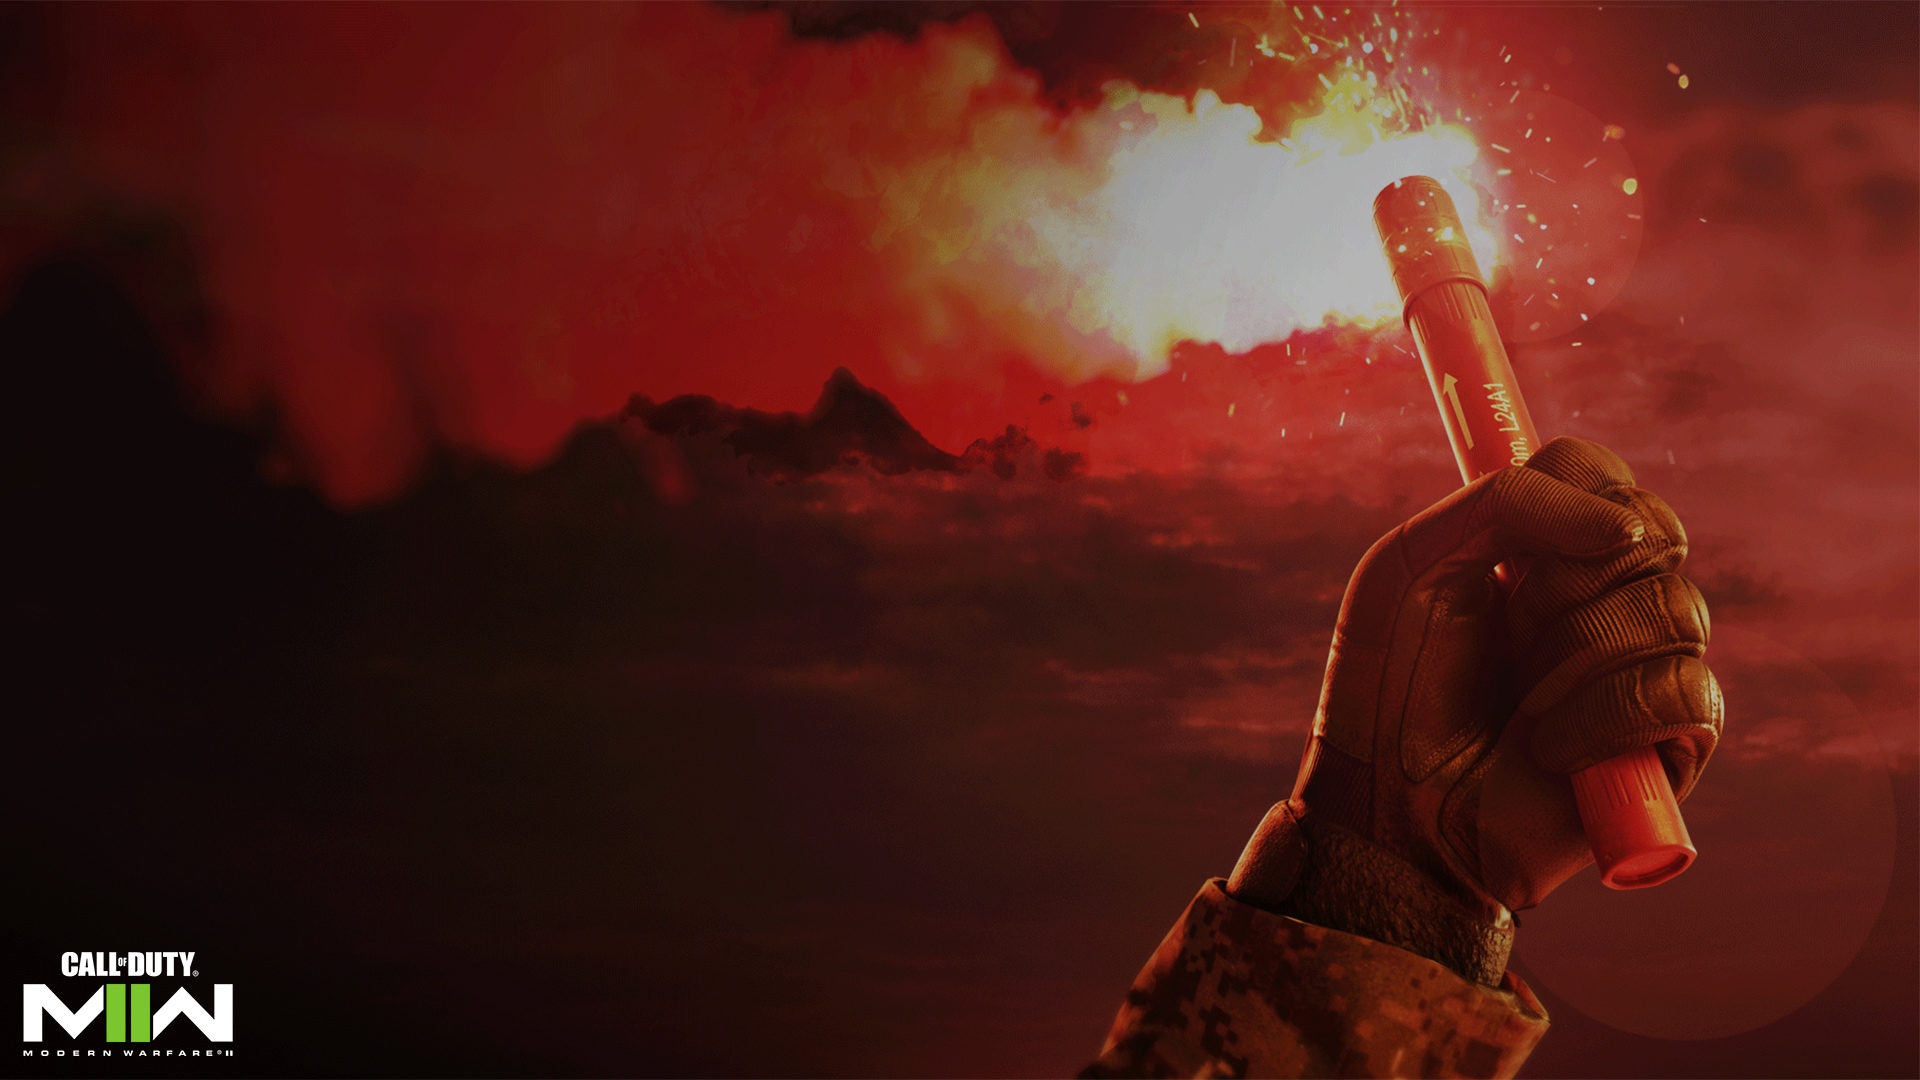
Tactical Insertion: Marks a location as your next spawn point. A boon on Ground War maps where the deployable areas are far from an objective, or on other maps to shock enemies from behind their lines. Note that the Tactical Insertion does not function in one-life modes.
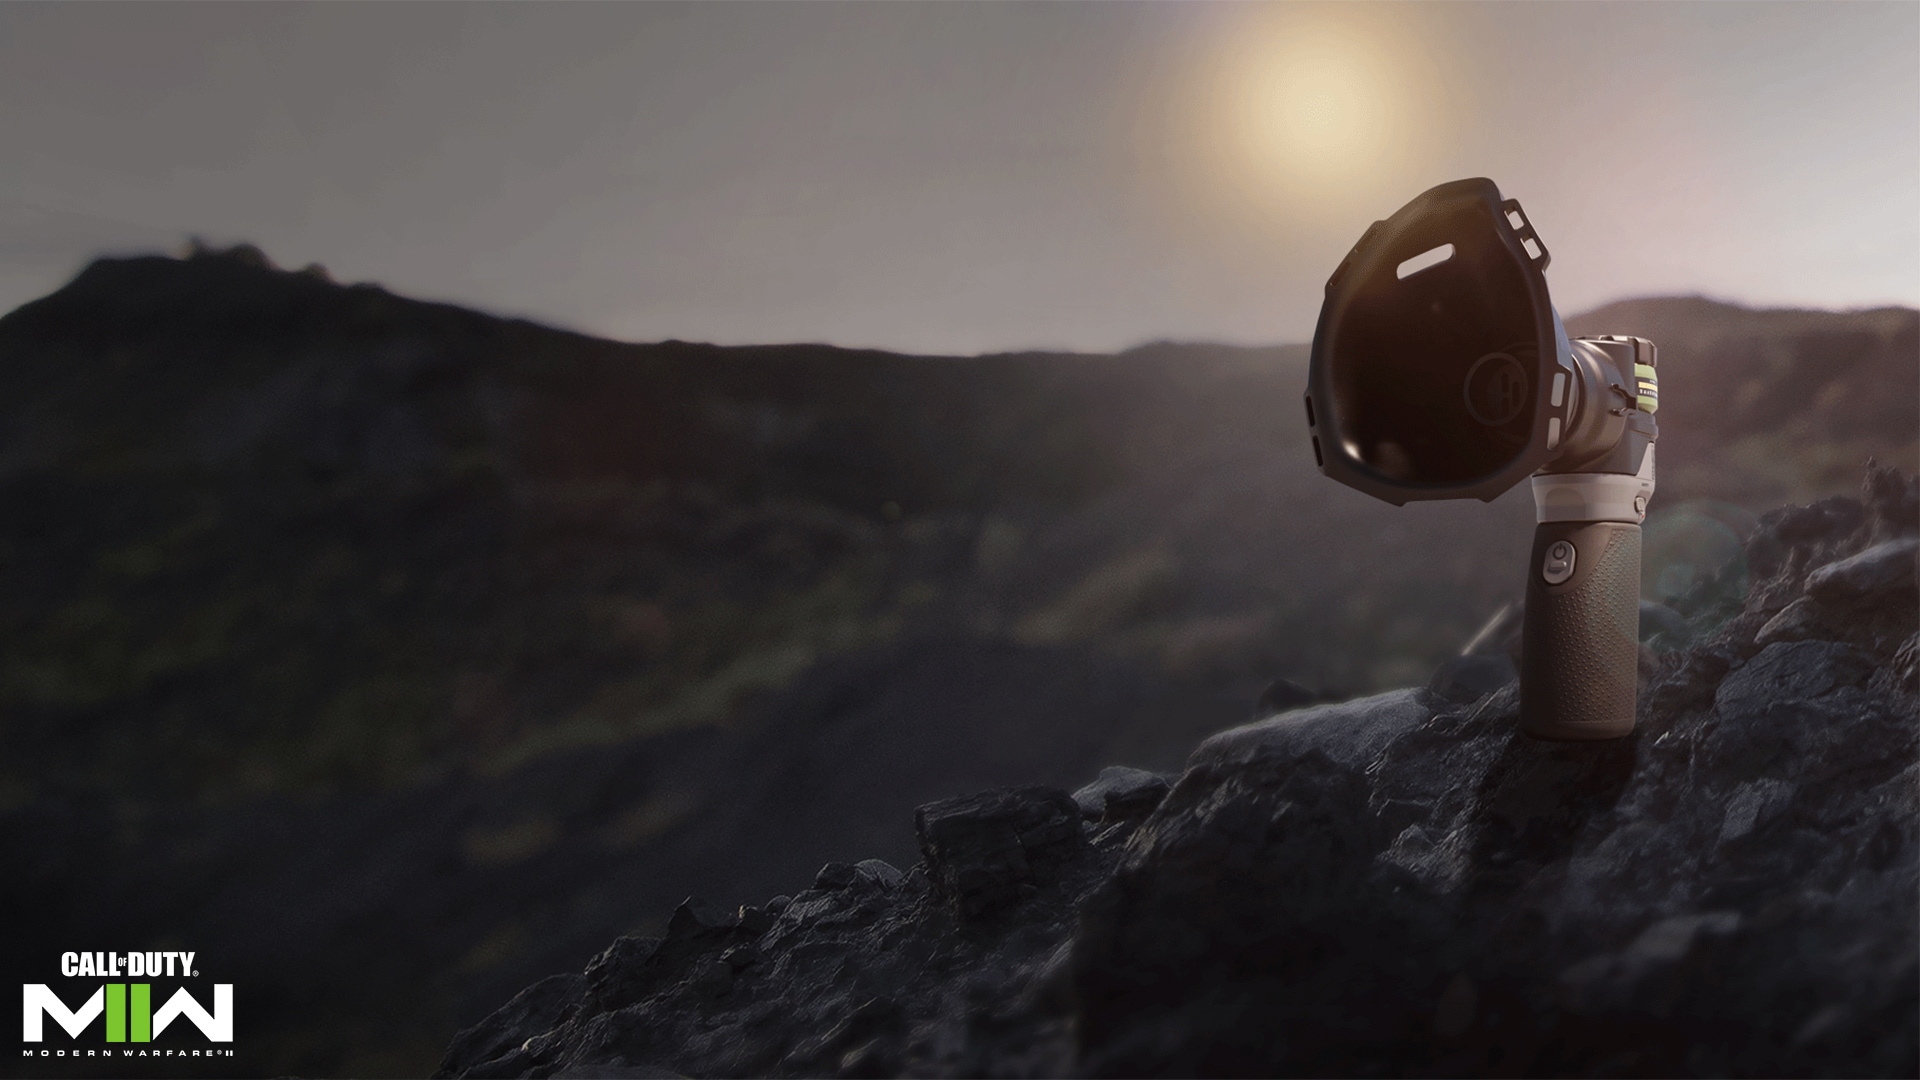
Battle Rage: Experimental stimulant that gives Operators an adrenaline rush. Health regenerates quickly, Tactical equipment is resisted, and Tactical Sprint is constantly refreshed. Great for aggressive Operators who want to rush headfirst into engagements.
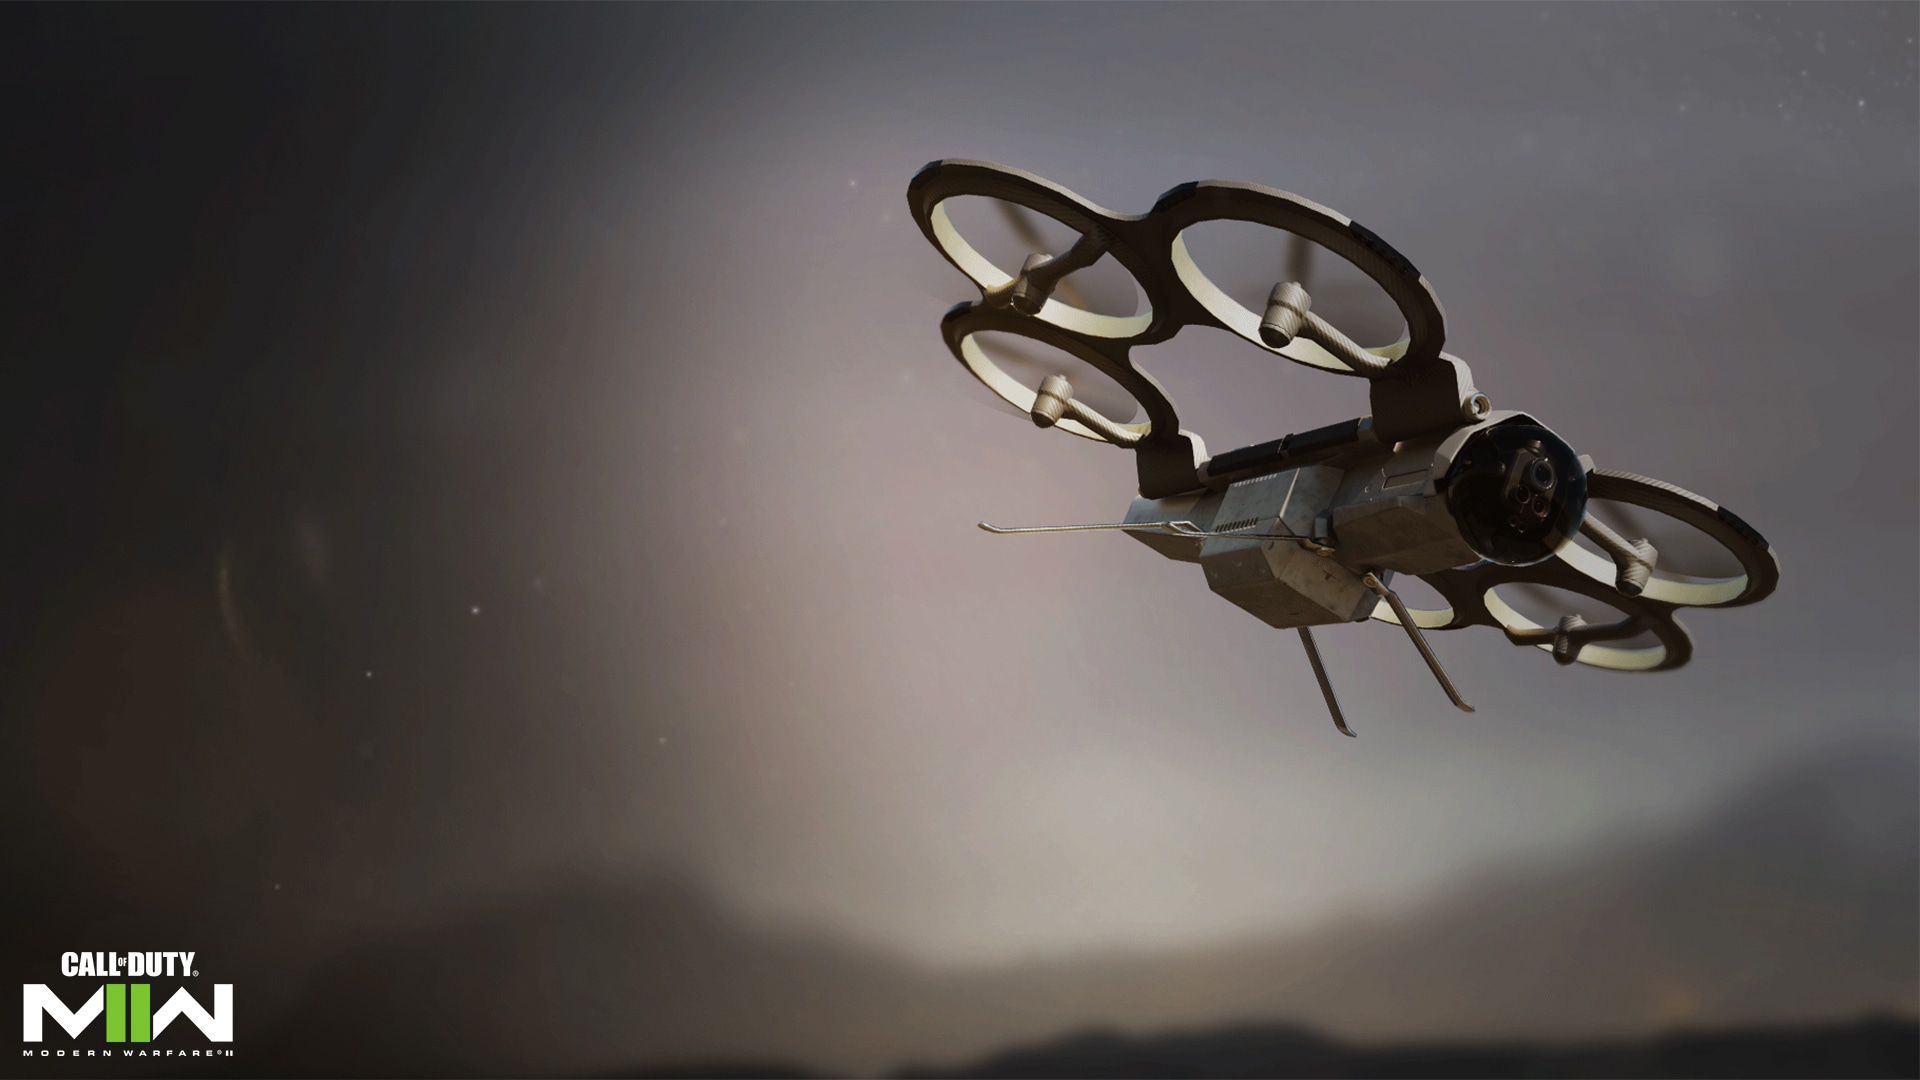
Recon Drone: Remote-controlled drone that has manual and auto marking capabilities. Another great tool for communicative Operators. Try strapping a C4 to this for a makeshift Bomb Drone.
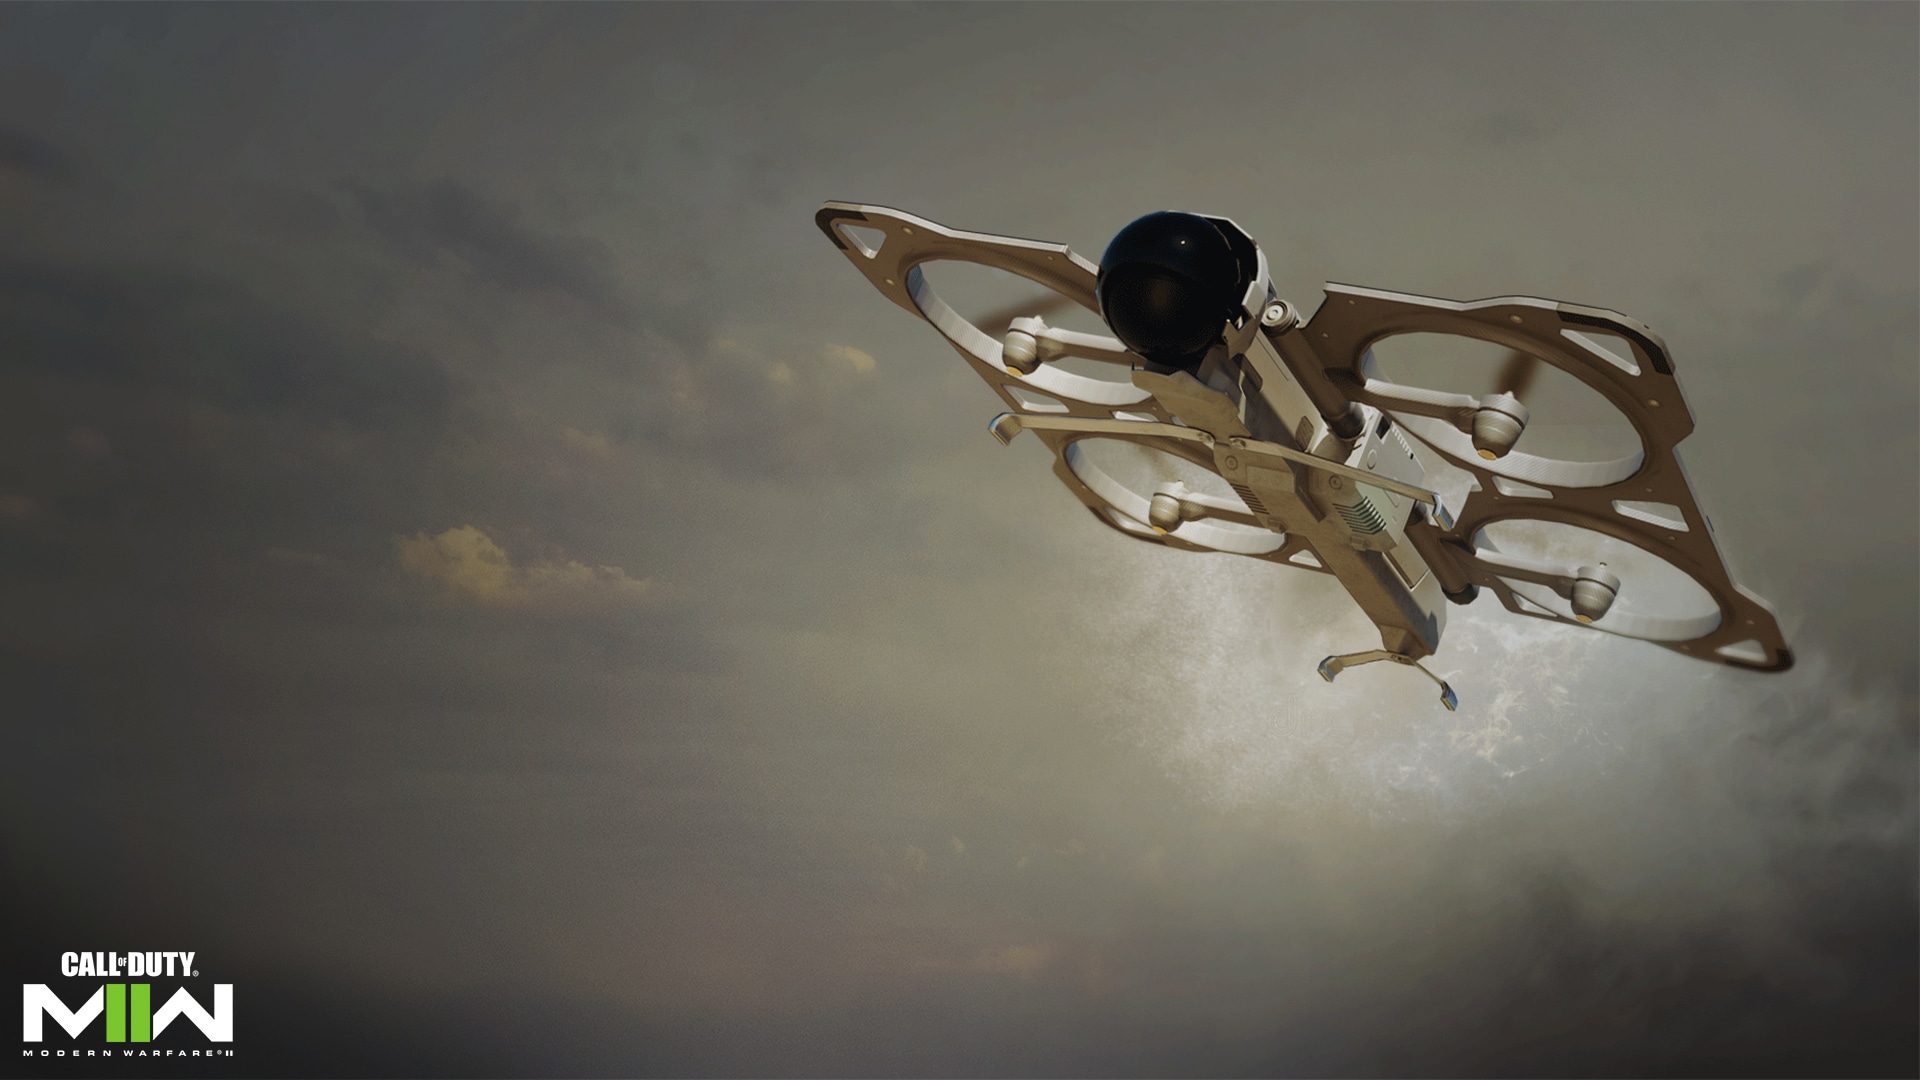
Smoke Airdrop: Call in a line of drones to deploy a smoke wall at a targeted location. A sniper’s nightmare unless they have the means to see through it.
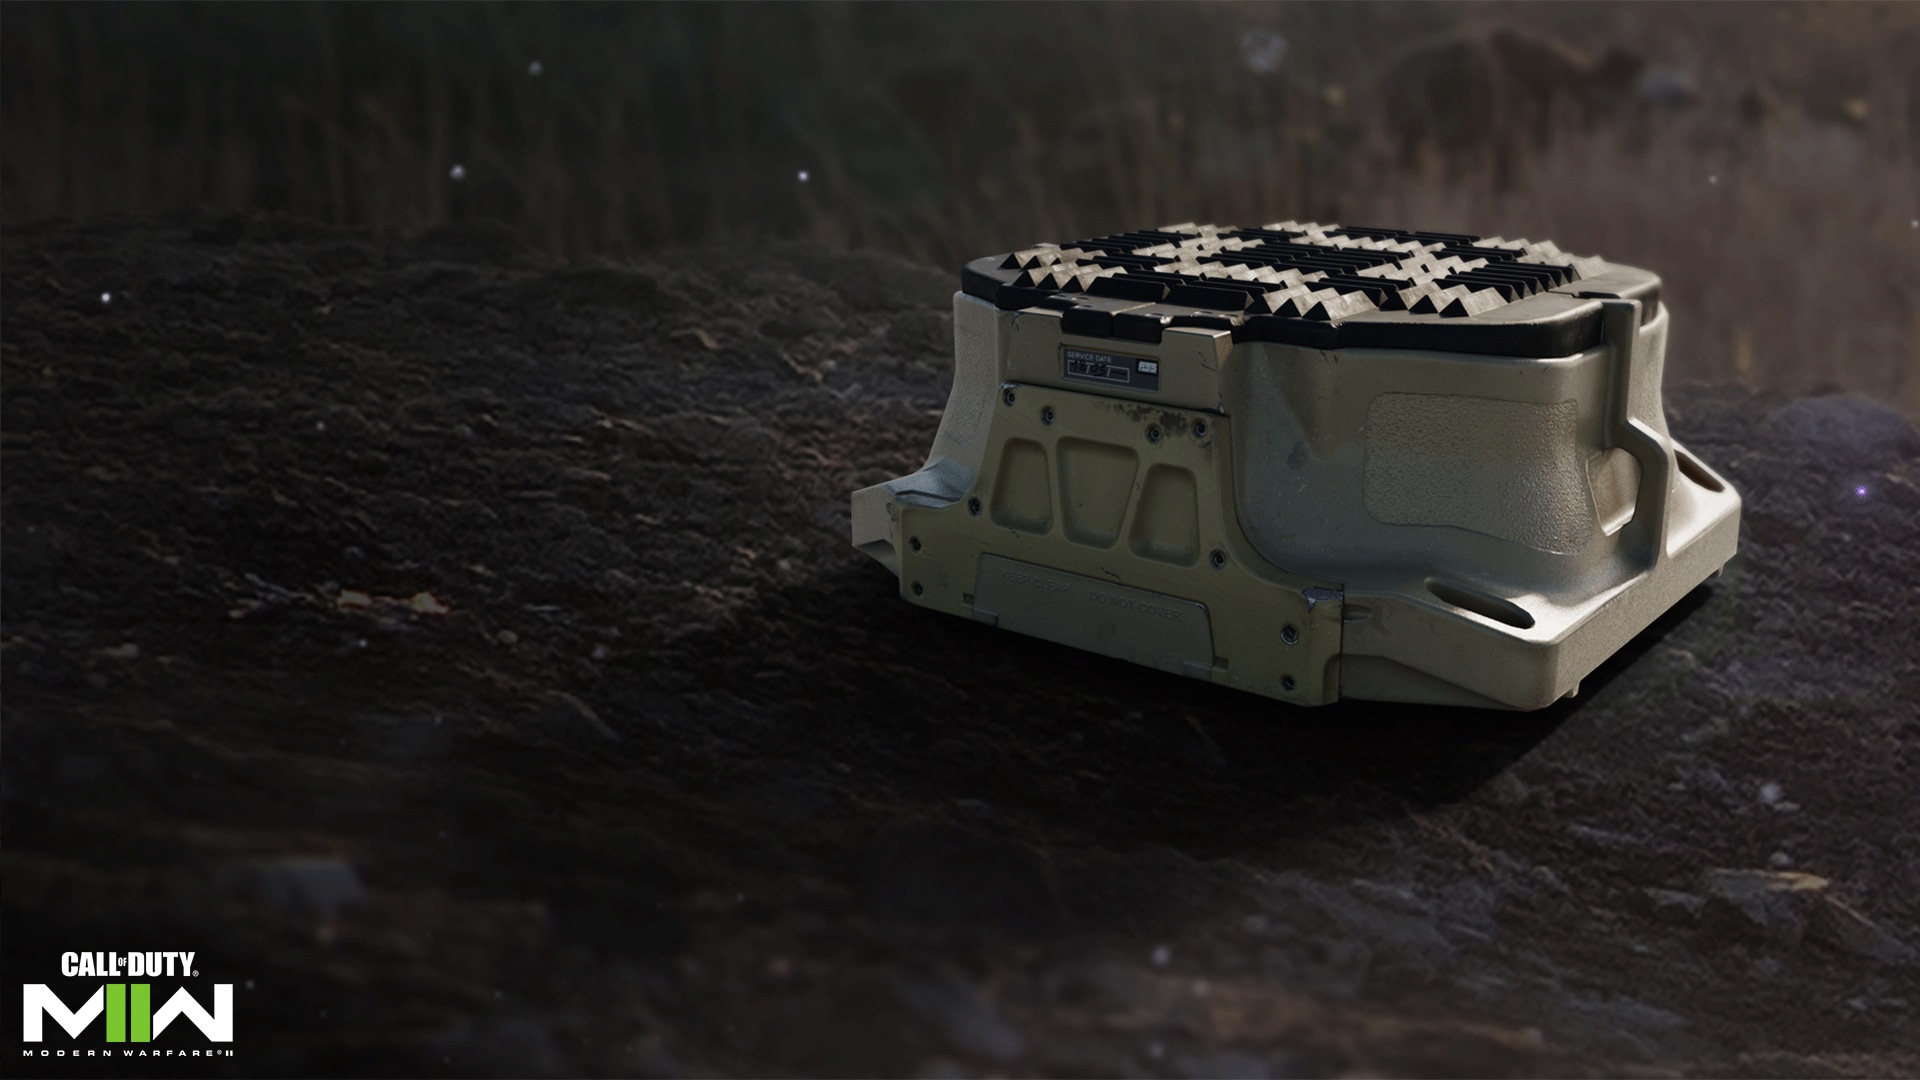
Suppression Mine: Trip mine that, when triggered, emits a constant sound wave that disrupts enemy vision and slows their movement. Strong around objectives, down long hallways, and in infantry-only modes.
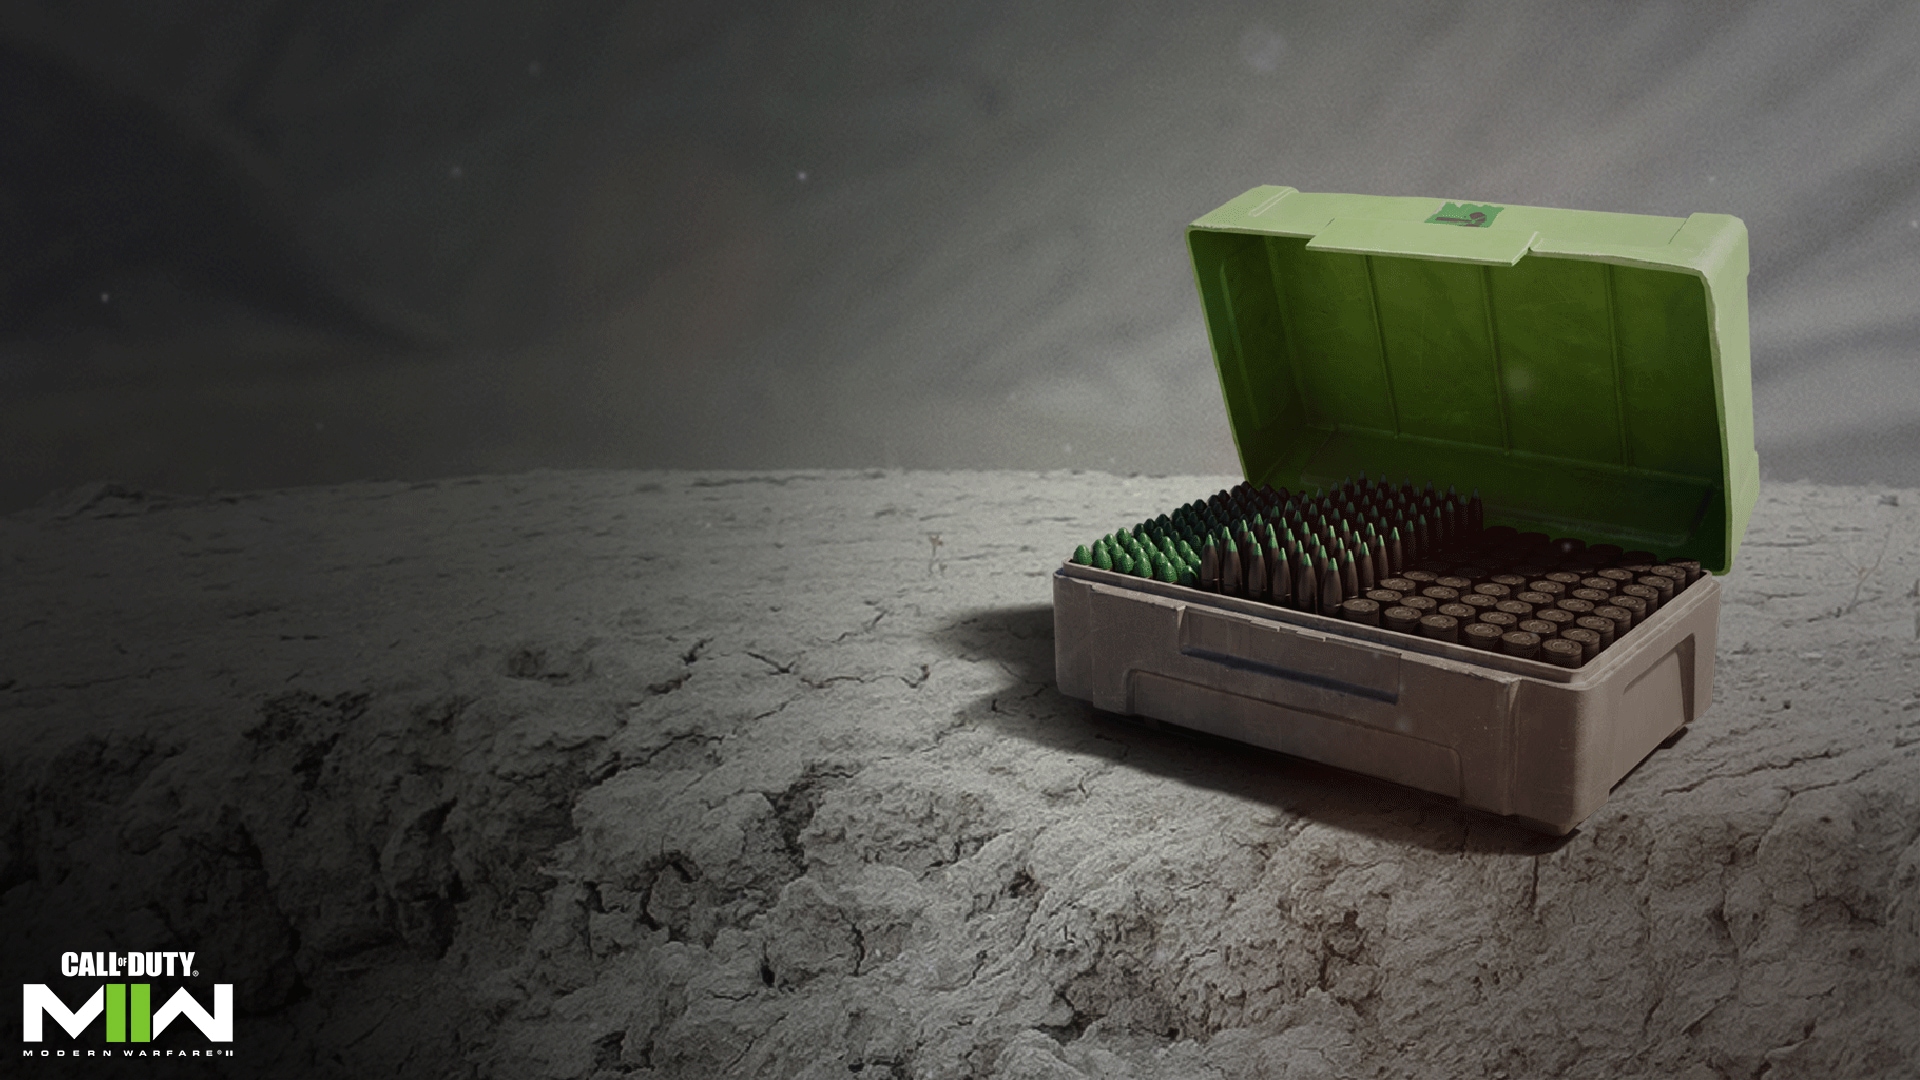
Anti-Armor Rounds: Grants weapon ammo that applies bonus damage against armored targets; this includes vehicles, equipment, body armor, and targets behind penetrable cover. Phenomenal in Ground War where vehicles roam alongside Operators. Great synergy with the Spotter Bonus Perk and with any mid- to long-range high-caliber weapon, such as a Battle Rifle, LMG, or Sniper Rifle.
Killstreaks
In Multiplayer, separate to a Loadout, you can also choose three Killstreaks to take into the match, each requiring a certain streak of eliminations to deploy.
Getting eliminated sets your streak back to zero. Modern Warfare II additionally offers the choice to use a Scorestreak system instead, using earned score instead of eliminations to track your progress. Again, when eliminated, your Scorestreak progress is reset to zero.
Only one Killstreak/Scorestreak within the same category (requiring the same number of eliminations or score) can be selected.
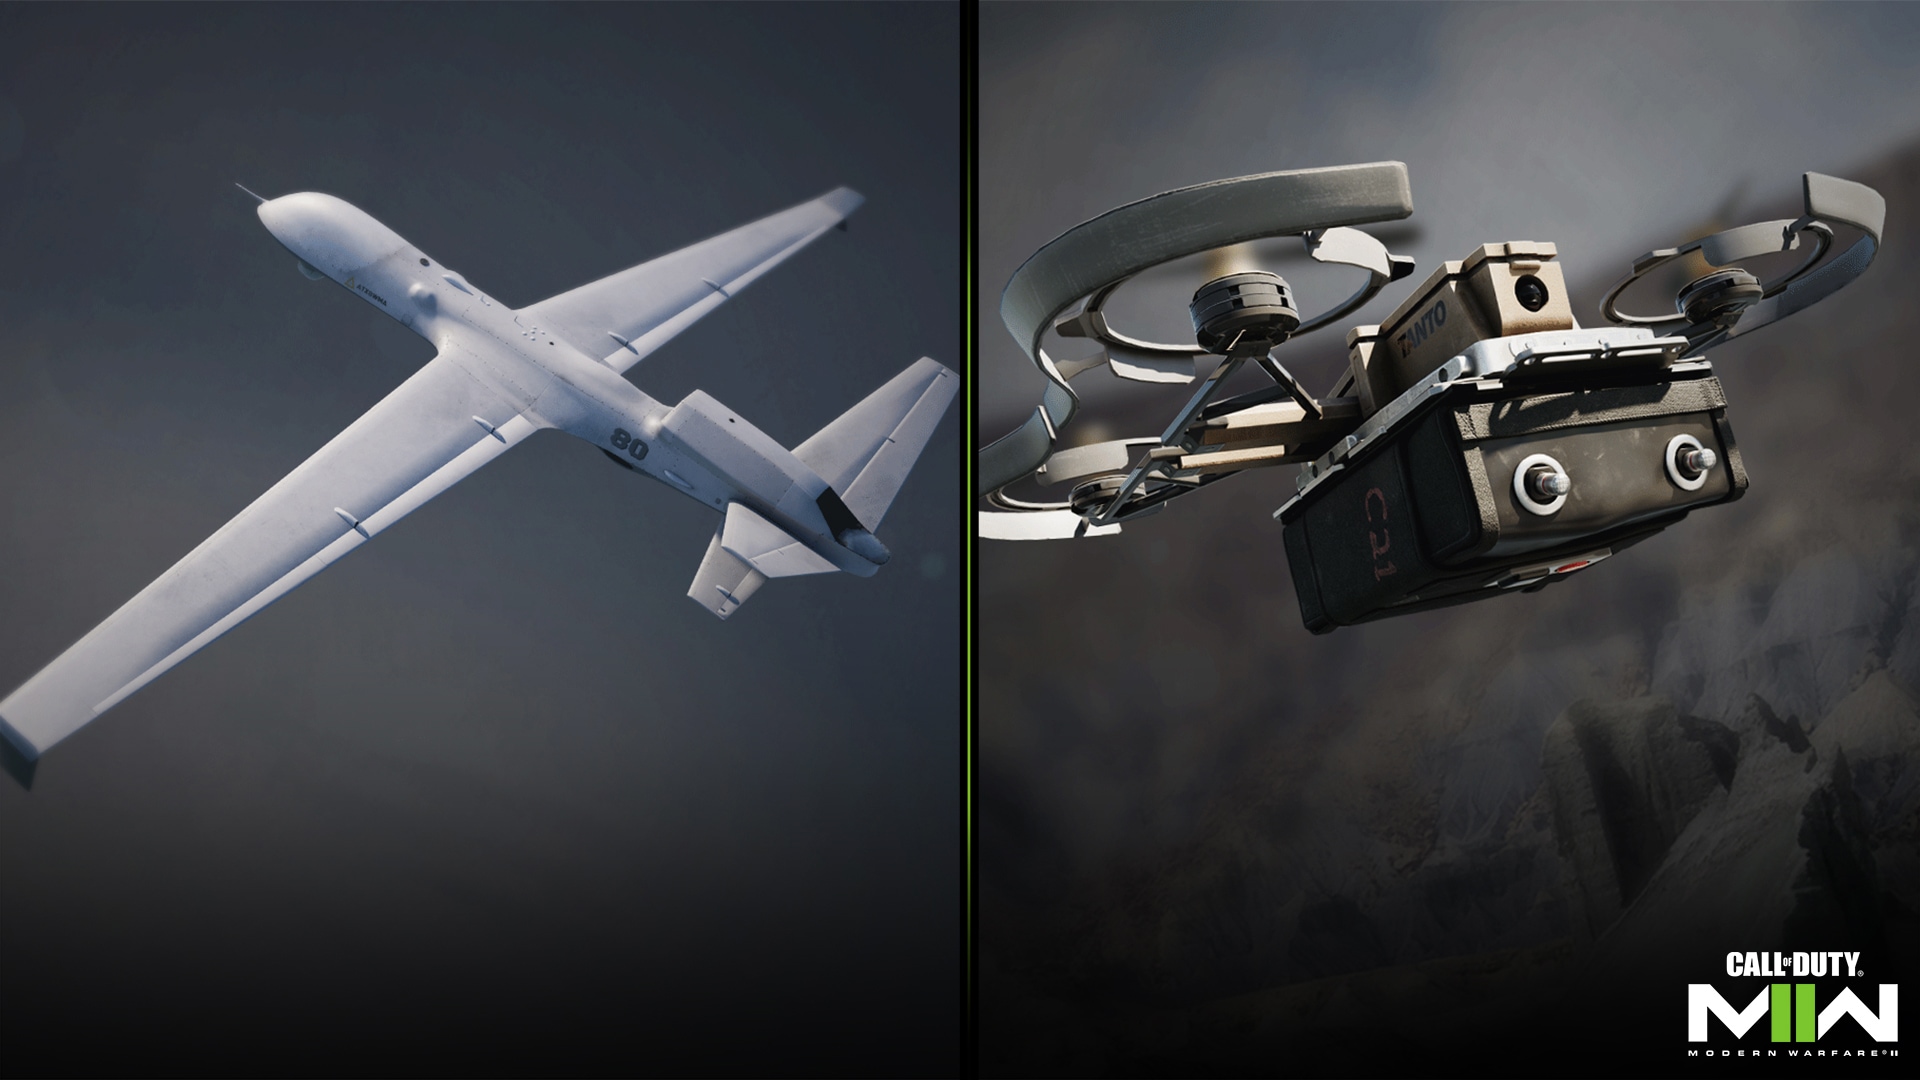
4 Kills / 500 Score
UAV: Upon activation, the UAV flies high above the playable space, revealing enemy locations on the minimap every few seconds for all squad members until it needs to refuel. It then stops sweeping for locations and quickly flies away.
Bomb Drone: A remote-controlled drone with an attached C4 charge. After activating the Bomb Drone, it can be flown anywhere in the playable area. Its C4 charge can be detonated manually, or it automatically detonates if the drone runs out of fuel, if it is shot, or if it hits water.
Bomb Drones are most effective against tightly packed groups or as a deterrent near objectives. Its secondary use case is as an intel-gathering tool, as the on-board camera allows its user to call out enemies in its view.
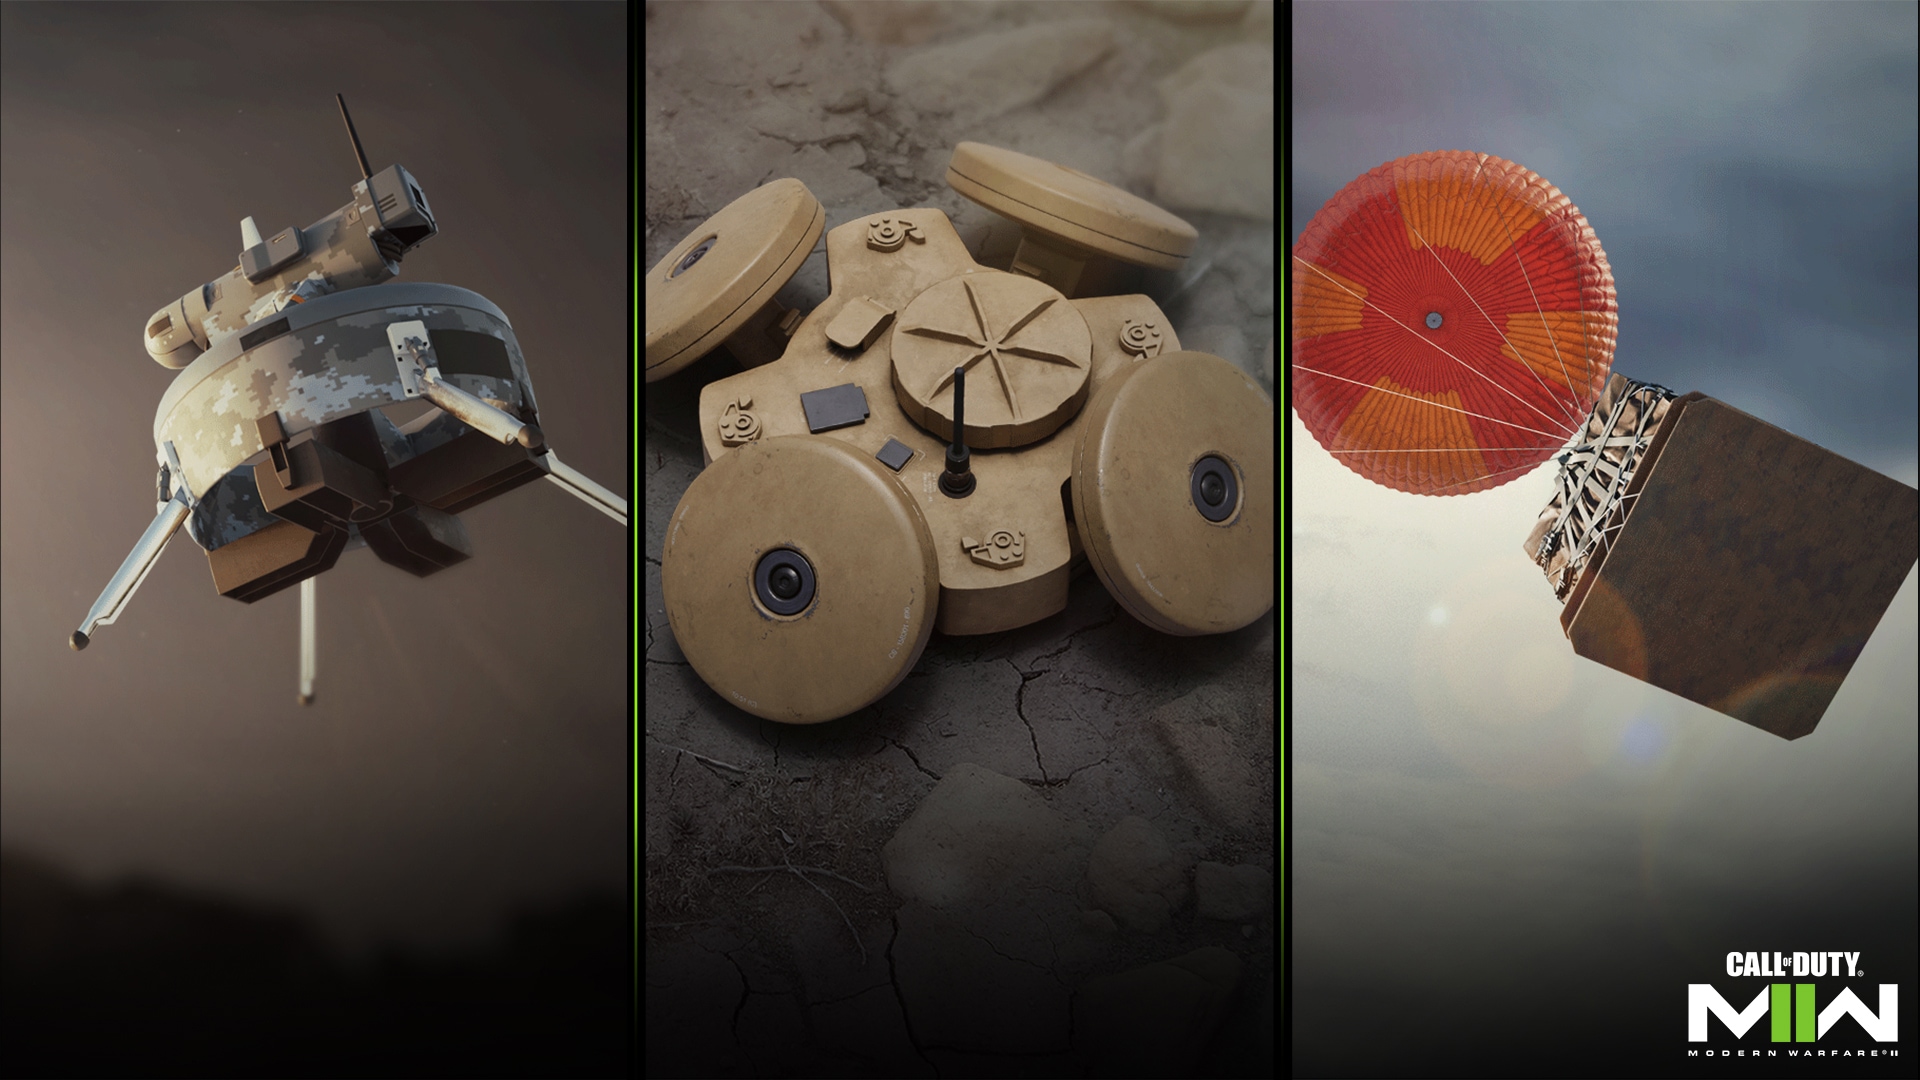
5 Kills / 625 Score
Counter UAV: A drone that scrambles all enemy minimaps. As the name suggests, this drone is a direct foil to the UAV, as well as other tools that use the minimap to display information. Like the UAV, the Counter UAV flies above the playable area and can be shot down during its duration.
Cluster Mine: Throw a device that launches a cluster of smaller mines within the immediate area. Once set, it will automatically detect enemy players within a short radius. The blast is slightly bigger than a lethal equipment explosion, making it possible to wipe out a small group of tightly packed enemies.
Care Package: After activating this Killstreak, your Operator gets a Care Package marker to throw or place down. Once it is placed, a helicopter will fly over and drop a package at the marked spot. Care Packages contain one of any standard Killstreak that is not another Care Package or Emergency Airdrop. The odds are weighted toward “less expensive” Killstreaks, such as UAVs and Bomb Drones, but it is possible to pull Gunships, Advanced UAVs, and even Juggernaut suits from a Care Package.
Any Killstreak earned through a Care Package will be saved in the “fourth Killstreak slot” for your Operator.
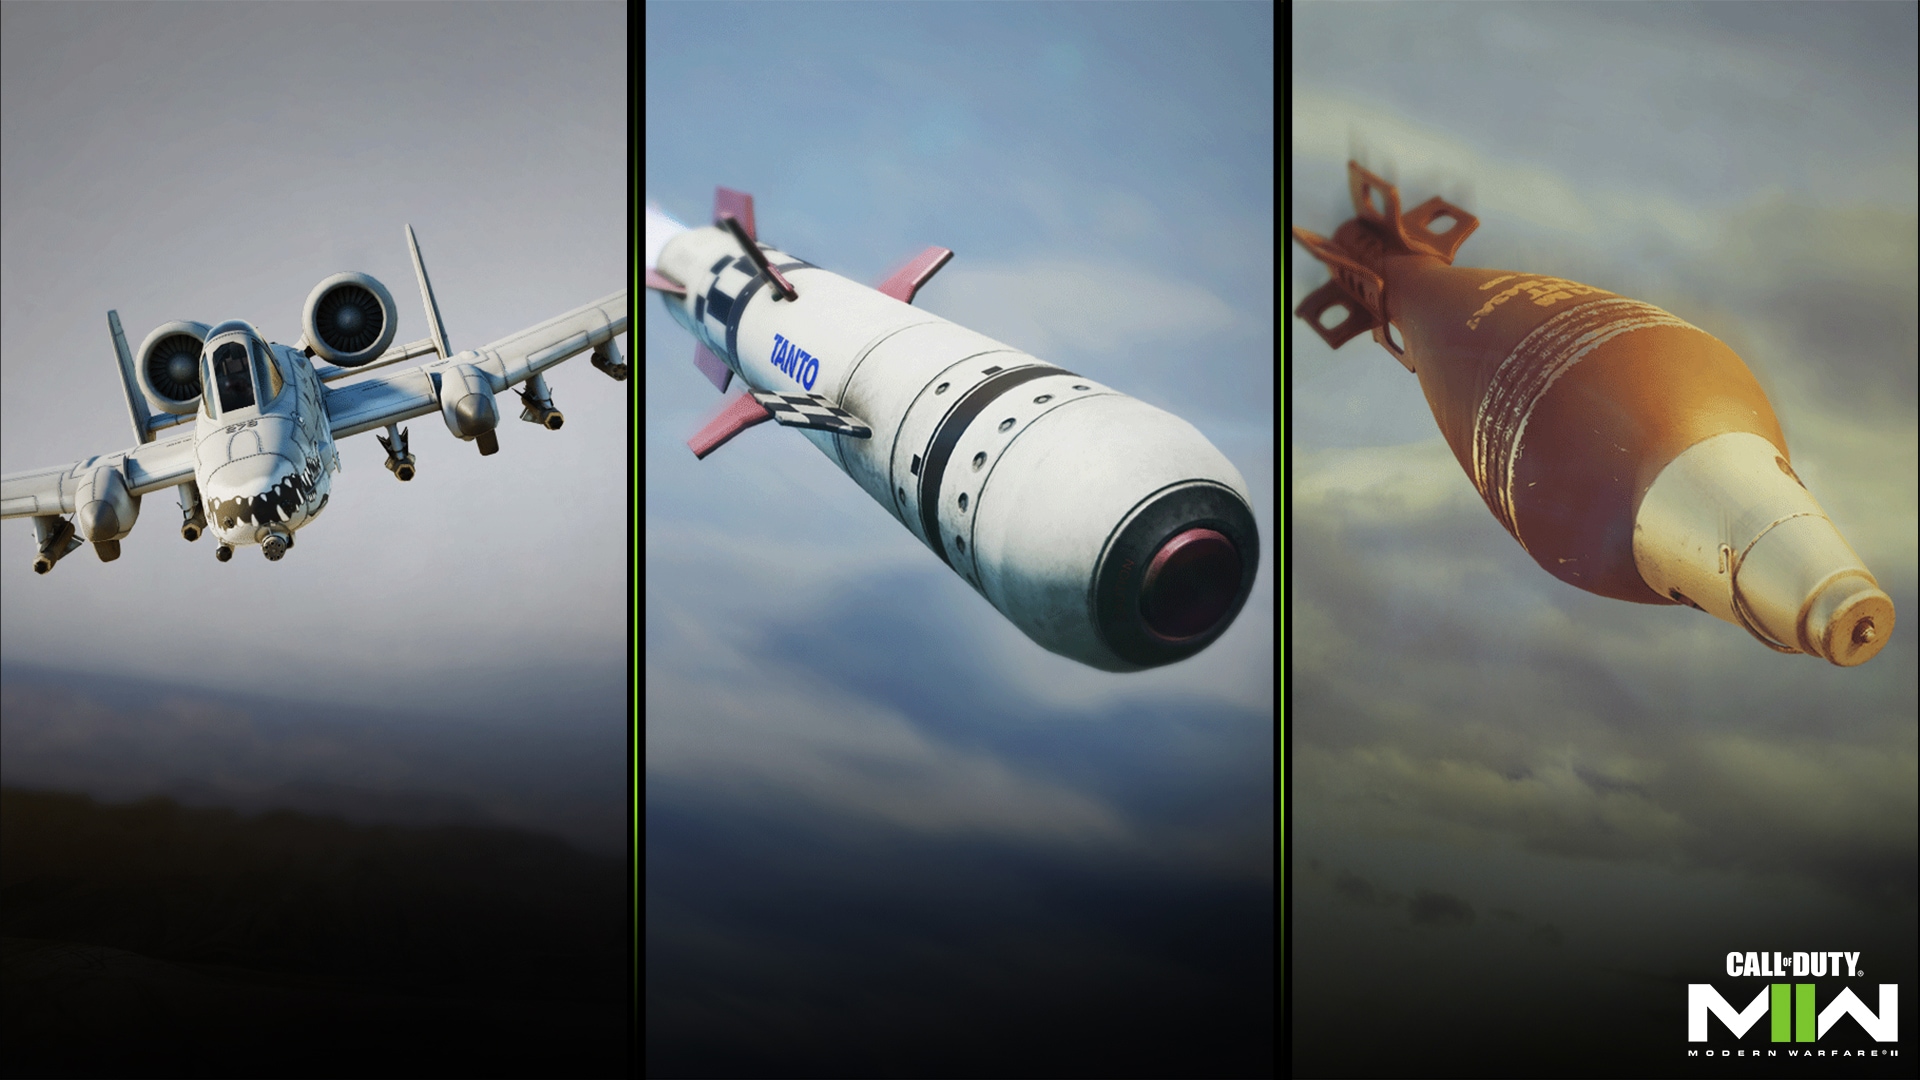
6 Kills / 750 Score
Precision Airstrike: Use a Spotter Scope to designate a target area for bombardment. Mark the area and two jets will swoop down in succession, raining down gunfire using the best available path. The Precision Airstrike’s path is determined by covering the most playable area while avoiding anything that would block flight, such as a building. These jets fly by quickly enough to avoid most anti-Killstreak technology, such as Launchers.
Cruise Missile: Upon activation, your Operator will launch a Cruise Missile via tablet and release it from its air carrier. While airborne, the missile can be steered and accelerated via its built-in boost function. Enemy Operators without the Cold-Blooded Perk will appear with a red icon for assisted targeting.
Mortar Strike: Mark a target location with the laser pointer to signal several waves of mortars to attack the area. The Mortar Strike is great for clearing out and suppressing a small zone like an objective or an important pathway on the map. Don’t get caught in the bombardment.
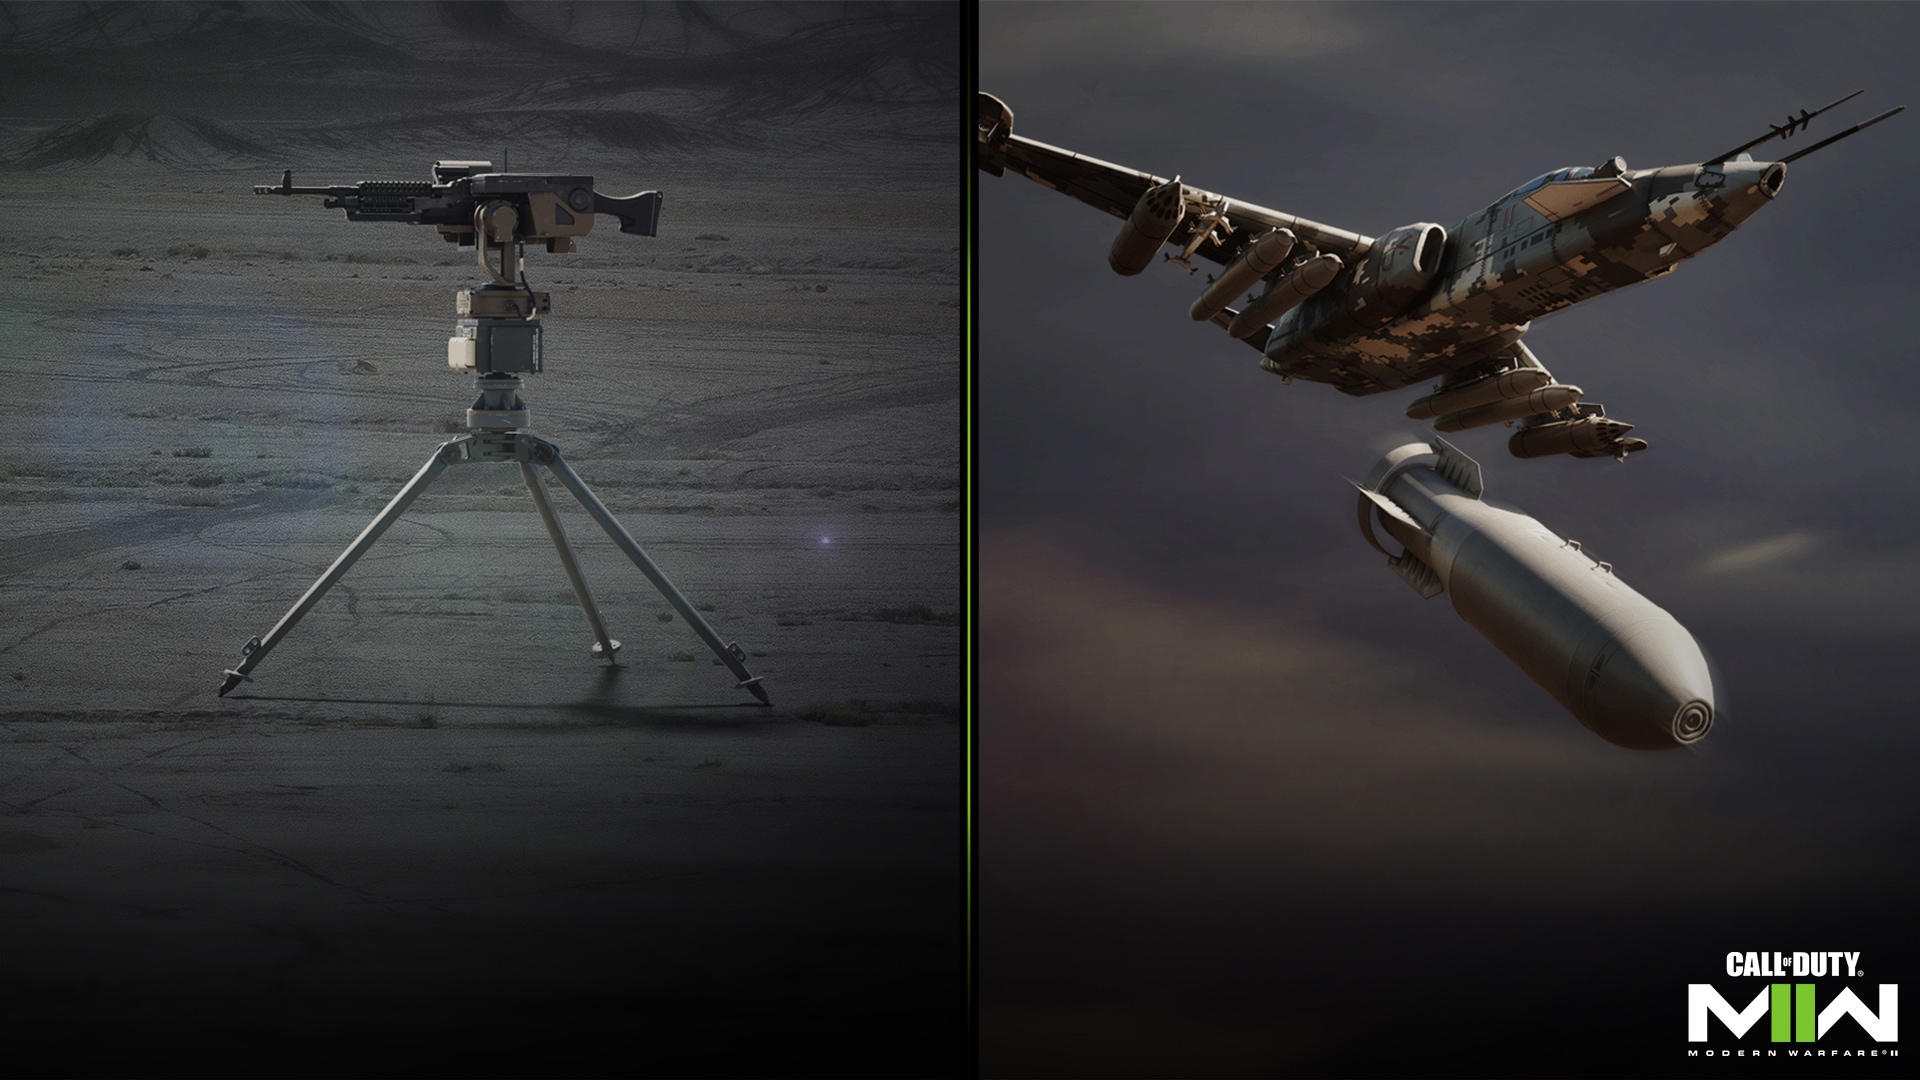
7 Kills / 875 Score
Sentry Gun: An AI-controlled weapon, the Sentry Gun scans for nearby enemies once it is placed, firing incendiary rounds at anyone within 90 degrees to the left or right of its original position. Once it is deployed, its deployer can pick it up – during this state, if the deployer dies, the Sentry is lost.
SAE: The SAE is like a super Precision Airstrike, as it has an additional jet and the ability to control the path of each strike. There is a slight delay between when the jets are called in and when they make impact, but even with that small window, the SAE is a relatively accurate triple strike.

8 Kills / 1,000 Score
VTOL Jet: Releases bombs in a line at the selected point before circling back and guarding a location of the player’s choice. Once it returns, its fast-firing, high-caliber turret can easily eliminate enemies, making it a true defensive powerhouse or a strong offensive tool to call in before advancing to an area. The VTOL Jet can move to a different area if its Operator chooses; look for an on-screen prompt to redirect its patrol area.
Overwatch Helo: This drone shares offensive elements with the Attack Helicopter from previous games, except that it follows relatively closely behind your Operator and pings enemy locations. Consider the Overwatch Helo like a buddy from above; it will be helpful in calling out nearby enemies and can even eliminate a few once it does so.
Wheelson-HS: Remote controlled amphibious vehicle with auto-sentry capabilities. The HS model of the Wheelson is updated to include a more powerful mini-turret and the ability to float on water. It can either be manually piloted or, after initially bringing up its controls via tablet, set to a stationary autopilot mode.

10 Kills / 1,250 Score
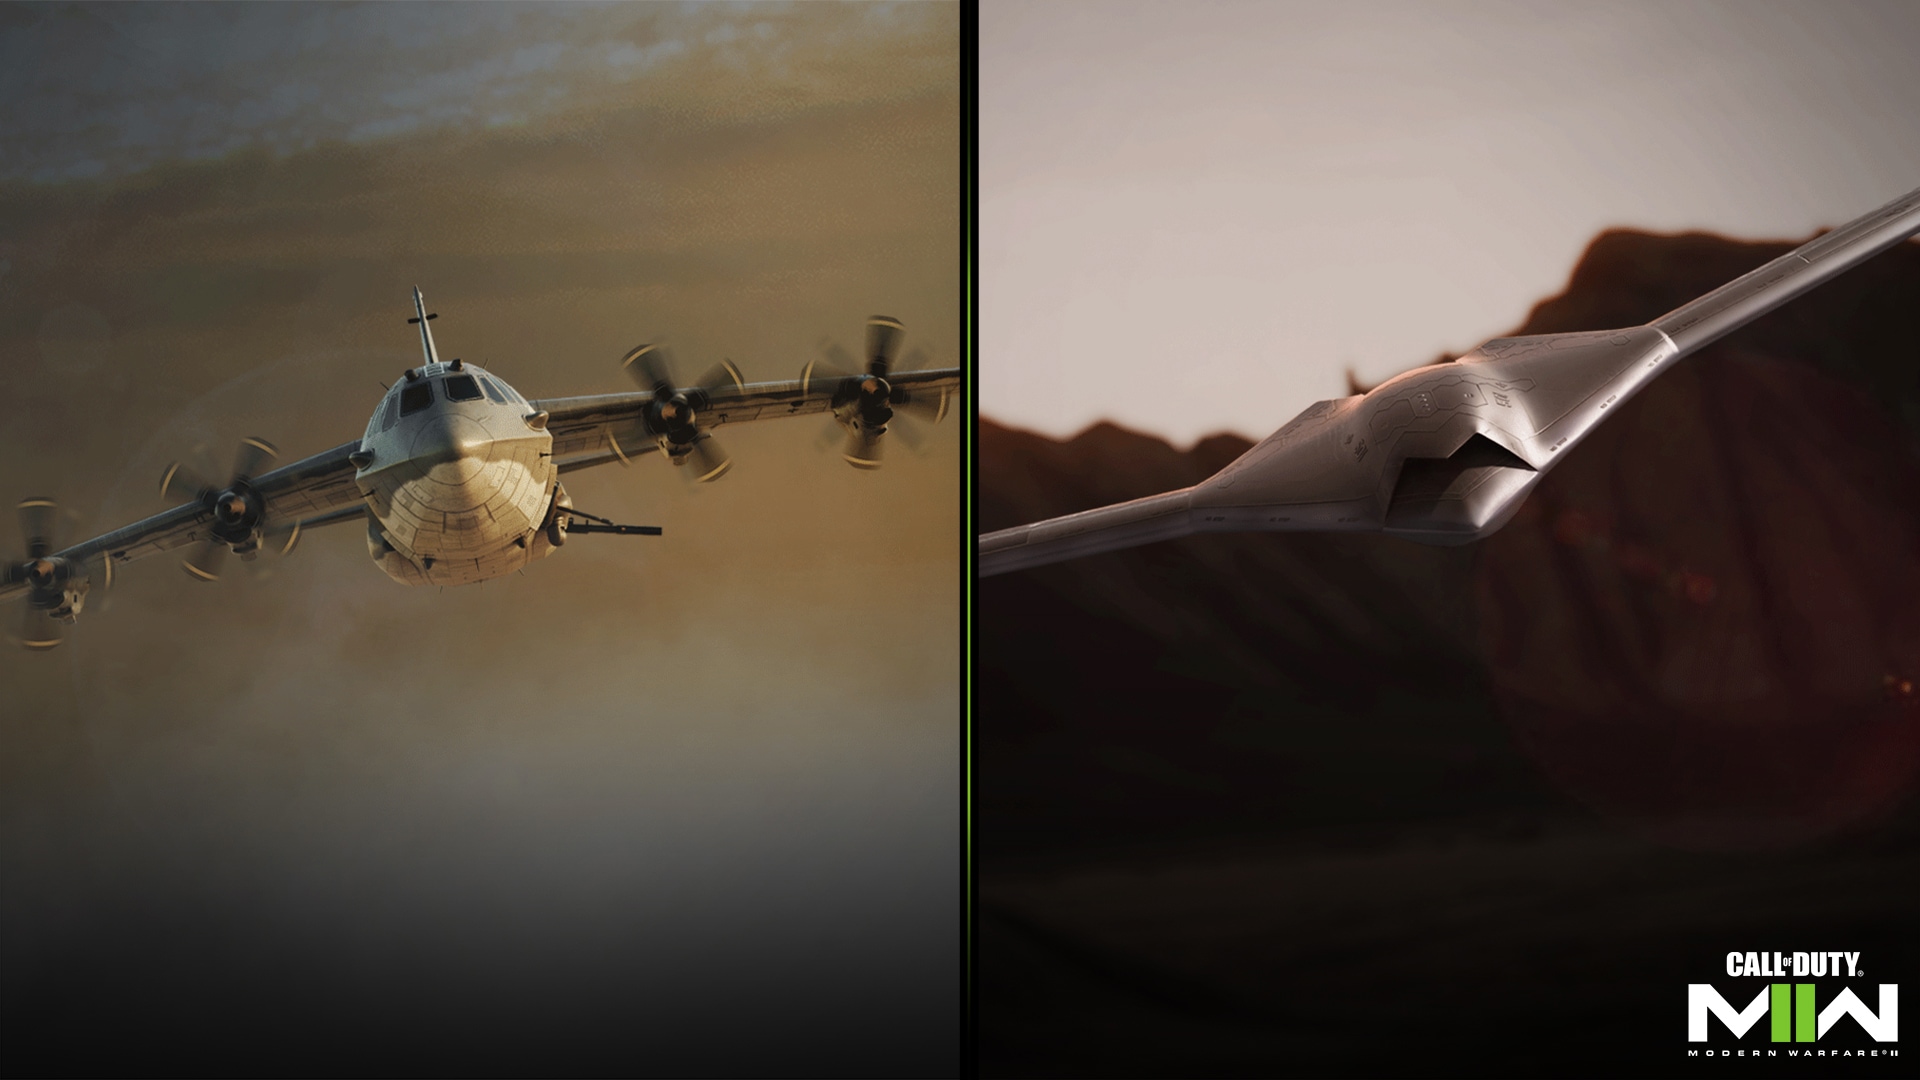
Stealth Bomber: Call in a bomber that releases a large line of explosives along its path without warning. The sheer amount of firepower is enough to blanket most maps with explosions, which makes finding substantial interior cover the only way of avoiding this Killstreak.
Chopper Gunner: Control an assault chopper armed with a turret and air-to-ground missiles. While controlling the Chopper Gunner’s movement, fire away with its high-caliber cannon rounds and several rockets. In terms of defense, the Chopper Gunner’s hull can withstand a few rockets and has flares to deter auto-targeting threats. The built-in vision system can be switched to thermal mode, highlighting enemies by their heat signature.
Emergency Airdrop
Dropped by a rope system that's tied to the same helicopter as the normal care package. Three crates will be delivered together by the same helicopter. These Care Packages are functionally similar to regular Care Packages in every way. Act fast and be generous with your team to scoop up all the random Killstreaks inside these packages, lest they fall into the wrong hands.
12 Kills / 1,500 Score
Gunship: A heavy assault gunship equipped with a laser tracking missile along with 40 mm and 25 mm cannons. The laser tracking missile can wipe out other Killstreaks, Vehicles, or large groups of enemies. The 40 mm cannon is perfect for peppering Killstreaks, Vehicles, and objectives if the missile is not available, and the 25 mm cannon is best used against individual targets. Utilize the built-in thermal sight to detect enemy Operators via their heat signatures.
Advanced UAV: An untargetable orbital UAV that reveals the enemy’s direction on the minimap in real time for you and your allies. This is active for as long as a standard UAV. Because this Killstreak is high value, it may be worth using after dying during the subsequent life. That way, the intel can be used to re-earn this Killstreak and others.
15 Kills / 1,875 Score
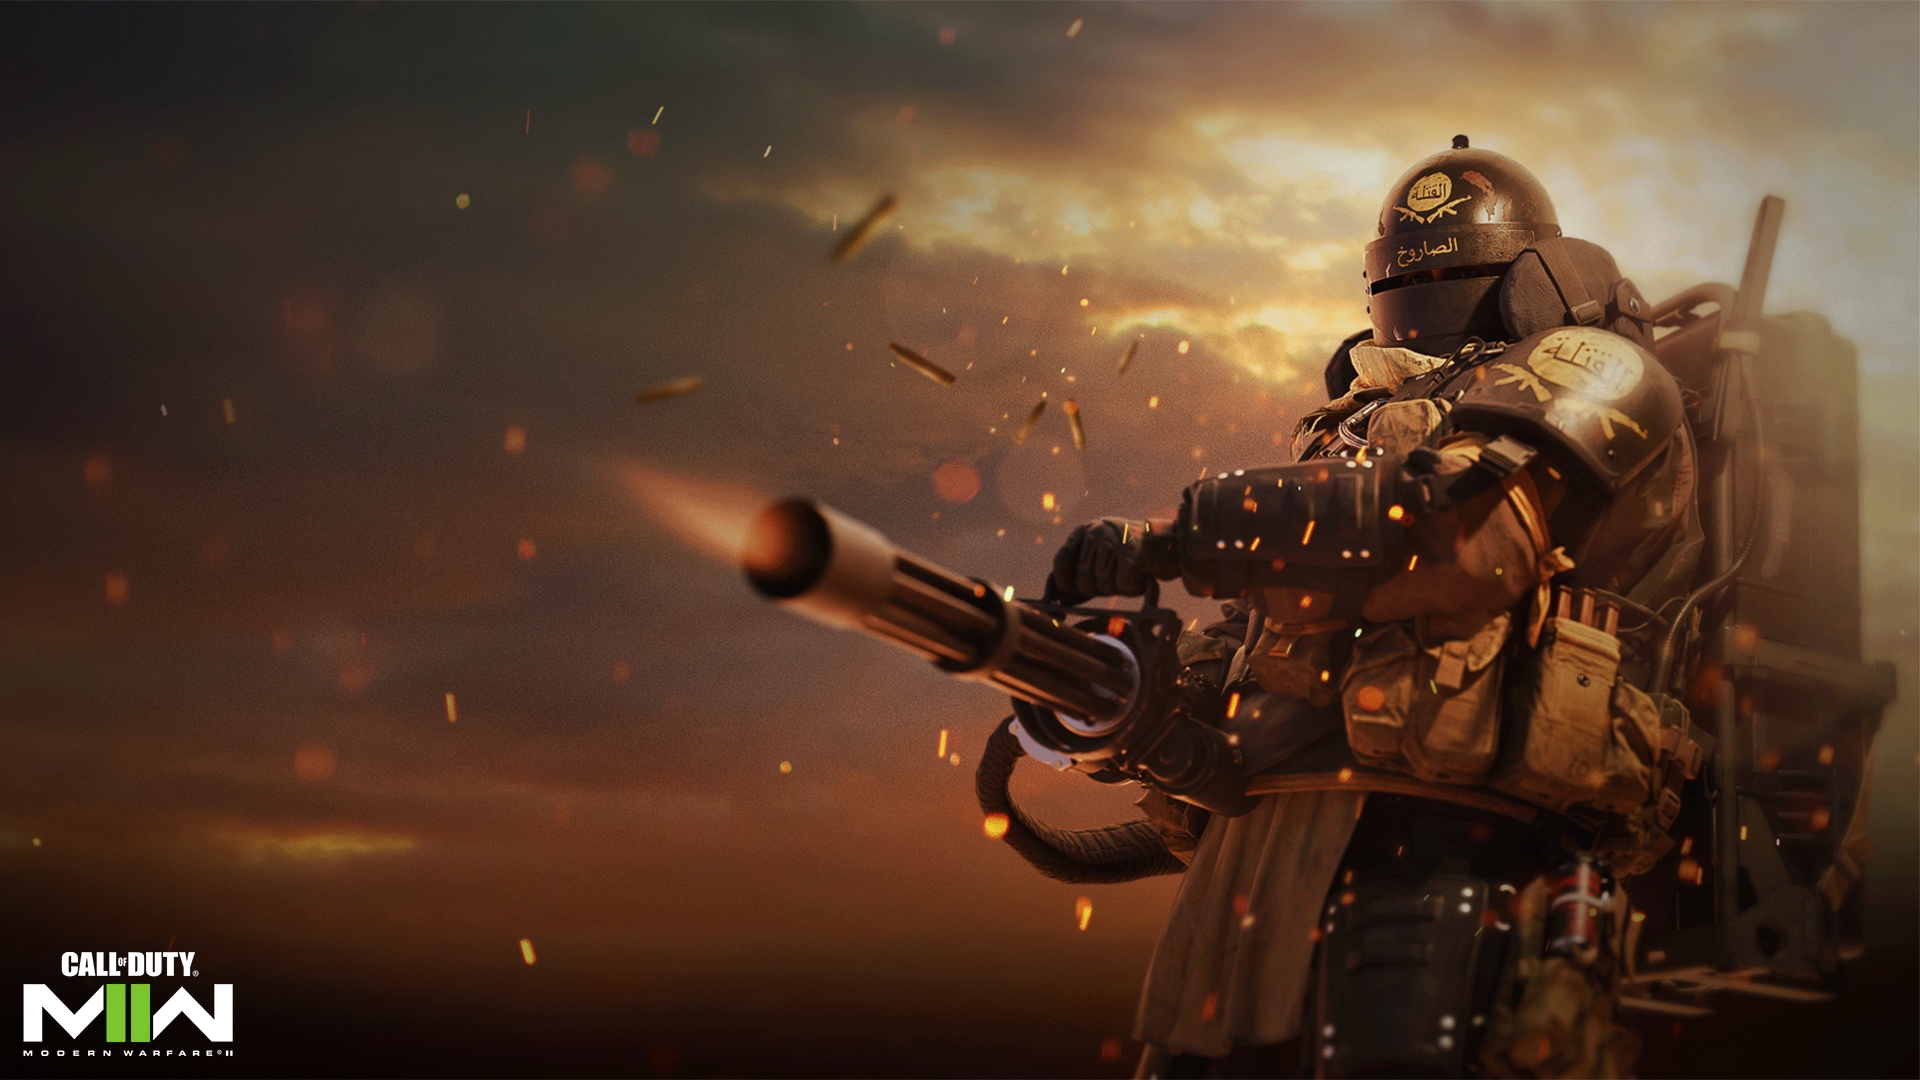
Juggernaut: Once earned, the Juggernaut Care Package marker can be dropped anywhere on the map like a standard Care Package. Capture it to become the Juggernaut, a super-soldier with incredible health and armor that can only be downed with tons of headshots or sustained explosive barrages. With the suit comes a minigun, which becomes available for use after the Juggernaut perishes, a surefire power weapon in anyone’s hands.
New Tactics: Learn Aquatic Maneuvers, Ledge Hanging, and More in Multiplayer
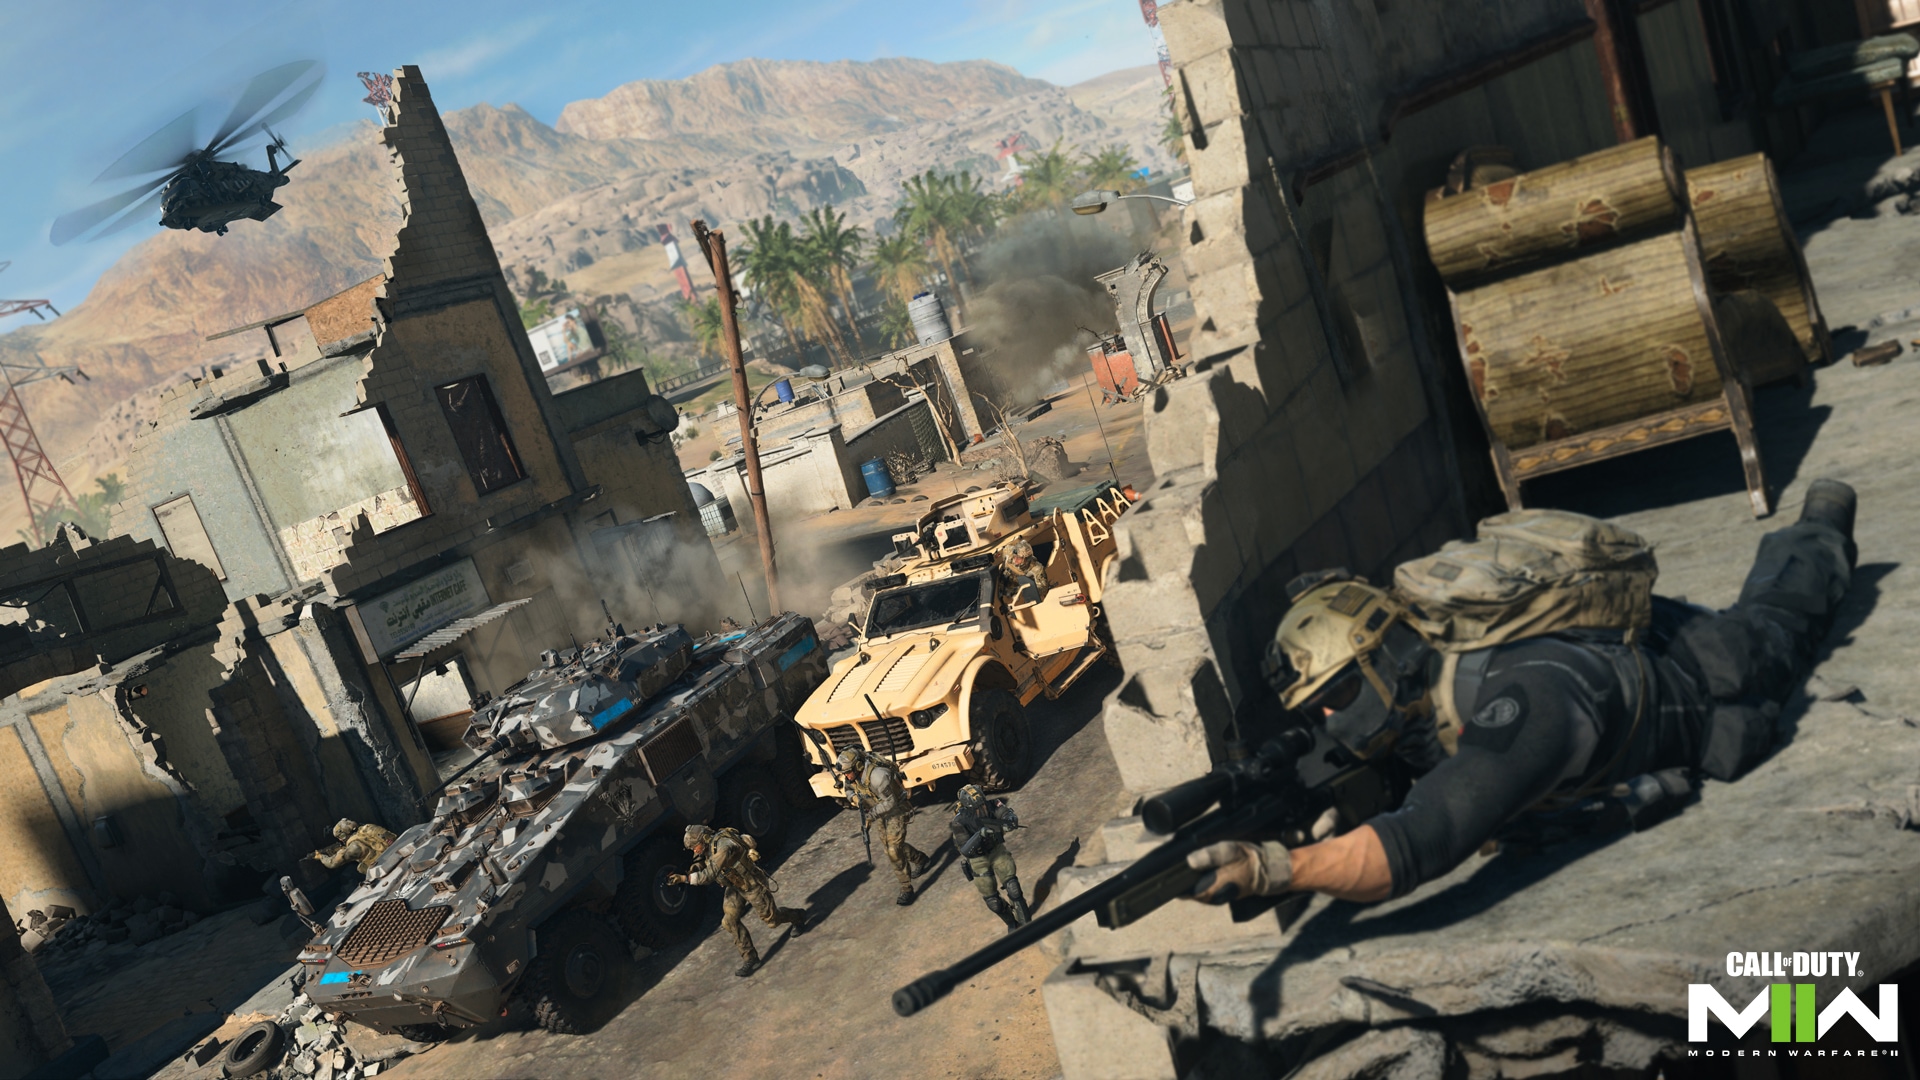
Multiplayer is a great training ground for learning some new mechanics in Modern Warfare II, including the following.
Aquatic Maneuvers: Modern Warfare II introduces water-based movement and combat, adding a new layer of strategy as you incorporate aquatic environments in the map. Plunge in and swim up to an unsuspecting enemy or take a dive when you’ve got enemy Operators hot on your tail.
If the battle moves underwater, you’re not out of luck. Operators can fire their sidearms and use certain equipment while submerged, but note that your weapon’s projectile will be affected by the water’s density, so adjust your aim accordingly.
Ledge Hang: When mantling up onto certain ledges, your Operator will be given the option to use the new Ledge Hang ability. This allows you to peek over the edge without fully exposing your position. Your Operator can fire their sidearm while peeking until they run out of ammo; from that point, you can either complete the mantle action to go up and over the ledge or drop back down to reposition.
Modern Warfare II Launches October 28
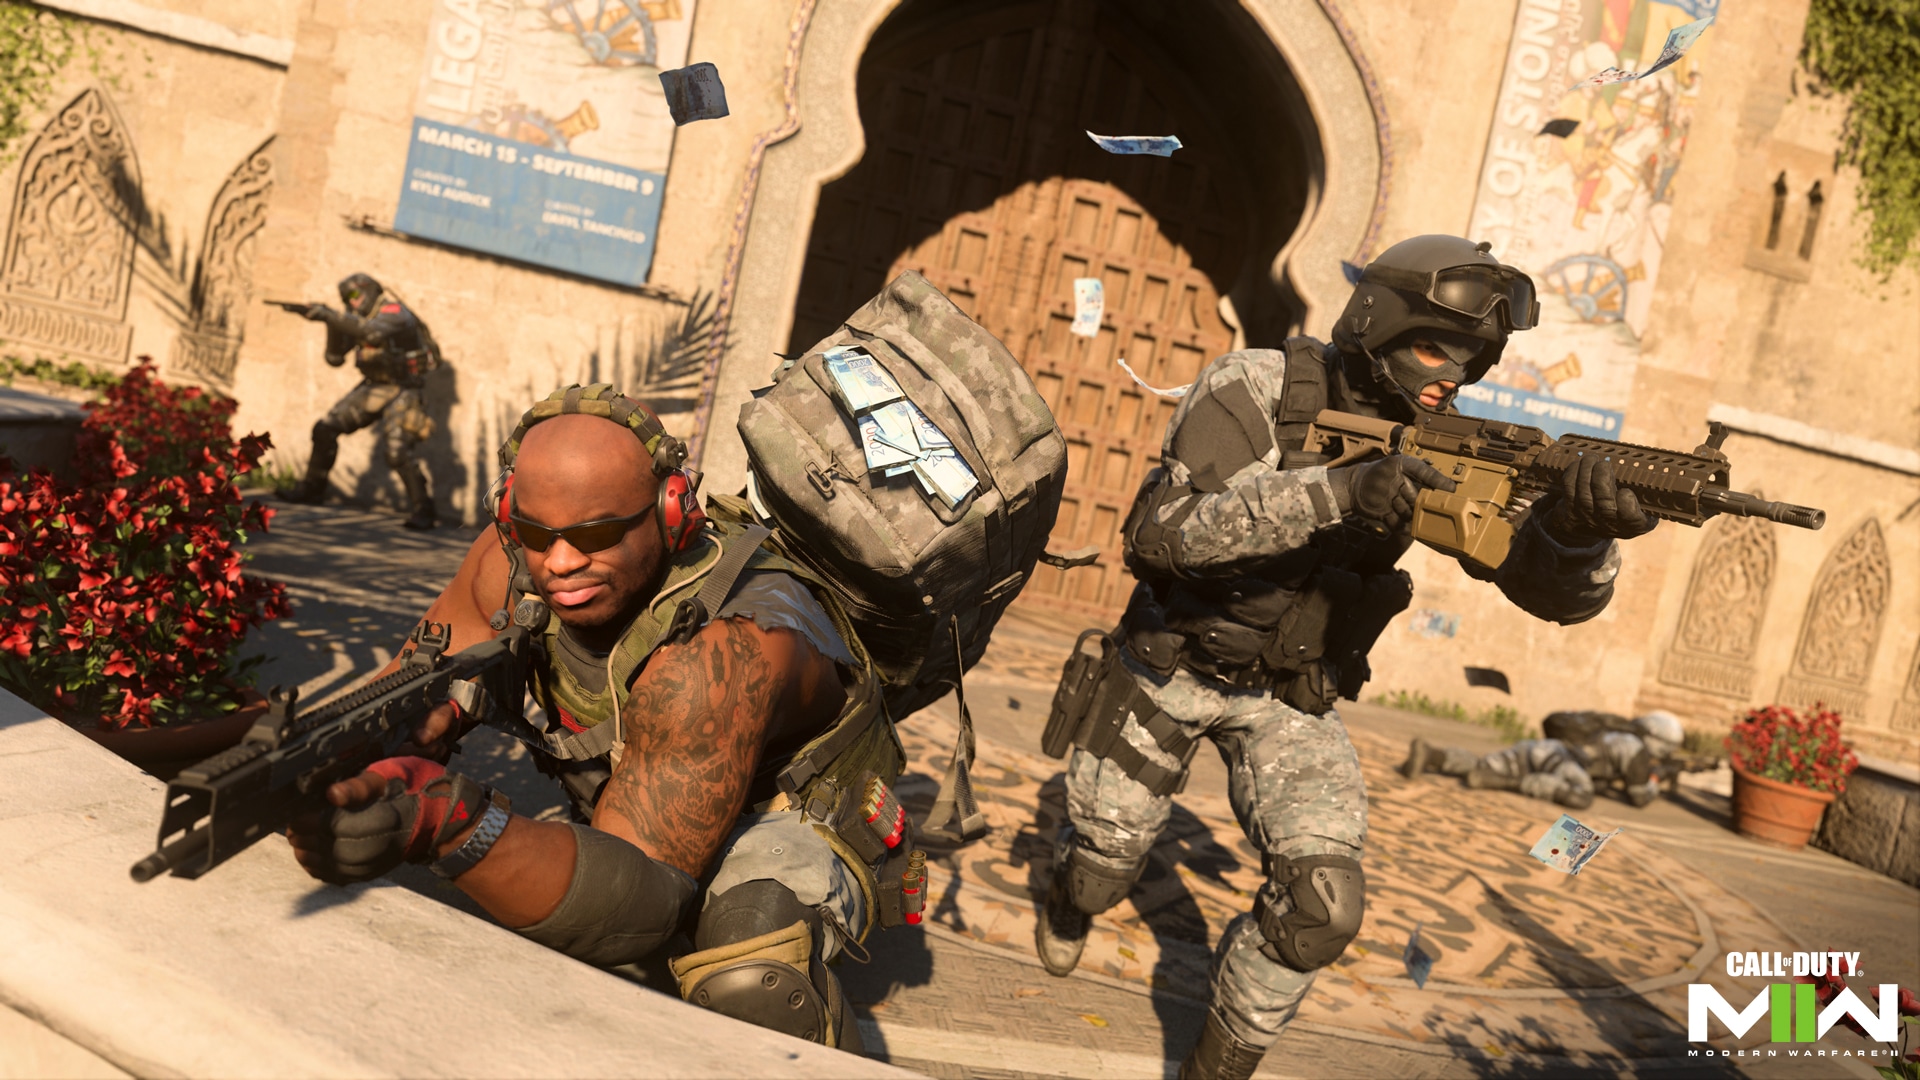
Time is running out to get pre-purchase rewards for Modern Warfare II.
Players who digitally pre-purchase Call of Duty: Modern Warfare II can still get early access to the Campaign and play the Campaign now before the game launches on October 28*. Players who pre-purchase the Vault Edition of Modern Warfare II will receive this benefit plus the Red Team 141 Operator Pack, FJX Cinder Weapon Vault**, Season 01 Battle Pass, and 50 Tier Skips***.
*ONE WEEK BASED ON ESTIMATED ACCESS; ACTUAL PLAY TIME SUBJECT TO POSSIBLE OUTAGES AND APPLICABLE TIME ZONE DIFFERENCES.
Order your copy today at CallofDuty.com.
Stay frosty.
**Weapon Vault design limited to Weapon Vault contents at launch.
Battle Pass and Tier skips, or equivalent versions, will be accessible in Modern Warfare II once the season 1 Battle Pass, or equivalent system, is made available in game. Battle Pass redemption applies to one season of Modern Warfare II Battle Pass, or equivalent system only. For more information, please visit https://www.callofduty.com/.
© 2019-2022 Activision Publishing, Inc. ACTIVISION, CALL OF DUTY, CALL OF DUTY WARZONE, MODERN WARFARE, and WARZONE are trademarks of Activision Publishing, Inc. All other trademarks and trade names are the properties of their respective owners.
For more information, please visit www.callofduty.com and www.youtube.com/callofduty, and follow @Activision and @CallofDuty on Twitter, Instagram, and Facebook.