Call of Duty: Modern Warfare II Shipment Map Intel
Operation Shipment
International Waters
Day 47, 00:32
Factions Deployed: SpecGru / KorTac
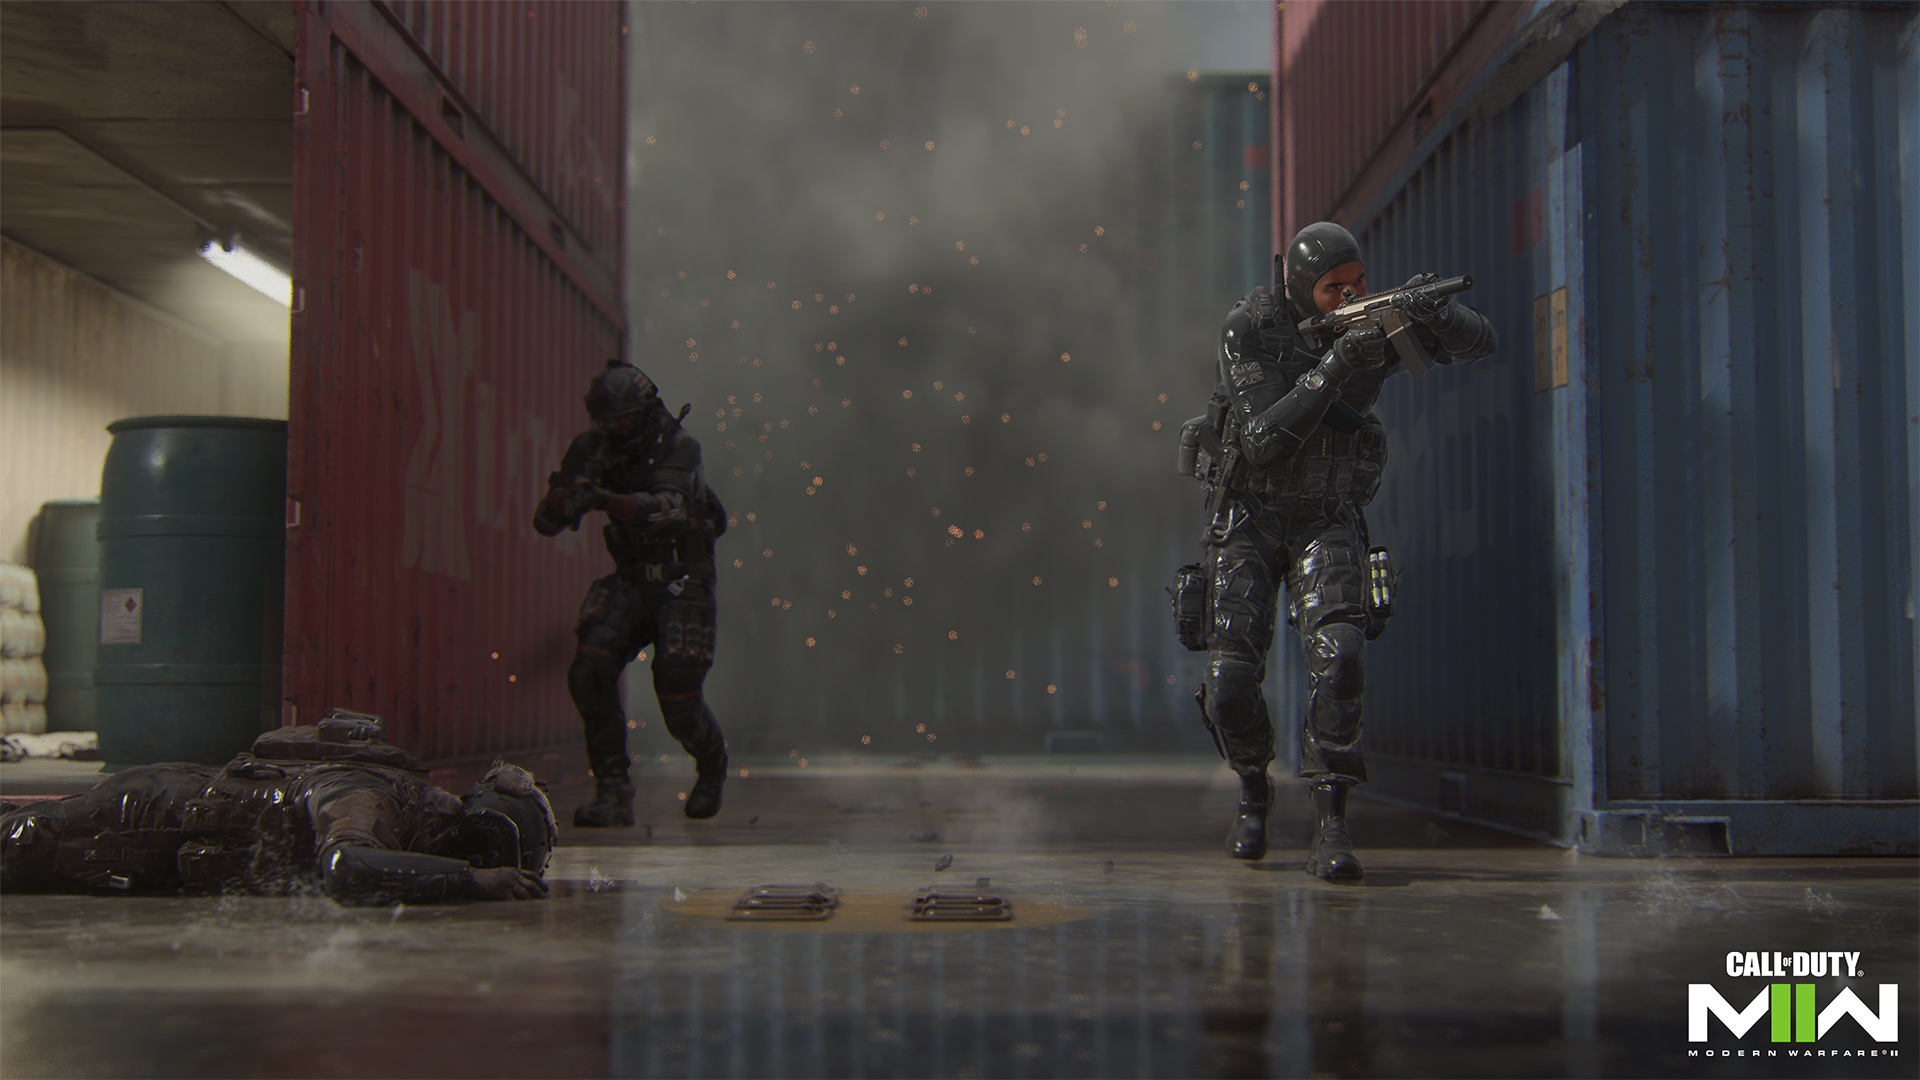
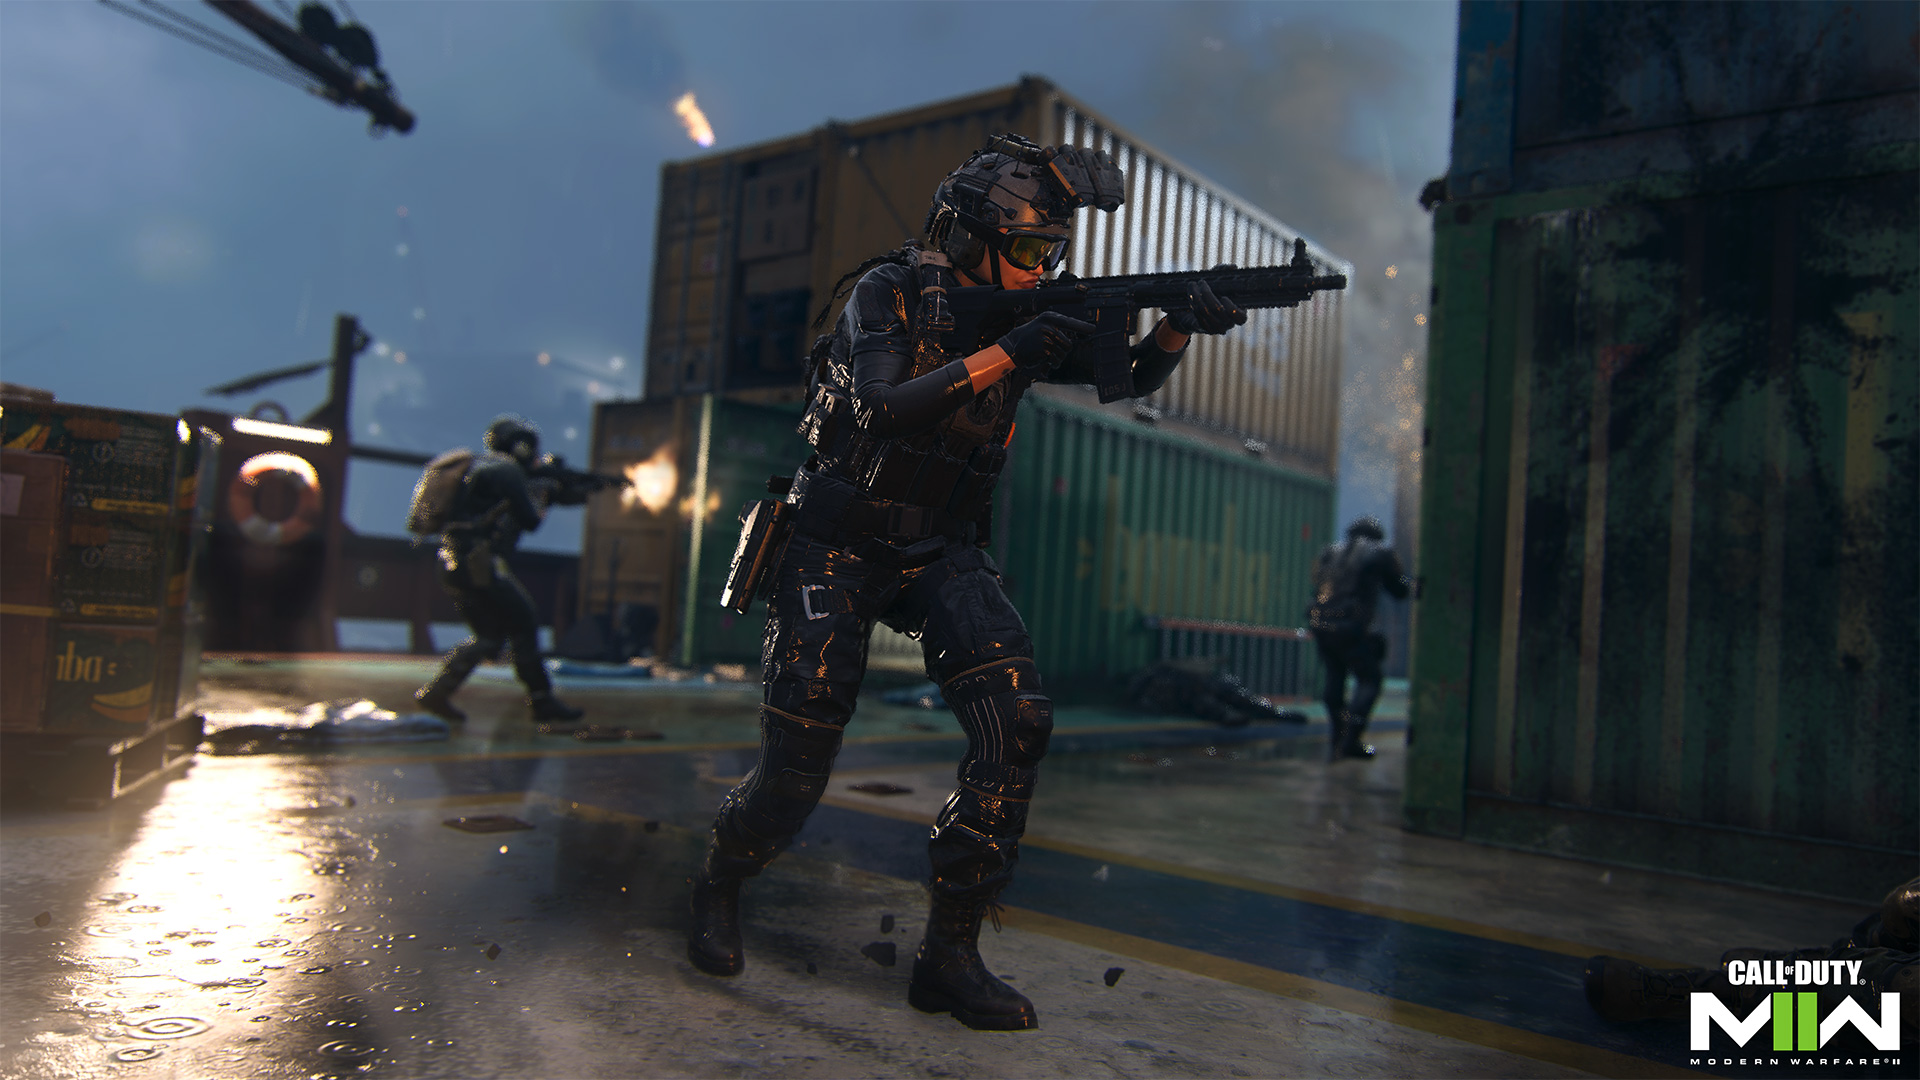
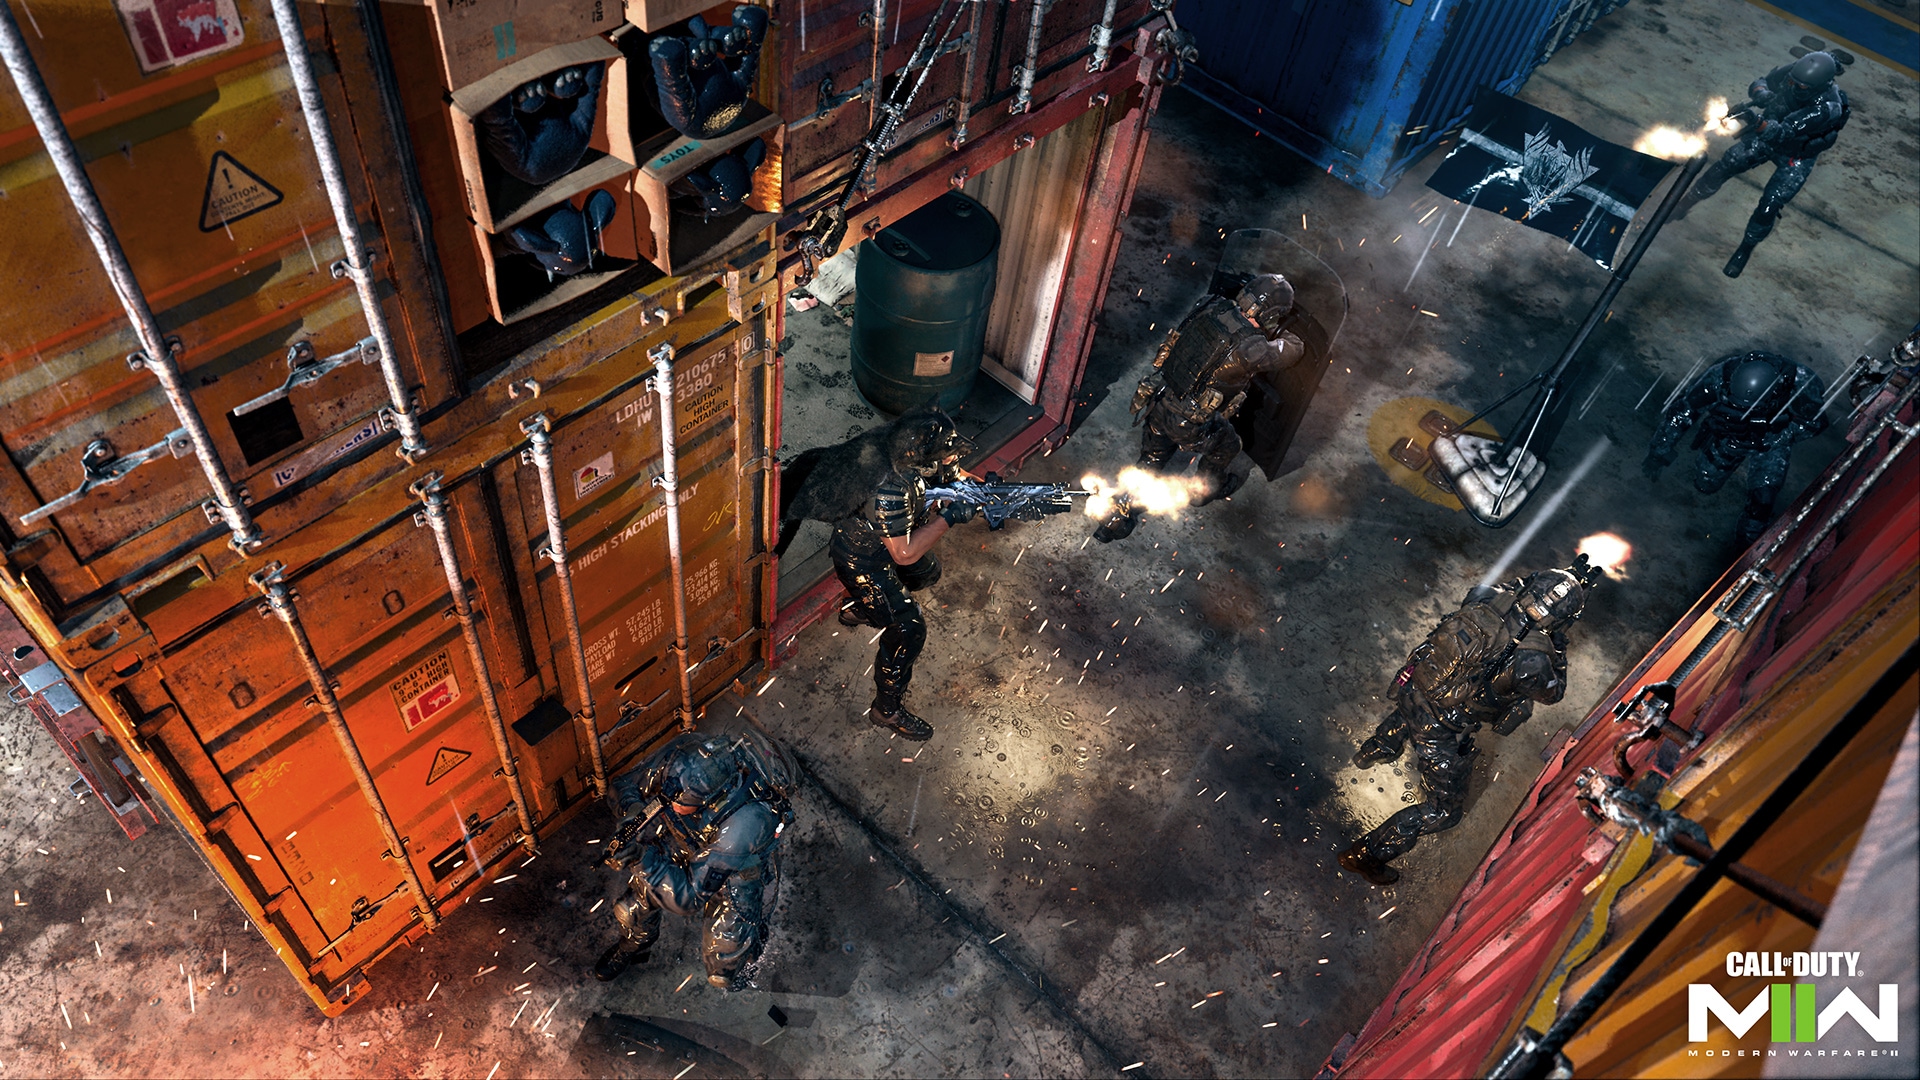
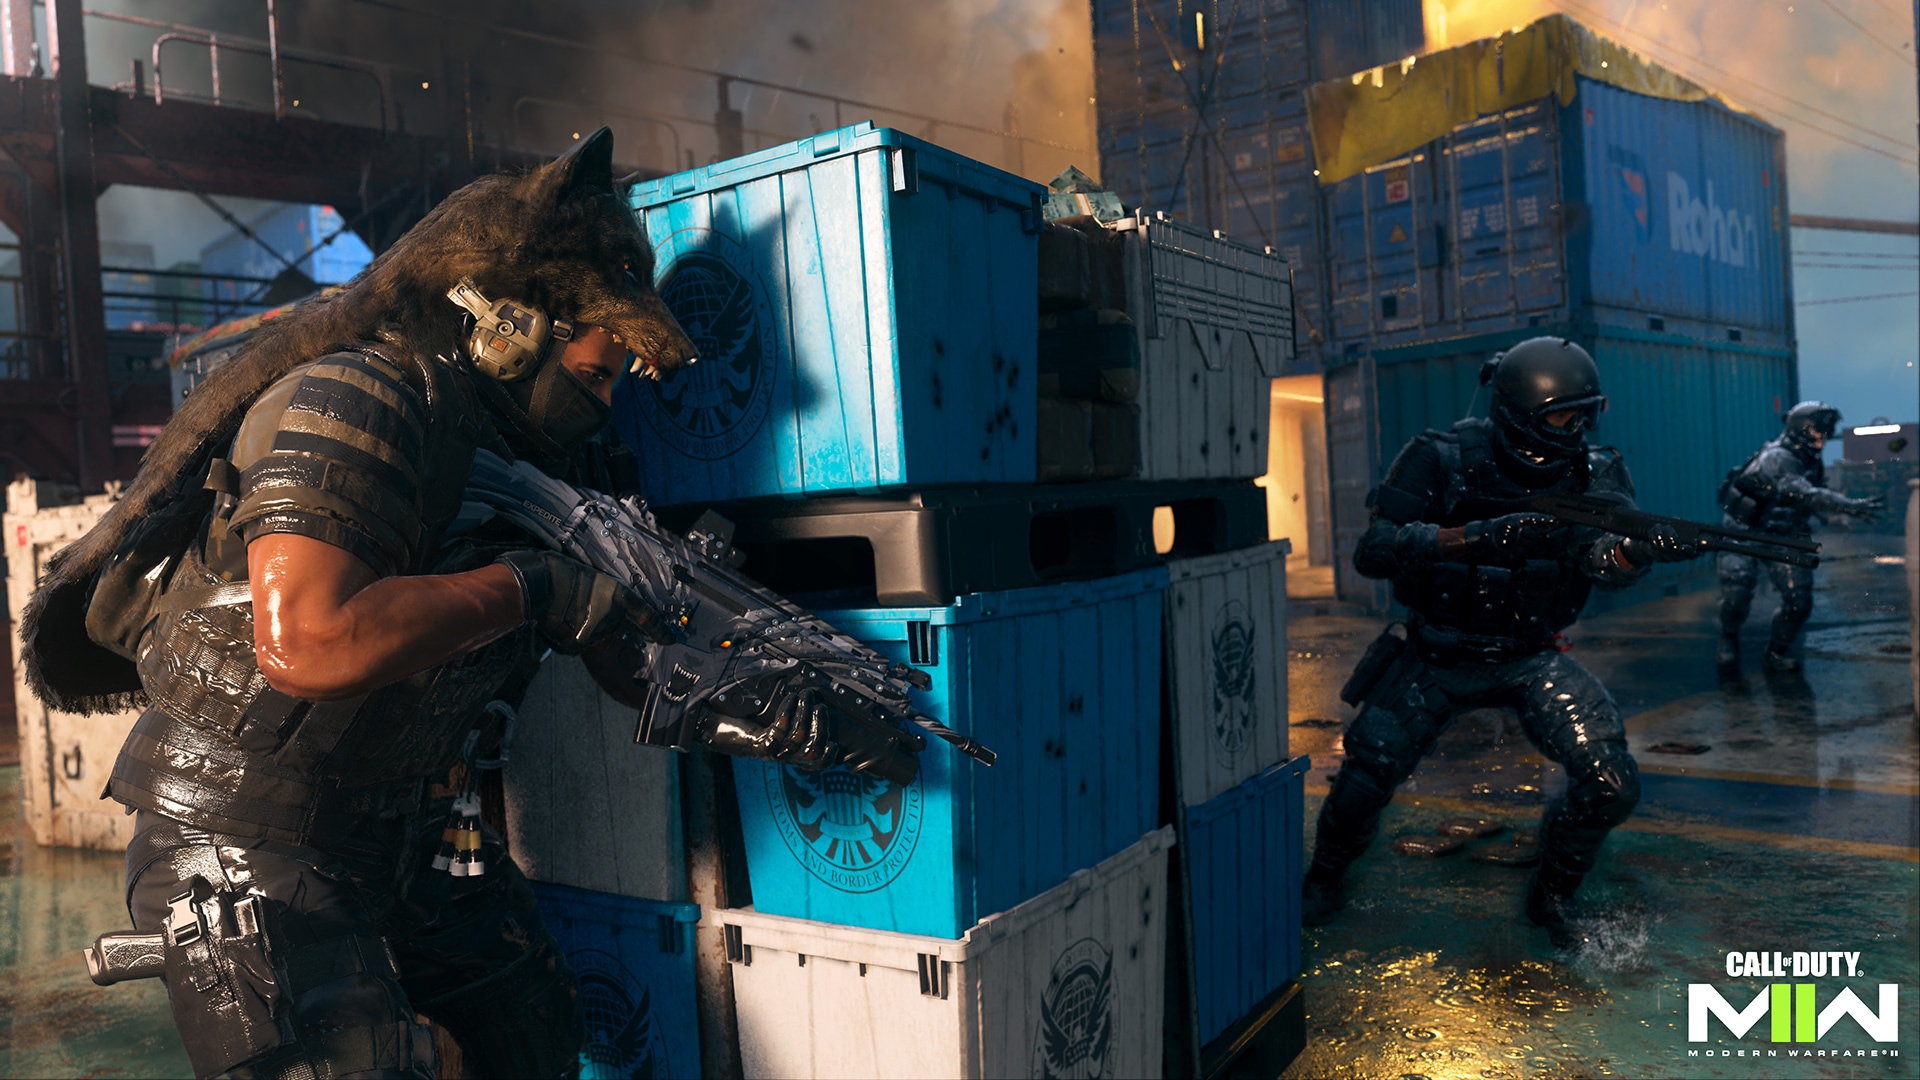
A little chaos is good for the soul, not to mention the beauty of XP gains on a tiny map like Shipment. In this iteration of the fan-favorite classic, the scene of battle moves to the high seas as SpecGru and KorTac forces face off against each other among stacked containers and crates filled with cash and illicit goods.
No plan survives contact with the enemy, yet even on this compact field there are tactics and strategies worth considering when fighting for that victory screen. Let’s dive in and perfect the fundamentals.
Spawn Point: KorTac
KorTac Spawn Zone (North) — Bridge Side
While there are designated starting spawns for both teams, expect those spawns to change up quickly once the match commences. KorTac forces begin on the Bridge Side in the northeast section, ready to break south, west, or straight into the middle. Whichever direction you choose, be ready to engage in seconds.
Defensive-minded players may choose to hang back and wait for the enemy, using the crates as cover. You can also set up camp in the eastern red container to ambush enemy Operators coming off the break, though we suggest a more active start: there’s room for defensive measures later in the match.
Spawn Point: SpecGru
SpecGru Spawn Zone (South) – Drug Stash
SpecGru forces begin the match in the southwest corner of the map, also positioned near an open crate providing west-east passage and a nearby half-open crate open only toward the starting spawn. The strategy for the break is largely the same: there are two main paths leading north and east, or you can book it for the center straight into the mayhem.
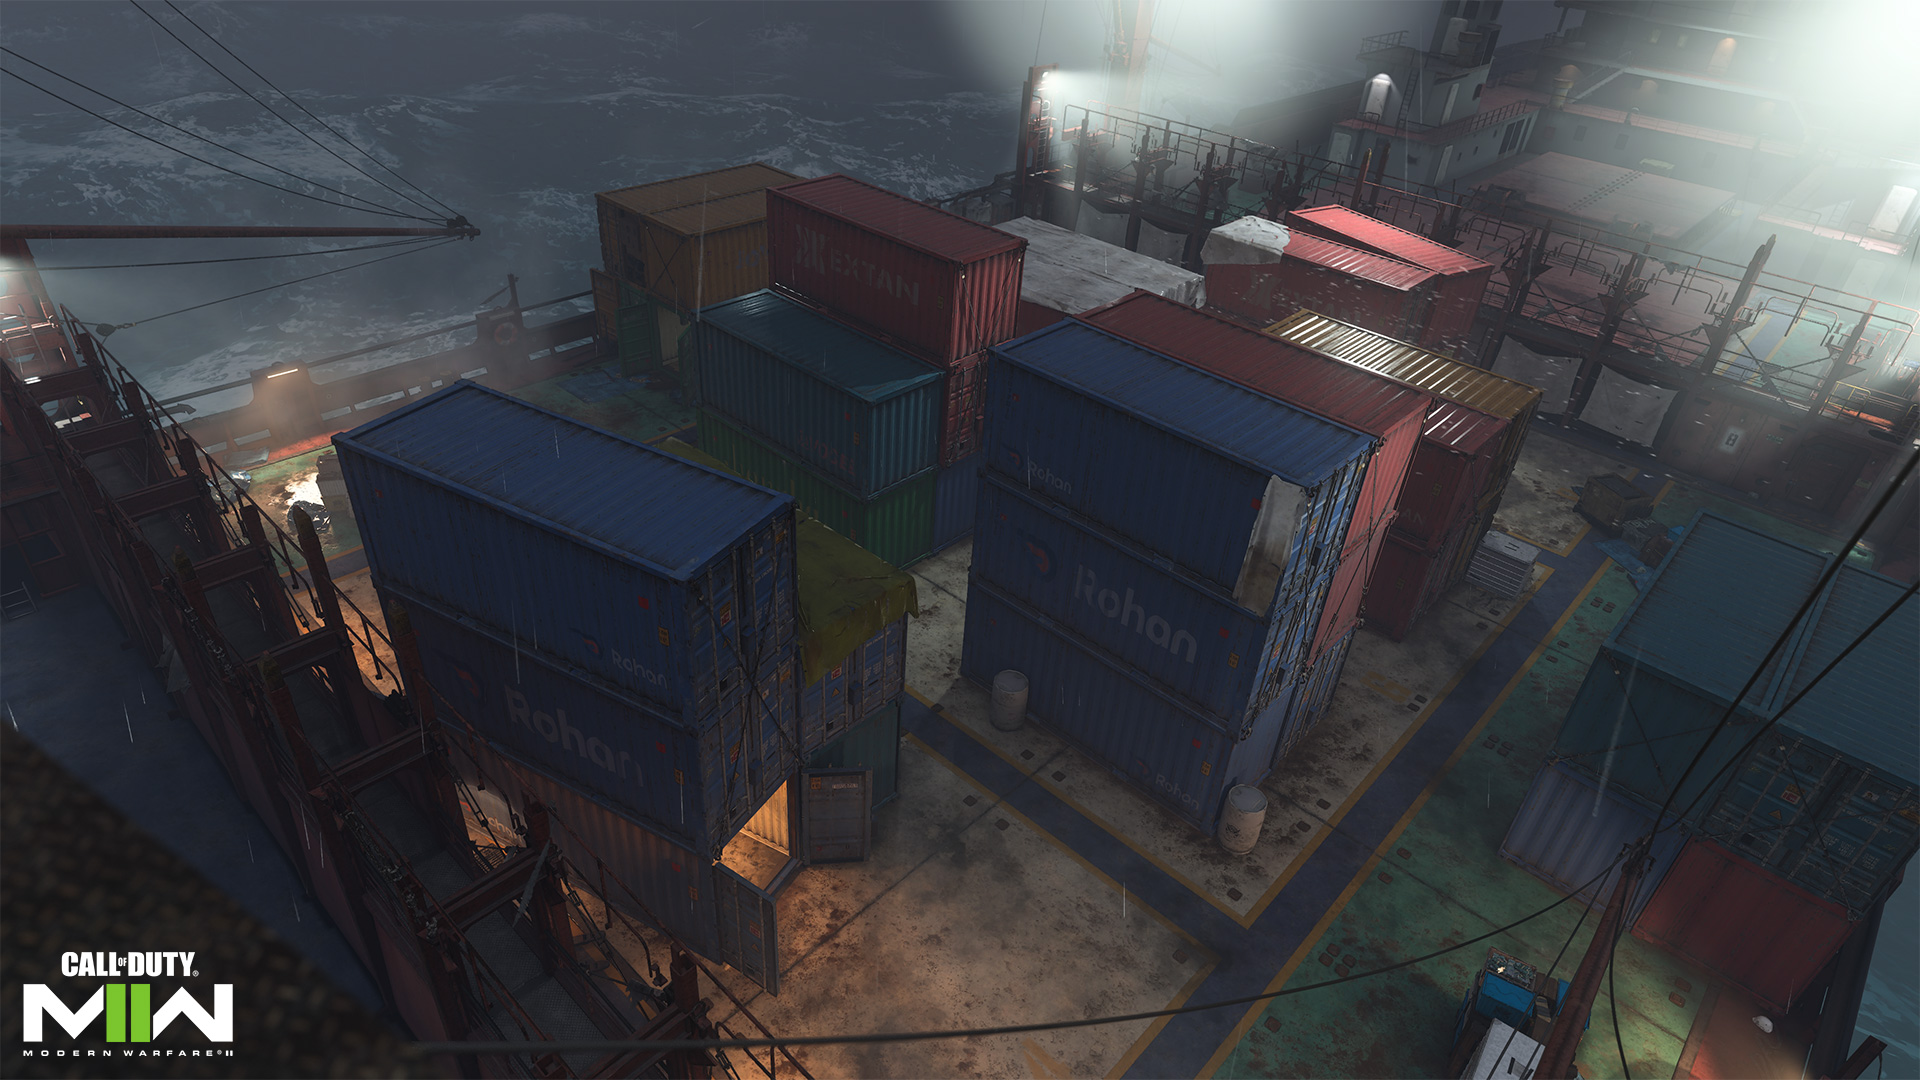
Map Maneuvers: Route Planning
![]()
Shipment consists of four named areas:
- Bridge Side
- Center
- Drug Stash and Container Stack
Northern Route — Bridge Side
From Bridge Side, Operators must hold their position against the onslaught of enemies rushing in from Center and the opposite side of the map. Use the cash crates and the open northern container for cover. Shipment veterans will notice a key difference compared to the Call of Duty®: Modern Warfare® iteration of the map: there’s no climbing up into a higher container from this point; in this Shipment, the battle remains on the ground floor.
Bridge Side’s west end offers more cash crates for cover, but that’s it. Still, even in Shipment’s constant chaos, these cover pieces can mean the difference between survival and defeat; in objective modes, they conceal you when capturing the objective, not to mention providing decent cover with just enough room to make slight adjustments to your position.
Lastly, make use of the two blue barrels and the silver crate extending the cover line toward Center. These offer vital protection when peeking around either corner; this allows you to stay and fight or avoid taking too much damage before sidestepping back behind larger cover.
Center Route — Center
The eye of the storm. Center is a veritable madhouse, the area of the map where the most constant fighting occurs. In several modes, it’s the site of an objective, forcing Operators to take their chances. It also provides quick access across the map if you can survive the journey.
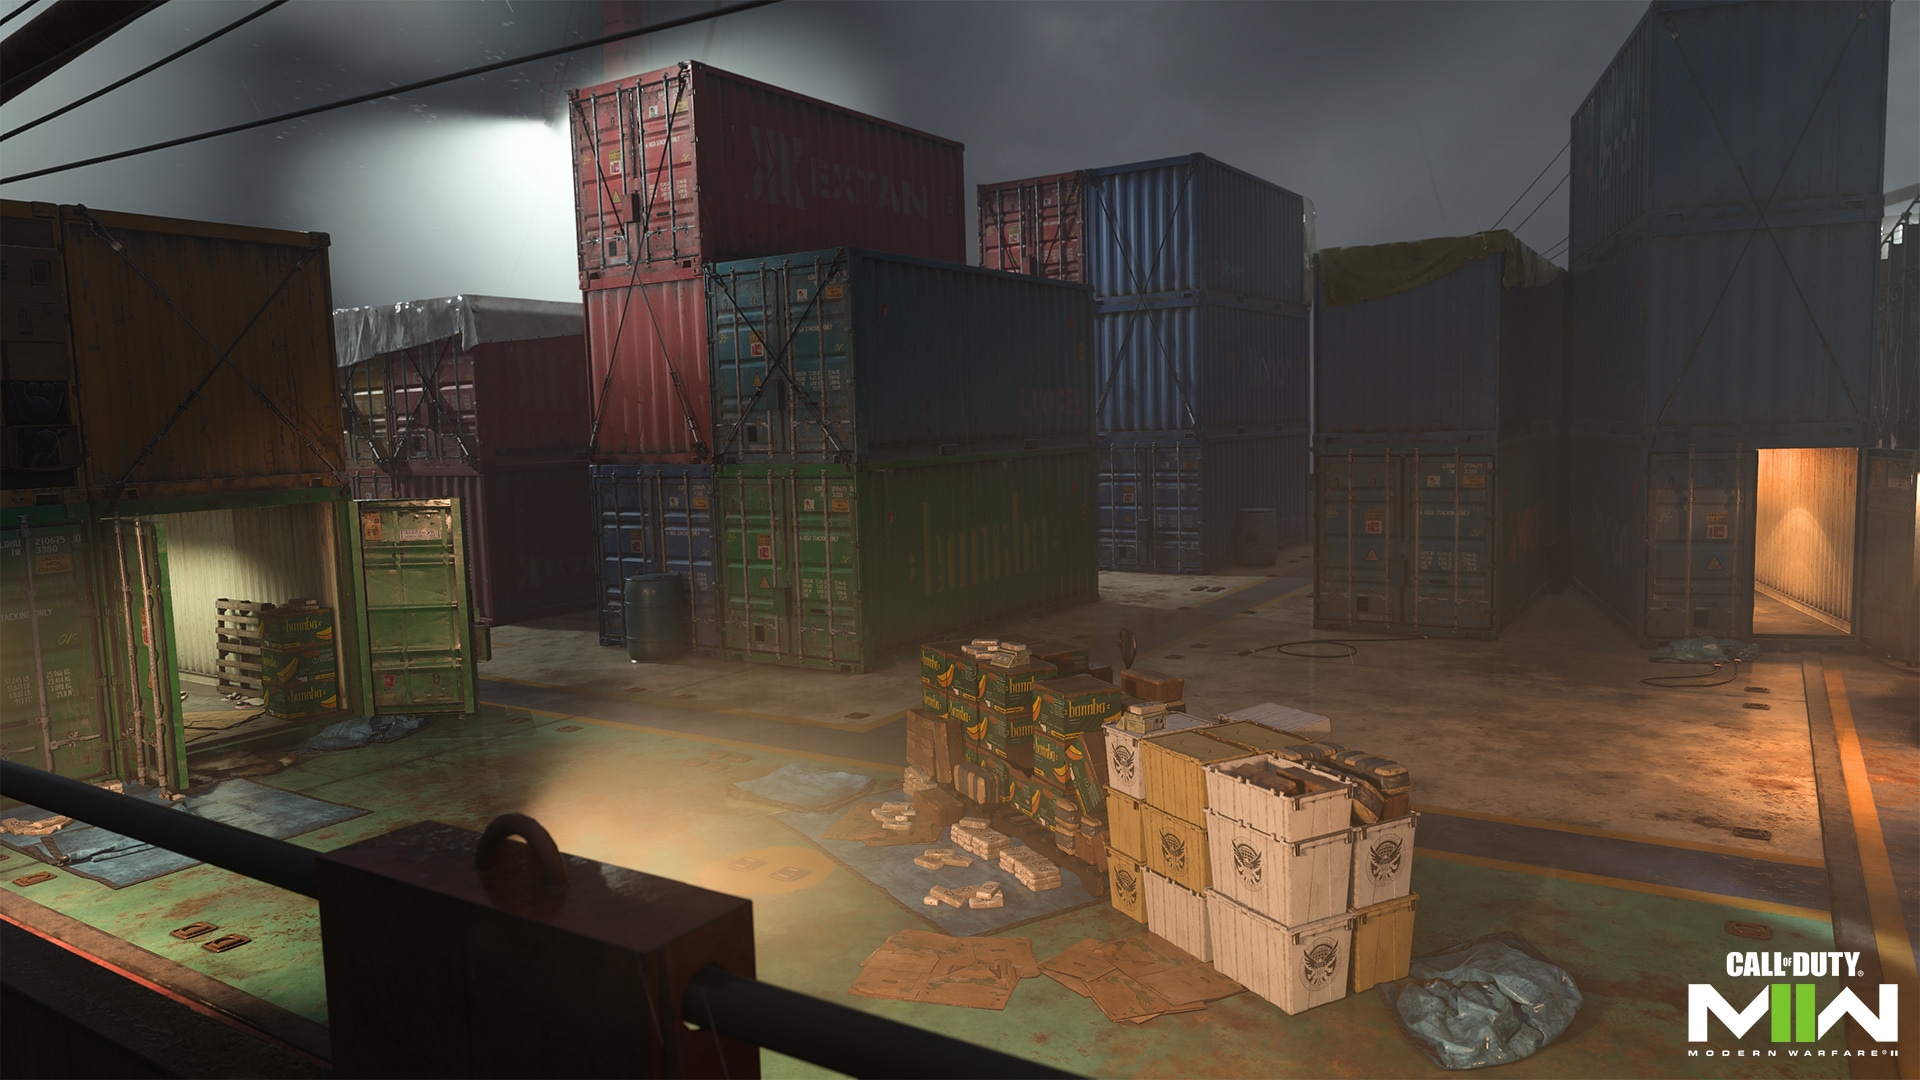
Unless there is an objective there, get out of dead center as soon as possible, as you’re exposed on all four cardinal directions; instead, hang back to protect your sides and catch enemies rushing through the middle. Watch for the half-open ground-floor container in Center’s northeast corner, a favorite hiding spot for those unwilling to brave the greater battle. Toss a grenade inside if you think there might be an enemy within.
The half-open containers on the map’s western and eastern boundaries offer ambush points in addition to emergency shelter against explosives and streaks. Don’t linger for too long, or that shelter will become a dead end.
Southern Route — Drug Stash, Container Stack
The southern route nearly mirrors the north, though with some slight differences. Here, too, a container open on both ends provides west-east passage. Expect a lot of activity around the crates on either side of it as well as the nearby half-open container, which, while technically designated as part of Center, is often utilized by players in this section of the map.
Recruit Tactics
Watch My Six!
In all maps and modes, keeping an eye on the minimap vastly improves your situational awareness. On Shipment, it can help focus your split-second decision-making in terms of where to move next.
Keep an eye on your teammates in particular. Their positions indicate buffers in the environment, positions that are — at least for the moment — likely safer to travel through compared to other sections of the map. When you’re rushing through an area like Center, even the slightest advantage is worth grasping on to.
Up and at ’Em
Getting constantly eliminated? Don’t worry, so is everyone else. On a map this small, it’s going to happen. Thankfully, with some patience and perseverance, the tide will often turn so that you’re the one doing the eliminating. The key here is to keep a cool head, to start each spawn fresh and ready to engage.
Remember that you don’t have to approach the match like a chicken with its head cut off; you can still be tactical, balancing when to move and attack and when to get behind cover for an advantageous position. It’s still chaos, albeit controlled chaos.
Veteran Tactics
Play the Objective
Yes, even you Call of Duty® veterans need the occasional reminder.
On Shipment, it’s easy to get caught up in the whirlwind of battle, especially when you’re slaying. The highest kill count won’t impress your teammates, however, if you’ve got a measly objective score and end up losing the match.
When playing objective modes, keep your eye on the score, watch the objective position, and ask yourself — at least every now and then — am I doing my part? Your team will appreciate it, and trust us, you’ll still have plenty of opportunities to slay.
Bomb Drone Incoming
The Bomb Drone streak can do a lot of damage on Shipment, allowing you to fly toward and detonate over tightly packed groups of enemies, a common sight here. It’s also a useful means for dislodging enemies hiding out in containers.
Requiring only four eliminations (or 500 Score when using Scorestreaks), it’s a very achievable streak for all skill levels. If you’re aiming for higher streaks, however, you may want to use it after your next spawn: your Operator will be highly exposed while piloting the drone.
Prestige Tactics

Drill Those Containers
Having a rough time against enemy Operators ambushing your team from within the map’s open containers? Equip the Drill Charge and toss it into the side of the container; it’ll easily blast through the thin walls. Keep an eye on the opening in case they try to escape the incoming explosion. Either way, they’re out of luck.
Pair your Drill Charge with the Snapshot Grenade or Heartbeat Sensor to better anticipate when a container needs to be drilled through. Soon enough those campers are bound to see the folly of their ways, forcing them to join the battle out in the open.
Just a Scrape
In Shipment, you’ll be fighting one Operator after the next, and often you’ll go up against several. Equip Quick Fix as your Ultimate Perk to immediately trigger health regeneration whenever you eliminate an enemy, keeping you in strong fighting form even throughout intense skirmishes. Throw down a Trophy System next to your position for added defense against incoming equipment and projectiles, forcing them to battle you straight on.
Remember that you’ll also benefit from a faster health-regeneration rate when capturing and holding objectives, so get on the point and don’t let up.
Objective Routes and Rotations
Mode Intel: Domination
And you thought capturing the B flag was hard before. Located smack dab in the middle of the map, the flag is likely to change hands multiple times throughout the match. Often, Operators will crouch or lie prone at the edges of the capture zone, attempting to lower their profile as much as possible. Don’t let them go unnoticed.
Due to the map’s small size, you might choose to ignore the B flag when the enemy is throwing all they have at it. Instead, focus on taking the A and C flags. They’re more easily accessible, if even only by a little, and it’ll take the pressure off Center. When capturing A and C, use the available cover, going prone if needed to make the capture. If you’ve got one, throw down a Trophy System.
Keep in mind that you only need two flags at a time to gain the point advantage. Because the flags are positioned so closely to one another, stay flexible in terms of which flag you’re focused on. If you keep getting eliminated going after one, skip it in favor of the other flags.
Aerial streaks are incredibly powerful on Shipment Domination. Even if the enemy runs for cover into an open container, you’ll force them off the flag, leaving it for the taking. Patience is encouraged when you access one of your aerial streaks; while it’s tempting to call it in right away, it’s wiser to hold on to it until you need to get to a flag, especially when the score is close.
Mode Intel: Search & Destroy
It’s a whole different game in modes like Search & Destroy, where there are no respawns. Though it’s a more tactical, slower paced affair, it still helps to be fast off the break, as even the slightest hesitation can leave you exposed to better-prepared Operators.
On the attacking side, starting in the southwest corner, you can go north to the A Bomb Site or east to the B Bomb Site. Note that both sites are easily viewed from the defenders’ starting position in the northeast — in this case, the bomb carrier may not want to immediately approach a Bomb Site, instead focusing on eliminating some of the enemy team before going in for the plant.
Remember that though it may be tempting to forgo the bomb plant in favor of a total elimination, planting the bomb is still a valid tactic. While the others are busy blasting away, the bomb carrier can take cover behind one of the sites and get to work. Once the bomb is set, it focuses the match on that one point, forcing the enemy to come to you. Spread out, take up defensive positions, and let them have it.
As a defender, get creative with the map’s several ambush points, attacking the enemy team where they least expect it. In the next round, stay in the open and flank them when they stick their heads in your old hiding spot. Soon they won’t know where to look, giving you the advantage.
For either side, it’s not a bad idea to lead battles with any grenades on hand. With a little luck, there’s a good chance you’ll connect, providing a strong opening to the round.
Mode Intel: Hardpoint
Shipment hosts five Hardpoints: one in the middle plus all four corners of the map.
The break for the first Hardpoint is the toughest. Try to get to the edge of the zone without positioning yourself right in the middle. If your teammates are throwing themselves onto the point, take an outside position and flank. If your teammates are objective shy, get in there.
Watch for the indicator of the next Hardpoint in the final ten seconds of the current point so you can position yourself accordingly. The early rotation is crucial in any Hardpoint match, but due to the ease of traversal here, it’s doubly so.
Pair the Battle Hardened and Bomb Squad Base Perks along with the Trophy System Field Upgrade to up your defense on the point, complemented by the Quick Fix Ultimate Perk to speed up your health-regeneration rate while holding the objective. For support-minded players, choose Overclock instead, improving your Trophy System’s recharge rate and capacity.
As with Domination, aerial streaks make a big impact here. Just check the Hardpoint timer before calling it in, lest you attempt to blast enemies in scrap time when the effect is minimal.
Top Tips
1. Go, go, go! Yes, there are times when it makes sense to hold back and wait for the enemy to come to you, but don’t overdo it. Shipment exemplifies the adage that the best defense is a good offense. The less predictable your actions, the harder it will be to counter them.
2. Desperate? Wedge in. The open crates along the north and south boundaries each create a wedge that can be used to get out of sight and to ambush enemies moving through these areas. Think before taking up the position, however, as you’ve got no cover and nowhere to go but forward. Use it, land an elimination or two, then move on.
3. Long range works, too. While Shotguns, SMGs, and Assault Rifles are often the most used weapons in Shipment, it doesn’t mean that long-ranged Loadouts won’t be effective. With proper positioning and timing, you can absolutely get the advantage over close-ranged players; move as far back as possible so that they struggle to land their shots.
4. Notorious…but alive. Listen, sometimes you’ve got to do what it takes to survive. If you’re getting annihilated, equip the Overkill Base Perk and pick the Riot Shield along with your Primary Weapon of choice. The shield will help protect your back against attacks, along with providing essential cover when approaching objectives. Just watch those rockets and Drill Charges; riot shields have a way of attracting them.
5. I do this for a living. On this tiny map, you want to avoid downtime as much as possible. Equip the Fast Hands Bonus Perk to speed up your reloads, equipment use, and weapon swapping, so that once you get access to the Perk, you’ll be moving through your actions at lightning speed.
6. Not so safe and sound. Is an enemy Operator hogging up the containers, staying out of view to ambush you and your teammates? Remember that in addition to the Drill Charge, armor-piercing rounds can penetrate these materials, so upset their camping routine by eliminating them without ever showing your face.
7. Scrap their intel. Equip the Counter-UAV for a low-cost streak that scrambles the enemy minimap. Better yet, deploy it after an opponent has sent out their UAV, thereby frustrating their efforts to gain valuable intel. It’s also a solid asset in objective modes prior to a big push or defense.
8. Launchers still appreciated. Though the chaos on the ground is ever constant, it’s still worth striking down enemy aerial streaks. Consider taking a Launcher into the map and utilizing the few brief moments of downtime between engagements to knock out enemy UAVs and other threats. Against ground forces, the RPG-7 can do some good work here, too.
9. Get mad. Consider using the Battle Rage Field Upgrade, providing fast health regeneration and resistance to Tactical Equipment. It’s already a reckless map, and with this Field Upgrade, there’s no downtime placing an object in the environment. Get at ’em.
10. Now do it again. Besides enjoying Shipment purely for its frenetic gameplay, it’s also a great map for raking in Weapon XP and finishing up those camo challenges. Take advantage of the bounty and your Gunsmith options will skyrocket.
Stay frosty.
© 2019-2022 Activision Publishing, Inc. ACTIVISION, CALL OF DUTY, CALL OF DUTY WARZONE, and MODERN WARFARE are trademarks of Activision Publishing, Inc. All other trademarks and trade names are the property of their respective owners.
For more information, please visit www.callofduty.com and www.youtube.com/callofduty, and follow @Activision and @CallofDuty on Twitter, Instagram, and Facebook.